Transform dull lab images into vibrant scientific photos through strategic enhancements like color correction, contrast adjustment, and proper calibration. You’ll need to master color theory, understand complementary colors, and adjust white balance to eliminate lighting distortions. Digital post-processing techniques—histogram equalization, median filtering, and false coloring—can highlight key features while maintaining data integrity. These improvements transform raw microscopy data into compelling visual narratives that effectively communicate your scientific findings.
Transform Dull Lab Images Into Vivid Scientific Photos
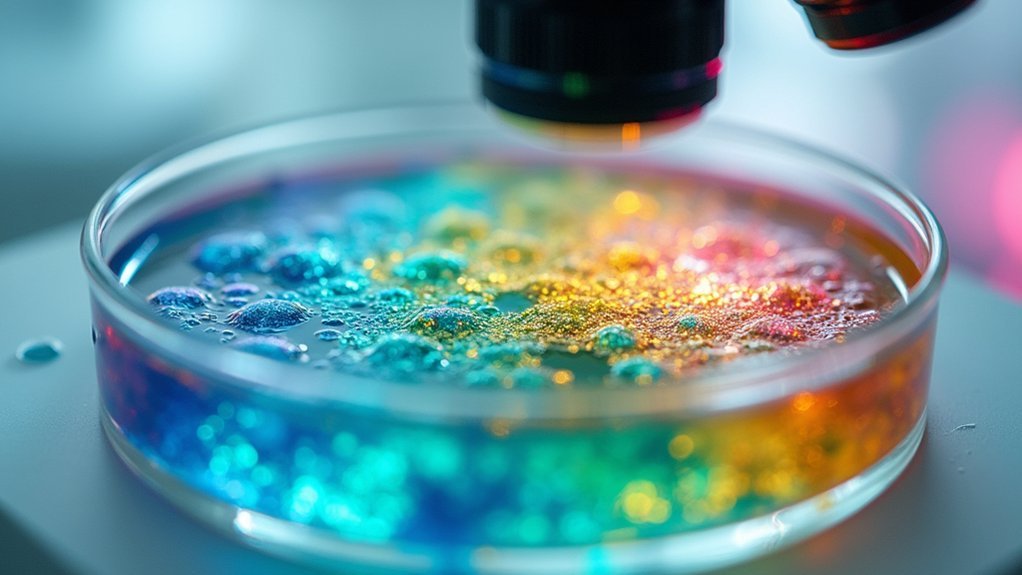
While lab images often capture essential scientific data, they frequently lack the visual appeal needed to effectively communicate findings.
With a few strategic techniques, you’ll transform these mundane visuals into compelling scientific storytellers.
Transform mundane lab visuals into powerful scientific narratives that captivate and inform your audience.
Start with basic enhancements like color correction to balance hues and represent specimens accurately.
Apply contrast adjustment to make key details pop while eliminating distracting backgrounds. These simple modifications immediately improve clarity and engagement.
For more complex visualizations, consider leveraging generative AI tools that can create stunning representations of your data.
These advanced technologies help visualize unseen aspects of your research and present them in an accessible format.
Fundamentals of Color Theory in Scientific Imaging
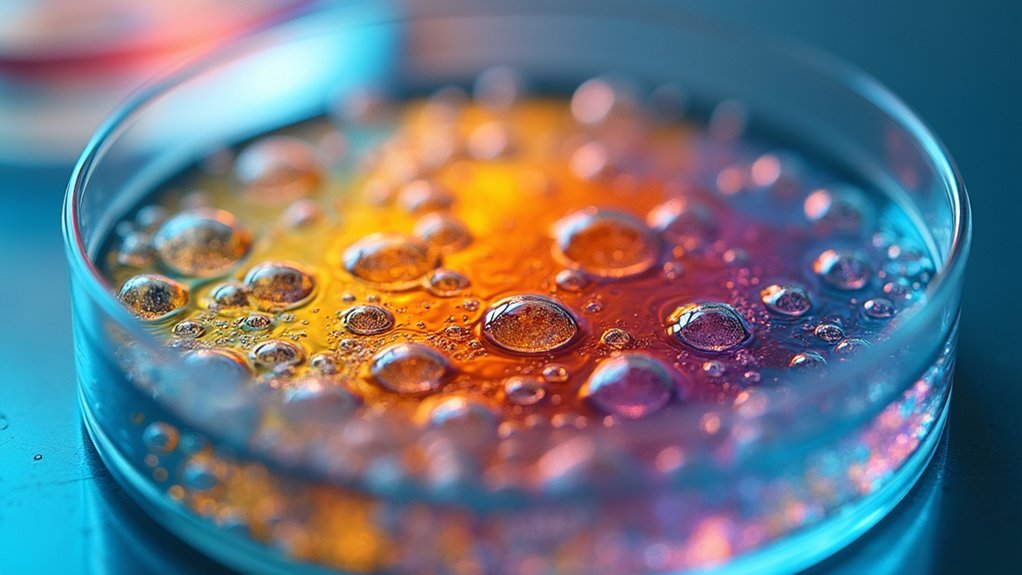
Because colors greatly influence data interpretation, mastering color theory is essential for effective scientific imaging. When you take a photo in your lab, understanding how primary, secondary, and tertiary colors interact on the color wheel helps create impactful visuals that accurately represent your data.
I’ve seen remarkable improvements in image clarity when researchers utilize complementary colors to enhance contrast and highlight key features.
Color temperature also matters—cooler Kelvin values create calm visuals while warmer tones convey energy, something else entirely necessary for different scientific contexts.
Don’t overlook proper calibration; it guarantees colors accurately reflect your collected data, preventing misinterpretation.
Strategic use of color gradients can effectively communicate variations in temperature, concentration, or other variables, transforming complex information into intuitive visual patterns.
Calibrating Microscope Settings for Optimal Color Reproduction
To achieve faithful representation of specimens, proper calibration of your microscope settings stands as the cornerstone of scientific imaging. Start by adjusting light intensity, contrast, and color balance to enhance visibility of key specimen features.
Don’t overlook white balance adjustment—it’s essential for correcting color distortions from artificial lighting sources. This simple step guarantees your specimen’s colors appear as they truly are.
White balance correction eliminates artificial lighting distortions, ensuring specimens display their authentic coloration under microscopic examination.
Consider incorporating calibrated filters to allow only specific wavelengths to pass through, greatly improving color fidelity.
Maintain your microscope’s optics regularly by cleaning lenses and checking alignment. This routine care preserves both color accuracy and image quality.
Finally, utilize image processing software to fine-tune hue, saturation, and brightness post-capture, perfecting your specimen’s visual representation.
Digital Post-Processing Techniques for Microscopy Images
After proper microscope calibration, your journey with specimen imagery continues at your computer. Transform raw microscopy data into revealing scientific assets through strategic digital enhancement. You’ll find that techniques like histogram equalization redistribute pixel values for balanced contrast, while median filtering reduces unwanted noise artifacts.
| Technique | Purpose | Software Tools |
|---|---|---|
| Histogram Equalization | Balance contrast | ImageJ, Photoshop |
| Median Filtering | Reduce noise | ImageJ, MATLAB |
| False Coloring | Highlight structures | Photoshop, GIMP |
| Brightness Adjustment | Reveal subtle details | Most image editors |
Don’t hesitate to apply false coloring to differentiate structures—this makes your images more informative for presentations. With these digital post-processing methods, you’ll transform dull microscopy captures into vivid scientific visuals that effectively communicate your research findings.
Balancing Accuracy and Visual Appeal in Scientific Photography
When you’re enhancing scientific photographs, you’ll face the fundamental tension between COLOR VS. CLARITY, where vibrant presentation must never sacrifice accurate detail representation.
ETHICAL IMAGE ENHANCEMENT requires transparent disclosure of any post-processing techniques you’ve applied, ensuring viewers understand which visual elements have been modified for aesthetic purposes.
MAINTAINING DATA INTEGRITY remains your paramount responsibility, as even minor adjustments should preserve the scientific truth of your specimens rather than creating misleading or idealized versions that compromise research validity.
COLOR VS. CLARITY
How can scientists navigate the delicate balance between color accuracy and visual clarity in laboratory photography?
You’ll need to make strategic choices that enhance visual appeal without misrepresenting your data. When properly calibrated, vibrant colors can transform dull images while maintaining scientific integrity.
Consider these approaches to optimize your scientific photography:
- Apply false-color imaging selectively to highlight specific features, ensuring your color palette enhances rather than distorts the underlying data.
- Utilize HDR techniques to capture wider luminosity ranges, revealing essential details in both bright and dark areas of your specimens.
- Experiment with specialized lighting such as polarized light or fluorescence to emphasize particular characteristics while preserving accuracy.
Remember that image processing tools can enhance contrast and clarity when used judiciously, making your findings more compelling without compromising data integrity.
ETHICAL IMAGE ENHANCEMENT
The line between enhancing scientific images and misrepresenting data remains razor-thin in laboratory photography.
When improving your lab images, you’ll need to prioritize accuracy over aesthetics, ensuring enhancements don’t distort your findings.
Apply techniques like contrast adjustment, color correction, and sharpening judiciously to improve visual appeal while preserving data integrity.
Always follow your field’s established guidelines for digital enhancement to maintain credibility.
Be transparent about your process—disclose all image modifications in your publications so peers can properly evaluate your work.
This transparency builds trust in your research and contributes to scientific integrity.
MAINTAINING DATA INTEGRITY
Scientists face a critical balancing act between enhancing visual appeal and preserving raw data in laboratory photography. When you improve visual clarity, you must guarantee these enhancements don’t compromise the scientific integrity of your images. Document all modifications transparently, allowing viewers to distinguish between enhanced visuals and original data.
To maintain data integrity while creating compelling scientific imagery:
- Use color correction and contrast adjustments judiciously to improve visibility without altering fundamental characteristics of your subject.
- Implement standardized processing protocols to guarantee consistency and reproducibility across all your scientific photography.
- Select software tools that enable precise adjustments while preserving the original data’s fidelity.
Advanced Staining Methods to Enhance Microscopic Details
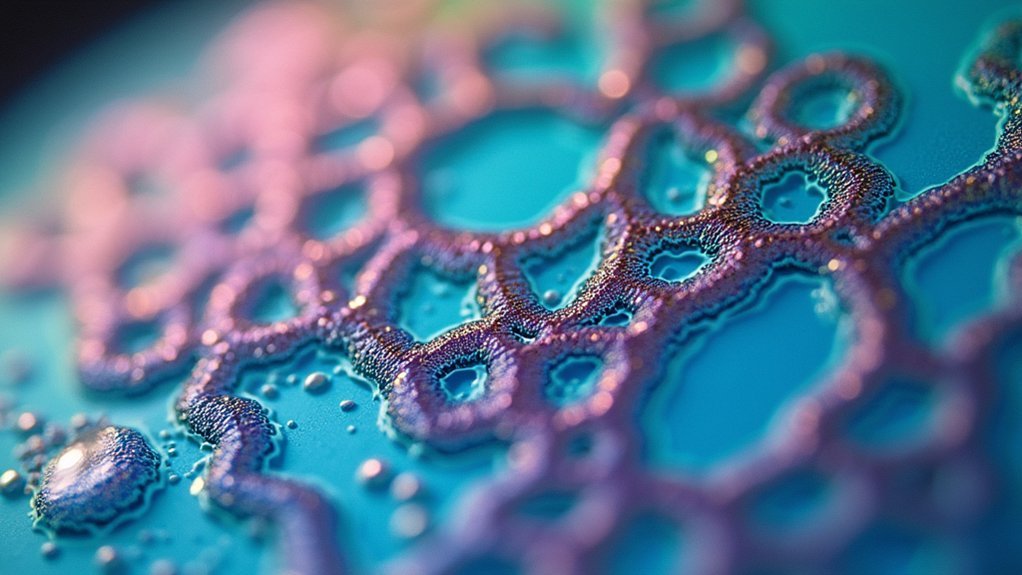
Transforming ordinary microscopic images into vibrant, detailed visualizations requires sophisticated staining techniques that reveal what would otherwise remain invisible to the human eye.
You’ll find traditional H&E and PAS staining provide excellent baseline visualization of tissue morphology, but for truly stunning results, consider immunohistochemistry and fluorescence techniques that highlight specific cellular components with remarkable precision.
To maximize your microscopic image quality, optimize your staining protocols for better resolution and specificity.
This approach unveils intricate cellular processes previously obscured in unstained samples. Pair these advanced staining methods with digital imaging tools to further enhance contrast and detail.
When applied effectively, these techniques don’t just create visually striking images—they dramatically improve diagnostic capabilities by providing clearer, more informative visuals for accurate disease evaluation.
Multi-Channel Imaging and False Color Applications
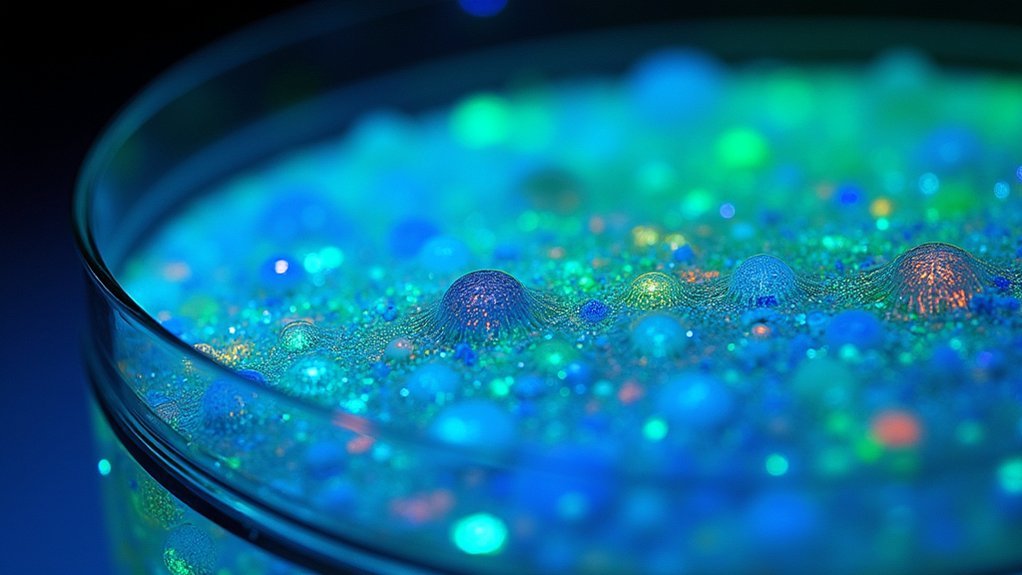
While traditional microscopy captures images in a single light spectrum, multi-channel imaging revolutionizes laboratory visualization by simultaneously recording multiple wavelengths to produce extensive data sets.
You’ll transform invisible aspects of your samples into visually striking representations by assigning false colors to different channels, making complex data immediately comprehensible.
Turn your scientific imagery from mundane to magnificent with these techniques:
- Highlight cellular structures by assigning distinct colors to specific proteins or organelles that wouldn’t be distinguishable in conventional imaging.
- Create dramatic contrast between similar-looking materials by mapping different wavelengths to vibrant color schemes.
- Make your research more accessible by converting complex spectral data into intuitive visual stories that engage both specialists and non-experts.
These approaches elevate your scientific photography from merely documenting to truly communicating your findings.
White Balance Correction for Consistent Microscope Imaging
White balance correction transforms the reliability of your microscope images through two primary methods.
You’ll achieve the most accurate color representation by placing standardized reference cards in your field of view during calibration sessions, establishing a true neutral baseline for all subsequent captures.
Modern software automation tools can streamline this process, allowing you to apply consistent white balance settings across multiple images with minimal manual intervention.
Calibration With Reference Cards
Three critical factors determine the accuracy of microscope imaging, with proper white balance ranking among the most essential.
Using reference cards provides a reliable standard to eliminate color casts caused by varying light conditions, ensuring your scientific images faithfully represent reality.
You’ll achieve consistent results across all samples by incorporating a simple calibration routine:
- Place a white or gray reference card in your microscope’s field of view before imaging your specimen.
- Take a calibration shot to set your white balance standard.
- Maintain this calibration throughout your imaging session, recalibrating whenever lighting conditions change.
This calibration process greatly enhances image quality, making fine details more discernible and improving data interpretation.
For environments with fluctuating light conditions, regular calibration with reference cards is your best defense against unreliable visual data.
Software Automation Tools
Although manual calibration sets a solid foundation, software automation tools have revolutionized white balance correction in microscope imaging.
These intelligent programs analyze color temperature and automatically adjust images to a consistent reference standard, eliminating the variability introduced by different lighting conditions.
You’ll find that modern software solutions detect and correct color casts with minimal input, streamlining your workflow and saving precious research time.
The consistency achieved across your image collection enhances comparability between specimens, ultimately improving the reliability and reproducibility of your scientific analysis.
For maximum efficiency, look for tools offering batch processing capabilities.
These allow you to apply identical white balance corrections to multiple images simultaneously, transforming hundreds of inconsistent images into a cohesive, scientifically reliable dataset in minutes rather than hours.
Frequently Asked Questions
How Do You Make a Dull Picture Look Good?
To make a dull picture look good, you’ll want to adjust contrast, increase saturation, sharpen details, and play with lighting effects. Don’t forget to crop for better composition and remove any distracting elements.
How Can I Make My Photos More Vivid?
To make your photos more vivid, use HDR techniques, adjust contrast and saturation in editing software, experiment with lighting setups, apply color correction filters, and consider a macro lens for capturing intricate details.
How Do You Fix Dull Pictures?
To fix dull pictures, you’ll need to adjust contrast, brighten exposure, enhance colors with saturation tools, correct white balance, and sharpen details. Try HDR techniques or lighting adjustments for more vibrant results.
How Do I Edit a Poorly Lit Photo?
To edit a poorly lit photo, you’ll need to increase exposure, adjust brightness and contrast, reduce noise, and fix white balance. Don’t forget to sharpen details after making these adjustments for best results.
In Summary
By mastering color theory, calibration, and post-processing techniques, you’ll transform ordinary lab images into compelling scientific visuals. Remember, it’s not just about creating pretty pictures—it’s about enhancing visibility while maintaining scientific integrity. Whether you’re adjusting white balance, applying multi-channel techniques, or experimenting with staining methods, you’re now equipped to showcase your research with both accuracy and visual impact.


Leave a Reply