For better microscope photos, adjust your light’s color temperature to 5000°K for true white illumination. Experiment with illumination angles—try darkfield or oblique lighting to highlight surface details. Control brightness to avoid overexposure, using the camera histogram as your guide. Position LED spotlights from multiple angles to eliminate shadows. Add polarization filters to enhance contrast and reveal colorless samples. These techniques will transform your mundane microscope images into stunning scientific visuals.
Understanding Color Temperature and Its Impact on Sample Fidelity
When capturing microscope images, color temperature plays a critical role in ensuring your samples appear as they truly are. Measured in Kelvin (K), color temperature indicates the hue of your light source, with 5000°K (D50) considered the standard for microscopy.
True white light, displaying equal intensity across all wavelengths, is essential for good color reproduction. Your halogen bulb, typically around 3200°K, may require daylight blue conversion filters to achieve proper color balance. Without adjustments, your microscopy images may show color distortions that misrepresent samples.
Don’t overlook ambient lighting—it can considerably affect white balance perception. Control your environment using 5000°K fluorescent lighting to minimize interference.
Consistent color temperature settings and appropriate filters will enhance image vibrancy and clarity, ensuring faithful sample representation.
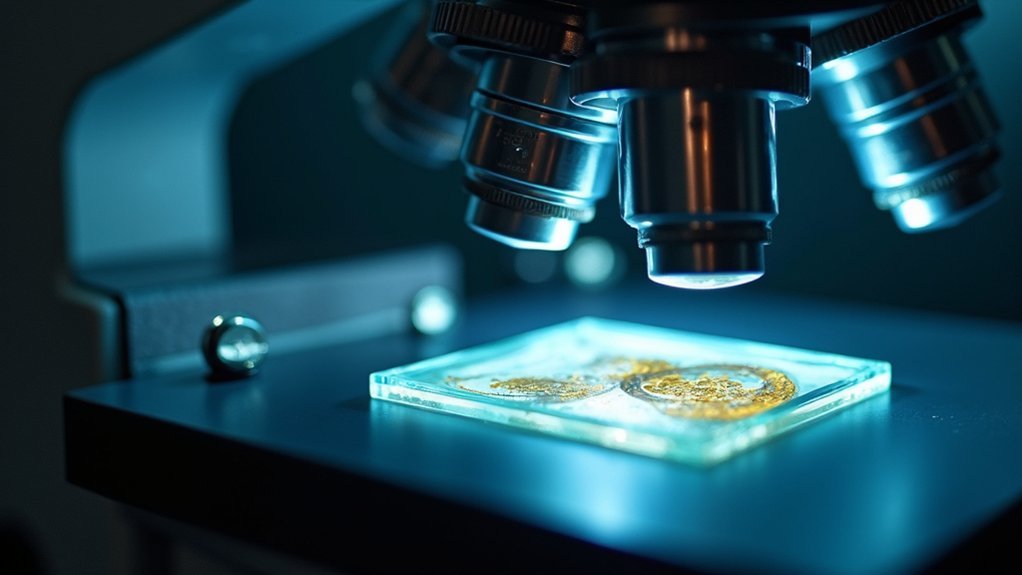
Mastering Illumination Angles for Enhanced Surface Detail
While color fidelity establishes the foundation for accurate microscopy images, the angle of your light source shapes how surface details appear in your photographs. By adjusting illumination angles, you’ll reveal textures and features that remain hidden under standard lighting conditions.
Try dark field illumination to highlight edges and contours rather than using direct lighting. You can also shift your microscope condenser sideways for oblique illumination, enhancing texture visibility.
Experiment with light source positioning—moving it closer or further from your specimen—to minimize glare while maximizing surface detail.
For colorless specimens like crystals, combine polarizing filters with varied illumination angles to produce vibrant contrasts.
The most thorough results often come from blending techniques, using both transmitted and reflected light simultaneously for superior color management and complete visualization of your sample’s surface characteristics.
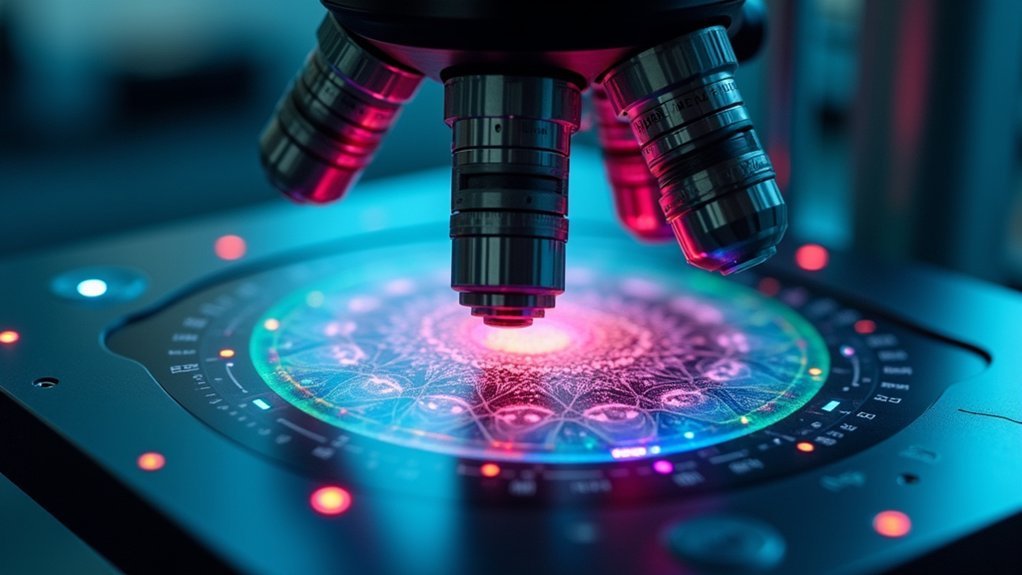
Adjusting Light Intensity to Prevent Overexposure
Perfect illumination requires balancing brightness to capture every microscopic detail without washing out critical features.
When adjusting light intensity, monitor your camera’s histogram to guarantee highlights don’t exceed maximum values, preserving image contrast and specimen details.
Invest in adjustable LED lighting systems that offer precise brightness control without generating heat that could damage living specimens.
These light sources provide consistent illumination while allowing you to fine-tune intensity levels for peak imaging.
For situations requiring significant light reduction, employ neutral density filters or polarizers to decrease brightness without affecting color balance.
This maintains image fidelity while eliminating glare.
Don’t hesitate to experiment with different intensity settings.
The ideal illumination reveals intricate specimen details without creating overexposure that destroys valuable visual information.
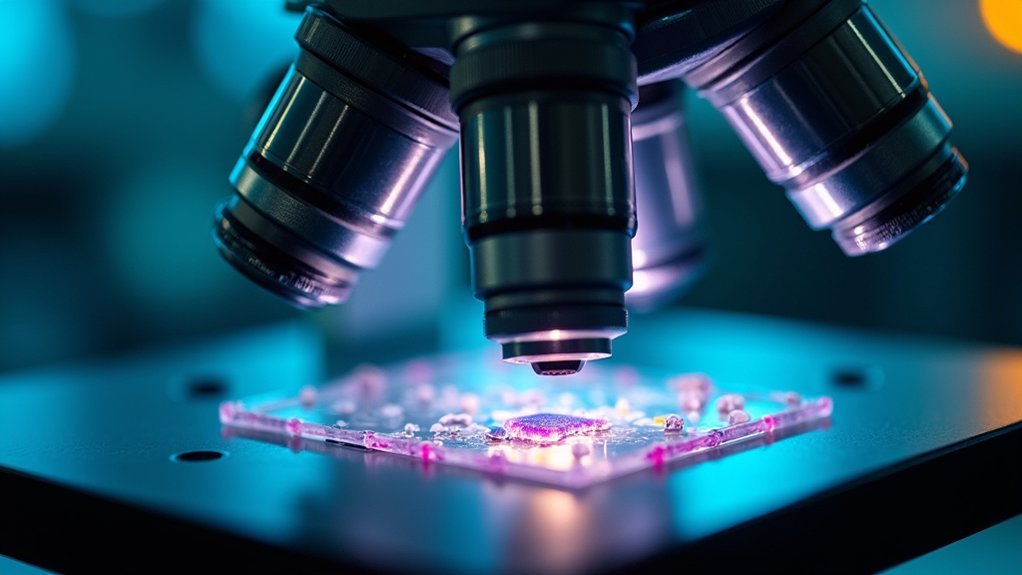
Utilizing LED Spotlights to Eliminate Shadows
Shadows can dramatically compromise the quality of microscope images by obscuring essential details and creating distracting visual artifacts.
LED spotlights offer an effective solution with their adjustable brightness, allowing you to fine-tune illumination levels for peak image quality.
Position these flexible lights from multiple angles to eliminate shadows across the specimen surface. You’ll capture intricate details that might otherwise remain hidden under traditional lighting conditions.
The cold white color temperature of LED lighting enhances color vibrancy in your samples, producing more accurate representations.
Unlike halogen lamps, LED spotlights generate minimal heat—an important consideration when photographing live specimens. You’ll maintain sample integrity while achieving superior illumination.
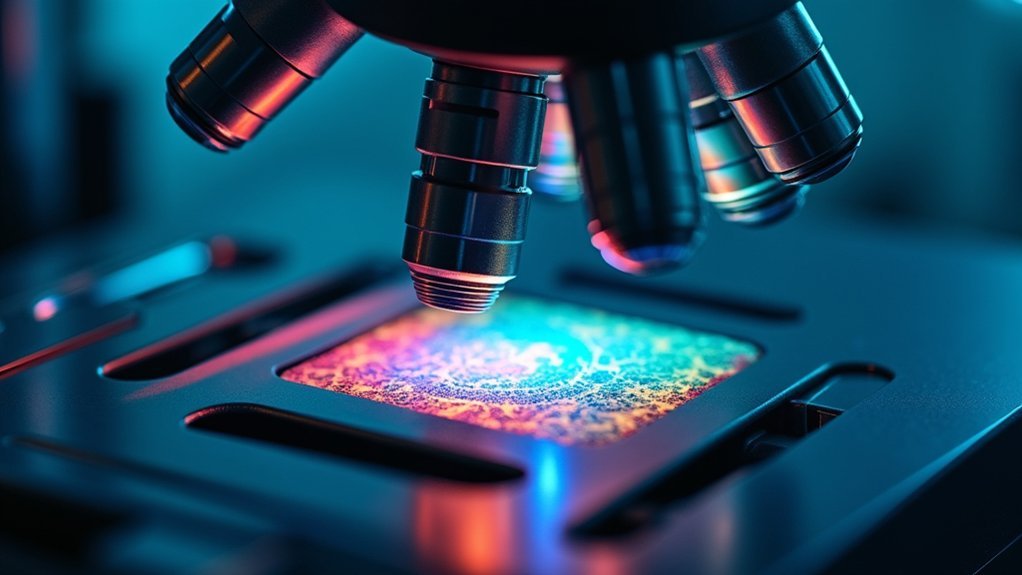
Combining Polarization Techniques With Directional Lighting
When polarization techniques merge with strategic directional lighting, your microscope images transform from ordinary to extraordinary. By minimizing glare and highlighting structural features, you’ll achieve enhanced contrast in transparent or semi-transparent specimens.
Crossed polarizing filters can even reveal vibrant colors in otherwise colorless samples like vitamin C crystals.
For ideal results:
- Try adjusting the polarizer angle relative to your light source to target specific features you want to emphasize.
- Combine dark field illumination with polarization to create striking effects that emphasize edges and fine details.
- Utilize your microscope condenser’s sideways movement for oblique illumination, adding depth and texture when paired with polarization.
These techniques give you precise control over how features appear in your images, allowing for customized illumination based on your specimen’s unique properties.
Frequently Asked Questions
How Can You Improve the Quality of an Image on a Microscope?
You can improve microscope image quality by using consistent white light illumination, adjusting contrast techniques, applying appropriate filters, using LED lighting, and employing staining methods for colorless specimens. Always optimize your camera settings too.
How Do You Take Good Pictures With a Microscope?
You’ll take good pictures with a microscope by using proper lighting (5000°K white light), selecting appropriate illumination techniques, stabilizing your setup, focusing carefully, and using high-quality cameras with manual settings for exposure and white balance.
How to Adjust a Compound Light Microscope to Properly View an Image?
First adjust your microscope’s light intensity, then position your specimen on the stage. Start with the lowest objective lens, focus using coarse then fine adjustment knobs, and adjust the condenser for ideal contrast and clarity.
How Do You Get an Accurate Image From a Microscope?
To get an accurate microscope image, you’ll need proper lighting calibration, stabilized power supplies, balanced ambient conditions, appropriate lighting techniques for your specimen type, and correct white balance settings on your camera.
In Summary
You’ll master microscope photography once you’ve controlled your lighting environment. By adjusting color temperature, illumination angles, and intensity levels, you’ll capture your samples with remarkable accuracy. Don’t forget to incorporate LED spotlights to eliminate problematic shadows, and try combining polarization techniques with directional lighting for even better results. These adjustments aren’t just technical tweaks—they’re the difference between mediocre and publication-quality microscopy images.


Leave a Reply