For ideal phase contrast imaging, implement proper Köhler illumination by aligning your condenser perfectly. Guarantee precise annular diaphragm positioning to match your objective’s phase ring. Control light intensity carefully to avoid halo artifacts while maintaining detail visibility. Try oblique illumination at 45° angles to enhance depth perception and reduce halos. Consider multi-angle lighting strategies for specimens with varying refractive indices. These techniques will transform your challenging samples into crystal-clear microscopic views.
Optimizing Köhler Illumination for Enhanced Phase Contrast
When setting up your phase contrast microscope, proper Köhler illumination serves as the foundation for producing high-quality images with exceptional detail.
To achieve ideal results, verify your condenser is perfectly aligned with the light source and properly centered. You’ll need to adjust the aperture diaphragm to match your objective’s numerical aperture for the best contrast.
For effective phase contrast images, use a condenser with the correct size annular diaphragm to generate the precise cone of light needed.
Don’t forget to regularly check and adjust your condenser’s height to maintain uniform illumination across your specimen, eliminating shadows and enhancing image clarity.
Remove any polarizing filters during setup, as they can reduce light intensity and compromise detail visibility in your phase contrast microscopy.
These lighting techniques will considerably improve your imaging results.
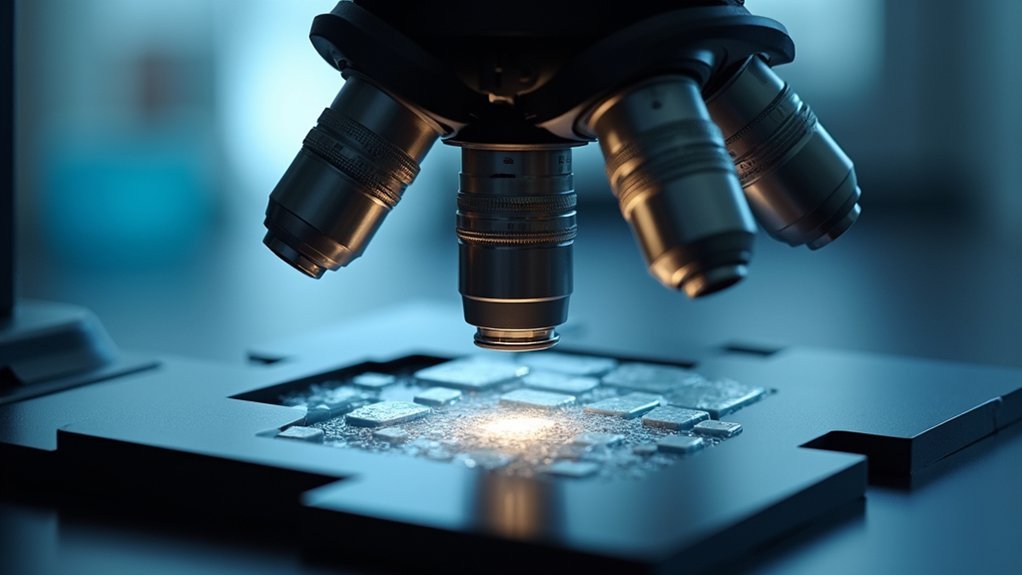
Annular Diaphragm Positioning and Light Path Management
Precise alignment of the annular diaphragm with the objective’s phase ring forms the critical foundation of successful phase contrast microscopy.
You’ll need to confirm this alignment creates the partially coherent light cone essential for proper phase shifts as light traverses your specimen.
Remember that different objectives require specific annular diaphragm sizes—using the correct match is non-negotiable for ideal contrast and resolution.
Maintain proper Köhler illumination throughout your setup process to achieve even light distribution, which allows the annular diaphragm to work effectively with the phase ring.
Don’t skip regular alignment checks between your annular diaphragm and phase rings.
These adjustments prevent unwanted artifacts and maintain consistent imaging quality.
Your microscope’s performance depends on this careful light path management—take the time to get it right.
Controlling Light Intensity for Specimen-Specific Clarity
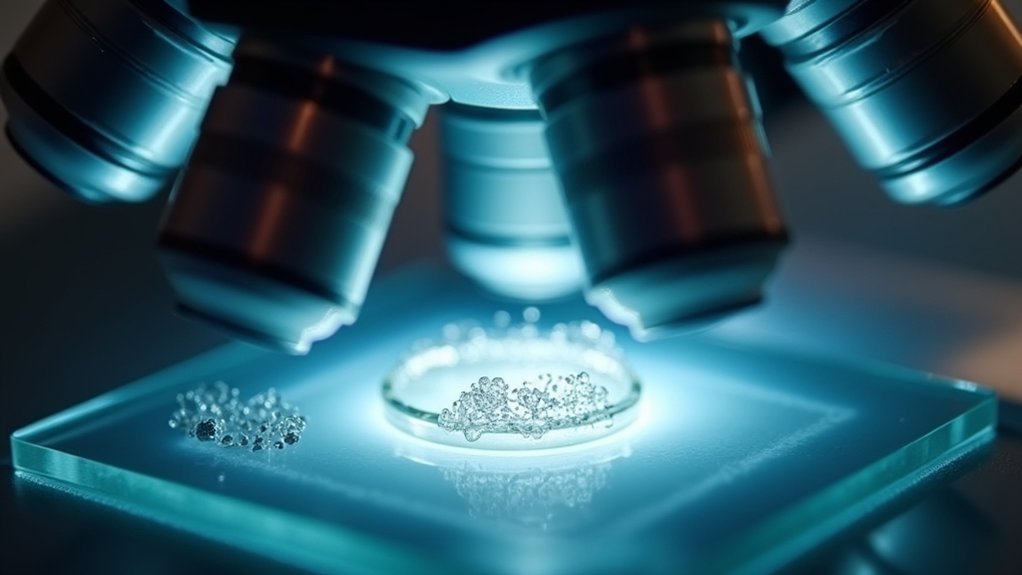
The critical balance of light intensity in phase contrast microscopy can make or break your imaging results. When you’re examining specimens, excessive brightness creates distracting halo artifacts, while insufficient illumination renders details invisible.
You’ll achieve ideal illumination by matching your light source—preferably halogen or LED—to your specimen’s refractive index. Implement Köhler illumination to guarantee even light distribution across your field of view, enhancing overall clarity and consistency.
Remember to pair your phase annulus with the appropriate objective; different magnifications require specific light intensity adjustments.
Regular calibration and alignment of optical components are essential maintenance tasks that prevent distortion and preserve image quality. By fine-tuning these parameters for each specimen type, you’ll maximize contrast while minimizing artifacts, resulting in crisp, detailed phase contrast images.
Oblique Illumination Techniques to Reduce Halo Artifacts
Persistent halo artifacts in phase contrast microscopy can be dramatically reduced through strategic oblique illumination. When you direct light at an angle to your transparent specimens, you’ll create shadows that enhance edge details while minimizing the interference that typically causes halos around cellular structures.
| Technique | Benefits | Implementation |
|---|---|---|
| Side lighting | Improves depth perception | Position light source at 45° angle |
| Angular adjustment | Enhances surface details | Gradually modify illumination angle |
| Integration with phase contrast | Optimizes visual quality | Maintain partial phase contrast while adding oblique component |
For best results, you’ll need regular alignment of your light source. This approach is particularly effective for transparent specimens that normally challenge standard imaging methods. By combining these techniques, you’ll achieve clearer images of cellular structures without the distracting halos that often compromise detail visibility.
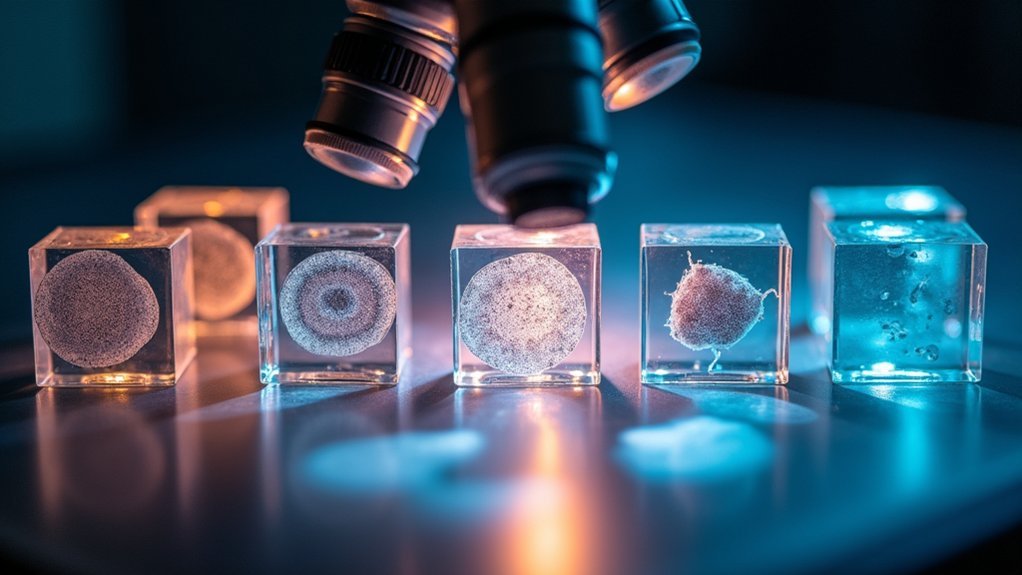
Multi-Angle Light Source Strategies for Difficult Specimens
When examining particularly challenging specimens, multi-angle illumination techniques offer remarkable advantages over conventional lighting methods.
You’ll find that transparent specimens become more visible as multi-angle light sources reduce glare and provide uniform illumination across the field.
For ideal phase contrast imaging of difficult samples, consider these approaches:
- Adjust illumination angles to detect fine edge structures while minimizing the halo effect that obscures critical details.
- Experiment with oblique lighting to enhance contrast in specimens with varying refractive indices.
- Utilize LED arrays or fiber optic illuminators for precise control over angle and intensity.
- Apply varied lighting positions when examining live cells or thick tissues where standard illumination fails to provide adequate contrast.
Frequently Asked Questions
What Type of Illumination Do We Use in Phase Contrast Microscopy?
You’ll use Köhler illumination in phase contrast microscopy, with partially coherent light from an annular diaphragm in the condenser that creates a hollow cone of light to illuminate your specimen.
How to Obtain a Good Image Under a Phase Contrast Microscope?
To obtain a good phase contrast image, you’ll need to align your phase ring with the condenser annulus, set up Köhler illumination, adjust light intensity appropriately, and guarantee all optical components are properly maintained and centered.
What Is the Light Source for Phase Contrast Microscope?
Phase contrast microscopes typically use halogen lamps or LEDs as light sources. You’ll find these provide the stable, bright illumination you need. They’re effective because they can be adjusted for ideal contrast enhancement.
Why Is Green Light Used in Phase Contrast Microscopy?
Green light’s used in phase contrast microscopy because it minimizes chromatic aberration, enhancing image clarity. You’ll get sharper images at its 520-570nm wavelength, which ideally visualizes cellular structures without staining your specimens.
In Summary
You’ve now mastered the essential lighting techniques for phase contrast microscopy. By perfecting Köhler illumination, precisely positioning your annular diaphragm, carefully adjusting light intensity, employing oblique illumination, and using multi-angle lighting strategies, you’ll capture stunning images with remarkable detail and contrast. These approaches will transform your difficult specimens into clear, artifact-free visualizations. Apply these methods consistently and you’ll elevate your microscopy skills to professional levels.


Leave a Reply