Color temperature, measured in Kelvin (K), greatly impacts scientific specimen documentation. For biological materials, use warmer tones (2700-3200K), while cooler temperatures (5500-6000K) enhance fine details. Match your camera’s white balance to your light source—tungsten (~3200K), fluorescent (4000-5000K), or LED (adjustable). Using gray cards or custom Kelvin settings guarantees color accuracy and reproducible results. The right temperature choice can reveal critical specimen details that might otherwise remain invisible.
The Science of Kelvin: Understanding Color Temperature Basics
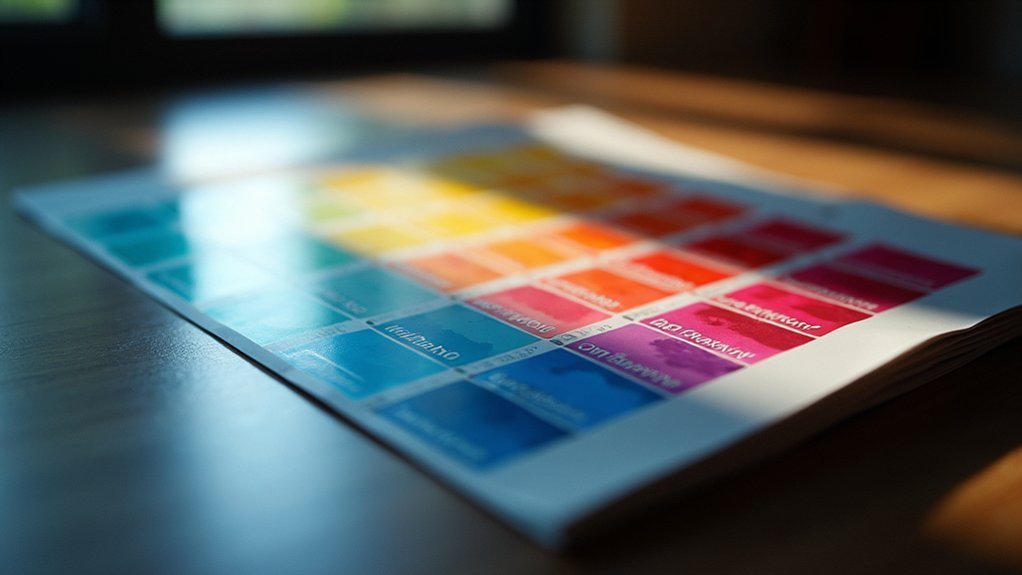
Light, in all its complexity, brings color to our photographic world through measurable temperature. When you’re capturing scientific images, understanding color temperature in Kelvin (K) is crucial for accurate reproduction.
The Kelvin scale quantifies the hue of light sources: lower readings (1,000-3,500K) produce warm, yellowish tones reminiscent of candlelight (1,800K), while higher readings (5,500-10,000K) deliver cooler, bluish illumination.
At 5,500K, you’ll find neutral midday sunlight—ideal for baseline white balance settings.
This measurement system stems from black body radiator theory, which predicts light color based on heated metal temperatures. For consistent scientific results, you’ll need precise color temperature measurements using specialized meters.
Properly setting your white balance according to these Kelvin readings guarantees that colors appear authentic in your scientific photography.
Microscope Light Sources and Their Color Temperature Ranges
When examining specimens under a microscope, your choice of illumination directly impacts the quality and accuracy of your observations.
Microscope light sources typically range from 2700K to 6000K, with each range serving specific purposes. Tungsten bulbs emit around 3200K, delivering warm light that’s ideal for soft tissue viewing and enhancing color contrast.
Light temperature matters: 3200K tungsten delivers warm illumination perfect for tissue contrast and color differentiation.
For more neutral illumination, fluorescent lighting (4000K-5000K) provides effective general-purpose white light.
If you’re seeking maximum detail visibility, higher color temperatures (5000K-6000K) offer cool, bright illumination.
Modern LED systems give you flexibility with adjustable color temperatures, allowing customization based on specimen requirements.
Remember that proper white balance adjustment is essential with any light source to guarantee accurate color representation and prevent misinterpretation of your specimens.
Impact of Color Temperature on Specimen Visualization
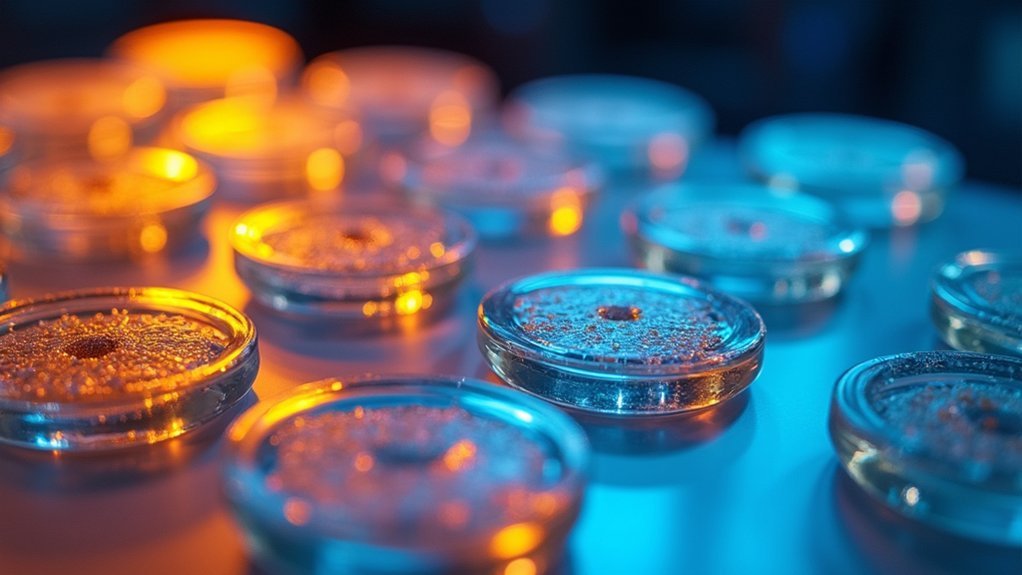
When photographing scientific specimens, you’ll find that different color temperatures activate distinct spectral responses in your samples, with warmer tones (2700-3200K) providing more natural representation of biological materials.
For enhanced sample detail, consider using cooler temperatures (4000-4500K) that simulate early morning light to reduce eye strain during extended observation sessions.
Your specimen’s fine details and textural elements will become more pronounced under daylight-mimicking temperatures (5500-6000K), though you should avoid very high temperatures (7000K+) that may create excessive contrast and obscure subtle features.
Spectral Response Analysis
The fundamental integrity of scientific specimen photography hinges on understanding how color temperature affects spectral response.
When you’re documenting specimens, the light source’s temperature dramatically alters how colors appear in your final images. Different materials reflect light uniquely across the spectrum, changing their visual characteristics under varying illumination.
- Warm lighting (2700-3200K) enhances certain pigments and biological materials, revealing details that might otherwise remain invisible.
- Cool lighting (5500-6000K) provides more neutral color representation, critical for accurate documentation.
- Proper white balance settings compensate for color temperature variations, ensuring consistency across research images.
- Material-specific spectral reflectivity means some dyes and chemicals respond differently to various color temperatures, requiring calibrated lighting for accurate analysis.
Your choice of color temperature directly impacts the scientific validity of your photographic data.
Sample Detail Enhancement
Three essential factors determine how effectively your specimen details appear in scientific photography, with color temperature standing at the forefront.
When you’re capturing intricate features, selecting the appropriate Kelvin value can dramatically improve visualization quality.
For enhanced textures, choose warm lighting (2700-3200K), while cool temperatures (5500-6000K) better reveal fine details through improved contrast and sharpness.
If you’re seeking balanced color representation, neutral white illumination around 4000K minimizes eye strain while maximizing detail recognition across biological and chemical samples.
For particularly challenging specimens requiring high-intensity lighting, consider 7000-7500K settings to create a crisp environment that reduces color distortion.
Remember that proper color temperature selection impacts the perceived three-dimensional projection of your specimens, making this adjustment vital for accurate scientific documentation and analysis.
White Balance Techniques for Accurate Scientific Documentation
When documenting specimens for scientific purposes, you’ll need to select appropriate white balance presets that match your lighting environment or manually adjust Kelvin settings to guarantee color accuracy.
You can achieve precise color representation by using a gray card for calibration, which establishes a neutral reference point under your specific lighting conditions.
These calibration techniques become particularly valuable when working with mixed light sources, where auto white balance might produce inconsistent or misleading color reproduction.
Camera Preset Selection
Since scientific photography demands absolute color accuracy, selecting the proper white balance preset becomes a fundamental step in your documentation process.
While Auto White Balance (AWB) offers convenience, it often fails in mixed lighting scenarios, compromising your data’s integrity. Instead, rely on camera preset selection based on your specific light source.
- Match presets to your environment – Use daylight (5500K) for natural light, shade (6000K) for cooler outdoor conditions, and tungsten (3200K) for indoor lighting.
- Create custom white balance using a gray card under your specific lighting conditions.
- Utilize manual adjustments in controlled setups for maximum accuracy.
- Check your settings regularly during shoots, especially when lighting conditions change.
Custom Kelvin Settings
Precise color temperature control represents the cornerstone of scientific image accuracy. When documenting specimens or experimental results, your custom Kelvin settings allow for meticulous white balance adjustments that camera presets simply can’t match.
Begin by using a gray card or neutral reference object within your scene to measure the exact color temperature of your lighting environment. For even greater precision, consider using a color meter to obtain specific Kelvin readings of your light sources.
Adjust your white balance in-camera before shooting to minimize quality-degrading post-processing. Maintaining consistent custom Kelvin settings across similar lighting scenarios guarantees uniform accurate color representation—critical when your images will be used for comparative analysis.
This methodical approach to white balance assures that your scientific documentation reflects true-to-life colors for reliable research outcomes.
Gray Card Calibration
Although digital cameras offer various automatic white balance settings, a gray card remains the gold standard for achieving color accuracy in scientific documentation. This simple tool provides a neutral reference point that eliminates color casts and guarantees consistent results across multiple images.
When implementing gray card calibration:
- Position the card in the same lighting conditions as your subject, filling the frame for your reference shot.
- Set custom white balance in-camera using this reference image.
- In post-processing, use the eyedropper tool on the gray card area to apply correct white balance.
- Recalibrate whenever lighting conditions change to maintain accuracy.
This method is particularly valuable when working with mixed or artificial lighting, where automatic settings often struggle to deliver the color precision required for scientific documentation.
Optimizing Color Temperature for Different Specimen Types
Five distinct specimen categories require tailored color temperature settings to achieve ideal photographic results. When capturing biological specimens, you’ll want warm tones (2700-3200K) to accurately represent skin tones on the Kelvin scale. For botanical subjects, set your lighting to 4000-4500K to mimic natural morning light that reveals true foliage colors.
| Specimen Type | Ideal Color Temperature | Key Benefit |
|---|---|---|
| Biological | 2700-3200K | Accurate skin tones |
| Botanical | 4000-4500K | True foliage colors |
| Microscopic | 5000K | Crisp daylight simulation |
| Fluorescent | 7000-7500K | Enhanced detail visibility |
| Transparent | 4000K | Reduced glare, better internal structure |
Microscopic imaging benefits from 5000K settings for daylight-like clarity, while fluorescent specimens pop at 7000-7500K. For transparent subjects, 4000K helps you see inside without distracting glare.
Color Temperature Calibration Methods for Microscope Systems
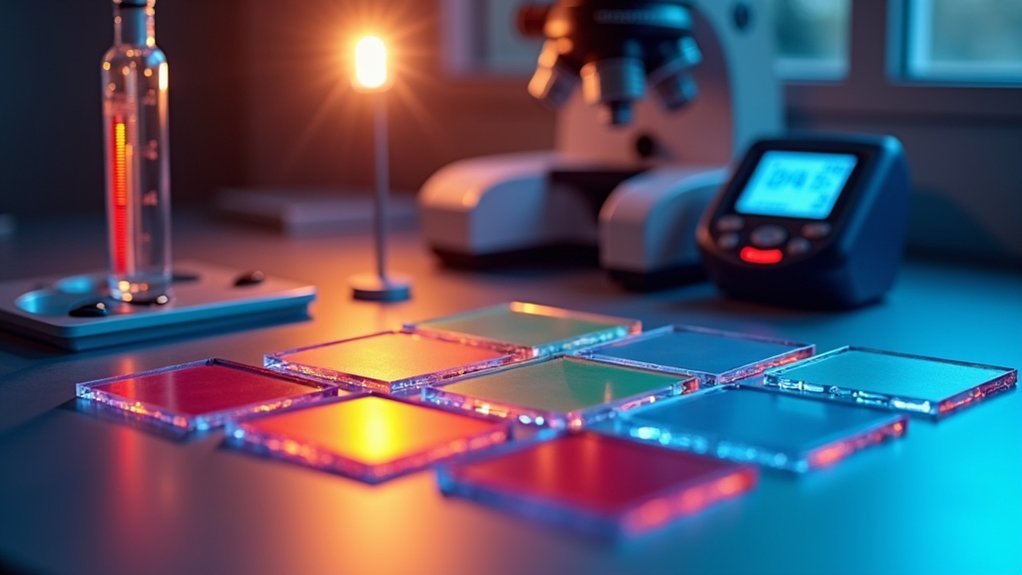
After understanding the ideal color temperatures for different specimen types, you’ll need reliable methods to calibrate your microscope system accordingly.
Proper calibration between 4000K-5500K on the Kelvin scale guarantees natural color reproduction and accurate specimen representation.
Achieving 4000K-5500K calibration ensures your specimens appear as they truly are—with lifelike colors and authentic structural details.
- Use a color temperature meter to measure your light source’s output, confirming it matches your desired Kelvin rating for specific applications.
- Incorporate standard color reference cards during calibration to achieve precise white balance and eliminate unwanted color casts.
- Apply corrective filters when adjusting illumination settings to compensate for color temperature discrepancies between different light sources.
- Perform regular calibration checks to maintain color accuracy consistency, especially in environments with variable ambient lighting conditions.
Your calibration efforts will directly impact the quality and scientific validity of your microscopy imagery.
LED vs. Halogen: Color Temperature Considerations for Microscopy
When selecting lighting for microscopy applications, the choice between LED and halogen sources considerably impacts your imaging outcomes. LED lights offer adjustable color temperatures (2700K-6000K), providing precise control for accurate specimen representation, while halogen lamps produce a fixed warm light (around 3200K) that might misrepresent colors in high-detail work.
| Feature | LED Lights | Halogen Lamps |
|---|---|---|
| Color Temperature Range | 2700K-6000K | ~3200K (fixed) |
| Temperature Stability | Highly stable | Shifts with age |
| Heat Generation | Minimal | Significant |
| Energy Efficiency | High output, low consumption | Lower efficiency |
| Specimen Impact | Preserves sample integrity | May alter specimens |
You’ll find LEDs maintain consistent color temperature throughout their lifespan, whereas halogen lamps gradually shift, affecting your photographic reliability. Additionally, LEDs’ reduced heat generation protects sensitive specimens from thermal damage.
Using Color Temperature Filters With Microscope Illumination
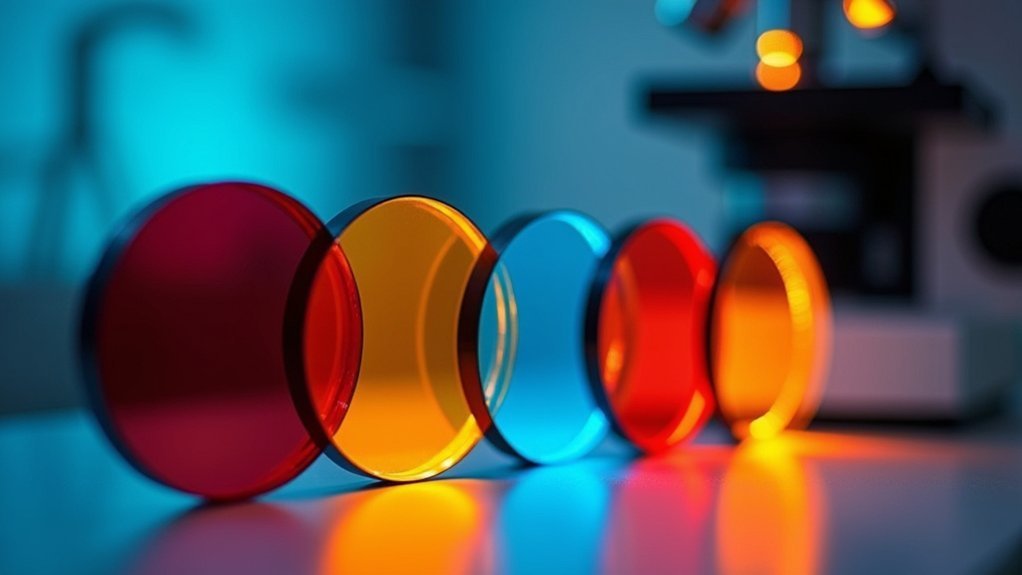
When working with microscope illumination, you’ll need to master filter selection fundamentals by matching filters like 3200K for tungsten sources or 5500K for daylight conditions to your specimen’s requirements.
You can mitigate light source variations by applying appropriate color temperature filters, which effectively reduce unwanted color casts and enhance natural specimen appearance when paired with proper camera white balance settings.
These filtering techniques prove particularly critical in microbiology applications where accurate color reproduction guarantees precise identification of cellular structures and proper documentation of experimental results.
Filter Selection Fundamentals
Microscopy photographers face a critical challenge when matching color temperature filters to their illumination systems. Your filter selection directly affects specimen visibility and accurate color representation in scientific imaging.
When working with tungsten light sources (typically 2700-3200K), you’ll need daylight conversion filters (around 5500K) to neutralize their warm yellow tones.
- Assess your light source’s color temperature first – tungsten bulbs require different filtration than LED or fluorescent sources.
- Consider your specimen’s characteristics – blue filters can enhance contrast with warm illumination.
- Calibrate your system regularly to maintain consistent color temperature.
- Test multiple filters when documenting critical specimens – the wrong filter can obscure important details.
Remember that proper filter selection guarantees reliable photographic documentation and prevents misleading color casts in your scientific research.
Mitigating Light Source Variations
Light source inconsistency presents one of the biggest challenges in microscope imaging, but color temperature filters offer a powerful solution.
When working with tungsten illumination (3200K), you’ll find that 80A or 80B blue filters effectively convert it to daylight-balanced output (5500K), greatly improving your specimen’s color accuracy.
Fluorescent lighting’s characteristic greenish cast can be neutralized using magenta filters, which counterbalance the excess green for more accurate specimen representation. This correction isn’t merely aesthetic—it’s essential for precise scientific documentation and analysis.
When selecting filters, always consider your specific light source and desired outcome. The right color temperature filter will help you maintain consistent white balance across different microscopes and imaging sessions, ensuring your scientific photography remains reliable regardless of environmental lighting variations.
Critical Applications in Microbiology
In microbiology, color temperature filters serve as critical tools for revealing cellular details that might otherwise remain invisible. When you’re examining microorganisms, adjusting your microscope’s illumination can dramatically enhance contrast and visibility of specific structures.
- Set filters to 5500K to achieve true white balance that mimics natural daylight, providing accurate color representation of specimens.
- Use warmer temperatures (around 3000K) to emphasize details in living cells, making them appear more vibrant.
- Reduce chromatic aberrations by fine-tuning color temperature, ensuring clearer scientific documentation.
- Invest in adjustable LED lighting (2000-6000K range) to customize illumination based on specimen requirements.
Digital Sensors and Color Temperature Sensitivity in Scientific Imaging
While photographers often focus on artistic considerations of color temperature, scientific imaging demands a more rigorous understanding of how digital sensors respond to various light wavelengths. Most professional cameras are calibrated for ideal performance at 5000K-6500K, aligning with natural daylight conditions.
You’ll need to account for your digital sensors’ varying spectral sensitivity—they typically show increased response in blue ranges (around 4000K) and diminished sensitivity to red wavelengths. This uneven response can greatly impact data accuracy in scientific applications like microscopy and materials research.
To achieve reliable, reproducible results, you’ll need to implement custom white balance settings or specialized filters that compensate for your specific lighting environment.
Without these adjustments, color temperature variations can compromise the integrity of your scientific data collection and analysis.
Advanced Color Temperature Control for Multi-Spectral Microscopy
Multi-spectral microscopy represents a specialized field where color temperature control becomes extraordinarily precise and intentional.
When working with specimens that require differentiation across various wavelengths, you’ll need to master precise Kelvin Scale adjustments between 4000K-6000K to achieve neutral, accurate renderings.
- Use adjustable LED light sources to fine-tune illumination that perfectly matches your fluorescent dyes’ emission spectra.
- Employ color temperature meters to verify your microscopy environment’s exact lighting conditions.
- Calibrate your equipment regularly to prevent color distortion in captured data.
- Adjust settings within 4000K-6000K range to enhance specimen contrast and detail visibility.
Remember that consistent verification of your color temperature settings guarantees the scientific validity of your multi-spectral microscopy work, preventing unwanted color shifts that could compromise research results.
Frequently Asked Questions
What Is a Guide to Choosing Color Temperature for Your Lighting?
For lighting, choose lower temperatures (2700-3200K) for warmth, 4000-4500K for workspaces to reduce eye strain, and 5500-6000K for daylight accuracy. Match color temperature to your specific needs and camera settings.
What Color Temperature Is Best for Photography?
For photography, you’ll want 5000K for accurate color representation. If you’re shooting all day, 4000-4500K reduces eye strain. Technical photography benefits from cooler 5500-6000K, while 3000K creates warm, artistic shots.
What Temperature Do You Use for Light Colors?
You’ll typically use 5500K for accurate colors, 2700-3200K for warm tones on skin and wood, 4000-4500K for lab work, and 7000-7500K for high-detail photography. Your choice depends on your subject and desired mood.
What Is the Difference Between 3200K and 5600K Lighting?
You’ll notice 3200K lighting produces warm, yellowish tones creating cozy atmospheres, while 5600K emits cooler, bluish light resembling natural daylight. This difference affects your image’s mood and color accuracy in various settings.
In Summary
You’ll find mastering color temperature transforms your scientific imaging results. By applying appropriate Kelvin settings for specific specimens and understanding your equipment’s color rendering capabilities, you’re ensuring reproducible, accurate documentation. Remember, proper white balance and color temperature matching between light source and digital sensor creates the foundation for reliable data. Don’t overlook this critical aspect—it’s often the difference between misleading artifacts and true scientific discovery.



Leave a Reply