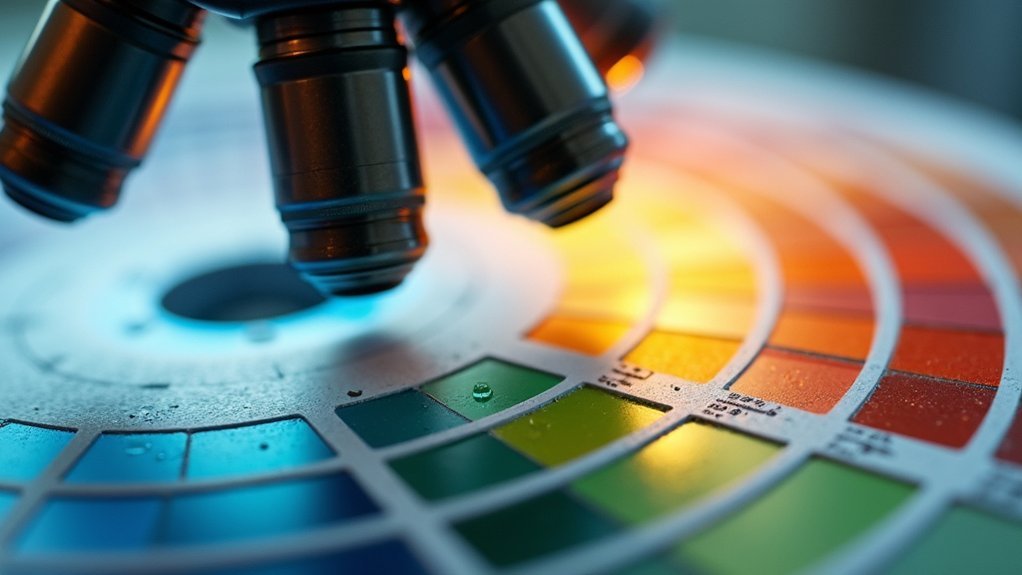
For microscope photography, aim for 5000K (D50) color temperature to capture accurate specimen colors. Use tungsten-halogen sources with 80A filters to convert 3200K light to daylight (5500K), or switch to LED lights (6500-9500K) that generate less heat. Calibrate white balance at the start of each session using a gray card reference. Control ambient lighting with 5000K fluorescent bulbs to prevent unwanted color shifts. Discover how these adjustments can dramatically enhance your specimen detail visibility.
Color Temperature Guide for Better Microscope Photography
While capturing the microscopic world requires precision in many areas, understanding color temperature stands as perhaps the most essential element for creating truly accurate microscopic images.
When you’re shooting through your microscope, you’ll need to account for the fact that tungsten light sources typically emit at around 3200 K, considerably warmer than the ideal daylight condition of 5000-5500 K needed for accurate color fidelity.
To achieve proper color reproduction, you’ll need to use color conversion filters like Kodak 80A, which adjusts light from 3200 K to 5500 K.
Don’t forget to set your white balance at the beginning of each session. This simple step eliminates unrealistic color casts caused by varying light sources, ensuring your microscope photography maintains scientific accuracy while still being visually appealing.
Understanding Color Temperature in Microscopy
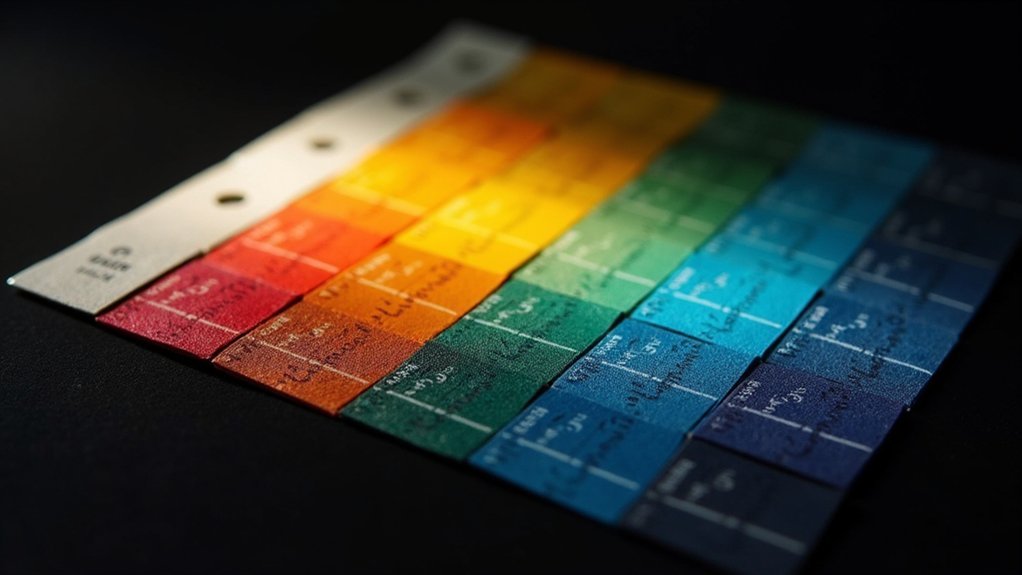
Color temperature, measured on the Kelvin (K) scale, fundamentally affects how you’ll perceive colors in your microscope images, with lower temperatures (3200K) appearing more yellow and higher temperatures (5500K) appearing more blue.
You’ll encounter various light sources in microscopy—tungsten halogen bulbs typically emit around 3200K, while LED and fluorescent sources can vary considerably in their color output.
Understanding these differences helps you adjust your camera’s white balance appropriately, ensuring your photomicrographs accurately represent the specimen’s true colors rather than showing artificial tints from uncompensated lighting.
Kelvin Scale Basics
The science of color temperature forms the foundation of accurate microscope photography. When you’re working with microscopes, you’ll need to understand that color temperature is measured in Kelvin (K), where standard daylight registers at approximately 5000 K, while tungsten light sources typically operate around 3200 K.
The Kelvin scale represents the hue emitted by a black body radiator—lower temperatures produce reddish tones, while higher temperatures create bluish light.
For accurate color reproduction in your photomicrographs, you must match your film emulsions or digital sensor to your light source. If you’re using daylight-balanced film with tungsten illumination, color conversion filters like Kodak 80A can shift the effective temperature from 3200 K to 5500 K, eliminating unwanted color casts in your images.
Light Source Impact
Different light sources dramatically affect the quality and accuracy of your microscope photographs. When you’re working with tungsten halogen illumination (3200K), you’ll need to adjust for color temperature differences if you’re using daylight-balanced films designed for 5500K conditions.
- Tungsten sources cast a warm yellowish tone that will appear distorted without proper color conversion filters like the Kodak 80A.
- Ambient light conditions from nearby fluorescent bulbs (4000-5000K) can infiltrate your imaging setup, creating unwanted color shifts.
- Voltage fluctuations in your tungsten illumination directly impact color temperature—higher voltage produces bluer light.
- Mixed lighting conditions create competing color temperatures that confuse your camera’s white balance, reducing color fidelity.
Always match your light source’s color temperature to your recording medium for accurate microscopic imagery.
The Science Behind Kelvin Measurements
You’ll find the Kelvin scale fundamental to understanding microscope lighting because it quantifies the visual color of light based on black body radiation physics.
As temperatures increase from 3000K to 5500K, the emitted light shifts from warm yellow-orange to cooler blue tones, directly affecting how your specimens appear under the microscope.
This wavelength-temperature relationship explains why matching your camera settings to your light source’s color temperature is essential for accurate scientific photomicrography.
Kelvin Scale Fundamentals
Understanding Kelvin measurements begins with its foundation as an absolute temperature scale, where 0 K represents absolute zero (-273°C)—the theoretical point where all molecular motion ceases.
The Kelvin scale is vital for predicting how black body radiators emit light at different temperatures, directly affecting your microscope photography’s color balance.
As temperature increases, emitted light shifts predictably:
- 3200-3400 K: Tungsten light produces warm, yellowish-orange tones often used in controlled microscope illumination.
- 5000 K: Daylight illumination provides neutral white balance, ideal for natural color rendering.
- Below 3000 K: Produces reddish hues that can distort specimen coloration.
- Above 6500 K: Creates bluish-white tones that enhance contrast but may alter natural appearance.
Mastering these temperature relationships guarantees accurate color rendering in your microscopic specimens.
Color Perception Physics
The physics of color perception explains why Kelvin measurements matter so fundamentally in microscope photography.
When capturing photomicrographs, your illumination source emits specific wavelengths that directly impact color reproduction. True white light contains equal intensity across all visible wavelengths, while deviations create color shifts.
Lower Kelvin sources (around 3200K) emit yellowish light typical of tungsten bulbs, while daylight illumination (5000-6500K) appears bluish-white. Your microscope camera interprets these differences dramatically. If you don’t properly account for color temperature, your specimens won’t be accurately reproduced in images.
The critical change occurs around 900K when black body radiators first emit visible (reddish) light. As temperature increases, the light becomes progressively more balanced until reaching daylight levels.
Understanding this physics allows you to compensate for illumination variations and capture true-to-life specimen colors.
Wavelength-Temperature Relationship
When examining the wavelength-temperature relationship, you’re fundamentally observing a fundamental physical phenomenon that explains why color temperature works as it does. This relationship directly impacts your microscope photography’s color reproduction.
- Lower Kelvin values (3200K) – Tungsten light produces longer wavelengths, creating warm reddish-yellow tones that can alter how specimens appear.
- Higher Kelvin values (5000K+) – Daylight illumination generates shorter wavelengths with bluish-white characteristics for more neutral color balance.
- Color temperature shift – As temperature increases from 900K (dull red) to 5000K+ (blue-white), the wavelength spectrum progressively shifts.
- Photography implications – Different illumination temperatures greatly affect how your microscope captures specimens’ true colors, requiring calibration to achieve accurate reproduction.
Understanding this relationship helps you control light sources to capture specimens with precision and consistency.
Optimal Color Temperature Settings for Different Specimens
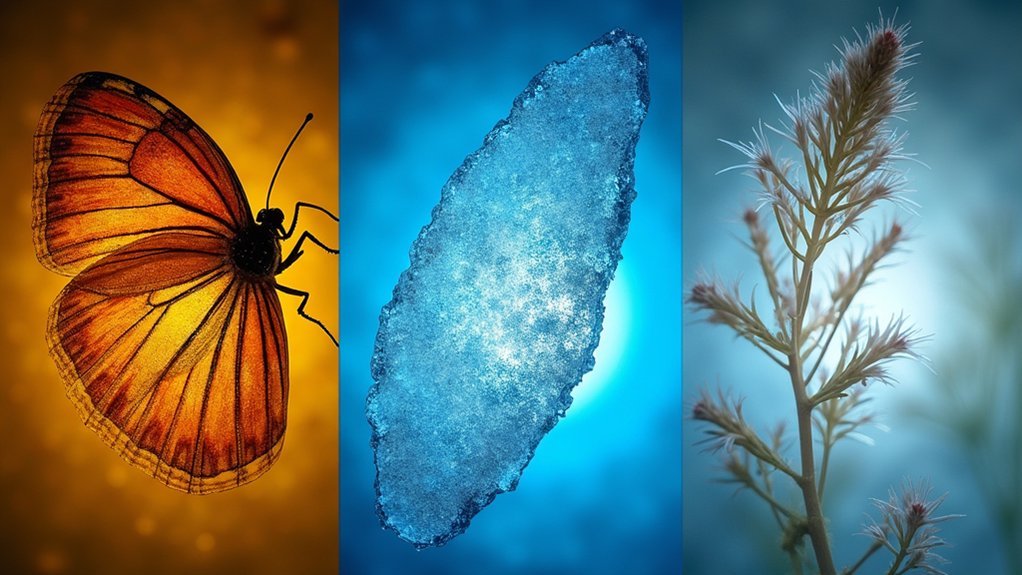
Every specimen under your microscope requires specific color temperature settings to reveal its true characteristics. For most biological specimens, aim for 5000 K (D50) in brightfield microscopy to achieve accurate color reproduction.
When working with tungsten filament sources that emit at 3200 K, you’ll need a Kodak 80A filter to convert to daylight-balanced light (5500 K), greatly improving color fidelity in your photomicrographs.
Fluorescent lighting (4000-5000 K) may need adjustments to guarantee consistent color representation. Specimens with trichrome staining particularly benefit from ideal lighting conditions around 5000 K, making cellular structures more vibrant and distinguishable.
Remember to maintain the same light source and filter combination throughout your imaging sessions to prevent unexpected color shifts in your microscopy work.
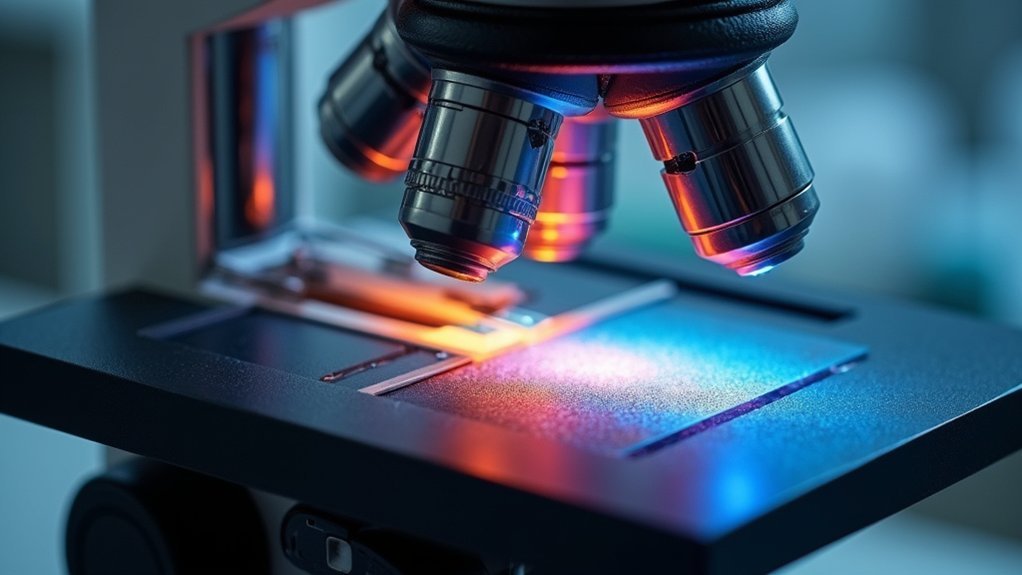
Halogen vs. LED Light Sources in Microscope Imaging
Choosing between halogen and LED illumination greatly impacts your microscope imaging results, particularly regarding color temperature and specimen preservation.
Halogen light sources operate at around 3200K, creating a warm yellowish light that often produces color casts when using daylight-balanced films.
LED light sources offer several advantages:
- Higher color temperature (6,500-9,500K) that mimics natural daylight conditions, enhancing color fidelity in your specimens.
- 90% less heat generation than halogens, protecting delicate samples from thermal damage.
- Energy-efficient operation with considerably longer lifespan, reducing maintenance interruptions.
- Targeted wavelength emission that eliminates the need for additional color correction filters.
You’ll find LED illumination provides more stable illumination with better color reproduction, making it increasingly the preferred choice for modern microscopy applications.
White Balance Calibration Techniques for Microscopes
Accurate white balance calibration serves as the foundation for reliable color reproduction in microscope photography.
White balance calibration is the cornerstone of precise color rendering in scientific microscopy imaging.
You’ll need to adjust color temperature settings to match your lighting conditions at the start of each imaging session. Use a standard white object or gray card as reference to guarantee proper calibration.
For manual adjustments, focus on neutral gray areas in your specimens to achieve the most accurate representation. A color temperature meter can help you determine the exact settings needed for your light source, preventing unwanted color casts in your final microscope photographs.
Take advantage of white point algorithms in your camera software to fine-tune RGB signal amplitudes.
Maintaining consistency in your calibration process will greatly enhance the scientific accuracy and visual quality of your microscopic imaging work.
Color Conversion Filters and Their Applications
When selecting color conversion filters for microscopy, you’ll need to match the specific Kodak 80-series filter to your light source’s temperature variance from your camera’s calibration.
To correct blue-to-yellow color casts, you can apply an 80A filter with tungsten illumination or use complementary 81-series filters with daylight sources that appear too cool.
Cross-polarization filter techniques combine a polarizer at the light source with an analyzer above the specimen, eliminating unwanted reflections while enhancing contrast and revealing birefringent structures in transparent specimens.
Filter Selection Basics
Because microscope photography demands precise color reproduction, understanding filter selection fundamentally shapes your imaging results.
When working with tungsten light sources (3200K), you’ll need color conversion filters to match daylight conditions (5500K) for accurate photomicrographs.
- 80-series filters (80A, 80B, 80C, 80D) provide major shifts when converting tungsten to daylight balance, with each offering specific mired adjustments.
- 81-series filters deliver minor reductions in color temperature for subtle warming effects.
- 82-series filters offer slight increases in color temperature when cooler tones are needed.
- Proper selection prevents unwanted color casts while maintaining true specimen coloration.
Blue-to-Yellow Correction Methods
Mastering color conversion filters stands as a critical skill for microscope photographers seeking true-to-life specimen representation.
When you’re using daylight-balanced films under tungsten lighting (3200K), you’ll notice an unwanted blue cast. The Kodak 80 series filters—particularly the 80A—effectively shift color temperature to approximately 5500K, eliminating these problematic color shifts.
For precise color temperature adjustment in photomicrography, you can utilize filters 80B, 80C, and 80D, each offering different degrees of correction.
These filters work by selectively absorbing specific light wavelengths, compensating for discrepancies between your light source and film emulsion.
For minor adjustments, consider the less commonly used Kodak 81-series filters, which provide subtle decreases in color temperature.
Implementing these tools properly guarantees accurate color fidelity in your microscope images regardless of lighting conditions.
Cross-Polarization Filter Techniques
While color temperature adjustments remain essential, cross-polarization filter techniques offer microscope photographers an additional dimension of image control. When working with tungsten light sources (3200K), you’ll need color conversion filters like the Kodak 80 series to achieve proper daylight balance (5500K) for your photomicrographs.
- Cross-polarization filters eliminate scattered light, reducing glare and dramatically enhancing specimen detail contrast.
- Color conversion filters (80A, 80B, 80C, 80D) provide specific mired shifts to correct color casts when light sources don’t match your imaging media.
- Consistent lighting conditions require careful filter selection based on your specific microscope setup and specimen characteristics.
- Accurate color representation depends on proper filter application, guaranteeing faithful reproduction of specimen features essential for scientific analysis.
These techniques guarantee your microscope images maintain color fidelity and structural detail across all your research documentation.
Achieving Consistent Results With Standardized Lighting
Five essential elements form the foundation of consistent microscope photography results.
First, establish a standardized color temperature of 5000°K (D50) as your reference point to guarantee accurate color fidelity.
Second, apply Daylight Blue Conversion Filters (80A-80D) to adjust tungsten light sources from 3200°K to daylight conditions for reliable color reproduction.
Third, control ambient lighting conditions using 5000°K fluorescent bulbs and blocking external light sources to prevent perceptual color shifts.
Fourth, regularly calibrate light sources and filters to maintain consistent photomicrography results over time.
Finally, use high-quality papers with ISO Brightness of 92% or higher for your printed images to preserve color saturation and fidelity.
These standardized lighting practices will dramatically improve the consistency and accuracy of your microscope photography.
Common Color Temperature Problems and Solutions
Despite careful preparation, microscope photographers frequently encounter color temperature issues that can undermine their work.
Color temperature variations remain the hidden enemy of microscope photography, sabotaging otherwise meticulously prepared specimens.
You’ll need to address these common problems to guarantee accurate color reproduction:
- Yellow casts when using daylight-balanced films under tungsten light (3200K) – apply Kodak 80A color conversion filters to shift temperature to 5500K
- Blue casts appearing when tungsten films are exposed to daylight – adjust your light source or use appropriate warming filters
- Inconsistent color reproduction between imaging sessions – start each session by setting white balance using a neutral gray reference point
- Shifting color temperature during extended use – maintain consistent lamp voltage, as fluctuations can dramatically alter your results
Digital Image Processing for Color Temperature Correction
After capturing your microscope images, you’ll often find that digital processing offers powerful solutions for color temperature issues that weren’t addressed during acquisition.
Software tools provide precise white balance sliders that let you correct color casts by adjusting RGB channels individually. For best results, look for applications featuring real-time color temperature meters that provide immediate feedback.
You can enhance color fidelity through color grading techniques that fine-tune shadows, midtones, and highlights. This guarantees neutral colors appear true to life in your microscopy images.
Don’t overlook the importance of ICC profiles in your color management workflow—they maintain consistency across different displays and printers, preserving the accuracy of your carefully corrected images.
Most advanced software can automatically analyze your image histogram, identifying problem areas that need adjustment.
Impact of Ambient Lighting on Microscope Photography
While many microscopists focus exclusively on their instrument’s illumination system, the surrounding room lighting plays an essential role in accurate color reproduction. Your ability to accurately reproduce white colors depends greatly on ambient lighting conditions, as they interact with your psychological reference points and biochemical eye responses.
Proper ambient lighting creates the foundation for accurate microscopic color reproduction beyond what instrument settings alone can achieve.
To control ambient lighting effectively:
- Install 5000°K fluorescent bulbs to standardize your workspace lighting, creating a neutral environment that won’t skew color perception.
- Close curtains to eliminate variable natural light that shifts in color temperature throughout the day.
- Remove extraneous light sources that might create reflections or inconsistent illumination.
- Verify your room lighting complements your microscope’s illumination system to prevent unexpected color shifts in your final images.
Color Temperature Considerations for Various Microscopy Techniques
Because different microscopy techniques reveal distinct specimen characteristics, each requires specific color temperature settings to produce accurate, reproducible images.
When working with brightfield microscopy, aim for 5000°K (D50) daylight illumination to accurately reproduce specimen colors in your photomicrographs.
If you’re using tungsten light sources (approximately 3200°K), you’ll need color conversion filters like Kodak 80A to correct the temperature.
For systems with fluorescent lamps (4000-5000°K), be aware that their variable output can affect color fidelity.
Before capturing images, always adjust your white balance using neutral grey areas to guarantee consistency.
Remember that standardizing lighting conditions between sessions is essential—uncontrolled ambient light can introduce color variations that misrepresent your specimens.
Equipment Selection for Optimal Color Reproduction
Three critical equipment choices determine your success in achieving accurate color reproduction in microscope photography. Your microscope’s light source, camera system, and film type must work in harmony to capture true-to-life specimens.
The synergy between light source, camera, and film creates the foundation for faithful color reproduction in microscopic imagery.
When selecting equipment, focus on color temperature compatibility across your entire setup.
- Choose microscopes with adjustable tungsten (3200 K) or halogen bulbs that can be modified to match daylight-balanced conditions (5500 K).
- Invest in high-quality cameras with built-in color temperature meters that measure from 2500 K to 10,000 K.
- Match photographic film to your lighting—daylight-balanced (5500 K) or tungsten-balanced (3200 K) films for respective conditions.
- Apply conversion filters like Kodak 80A to balance color temperatures when tungsten light must be used with daylight-balanced materials.
Don’t overlook ambient lighting—5000 K fluorescent bulbs prevent perception shifts that compromise your results.
Frequently Asked Questions
What Color Temperature Is Best for Photography?
For general photography, daylight color temperature around 5500°K is best. You’ll get natural-looking images with balanced colors. However, you can adjust based on your artistic preference or specific shooting conditions.
What Is the Best Color Temperature for Product Photography?
For product photography, you’ll want to use 5000-5500 K lighting, which mimics natural daylight and guarantees accurate color representation. This range helps you avoid color casts that might distort your product’s true appearance.
What Is 3200K Color Temperature?
3200K is a warm color temperature typically associated with tungsten lighting. You’ll notice it produces a yellowish-orange glow. It’s commonly used in studio photography and requires white balance adjustment for accurate color reproduction.
Which Camera Function Would You Adjust to Correct the Color Temperature of Your Shot?
You’d adjust the white balance function on your camera to correct color temperature in your shot. This setting guarantees whites appear truly white by compensating for the light source’s color characteristics.
In Summary
Mastering color temperature will dramatically improve your microscope photography. You’ll find that proper Kelvin settings bring specimens to life with accurate color reproduction. Whether you’re working with LED or halogen sources, remember to calibrate regularly and account for ambient lighting conditions. With the right equipment and techniques you’ve learned, you’re now equipped to capture stunning microscopic images that accurately represent your specimens’ true colors.


Leave a Reply