To measure camera-ready eyepiece diameters accurately, you’ll need digital calipers for precision down to 0.01mm. Take measurements at multiple points along the barrel, not just one spot. Document with clear photos from various angles. Check for flares or protrusions that might affect adapter fitting. Measure across the widest point and verify against standard sizes (1.25″, 2″, or 0.965″). Even 0.1mm discrepancies can impact your setup’s security and performance. These techniques will transform your astrophotography results.
10 Best Tips To Measure Camera-Ready Eyepiece Diameters
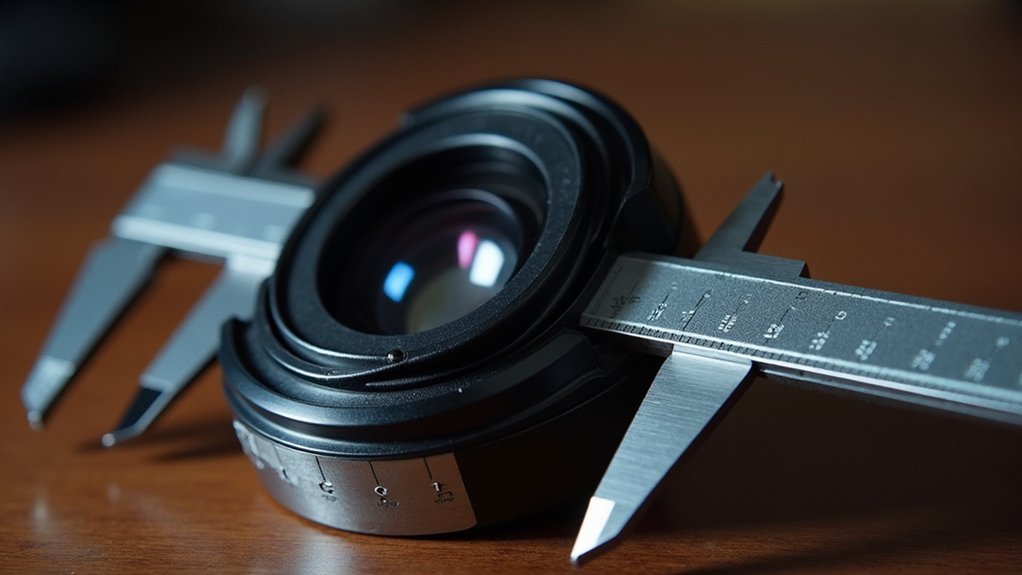
When precision matters most, measuring your eyepiece diameter correctly can make the difference between a perfect camera attachment and a frustrating misfit. Use a digital caliper to measure the outer diameter at three points: the top, half an inch down, and another half to full inch down to account for any taper.
Don’t overlook the eyepiece length from top to scope body—this vital measurement affects custom adapter design. Take clear photos from multiple angles to document all features visually.
Always measure across the widest point to capture any flares that might impact adapter fitting. Remember, even tiny measurement errors can lead to compatibility issues.
Your attention to detail now will save you headaches later when connecting your camera to your perfectly measured eyepiece.
Essential Tools for Accurate Eyepiece Diameter Measurement
Now that you understand the importance of proper measurements, let’s focus on the tools you’ll need for the job. A digital caliper is your most valuable instrument, providing precise measurements of eyepiece diameters down to 0.01 mm. This level of accuracy guarantees your custom adapter will fit perfectly.
You’ll also need a photography setup to document your measurements. Take photos as you measure across the eyepiece face, then again half an inch down to detect any taper. These visual references help verify your readings before fabrication begins.
Record measurements at multiple points to identify flares or variations that might compromise optical alignment. Consistent, well-documented measurements are critical for creating an adapter that maintains proper alignment and functions reliably with your equipment.
Understanding Standard Eyepiece Diameter Specifications
Standard eyepiece barrels come in three common diameters: 1.25 inches, 2 inches, and occasionally the older 0.965 inches, which directly affects your telescope compatibility options.
You’ll find that larger barrel sizes typically allow for wider fields of view and improved light transmission, enhancing overall viewing quality.
When selecting eyepieces, you’ll need to match the barrel diameter to your telescope’s focuser specifications to guarantee proper fit and peak performance.
Common Diameter Sizes
Three primary eyepiece diameters dominate the astronomical telescope market today.
You’ll encounter 1.25 inches (31.7mm) as the most common standard, followed by the larger 2 inches (50.8mm) for premium wide-field viewing. Some older telescopes still use the smaller 0.965 inches (24.5mm) format.
When measuring eyepiece diameters, pay attention to potential tapering along the barrel, as this affects how accessories fit. The 1.25-inch eyepieces typically deliver medium to high magnifications, while 2-inch models excel at providing expansive views of larger celestial objects.
Knowing your eyepiece’s exact diameter guarantees compatibility with your telescope’s focuser and determines which filters, Barlow lenses, and adapters you can use.
Accurate measurements prevent frustrating mismatches and optimize your observing experience.
Size Impact on Performance
While many amateur astronomers focus primarily on focal length and optical design, the diameter of your eyepiece barrel considerably affects overall viewing performance. The two standard sizes (2-inch and 1.25-inch) directly influence how much of the night sky you’ll see and the brightness of celestial objects.
- Larger 2-inch eyepieces provide wider field of view, ideal for capturing expansive objects like the Andromeda Galaxy or nebulae in their entirety.
- Your light transmission improves with larger diameter eyepieces, delivering brighter images especially beneficial for faint deep-sky objects.
- Proper barrel size guarantees ideal integration with your telescope’s optical system, preventing vignetting and maintaining edge-to-edge clarity.
Selecting the appropriate eyepiece diameter isn’t just about physical fit—it’s about matching your observing goals and maximizing your telescope’s capabilities.
Step-by-Step Measurement Process for Perfect Precision
Achieving perfect precision with your eyepiece measurements requires just five methodical steps that’ll save you frustration later.
First, grab your digital caliper—it’s essential for accurate measurement of eyepiece diameter when seeking compatibility with your telescope.
Second, measure across the top face of the eyepiece.
Third, take additional measurements at half-inch intervals moving downward to identify any tapering that might affect your custom adapter fit.
Fourth, document each measurement clearly, noting any variations that could impact installation. Small diameter changes can considerably affect functionality.
Finally, take photos of both the eyepiece and your measurements. This visual documentation serves as reference during fitting and helps verify precision when ordering or creating adapters.
Common Pitfalls When Measuring Microscope Eyepieces
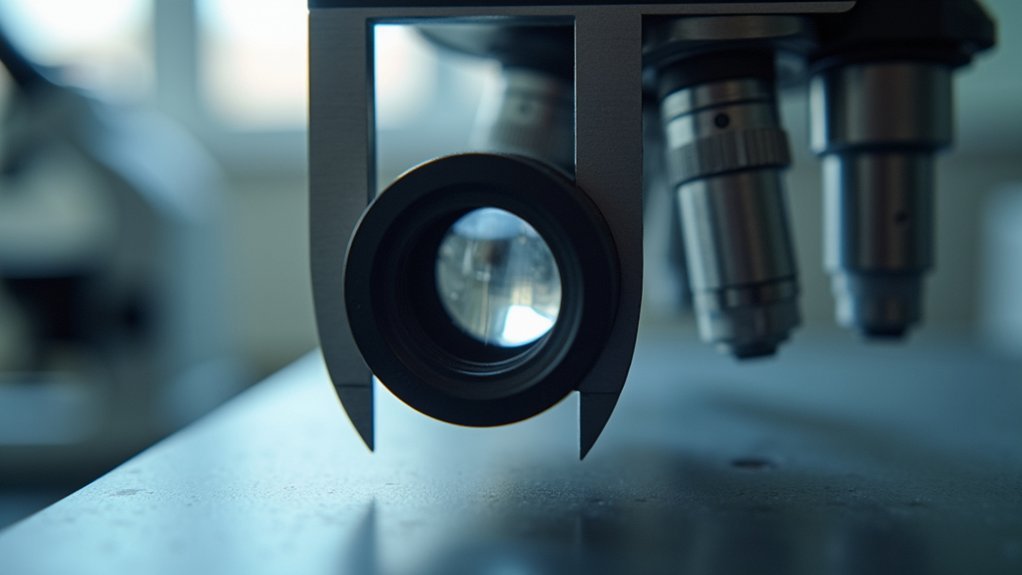
Even with perfect measurement techniques, certain mistakes can sabotage your eyepiece compatibility efforts.
When you measure the eyepiece, remember that tapered designs require multiple diameter readings—not just one at the top. The eyepiece used might’ve subtle features that affect how a custom adapter fits.
- Failing to check for flares or protrusions that could interfere with adapter mounting, leading to unstable camera connections
- Taking only a single measurement rather than documenting the diameter at multiple points to account for tapering
- Overlooking the importance of precise measurements with digital calipers, where even 0.1mm discrepancies can cause light leaks or loose fits
Always photograph your measurements for reference, ensuring your custom adapter design accommodates all functional aspects of your microscope eyepiece.
Adapting Non-Standard Eyepiece Sizes for Camera Mounting
Three key measurements stand between you and successful adaptation of non-standard eyepieces for camera mounting. First, measure the outer diameter at multiple points—top, middle, and bottom—to account for any tapering that might affect adapter fit.
You’ll need a digital caliper for millimeter-precise measurements that guarantee compatibility.
Don’t forget to measure the eyepiece length from top to where it meets the telescope body, as this critical dimension influences your custom adapter design. Document these measurements with photographs for reference during the adaptation process.
When dealing with truly unusual eyepieces that don’t match standard dimensions, don’t hesitate to contact manufacturers or support services. They’ll often provide guidance on creating or selecting the appropriate adapter to guarantee your camera mounting system works flawlessly with your non-standard equipment.
Documenting Your Measurements for Future Reference
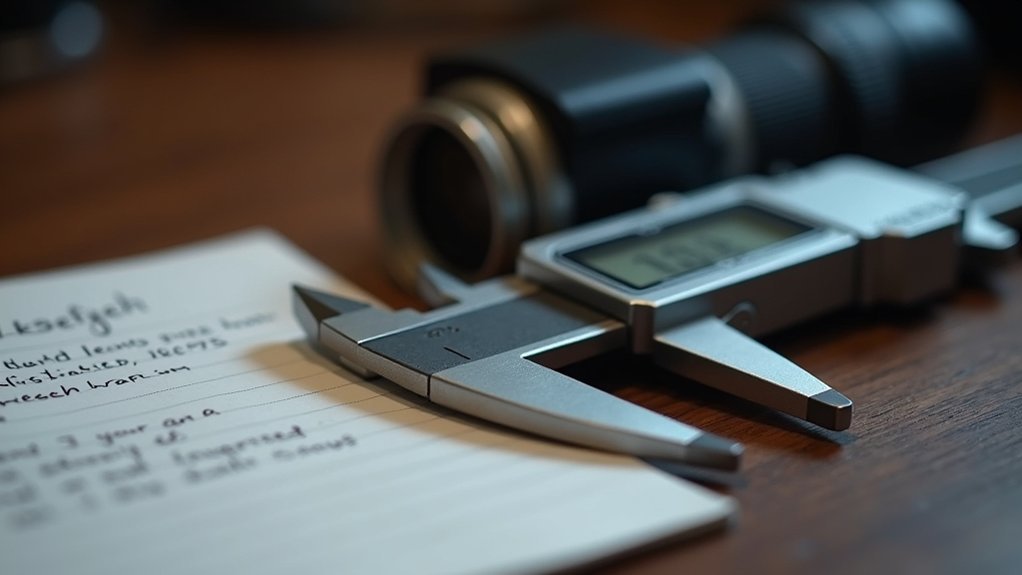
Proper documentation of your eyepiece measurements saves countless hours of frustration when you need to reference this information later.
Create a detailed record that includes precise diameter measurements at multiple points, especially if your eyepiece has any taper. Photograph the measurement process with your digital calipers or rulers in view for visual reference.
Document every dimension with multiple measurements at key points, capturing the process with clear photos showing your measurement tools.
When documenting your eyepiece specifications, include:
- The complete length from viewing end to mounting point, which affects adapter compatibility
- Date of measurement and specific tools used to guarantee consistency in future adjustments
- Any unique design features that might impact mounting solutions
This documentation becomes invaluable when ordering custom adapters or troubleshooting fit issues, preventing repeated measurements and guaranteeing your photography setup maintains perfect alignment with your optical equipment.
Troubleshooting Camera-to-Eyepiece Fit Issues
Despite careful measurements, you’ll likely encounter fit issues when connecting cameras to eyepieces. When your adapter doesn’t slide on properly, take multiple measurements along the eyepiece’s length, as many eyepieces taper slightly, causing inconsistent diameters.
If you’re experiencing wobbling, check for irregularities or flares in the eyepiece shape that weren’t accounted for in your initial measurements. These subtle variations can greatly impact adapter fit and stability during use.
When the adapter seems too tight or loose, refer to your documented measurements and photos to verify you’ve selected the correct dimensions. Remember that even 0.1mm discrepancies can determine whether your setup is secure or unstable.
For severely mismatched components, consider custom adapters designed specifically for your eyepiece diameter measurements.
Measuring Internal vs. External Eyepiece Diameters
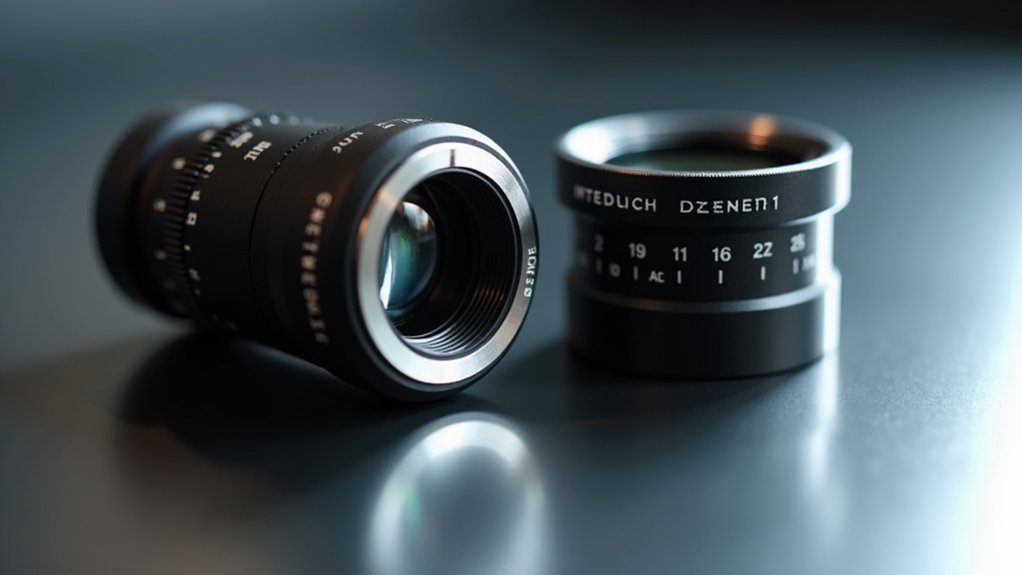
Now that we’ve addressed fit issues, let’s focus on the fundamental measurements that prevent them in the first place.
When measuring eyepieces for camera compatibility, you’ll need to capture both external diameter and internal diameter with precision. Use digital calipers to measure the eyepiece barrel at multiple points, ensuring you account for any tapering or irregularities that might affect the fit.
- Take external diameter measurements from several positions along the barrel, as inconsistencies could prevent proper insertion into your camera adapter.
- When measuring internal diameter, position your calipers carefully against the inside edge to determine what size filters or adapters will fit.
- Document your accurate measurements with photos alongside written dimensions for reference when ordering or designing custom components.
Verifying Compatibility Between Eyepieces and Camera Adapters
Successful astrophotography depends on perfect alignment between your eyepieces and camera adapters, which requires meticulous verification before making any purchase.
Use a digital caliper to measure your eyepiece diameter at multiple points, checking for any taper that might affect adapter fit. Standard sizes typically run 1.25″ (31.7mm) or 2″ (50.8mm), but even small variations can impact compatibility.
| Measurement Point | What to Check | Why It Matters |
|---|---|---|
| Top of Eyepiece | Exact diameter | Primary contact point |
| Middle Section | Taper presence | Affects adapter grip |
| Internal Barrel | Clearance room | Prevents vignetting |
| Overall Length | Extension needs | Determines focal position |
Document your measurements with photos for reference, especially noting unique features that might influence how well your camera adapter aligns with the optical path.
Frequently Asked Questions
Should I Remove the Rubber Eye Guard Before Measuring?
Yes, you should remove the rubber eye guard before measuring. It can compress or stretch, giving you inaccurate measurements. Taking it off guarantees you’re getting the true diameter of the eyepiece itself.
How Often Should I Recalibrate My Digital Calipers?
You should recalibrate your digital calipers every 6-12 months for general use. If you’re using them frequently or for precision measurements, check calibration monthly and always zero them before each use.
Can Temperature Fluctuations Affect Eyepiece Diameter Measurements?
Yes, temperature fluctuations can affect your eyepiece measurements. Metal expands when hot and contracts when cold. You’ll get more accurate readings if you take measurements in a temperature-stable environment.
Are Eyepiece Diameters Standardized Across International Manufacturers?
No, eyepiece diameters aren’t fully standardized internationally. You’ll find common sizes like 1.25″ and 2″ across many manufacturers, but some countries use metric measurements and proprietary designs still exist.
Should Measurements Be Taken With the Eyepiece Installed or Removed?
You’ll get more accurate measurements by removing the eyepiece. This allows you to measure its true diameter without interference from the housing. Don’t forget to handle it carefully to avoid scratching the lens.
In Summary
You’re now equipped to measure eyepiece diameters with confidence. Don’t forget to double-check your measurements before purchasing adapters, and always keep records of your equipment specifications. With these ten tips, you’ll avoid costly compatibility mistakes and guarantee your camera-to-microscope setup delivers the perfect image quality. Trust your measurements, but verify with manufacturer specs when available.



Leave a Reply