To optimize camera exposure for cell microscopy, aim to use about 80% of your camera’s dynamic range without reaching saturation. Set your exposure time based on the brightest expected sample, then reduce it by 10-15% for live cells to minimize phototoxicity. Use histogram features to monitor pixel intensity in real-time. Balance longer exposures with gentler illumination to preserve cell viability. Smart exposure settings will reveal cellular details while maintaining sample health throughout your imaging sessions.
Understanding Dynamic Range in Microscope Cameras
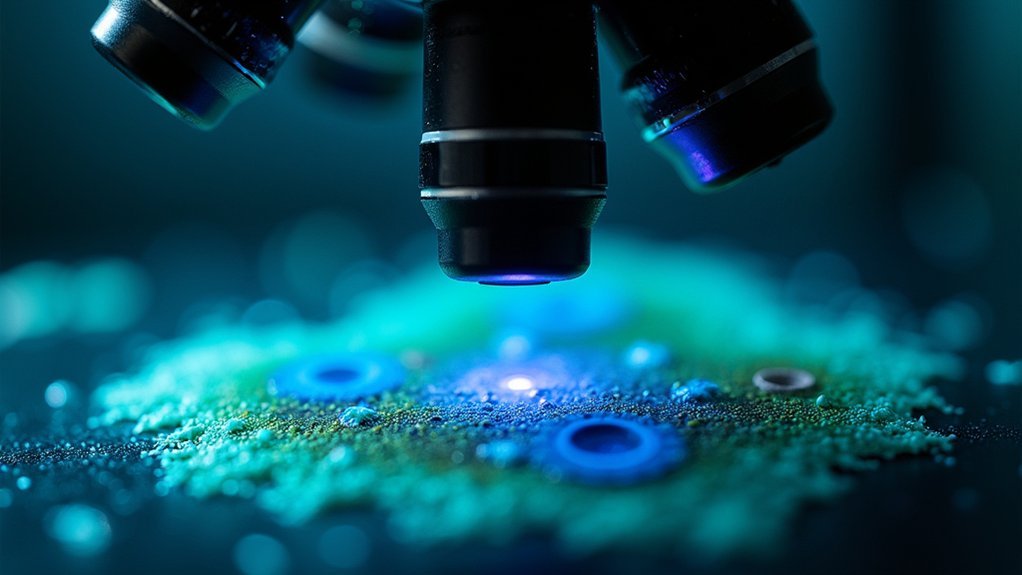
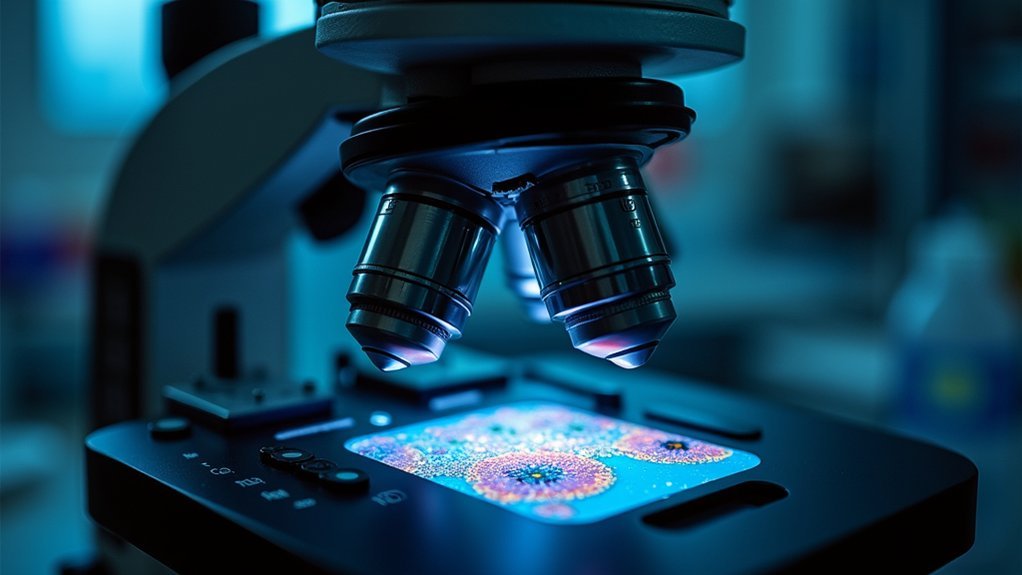
When capturing cellular details through a microscope, the dynamic range of your camera becomes your window into the microworld. This range represents how effectively your camera captures both dim and bright areas in a single image without losing detail.
To maximize your dynamic range, adjust exposure time carefully based on your brightest expected signals. Avoid pixel saturation, which occurs when light intensity exceeds what your sensor can handle. Cameras with higher quantum efficiency convert more photons into digital signals, improving your signal-to-noise ratio and revealing subtle intensity differences in biological samples.
Use your imaging software’s histogram feature to monitor pixel intensity distribution in real-time. This visual feedback helps you determine if you’re utilizing the full dynamic range available, ensuring you capture all the nuanced cellular details your research demands.
Balancing Signal-to-Noise Ratio in Cell Imaging
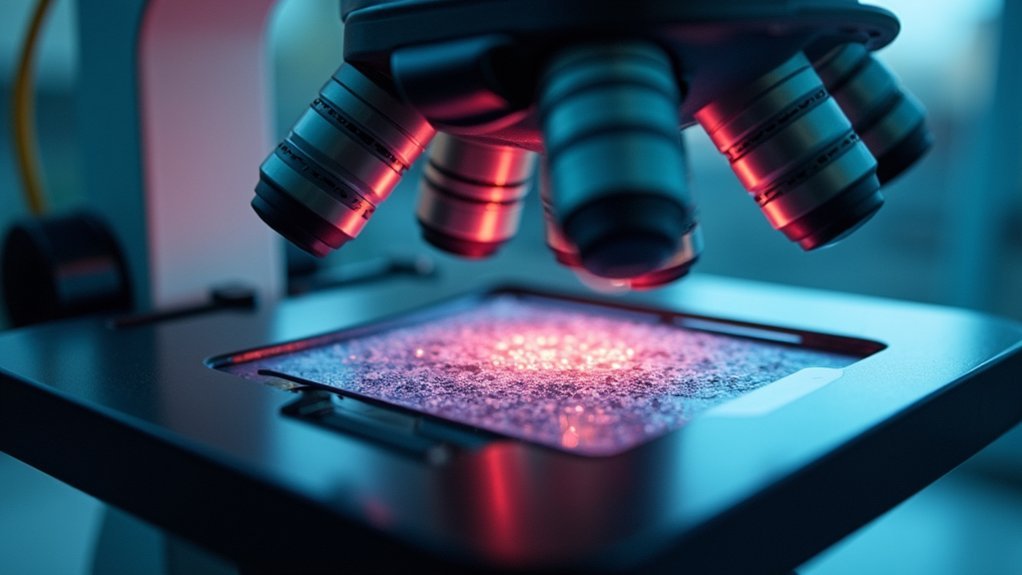
Despite its technical nature, mastering signal-to-noise ratio (SNR) is perhaps the most critical skill in cell microscopy.
Mastering signal-to-noise ratio remains the cornerstone skill that separates novice microscopists from true imaging experts.
When you’re capturing cell images, you’ll need to strategically adjust exposure time to maximize SNR without reaching saturation.
For ideal results, set your exposure to achieve fluorescence intensity approximately 20% below your camera’s saturation threshold (around 52,400 for a 16-bit camera). This guarantees you’re capturing the strongest possible signal while maintaining headroom.
Background noise can considerably degrade image quality, so you’ll want to minimize it by optimizing fluorophore concentrations and reducing unnecessary illumination.
The ideal exposure time balances between capturing sufficient signal and limiting noise accumulation.
Remember that camera settings like gain and binning directly impact SNR—careful adjustment of these parameters will help you achieve the perfect balance between sensitivity and resolution.
Exposure Time Considerations for Live Cell Applications
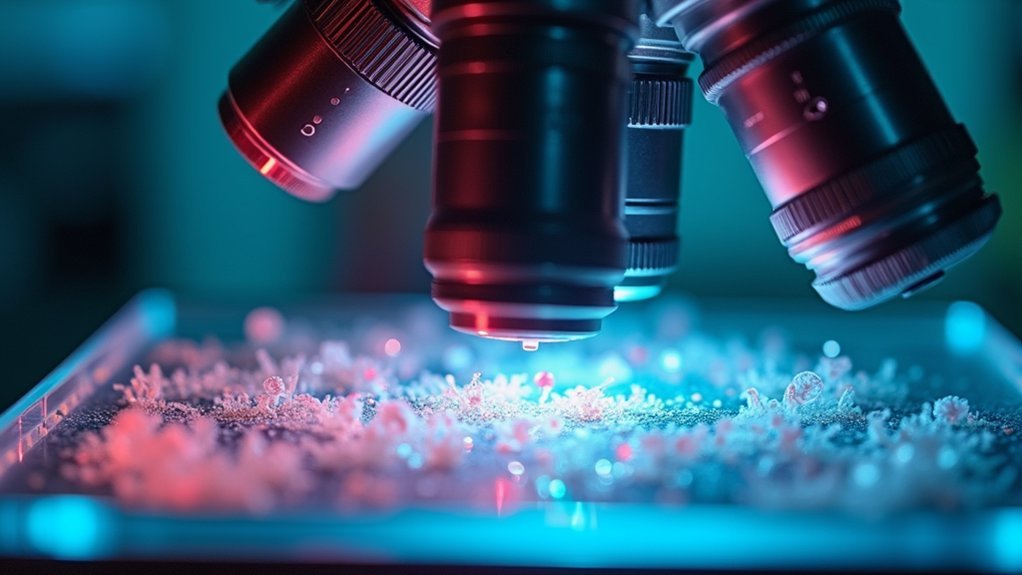
While optimizing signal-to-noise ratio remains fundamental, live cell imaging introduces additional critical constraints.
You’ll need to carefully balance exposure time against cell health when capturing live specimens. Set your exposure times to be just long enough to acquire necessary signal intensity, but no longer—excessive light exposure dramatically increases phototoxicity risks.
Monitor cell health during imaging sessions using mitochondrial markers to assess whether your settings are damaging cellular integrity.
Implement TTL light triggering to reduce illumination overhead and minimize unnecessary light exposure. Remember that shorter exposures with gentler excitation intensities will help preserve cell viability by reducing the formation of reactive oxygen species.
This balance is essential for maintaining physiological relevance in your live-cell imaging experiments while still collecting meaningful data.
Setting Optimal Exposure for Comparative Analysis
For meaningful comparative analysis between treated and control samples, consistent exposure settings are absolutely crucial.
Begin by identifying your brightest expected sample and use its intensity as your baseline. You’ll want to maintain this exposure time across all samples to guarantee accurate comparison of intensity values.
Set your exposure time approximately 20% below the saturation threshold of 65535 for a 16-bit camera. This maximizes your signal-to-noise ratio while preventing pixel saturation. Use your camera’s histogram feature to confirm images aren’t underexposed or saturated.
Aim for exposure settings about 20% below maximum to balance optimal signal capture while avoiding data-corrupting saturation.
In fluorescence microscopy, finding the ideal exposure often requires trial adjustments. The goal is to capture sufficient detail while maintaining the relative differences between your control and treated samples.
Avoiding Pixel Saturation While Maximizing Detail
Pixel saturation represents one of the most significant challenges in cell microscopy. When your fluorescence signal exceeds your camera’s threshold (65535 for 16-bit cameras), you’ll permanently lose valuable data. Set your exposure time based on your brightest expected signal, staying at least 20% below saturation limits.
To effectively balance detail capture while preventing saturation:
- Use histograms during acquisition to monitor pixel intensity distribution in real-time.
- Optimize your signal-to-noise ratio by finding the sweet spot between capturing bright signals and minimizing background noise.
- Maintain consistent exposure settings across control and treated samples for valid comparisons.
Through methodical trial and error with different exposure times, you’ll find settings that maximize image quality without compromising data integrity, even with unevenly stained samples.
Techniques for Determining Baseline Exposure Settings
You’ll want to establish baseline exposure by starting with your brightest expected sample, using this as a ceiling for all subsequent captures.
For live-cell imaging, you should reduce exposure times by an additional 10-15% below your standard threshold to minimize phototoxicity and bleaching effects.
Always verify your settings with a quick histogram check before beginning your full experimental series, ensuring signal peaks fall within the middle 70% of your camera’s dynamic range.
Establishing First Capture Parameters
When initiating microscopy imaging sessions, determining appropriate baseline exposure settings becomes essential for capturing high-quality cell images.
Begin by finding the maximum exposure time that captures your brightest sample’s full fluorescence emission without saturation. This establishes your signal-to-noise ratio ceiling while preventing data loss.
For ideal first capture parameters:
- Examine your sample’s brightest region and adjust exposure to keep pixel values approximately 20% below your camera’s saturation threshold.
- Assess background level by checking darker regions, ensuring they remain distinguishable from electronic noise.
- For live cell imaging, start with shorter exposures to minimize phototoxicity, then incrementally increase until adequate signal detection.
The goal is establishing consistent parameters that balance signal quality against potential photobleaching, particularly when comparing control and experimental conditions across multiple acquisitions.
Live-Cell Exposure Considerations
Unlike fixed specimens, live cells require careful exposure calibration to maintain viability throughout imaging sessions. When conducting live-cell imaging, set your exposure time just long enough to capture essential details without inducing phototoxicity.
You’ll achieve better results by pairing shorter exposure times with higher excitation light intensity, which maintains signal quality while protecting cell health.
Implement TTL light triggering to minimize illumination overhead, reducing unnecessary light exposure during acquisition. Monitor cell viability using mitochondrial markers throughout your imaging session to assess the impact of your settings and make adjustments as needed.
Consider interval imaging with longer exposures at lower intensities rather than condensed light delivery methods—this approach reduces ROS production and preserves cellular function during extended experiments.
Impact of Camera Specifications on Exposure Requirements
Your camera’s quantum efficiency directly determines how effectively you’ll capture fluorescent signals, with higher QE models requiring considerably shorter exposure times for comparable image quality.
The noise floor of your imaging system establishes the minimum detectable signal threshold, making it essential to select exposure settings that elevate your cellular structures above this baseline without introducing excessive noise.
Understanding your camera’s dynamic range will help you capture both dim and bright structures in a single frame, preventing detail loss in particularly bright organelles while still revealing faint features.
Quantum Efficiency Considerations
The quantum efficiency (QE) of your microscopy camera directly determines how effectively you’ll capture fluorescent signals from cell samples.
Cameras with QE exceeding 95% allow you to use shorter exposure settings while maintaining strong signal detection, critical when imaging sensitive live cells.
When selecting a camera for fluorescence microscopy, consider:
- The QE curve’s match to your fluorophores’ emission wavelengths
- Ideal pixel size that balances light capture with spatial resolution
- Signal-to-noise ratio at your typical fluorescence intensity levels
If your camera has low QE at specific wavelengths, you’ll struggle to detect fluorescence even from bright samples.
Understanding your camera’s QE characteristics helps you adjust exposure settings appropriately, ensuring you’re operating within the device’s most sensitive range for accurate imaging results.
Noise Floor Analysis
When analyzing microscopy images, understanding your camera’s noise floor becomes essential for determining ideal exposure settings. Your camera’s quantum efficiency and readout noise establish a baseline that can mask significant cellular signals.
Higher numerical aperture objectives help overcome this limitation by enhancing signal detection, thereby improving your signal-to-noise ratio. If your camera has significant thermal or readout noise, you’ll need longer exposure time to achieve acceptable results—a vital consideration for live cell work.
Pay attention to sensor size and pixel dimensions; larger pixels capture more light and reduce noise but may sacrifice resolution.
To optimize performance, regularly monitor your camera’s noise metrics and adjust accordingly. By balancing these factors, you’ll determine the minimum exposure time required for clear imaging while minimizing photobleaching and phototoxicity effects.
Dynamic Range Implications
Because dynamic range represents the span between your camera’s noise floor and saturation point, it fundamentally dictates your exposure strategy for cell microscopy.
Cameras with higher dynamic range allow you to use longer exposures without pixel saturation, while those with superior quantum efficiency convert more photons to signal, enabling shorter exposures without sacrificing image quality.
When selecting ideal imaging parameters, consider:
- Aim to utilize approximately 80% of your camera’s dynamic range to prevent saturation while capturing sufficient signal.
- Evaluate how pixel size affects your signal-to-noise ratio—larger pixels capture more light but may reduce resolution.
- Balance binning options carefully to enhance SNR when dynamic range limitations constrain your exposure settings.
Understanding these relationships helps you maximize your camera’s capabilities while achieving the clarity required for detailed cell visualization.
Exposure Strategies for Fluorescence Microscopy
Optimizing exposure settings forms the cornerstone of successful fluorescence microscopy, as it directly impacts both image quality and experimental reliability. You’ll need to set exposure times that utilize your camera’s full dynamic range without reaching saturation (stay below 20% of the 65535 threshold for 16-bit cameras). While longer exposures boost signal-to-noise ratio (SNR), they increase phototoxicity in live specimens.
| Strategy | Benefit | Consideration |
|---|---|---|
| Use histograms | Prevents over/underexposure | Check during acquisition |
| Set with brightest sample | Enables accurate comparisons | Apply consistently across all samples |
| Balance exposure time | Improves SNR | Must consider cell viability |
| Trial different settings | Optimizes for specific fluorophores | Requires initial time investment |
For comparative studies, determine settings using your brightest expected signal, then maintain those parameters across all samples.
Using Histograms to Verify Proper Exposure
Histograms serve as essential diagnostic tools for achieving ideal microscopy exposures. When you review your camera’s histogram display, you’re seeing a graphical representation of pixel intensity distribution that reveals whether your exposure settings capture the full dynamic range without saturation. A balanced histogram indicates best image quality.
To interpret histograms effectively:
- Check if peaks cluster around 80-90% of maximum intensity—this guarantees maximum signal-to-noise ratio.
- Avoid histograms skewed heavily left (underexposure) or right (overexposure).
- Adjust exposure settings if you see significant peaks at either end of the histogram.
Minimizing Phototoxicity Through Strategic Exposure Control
Three key strategies can dramatically reduce phototoxicity during live-cell imaging while maintaining ideal exposure.
First, implement TTL light triggering to guarantee illumination occurs only during actual image acquisition, preventing unnecessary cell exposure to damaging light.
Second, adopt diffuse light delivery by increasing exposure time while decreasing incident light intensity. This approach greatly reduces reactive oxygen species (ROS) generation, as excessive light power directly correlates with cellular damage.
Finally, monitor your total light dose carefully. Research shows that high-intensity illumination severely impairs cell migration and overall cell health.
The most effective approach combines longer exposure times with lower light intensity while tracking ROS levels throughout your experiments. This balanced method preserves cellular integrity during extended imaging sessions without sacrificing image quality.
Adapting Exposure Settings for Different Microscopy Methods
Each microscopy technique demands specialized exposure strategies to balance image quality with specimen preservation.
Optimal microscopy requires tailored exposure methods to achieve quality imaging while preserving specimen integrity.
In brightfield microscopy, set exposure time to utilize about 80% of your camera dynamic range to capture morphological details without saturation.
For fluorescence microscopy, select exposure settings based on your brightest expected signal, preventing pixel saturation to maintain quantitative integrity between samples. This is especially critical during live-cell imaging where phototoxicity can compromise experimental outcomes.
When working with different microscopy methods, remember:
- Phase contrast requires shorter exposures to prevent overexposing living specimens.
- Darkfield microscopy needs optimized settings that enhance contrast without increasing background noise.
- Live-cell applications benefit from TTL light triggering coupled with minimal exposure times.
Always adjust your parameters according to the specific technique and biological question at hand.
Frequently Asked Questions
What Is the Exposure Time for Fluorescence Microscopy?
You’ll typically set fluorescence microscopy exposure times to capture sufficient signal without saturating pixels. It’s often 20% below your camera’s saturation threshold, balancing good signal-to-noise ratio while avoiding phototoxicity in live specimens.
What Determines the Correct Exposure Time Needed to Take a Digital Image?
Your correct exposure time is determined by your sample’s brightness level, the need to avoid pixel saturation, your desired signal-to-noise ratio, and the balance between capturing sufficient signal while minimizing phototoxicity in live samples.
What Does Changing Exposure Time Do?
Changing exposure time controls how long your sensor captures light. You’ll get brighter images with longer exposures and darker ones with shorter times. It’s a direct way to adjust your image’s brightness.
What Is the Exposure Time for GFP?
For GFP imaging, you’ll typically need 100-500 milliseconds exposure time. You should keep it at least 20% below your camera’s saturation threshold while ensuring your brightest signals are properly captured without oversaturation.
In Summary
You’ll achieve the best cell imaging results when you master your camera’s exposure settings. Remember to check your histograms, avoid pixel saturation, and balance exposure time against phototoxicity for live specimens. Don’t sacrifice signal-to-noise ratio, especially in fluorescence applications. By tailoring your settings to each microscopy method, you’ll capture consistent, comparable images with maximum biological detail and minimal artifacts.


Leave a Reply