When choosing a DSLR adapter for lab photography, you’ll need to match your camera’s mount type with the microscope’s eyepiece diameter. Look for adjustable tube lengths and built-in optics for clearer images. Consider whether T-mount (42mm thread) or C-mount (1-inch diameter) best suits your equipment. Budget adapters ($20-$100) offer basic functionality, while premium options ($200+) provide enhanced durability and performance. The right adapter makes all the difference in capturing professional-quality microscopic imagery.
Choosing The Right DSLR Adapter For Lab Photography
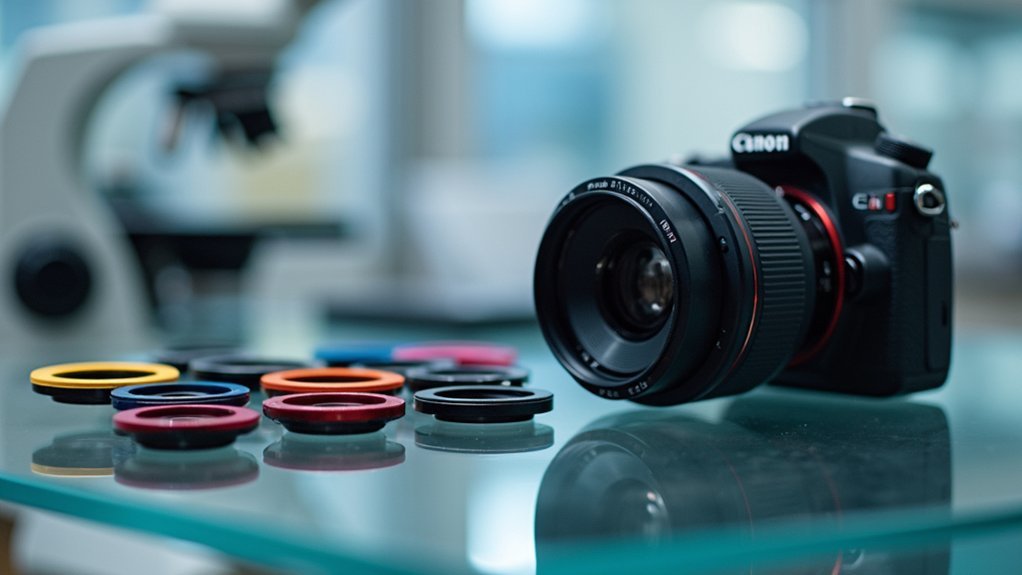
When setting up your lab photography equipment, selecting the right DSLR adapter can make the difference between capturing precise scientific data and producing unusable images.
First, verify compatibility with your specific camera brand and model, as mounting systems vary considerably between manufacturers.
For effective DSLR use in laboratory settings, prioritize adapters that accommodate macro lenses, which are essential for detailed specimen imaging and analysis.
Look for options with stable connections that eliminate vibration—even slight movements can blur vital details.
The best adapters offer adjustable height and tilt capabilities, allowing you to capture specimens from multiple angles.
Remember that proper alignment is fundamental, so choose an adapter that facilitates precise focusing to guarantee your scientific images maintain the sharpness and clarity your work demands.
Understanding DSLR Adapter Compatibility With Microscopes
Because microscopes and DSLR cameras weren’t originally designed to work together, selecting the right adapter requires understanding their specific connection requirements.
You’ll need to match the adapter to both your microscope’s eyepiece diameter and your camera’s specific lens mount type, whether that’s Canon EF, Nikon F, or another system.
Pay attention to adapters with adjustable tube lengths, as these allow you to fine-tune the alignment for ideal image quality. Some models include built-in optics that enhance brightness and clarity—particularly useful in low-light microscopy conditions.
Before purchasing a DSLR adapter, check your microscope’s model and optical specifications. This information guarantees compatibility and prevents expensive mistakes.
The right adapter creates a seamless connection between technologies, resulting in professional-quality microscopic images that capture even the finest details.
Key Features To Consider When Selecting Lab Photography Adapters
Selecting the right adapter involves more than just basic compatibility with your microscope.
You’ll need to guarantee your DSLR adapter matches your specific camera body mount, as different brands require distinct connectors for peak performance.
Look for adapters that maintain full lens functionality, including autofocus and aperture control, which are vital for detailed lab photography.
Consider construction materials carefully—aluminum and high-quality plastics offer the perfect balance between durability and weight for extended photography sessions.
For enhanced versatility, choose photography equipment with additional features like filter threads or tripod mounting options.
These extras can greatly improve your workflow in laboratory settings.
Don’t overlook warranty coverage and customer support availability, as technical issues with specialized DSLR equipment might require expert assistance to resolve properly.
T-Mount vs. C-Mount Adapters: Differences And Applications
Understanding the differences between T-Mount and C-Mount adapters is vital for achieving excellent results in your lab photography setup.
T-Mount adapters feature a 42mm thread size, making them perfect for connecting cameras to telescopes and microscopes. You’ll find them particularly useful for applications requiring precise alignment.
C-Mount adapters, with their 1-inch diameter and 32 threads per inch, offer more secure connections for CCTV cameras and industrial imaging. They’re the preferred choice in many laboratory settings where stability is significant for high-resolution imaging.
Your selection should depend on your specific equipment needs. Choose T-Mount adapters for astrophotography or microscopy due to their versatility with a wider range of equipment.
Equipment compatibility should guide your adapter choice, with T-Mounts excelling in versatile astronomy and microscopy applications.
Opt for C-Mount adapters in industrial applications. Always verify your camera’s sensor size is compatible with your chosen adapter to maintain peak image quality.
Magnification Options For Microscope DSLR Adapters
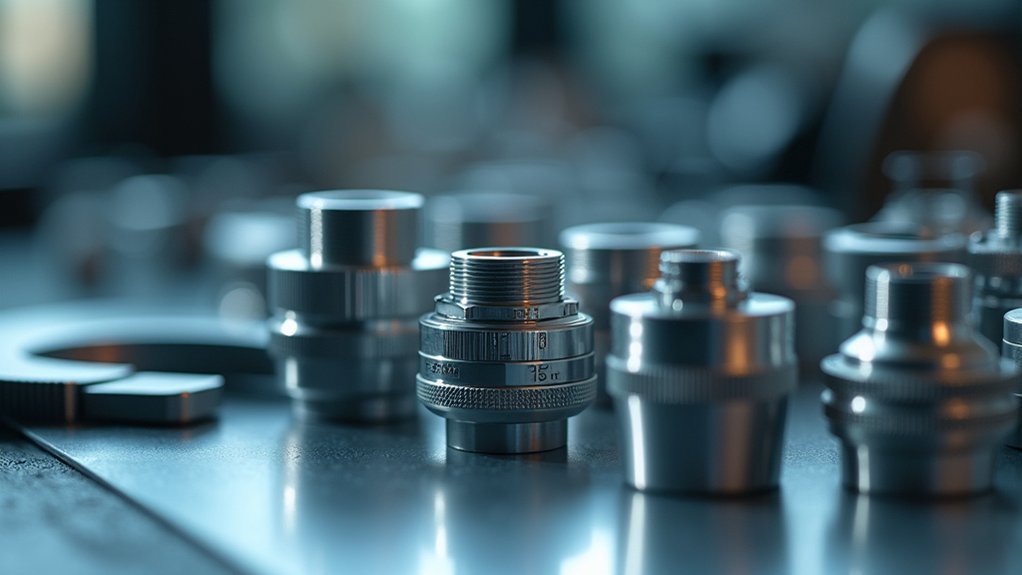
Magnification capabilities form the cornerstone of effective microscope-to-DSLR adaptation. When selecting an adapter, you’ll encounter various magnification options that directly impact your imaging results.
Common configurations allow you to achieve 10x, 40x, or even 100x magnification, depending on your objective lens and camera sensor size.
For ideal representation of specimens, consider adapters with 1:1 ratio capabilities, ensuring your DSLR camera captures true-to-size images. Many adapters feature variable magnification settings, giving you flexibility to adjust detail levels based on your specific application needs.
Don’t overlook proper calibration of your setup—it’s essential for maximizing image quality. Pay attention to focus precision, lighting conditions, and camera settings when working with different magnifications.
The right adapter will balance your specific magnification requirements with your DSLR camera’s capabilities.
Image Quality Considerations With DSLR Adapter Rings
When selecting DSLR adapter rings for lab photography, you’ll need to prioritize image clarity by choosing high-quality adapters that prevent optical distortions and maintain sharpness.
Proper adapter-lens compatibility guarantees peak performance, preventing issues like vignetting and focus problems that can compromise your research documentation.
The right adapter can also impact your signal-to-noise ratio, especially in low-light microscopy applications where every photon counts.
Image Clarity Factors
Although many photographers focus primarily on camera bodies and lenses, the quality of your DSLR adapter ring plays an essential role in determining final image clarity in lab photography.
Your adapter’s precision impacts everything from light transmission to lens stability.
To maximize image clarity when selecting an adapter:
- Choose adapter rings specifically designed for your camera body and lens combination – generic adapters often introduce vignetting and edge distortion.
- Ensure proper alignment with your camera mount – even slight misalignment reduces light transmission and compromises sharpness.
- Select adapters with secure fit mechanisms – eliminating lens wobble prevents focus issues and maintains consistent image quality.
High-quality adapters minimize light loss while preserving contrast and detail—critical factors for lab photography where precision is crucial.
Adapter-Lens Compatibility Issues
Pairing the wrong adapter with your DSLR lens can dramatically compromise image quality, regardless of how premium your camera body might be.
These adapter-lens compatibility issues often manifest as vignetting, distortion, and noticeable loss of sharpness in your lab photographs.
When selecting adapters, consider your camera’s sensor size—full-frame sensors typically reveal more quality degradation than APS-C sensors when using adapters.
Misaligned or poor-quality adapters can cause focus inconsistencies that render precise lab documentation useless.
For ideal results, you’ll want adapters specifically designed for your lens-camera combination that maintain native focal length and aperture functionality.
Before committing to a particular setup, test different adapter options in controlled conditions to evaluate their impact on image quality.
This testing phase is essential for identifying which combination delivers the clearest, most accurate results.
Signal-to-Noise Ratio Effects
Despite having excellent equipment, your laboratory images may still suffer from poor quality if you’re neglecting the signal-to-noise ratio (SNR) when using DSLR adapter rings.
High-quality adapters maintain ideal SNR by ensuring precise alignment between your camera and lens, minimizing light loss that can degrade image clarity.
Quality DSLR adapters improve your lab photography through:
- Enhanced detail preservation in low-light conditions where noise typically overwhelms subtle features
- Better representation of specimen details by reducing distortion that introduces unwanted artifacts
- Consistent image quality across multiple sessions, ensuring reliable visual data for your research
Regularly test your setup’s SNR performance by photographing standard reference images.
This simple practice helps identify issues with your DSLR adapter before they compromise important laboratory documentation.
Setup And Installation Guide For Microscope Camera Adapters
The successful installation of a microscope camera adapter requires careful attention to compatibility and alignment. Before purchasing, verify that your adapter matches both your microscope’s eyepiece specifications and your DSLR’s lens mount type. Most adapters use either T2 threads or C-mounts, so check your microscope’s documentation first.
When mounting the adapter, confirm it sits flush against the microscope’s eyepiece, creating a secure connection that prevents light leakage. Proper alignment is critical for distortion-free images.
After installation, adjust your camera settings based on the microscope’s lighting conditions—fine-tune aperture and shutter speed for peak clarity.
Remember to periodically inspect the adapter’s fit during extended use to maintain image quality and protect your valuable equipment from potential damage.
Troubleshooting Common Issues With DSLR Microscope Connections
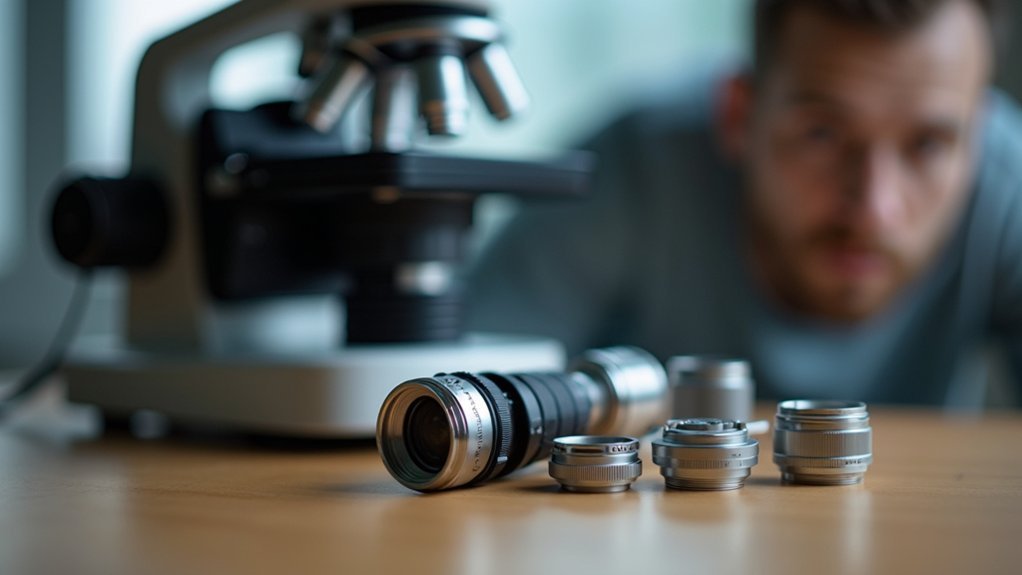
When connecting your DSLR to a microscope, several common issues can frustrate even experienced photographers. Compatibility problems between your camera body and microscope are often the root cause of poor image quality. Always verify compatibility before purchasing an adapter.
If you’re experiencing issues, try these solutions:
- Check alignment carefully – improper positioning can cause vignetting or focus problems. Adjust the adapter until the field of view is centered.
- Clean both your camera sensor and microscope eyepiece regularly to prevent dust particles from appearing in your images.
- Switch to manual mode on your camera for maximum control, as auto settings often struggle with microscope lighting conditions.
Don’t forget to use appropriate spacer rings to achieve ideal working distance, which is essential for capturing the finest microscopic details.
Budget-Friendly vs. Premium Adapter Options For Lab Settings
When selecting a DSLR adapter for your lab photography work, you’ll find options ranging from $20 budget models to $500 premium alternatives that differ markedly in build quality and features.
Your choice between value and performance depends on whether you need basic functionality or advanced capabilities like adjustable mounts and built-in optics that directly impact image quality.
Consider your specific microscope connection requirements, frequency of use, and long-term research needs to determine if investing in a premium adapter will provide meaningful benefits for your laboratory documentation.
Value vs. Performance
How much should you invest in a DSLR adapter for your lab photography needs? While budget-friendly options ($20-$100) provide basic functionality, premium adapters ($200+) offer enhanced durability and performance that may justify their higher cost.
When weighing value against performance, consider:
- Long-term investment – Premium adapters typically last longer and reduce replacement costs, providing better ROI despite higher initial expense.
- Image quality requirements – Budget adapters may compromise focusing accuracy and alignment, while premium options deliver consistently sharper images.
- Flexibility needs – If your lab work requires adjustable mounts or compatibility with various lenses, premium adapters offer adaptability that budget alternatives can’t match.
Your choice should ultimately align with your lab’s specific photography demands and usage frequency.
Adapters For Every Budget
Three distinct price tiers exist in the DSLR adapter market for laboratory photography, each offering different benefits for your specific needs.
Budget-friendly DSLR adapters like the Fotodiox Pro ($50) provide basic functionality that’s sufficient for labs with limited resources. These typically feature plastic mounts that may wear faster but deliver acceptable results for standard documentation.
Mid-range adapters bridge the gap between economy and performance, while premium options such as the Metabones Smart Adapter III ($400+) offer enhanced capabilities including electronic lens-camera communication for improved autofocus. They’re constructed with durable metal mounts and minimize image issues like vignetting.
When deciding, consider your lab’s photography requirements. If you’re capturing highly detailed specimens or need reliable performance over time, investing in a higher-quality adapter will yield superior results despite the higher initial cost.
Optimizing Your Workflow With The Right Adapter Configuration
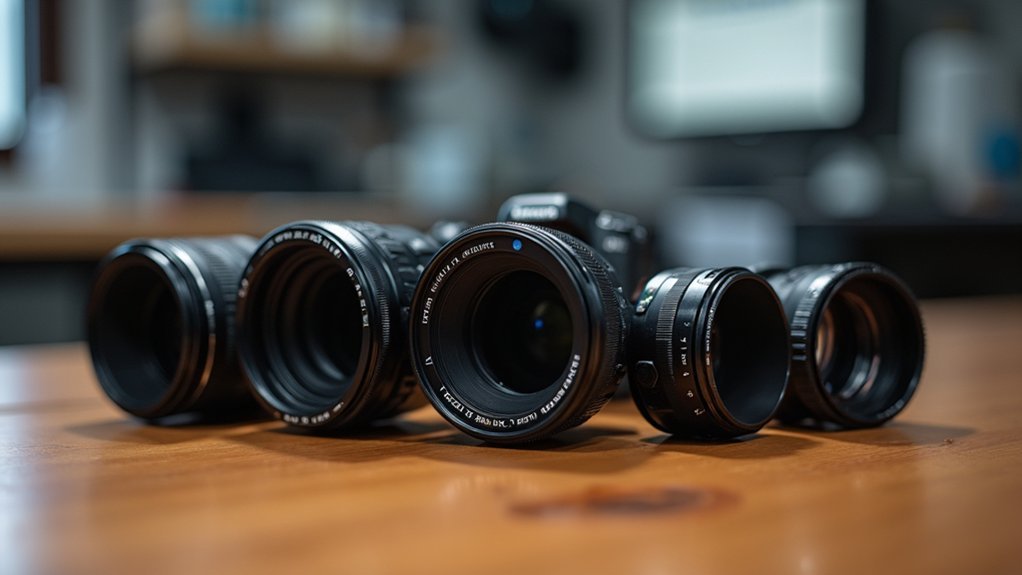
Setting up an efficient workflow for lab photography depends largely on selecting the best adapter configuration for your DSLR camera.
The right DSLR adapter not only guarantees lens compatibility but dramatically impacts your productivity and image quality in controlled lab environments.
To streamline your documentation process:
- Choose adapters that support electronic communication between camera and lens, enabling autofocus and aperture adjustments automatically—saving precious time during complex documentation sessions.
- Consider adapters with built-in tripod mounts for enhanced stability, eliminating unwanted vibrations that could compromise optimizing image quality during critical shots.
- Properly calibrate your adapter to improve focusing accuracy for capturing intricate details, which is essential when photographing small specimens or experimental setups.
With the right configuration, you’ll minimize equipment adjustments and maximize your time capturing the images that matter.
Frequently Asked Questions
How Often Should DSLR Adapters Be Recalibrated for Optimal Performance?
You should recalibrate your DSLR adapters annually or after every 500 uses. If you’ve experienced alignment issues or dropped the equipment, don’t wait—recalibrate immediately for the best image quality and accuracy.
Can Adapters Cause Vignetting When Using Specific Camera Sensor Sizes?
Yes, adapters can cause vignetting when you’re using specific sensor sizes. If your adapter isn’t designed for your camera’s sensor format, you’ll often see darkened corners in your images, especially with full-frame sensors.
Are DSLR Adapters Weather-Sealed for Humid Laboratory Environments?
Most DSLR adapters aren’t weather-sealed for humid labs. You’ll need to protect your equipment with desiccants or storage cases. Some premium adapters offer basic sealing, but don’t rely on them completely.
How Do Adapters Affect Autofocus Capability During Lab Specimen Photography?
Adapters can limit autofocus performance during specimen photography. You’ll find that some maintain electronic connections for full AF, while others force manual focusing. Consider smart adapters if you’re prioritizing both compatibility and autofocus speed.
What Maintenance Procedures Extend the Lifespan of Microscope-Camera Adapters?
You’ll extend your microscope-camera adapters’ lifespan by regularly cleaning contacts with isopropyl alcohol, storing them in dry environments, avoiding cross-threading connections, and using dust caps when not in use.
In Summary
Selecting the right DSLR adapter isn’t just about compatibility—it’s about optimizing your entire lab photography workflow. You’ll save time and frustration by matching your adapter to your specific microscope model and research needs. Remember to take into account magnification requirements, image quality priorities, and budget constraints. With the proper setup, you’re not just taking photos; you’re capturing valuable scientific data that enhances your research outcomes.


Leave a Reply