
Five essential tips for digital adapter success in scientific photography: align your smartphone millimeters from the eyepiece to prevent vignetting, use RAW format with low ISO (100-200), verify adapter compatibility with your microscope’s eyepiece diameter (23mm or 30mm), practice manual focus techniques for crystal-clear images, and implement stabilization methods to eliminate vibration. These fundamental techniques will transform your microscopic imaging results and help you capture publication-quality scientific photos.
Proper Alignment Techniques for Optimal Microscope-Camera Integration
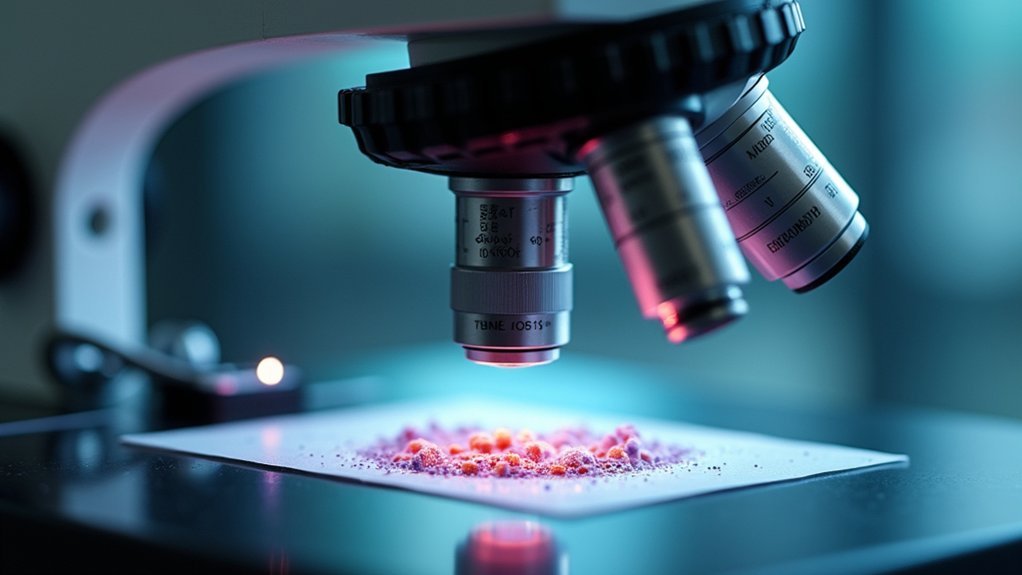
When connecting your smartphone to a microscope, proper alignment makes the difference between blurry, partial images and crystal-clear scientific photographs.
Verify your adapter fits snugly around the microscope eyepiece, accommodating standard 23mm eyepieces or 30mm research-grade ones for successful adapter integration.
The right adapter fit—whether for 23mm standard or 30mm research eyepieces—ensures perfect smartphone-microscope integration.
Position your smartphone just millimeters from the eyepiece, adjusting as needed to eliminate vignetting while maintaining a complete field of view.
You’ll need to coordinate the microscope’s fine focus controls with your camera focus settings to achieve maximum image quality and detail.
Don’t forget to regularly clean both your smartphone lens and microscope eyepiece—any dust or smudges will compromise your alignment efforts.
These small maintenance steps verify consistent, professional-quality scientific imagery through effective digital microscopy.
Camera Setting Adjustments for Enhanced Microscopic Detail Capture
Once you’ve achieved proper alignment between your smartphone and microscope, optimizing your camera settings becomes essential for capturing microscopic details with stunning clarity. Digital cameras offer numerous adjustments that dramatically impact quality images.
| Setting | Recommendation | Purpose |
|---|---|---|
| Format | RAW | Preserves maximum image size and detail |
| ISO | 100-200 | Minimizes noise in low light conditions |
| Focus | Manual focus | Guarantees precise subject clarity |
| Aperture | f/2.8 to f/8 | Controls depth of field and brightness |
| Shutter Speed | Minimum 1/60 sec | Prevents motion blur |
Always use the lowest ISO possible to reduce grain in your microscopic photography. Adjust your aperture based on whether you need more light or greater depth of field. Remember that faster shutter speed helps eliminate vibration issues common in microscope setups.
Adapter Selection Strategies for Various Microscopic Specimens
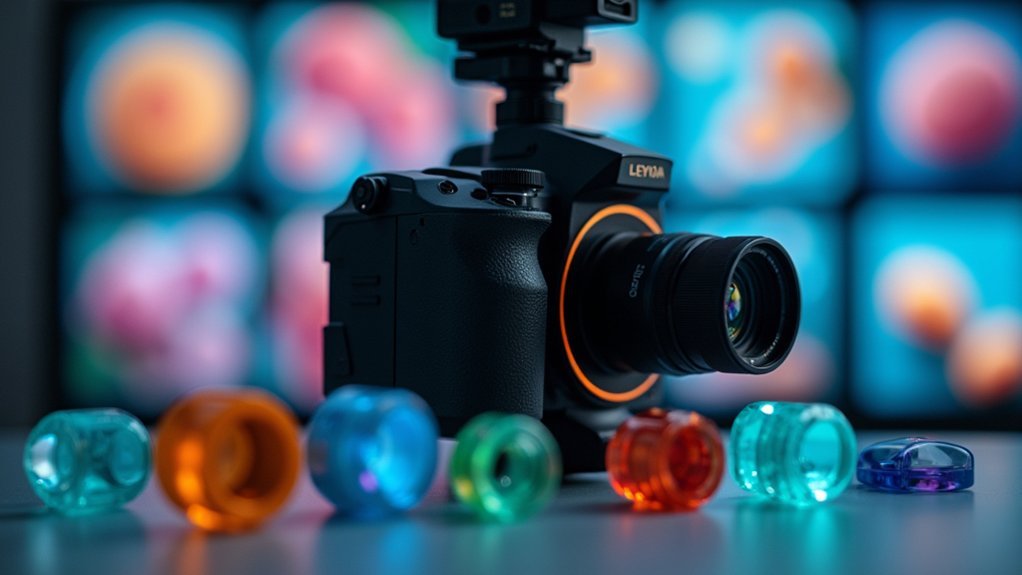
Choosing the right smartphone adapter for your microscope is just as important as enhancing camera settings when capturing scientific specimens.
First, verify microscope compatibility by checking your eyepiece diameter—23mm for standard models and 30mm for research-grade equipment. This guarantees proper fit and stability during imaging.
Look for adapters that offer quick attachment capabilities, especially when you’ll be switching between different specimens frequently.
For peak image quality, select models with adjustable focus features that can accommodate various specimen types, from prepared slides to living cultures.
Don’t overlook adapters with built-in micrometer functionality for precise measurements.
When evaluating options, consider user-friendliness ratings from experienced operators. Adapters with consistently positive feedback regarding ease of use and image clarity will typically deliver the best results for your scientific photography needs.
Focusing Methods to Achieve Maximum Image Clarity
Four essential focusing techniques can transform your scientific smartphone microscopy results.
Studies show that using a smartphone adapter reduces focusing time from 25.56 to just 11.89 seconds, greatly improving your efficiency while capturing clearer images.
- Proper alignment – Make sure your smartphone camera is perfectly centered with the microscope eyepiece to achieve ideal focus and prevent blurriness.
- Regular maintenance – Clean both microscope and smartphone lenses before each session to eliminate dust and smudges that degrade image clarity.
- Manual focus practice – Master slight adjustments when using an adapter, as minimal movements considerably impact the sharpness of your captured image.
Remember that different adapters offer varying results, with models like Snapzoom providing user-friendly focusing capabilities worth testing for your specific requirements.
Stabilization Approaches to Eliminate Vibration During Image Acquisition
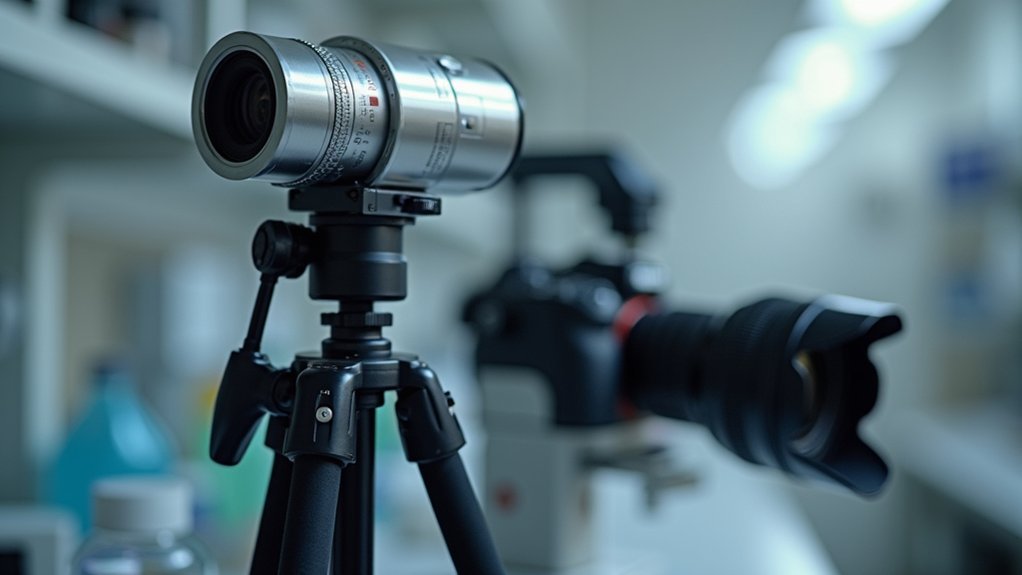
While focusing techniques guarantee clarity, even minor vibrations can ruin your scientific photographs. To combat this, employ optical stabilization which uses built-in gyroscopes to counteract camera shake during image capture.
Digital stabilization offers another solution by adjusting ISO settings to shorten exposure time, reducing motion blur from vibrations.
For maximum stability, mount your camera on a tripod, especially for long exposure shots where any movement is magnified.
Improve handheld stability by gripping your camera with both hands and using the viewfinder instead of the LCD screen, which provides additional contact points.
When working in low-light conditions, consider using near IR illuminators to maintain image quality without introducing shake from extended exposure times.
Frequently Asked Questions
How Do I Make My Digital Photos Look Professional?
You’ll make your digital photos look professional by using high-resolution settings, ensuring proper lighting, stabilizing your camera, keeping lenses clean, and using editing software to enhance color, contrast and sharpness.
How Can I Improve the Quality of My Digital Photos?
You’ll improve your digital photos by shooting in RAW format, mastering camera settings like aperture and ISO, ensuring proper lighting, keeping your lens clean, and using appropriate equipment for stability during capture.
How to Take Good Photos With a Phone of Yourself?
Position your phone at eye level on a stable surface. Use natural light by facing a window. Choose clean backgrounds. Set a self-timer for relaxed poses. Review and edit your shots afterward to enhance brightness and contrast.
How to Take a Picture of a Photo?
Place your photo on a flat surface under even lighting. Use a tripod to stabilize your phone, avoid flash, and position yourself directly above it. Capture the entire photo without shadows or glare.
In Summary
You’ve now mastered the essentials of digital microscopy adapters. With proper alignment, custom camera settings, thoughtful adapter selection, precision focusing, and effective stabilization, you’ll capture stunning scientific images every time. Remember, it’s not just about the equipment—it’s how you use it. Apply these five tips consistently, and you’ll transform your microscopic photography from ordinary to publication-worthy in no time.


Leave a Reply