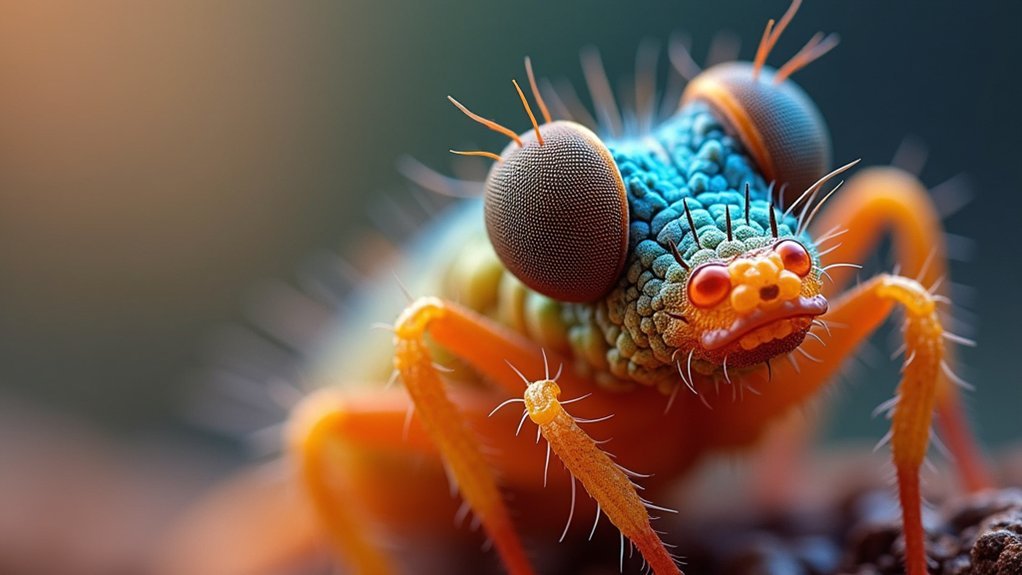
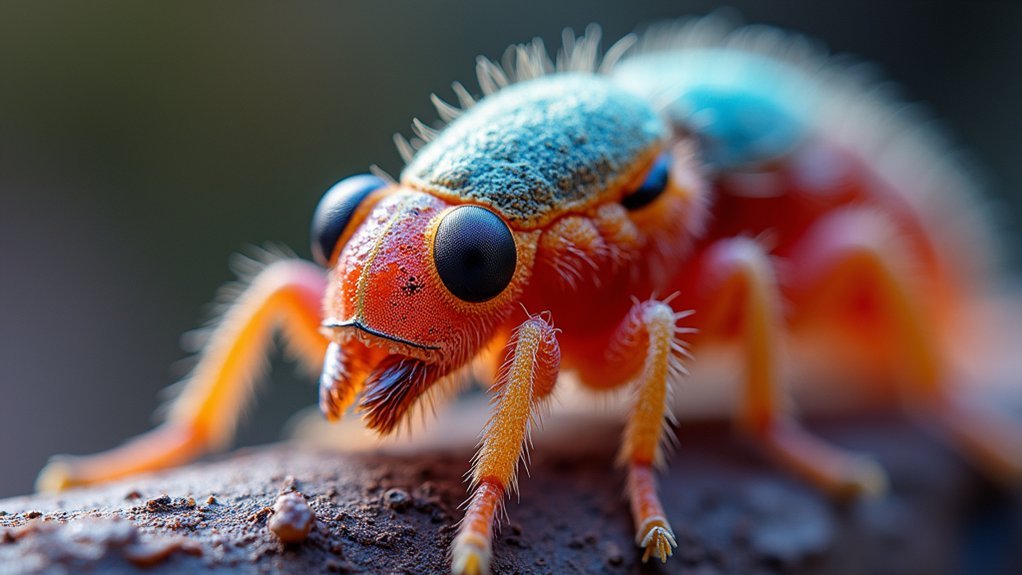
The five best depth control methods for scientific photography include focus stacking for merging multiple focal points, hyperfocal distance calculation to maximize depth of field, aperture optimization between f/8-f/16 for specimen clarity, computational depth mapping for 3D visualization, and Z-stack image acquisition for capturing all specimen layers. You’ll need a tripod for consistent framing and specialized software for processing. These techniques help overcome the limited depth challenges in macro and microscopy work, ensuring your scientific images reveal every critical detail.
Focus Stacking for Enhanced Depth Visualization

While traditional photography often struggles with limited depth of field, focus stacking offers a powerful solution for scientific imaging. This technique involves capturing multiple shots at different focal points, then merging them to create one image with sharp focus throughout.
You’ll find focus stacking particularly valuable in macro photography, where depth of field is naturally shallow. By using a tripod to maintain consistent framing, you can methodically capture each plane of your specimen.
Focus stacking transforms macro photography, revealing minute details through methodical, tripod-stabilized capture of each focal plane.
Adjust your camera settings to shift focus incrementally—about one-third of the current depth of field is ideal between shots.
The merging process, handled through specialized software or Photoshop, aligns and blends your images, bringing both foreground and background into perfect clarity.
This results in superior image quality essential for scientific documentation, revealing intricate details that single exposures simply can’t capture.
Hyperfocal Distance Calculation in Microscopy
Mastering hyperfocal distance calculations transforms microscopic imaging from basic documentation to precision science.
When you understand this concept, you’re able to maximize depth of field while maintaining acceptable focus throughout your specimen.
The formula H = (focal length²)/(aperture × circle of confusion) gives you the exact hyperfocal distance for your setup.
In microscopy, the circle of confusion is typically smaller due to high magnification. For a 10x objective lens with f/8 aperture setting and 0.01mm circle of confusion, your hyperfocal distance would be 1250mm.
A practical technique is focusing one-third into your specimen, which balances foreground and background clarity.
Aperture Optimization for Specimen Clarity

Scientific photographers face an essential balancing act when selecting aperture settings for specimen documentation. When you’re pursuing peak image sharpness, consider working within the f/8 to f/16 range to achieve ideal specimen clarity.
Using a narrower aperture increases depth of field, keeping your entire specimen in focus. Don’t forget to use a tripod to prevent motion blur when shooting at these settings.
| Aperture Setting | Benefits for Scientific Photography |
|---|---|
| f/8 | Peak sharpness, reduced optical aberrations |
| f/11 | Extended depth of field, balanced resolution |
| f/16 | Maximum specimen coverage in focus |
| f/22+ | Potential diffraction effects may reduce clarity |
| Variable | Adjust based on acceptable circle of confusion |
Consider your specific requirements for high-resolution documentation when determining the ideal aperture for your specimen photography, always weighing the tradeoff between depth and diffraction effects.
Computational Depth Mapping Techniques
Beyond traditional optical methods, computational depth mapping now provides revolutionary tools for capturing depth information in scientific specimens.
You’ll find disparity mapping particularly useful, as it analyzes image pairs from different perspectives to calculate precise depth estimation through pixel displacement.
When working with varying focal planes, depth from focus techniques offer excellent alternatives by performing sharpness assessment across multiple images to determine depth based on focus clarity.
For maximum flexibility, light field photography captures directional light information, enabling post-capture refocusing and 3D representations without reshooting.
For highly detailed work, structured light techniques project known patterns onto your specimens, analyzing pattern deformations to generate accurate depth measurements.
These computational approaches greatly expand your ability to create thorough 3D visualizations of complex scientific subjects.
Z-Stack Image Acquisition Methods

While single-plane photography captures only a limited focal range, Z-stack imaging revolutionizes scientific documentation by compiling multiple images at different focal depths into one complete image.
You’ll achieve superior clarity in microscopy applications by automating your image capture across various focal planes. The process works by systematically adjusting your focus point at precise intervals, ensuring all layers of your specimen remain sharp in the final composite image.
After acquisition, post-processing software merges these sequential captures, eliminating out-of-focus areas that would otherwise diminish detail. This technique proves especially valuable when examining complex biological structures or material samples where depth of field limitations would normally obscure critical information.
For ideal scientific imaging results, consider programming your equipment to capture consistent Z-stack sequences—this standardizes your methodology and enhances reproducibility across multiple samples.
Frequently Asked Questions
What Are Some Techniques That Photographers Can Use to Manipulate Depth of Field?
You can control depth of field by using wide apertures for shallow depth, narrow apertures for greater depth, adjusting subject distance, changing focal length, and implementing focus stacking in post-processing.
What Mode Best Controls Depth of Field?
Aperture Priority or Manual mode gives you the best control over depth of field. You’ll set your desired f-stop in Aperture Priority, while Manual lets you adjust both aperture and shutter speed for precise results.
How to Control Depth of Field in Photography?
To control depth of field, you’ll need to adjust your aperture (f-stop), focal length, and distance from your subject. Use wide apertures (f/1.8) for shallow depth and narrow apertures (f/16) for deep focus.
What Control Factor Is Most Often Used to Control Depth of Field?
Aperture is the most frequently used factor to control depth of field. You’ll achieve shallower DOF with wider apertures (lower f-numbers like f/1.8) and deeper DOF with narrower apertures (higher f-numbers like f/16).
In Summary
By mastering these five depth control methods, you’ll elevate your scientific photography from mere documentation to powerful visual analysis. Whether you’re stacking images, calculating hyperfocal distances, optimizing aperture settings, mapping computational depth, or acquiring Z-stack images, you’re now equipped to capture specimens with unprecedented clarity. Don’t hesitate to combine techniques as your research demands—the perfect depth representation often lies at the intersection of multiple approaches.


Leave a Reply