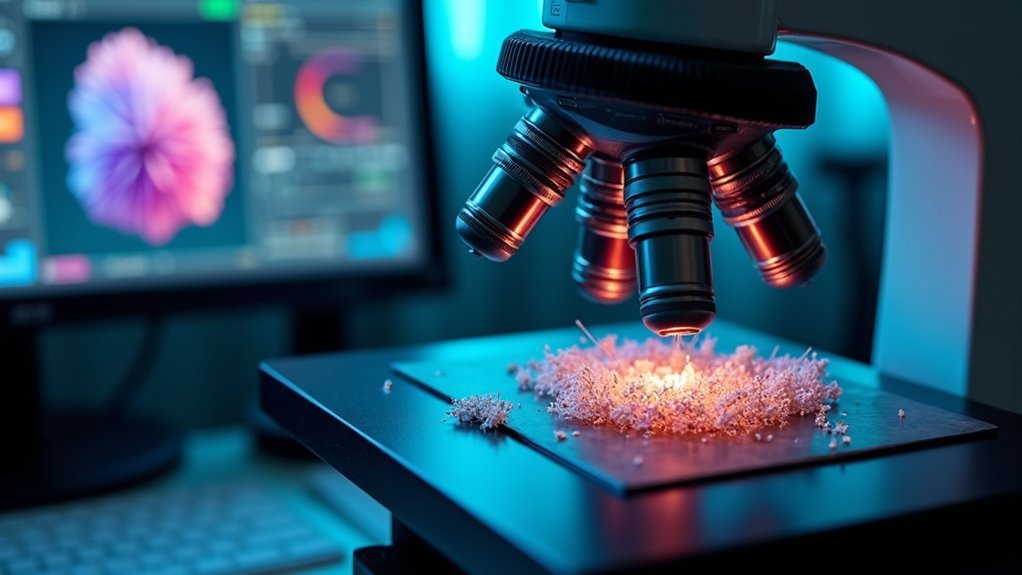
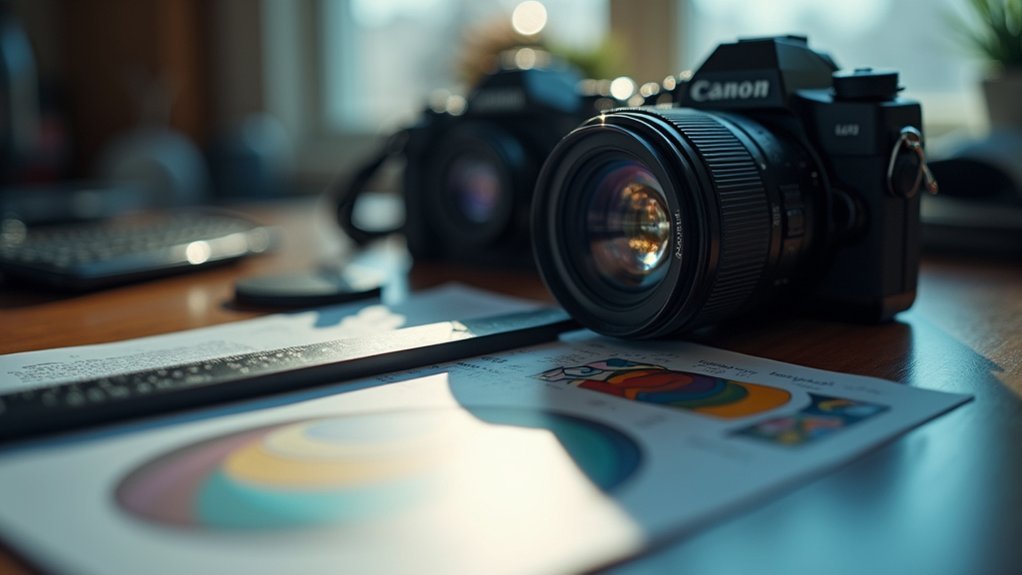
Mastering focus depth requires meticulous calibration of your imaging equipment. Start with a quality calibration chart and stable tripod to assess focus accuracy at wide apertures. For microscopy, fine-tune the focus mechanism using small increments and verify with calibration slides. Implement Z-stack techniques with consistent lighting to extend depth of field through focus stacking software. Regular calibration prevents focus drift and guarantees precision in high-resolution work. The following techniques will transform your imaging results from acceptable to exceptional.
Understanding Depth of Field in Microscope Photography

While standard photography allows for generous focus ranges, microscope photography presents a unique challenge with its extraordinarily shallow depth of field. When you’re working at high magnifications, even micron-level adjustments to your focus distance can dramatically alter which parts of your specimen appear sharp.
Your aperture setting is critical—larger f-numbers create smaller openings that increase depth of field effects, allowing more of your specimen to remain in focus simultaneously. However, this trade-off reduces light transmission through the objective.
Balancing depth of field with light transmission requires careful aperture selection—the microscopist’s eternal compromise.
The numerical aperture (NA) of your objective lens further impacts this relationship; higher NA values capture more detail but further restrict your depth of field.
Many microscope photographers overcome these limitations by employing focus stacking techniques, combining multiple images taken at different focal planes to produce a fully focused final image.
Essential Equipment for Precision Focus Calibration
To achieve professional focus calibration, you’ll need high-quality calibration charts with precise measurement markings and clear contrast points.
Your setup requires a rock-solid mounting system—preferably a heavy-duty tripod with a geared head—to eliminate even the slightest movement during the calibration process.
When these essential components work together, you’ll capture the pixel-perfect reference images needed to make the micro-adjustments that separate amateur results from professional-grade focus accuracy.
Calibration Charts Matter
Although many photographers overlook them, calibration charts serve as the foundation for achieving precise focus in your photography workflow. These essential tools provide clear, measurable markings that help you determine if your lens is focusing exactly where you intend.
You’ll quickly identify back focus issues by analyzing how sharp particular areas appear in your test images.
- Set up your chart with its horizontal reference line at a precise distance from your camera for consistent, repeatable results.
- Look for front or back focus patterns by examining which areas appear sharpest relative to your intended focus point.
- Perform focus calibration tests regularly, especially after dropping equipment or changing your gear setup.
Whether you purchase a commercial chart or print one at home, this simple tool will dramatically improve your focusing accuracy and image quality.
Stable Mounting Systems
Calibration charts give you the target, but your camera needs to remain perfectly still to capture accurate results. A rock-solid tripod forms the foundation of all stable mounting systems, preventing even the slightest movement that could compromise your calibration data.
Choose a tripod with adjustable legs to maintain proper alignment with your calibration target, especially on uneven surfaces. For ultimate precision, consider a dedicated lens calibration stand or a sliding rail system that allows for exact camera positioning.
Don’t forget to use a remote shutter release or timer function to eliminate the vibration caused by pressing the camera button.
The investment in quality mounting equipment pays dividends in calibration accuracy—a sturdy tripod with minimal play will greatly improve your focus calibration results.
The Z-Stack Method for Extended Depth Imaging

One of photography’s most powerful techniques for overcoming depth of field limitations is the Z-Stack Method. By capturing multiple images at varying focus distances, you’ll create a composite with extended depth, ensuring sharpness throughout your entire subject.
This calibration technique is particularly valuable in macro photography, where shallow depth of field often restricts detail capture.
To implement Z-Stack effectively:
- Maintain consistent lighting and camera settings across all images
- Use specialized software like Helicon Focus or Photoshop to merge your stacks
- Plan your focus increments carefully to cover desired depth without excessive overlap
You’ll need to carefully determine the number of images required based on your subject’s depth.
With proper execution, you’ll achieve remarkable clarity that wouldn’t be possible with a single exposure’s limited focus range.
Calibrating Your Microscope’s Fine Focus Mechanism
Proper calibration of your microscope’s fine focus mechanism guarantees you’ll capture crisp, detailed images with every observation.
You’ll need to adjust the fine focus knob in small increments while monitoring a calibration slide, looking for the point where image details appear sharpest at your chosen magnification.
Regular fine-tuning of this critical component helps maintain precision across different specimens and prevents the frustration of constantly chasing focus during extended microscopy sessions.
Fine Focus Adjustment Basics
While many microscopists master the coarse focus knob with ease, the fine focus mechanism requires special attention to achieve ideal clarity in your specimens. This precision control allows you to navigate through different depths of your sample, revealing details that might otherwise remain hidden.
To properly use the fine focus adjustment:
- Place your microscope on a stable surface before attempting calibration values measurement.
- Start with coarse focus to bring your specimen into general view, then switch to fine focus for precision.
- Use a calibration slide with known markings to verify you’re achieving sharp focus.
Regular maintenance of your fine focus mechanism is essential for consistent performance. Clean the knob routinely and lubricate moving parts when necessary to preserve the mechanism’s accuracy and extend its useful life.
Precision Focusing Techniques
Now that you’ve mastered the basics of focus adjustment, it’s time to refine your skills through proper calibration of your microscope’s fine focus mechanism.
Begin by using a calibration tool like a standardized slide with known features to verify your focus accuracy. This helps identify any focus problem that might arise from mechanical shifts after transport or maintenance.
Create a systematic approach by employing a focus chart with various depth markers to fine-tune your mechanism. This guarantees you’ll capture clear images across different depth of field settings at all magnification levels.
Document each calibration adjustment you make for consistency in future sessions.
Remember to perform regular calibration checks, especially after moving your microscope, to maintain peak imaging precision and prevent subtle focal plane shifts.
Software Tools for Microscope Focus Measurement

Precision in focus measurement demands specialized software solutions designed for microscopy applications.
You’ll find programs like ImageJ and Micro-Manager essential for quantifying focus depth through advanced image processing. These tools integrate with your camera system to provide real-time measurements and automated calibration workflows.
- Focus stacking features allow you to combine multiple images captured at different focal planes, resulting in a composite with enhanced depth of field.
- Calibration wizards guide you through aligning your focus measurement system with established standards.
- Automated controller integration eliminates manual adjustments, improving measurement accuracy and reproducibility.
Troubleshooting Common Depth Calibration Issues
Even the most sophisticated software tools can’t compensate for physical calibration problems in your microscope setup.
When you notice consistently blurry images, autofocus misalignment is often the culprit. This issue becomes particularly evident when working with shallow depth of field settings where precision is essential.
Start by checking if your focus discrepancies appear after equipment drops or when pairing older lenses with newer bodies.
Mount your microscope on a stable tripod and use a calibration chart at the widest aperture to assess focus accuracy. Examine your test images on a computer—the sharpest point should align with the zero mark on your chart.
For persistent issues, consider lens calibration using specialized software like Reikan FoCal Pro, which automates adjustments for more precise results than manual methods.
Advanced Techniques for Multi-Plane Sharpness Control

While traditional microscopy often forces you to choose a single focal plane, mastering multi-plane sharpness control opens up remarkable possibilities for extensive specimen visualization.
Focus stacking serves as your primary tool, allowing you to merge multiple images captured at different focus points into one crisp composite.
- Consistently maintain lighting and exposure settings across all shots to prevent distracting inconsistencies in your final stacked image
- Utilize focus peaking features to precisely identify the sharpest areas during capture, ensuring you don’t miss vital planes
- Embrace shallow DOF in macro photography then stack images to overcome natural depth limitations
Remember to regularly calibrate your lenses to maintain focus accuracy—particularly essential for high-resolution work where even minimal focus drift can compromise your carefully constructed multi-plane sharpness.
Frequently Asked Questions
How Do You Calibrate a Focus Camera?
You’ll need to use a calibration chart on a tripod, shoot at the widest aperture, check focus alignment, then adjust settings in your camera’s AF Fine-Tune menu for each specific lens.
What Is the Correct Method of Calibrating the Zoom Lens to Keep It in Focus Throughout the Zoom?
Calibrate your zoom lens by focusing on a target at a consistent distance. Test at multiple focal lengths with the widest aperture, adjust micro-settings for your most-used range, and verify sharpness across all zoom positions.
How to Use a Focus Calibration Chart?
Position your chart at a 45-degree angle, mount your camera on a tripod, use Aperture Priority with the widest aperture, focus on the center, and check if the sharpest point aligns with the zero mark.
How Do I Get My Camera to Focus Perfectly Every Time?
To get perfect focus every time, calibrate your lenses regularly using in-camera micro-adjustment settings. Use a tripod and calibration chart, check through your viewfinder, and recalibrate after impacts or when using older lenses.
In Summary
You’ve now mastered the technical aspects of microscope focus calibration. By applying these skills with your fine-tuned equipment and software, you’ll consistently capture stunning images with perfect depth. Don’t hesitate to use Z-stacking when facing difficult specimens. Remember, precision in your focus mechanism calibration is the foundation of exceptional microscopy imaging. Keep practicing these techniques to elevate your scientific photography to professional levels.


Leave a Reply