
To test your microscope’s color accuracy, use calibrated color charts for standardized reference points, adjust white balance with a neutral reference slide, implement consistent light sources at 5500K, apply digital color correction software to fine-tune RGB channels, and establish repetitive measurement protocols for reliable results. You’ll need at least three measurements under controlled environmental conditions to verify consistency. These five techniques guarantee your scientific imaging maintains true-to-life color representation across all your research.
Calibrated Color Charts for Reference Comparison
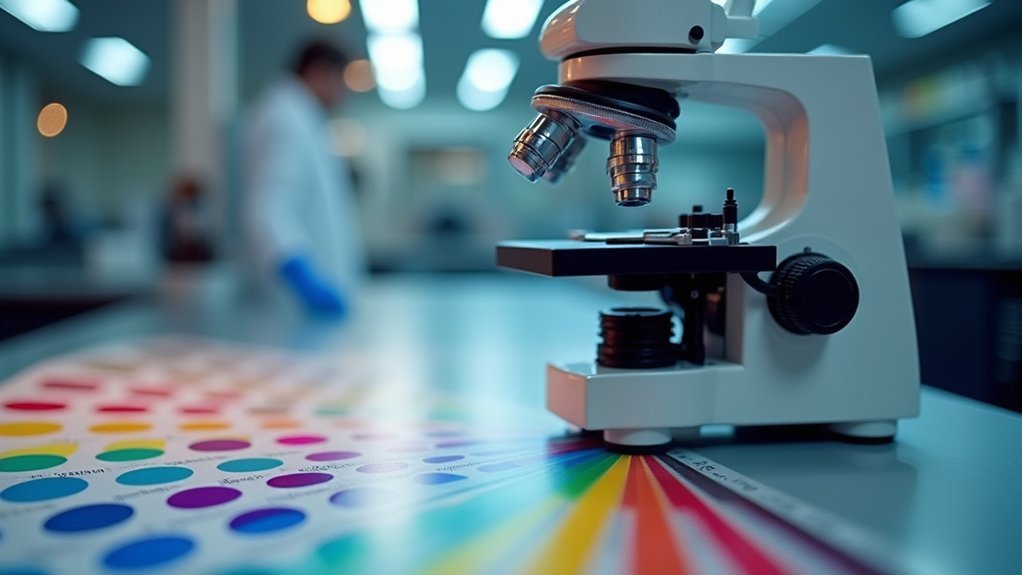
When aiming for accurate microscope imaging, calibrated color charts serve as essential tools for verifying and maintaining color fidelity. These standardized references allow you to quickly assess your microscope’s color reproduction capabilities by comparing the imaged chart against known color values.
You’ll want to incorporate these charts into your regular workflow to guarantee consistent color accuracy across different imaging sessions.
Keep lighting conditions constant during calibration—even minor illumination changes can greatly alter how colors appear under the microscope.
Many microscope manufacturers offer specialized calibration charts designed specifically for their equipment. Using these compatible tools enhances precision and simplifies your calibration process.
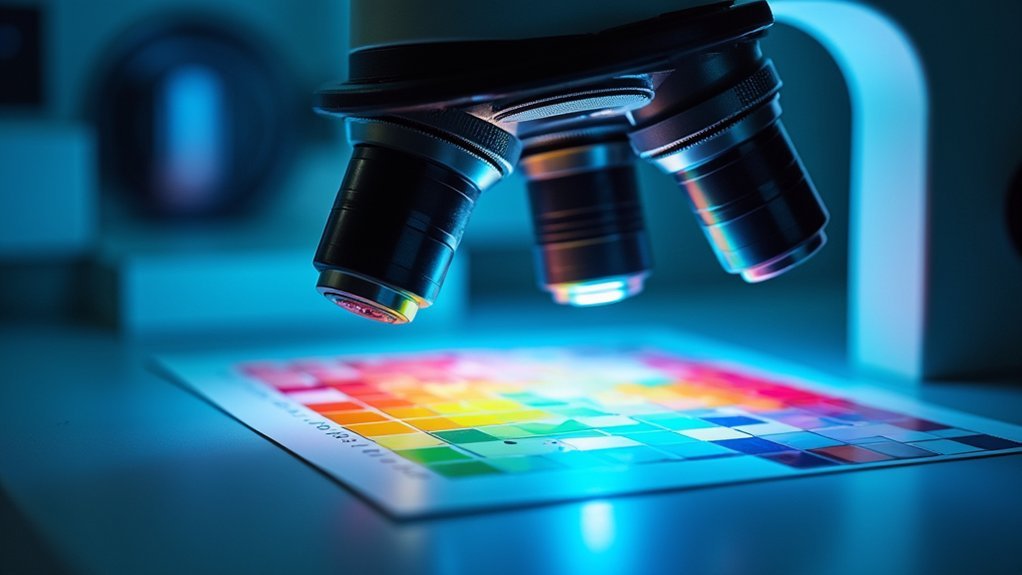
White Balance Adjustment Techniques
While color charts provide baseline reference points, proper white balance adjustment forms the foundation of accurate microscope imaging.
You’ll need to start with a white reference object or calibration slide that reflects a neutral 5500K daylight temperature to establish true color fidelity.
Modern microscopes offer automated white balance features that dynamically adjust colors, but don’t overlook manual controls for precise fine-tuning in challenging lighting conditions.
Automation handles routine adjustments, but manual white balance control delivers precision when microscopy demands perfection.
Test your adjustments using a color checker or gray card to identify unwanted color casts.
Make white balance adjustment part of your pre-imaging routine—regular calibration guarantees consistent accurate color representation across different specimens.
This systematic approach maintains reliability whether you’re working with bright-field, fluorescence, or other microscopy techniques that demand precise color reproduction.
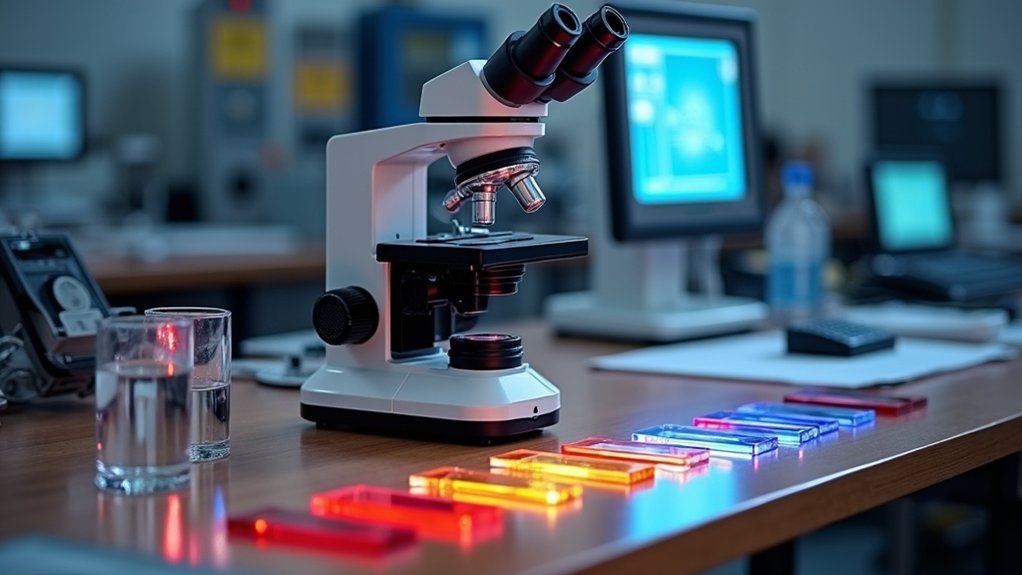
Standardized Light Source Implementation
Implementing standardized light sources forms the cornerstone of reliable color reproduction in microscopy.
You’ll achieve more consistent results by selecting halogen or LED lamps that deliver uniform illumination across all your samples, greatly reducing variability in color representation.
Calibrate your light source to emit specific color temperatures—5500K mimics daylight conditions perfectly for accurate color rendering.
Don’t forget to incorporate neutral density filters to control light intensity and prevent saturation during imaging sessions.
Maintain and clean your light source and optical components regularly to minimize unwanted wavelength scattering that can distort color fidelity.
Finally, employ color calibration standards like color charts or spectrophotometric references to assess and adjust your microscope’s color accuracy against known values.
This systematic approach guarantees your microscopic images faithfully reproduce the true colors of your specimens.
Digital Color Correction Software Methods
Beyond physical calibration of your microscope’s light sources, digital software tools offer powerful capabilities for refining color accuracy in your images.
These digital color correction software packages analyze pixel data to adjust red, green, and blue channel intensities automatically or through user-defined settings.
You’ll find histogram adjustment features particularly useful, as they display color distribution and enable precise corrections.
When dealing with color casts, white balance adjustment tools can neutralize unwanted tints by establishing true white reference points in your microscope images.
For quantifiable verification of color accuracy, consider software that supports calibration against standardized color charts.
This approach provides objective confirmation that your microscope is capturing colors correctly, especially important for research requiring consistent documentation across multiple imaging sessions.
Repetitive Measurement Protocols for Consistency
To achieve reliable color analysis under microscopy, establishing repetitive measurement protocols is essential for maintaining consistency across imaging sessions.
Precise repetitive measurement protocols ensure consistent microscopy color analysis across all imaging sessions.
You’ll need to create a standardized sample and maintain consistent lighting conditions throughout all measurements to minimize variability in your results.
Always perform at least three repetitions of each measurement to assess consistency and calculate averages for improved reliability.
Environmental factors like temperature and humidity can greatly impact your measurements, so record and control these variables carefully.
- Use calibration standards with known color values to verify color accuracy across multiple measurement sessions
- Analyze your results statistically to identify considerable deviations from expected values
- Standardize your microscope settings (magnification, white balance, exposure) for all repetitive measurements
Frequently Asked Questions
What Are the 5 Procedures to Handle a Microscope?
You’ll need to clean lenses with lens paper, adjust light brightness appropriately, use coarse then fine focus knobs, avoid slide-objective contact when switching lenses, and regularly calibrate controls for accuracy.
What Are the 5 Principles of Microscope?
The five principles of microscopy you’ll need to understand are magnification, resolution, contrast, illumination, and specimen preparation. Each principle works together to help you achieve clear, detailed images of your microscopic samples.
What Are the Five Steps Needed for Looking at Something Through a Microscope?
To look at something through a microscope, you’ll need to: prepare your specimen, adjust the light source, select the proper objective lens, focus using coarse then fine knobs, and adjust the condenser for contrast.
How Do You Get an Accurate Image From a Microscope?
You’ll get an accurate microscope image by calibrating the light source, cleaning all optics, properly focusing, adjusting exposure settings, and using color standards. Don’t forget to optimize your camera settings for best results.
In Summary
You’ll achieve more reliable microscopic color representation by implementing these five techniques consistently. Start with calibrated charts as your reference point, adjust white balance settings properly, and maintain standardized lighting conditions. Don’t forget to leverage digital correction software for post-capture refinement. By following repetitive measurement protocols, you’ll guarantee your microscopic images accurately represent true specimen colors every time you conduct visual analysis.


Leave a Reply