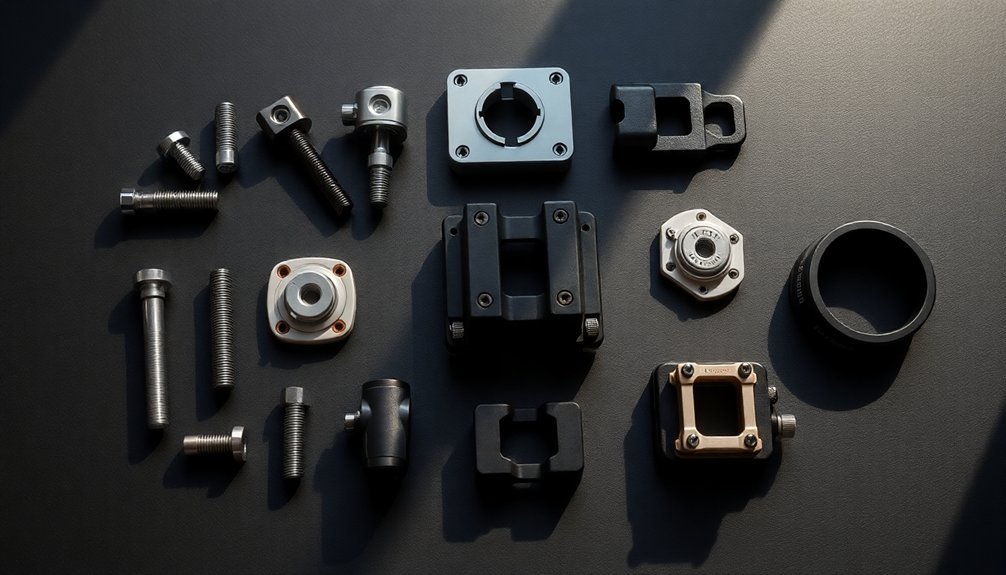
You'll need several essential components for scientific photo attachments: C-mount or T-mount adapters for camera-to-microscope connections, proper mounting rings matched to your thread sizes, and reliable tripod heads for stability. Don't forget extension tubes for macro work and calibrated optical elements that match your sensor specifications. Regular maintenance and proper storage will protect your investment. Understanding these fundamentals will open new possibilities in scientific imaging.
Understanding Camera Mounting Hardware Components
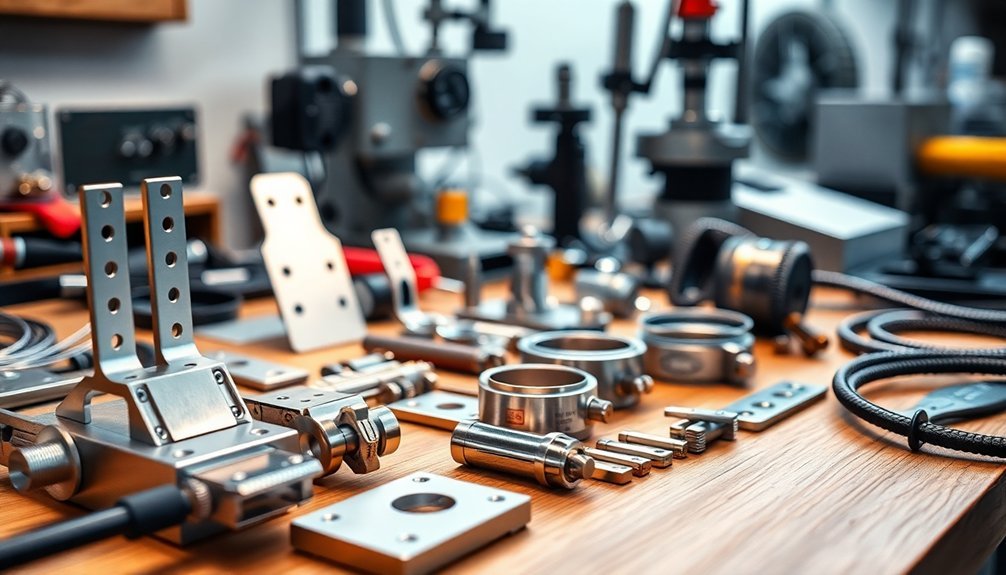
Three essential components form the backbone of scientific camera mounting systems: tripod heads, mounting plates, and leveling bases.
You'll find these camera mounting hardware elements fundamental for achieving precise positioning and stability in your scientific photography work.
Tripod heads enable smooth movement and exact camera control, while mounting plates provide quick-release systems for efficient shifts between handheld and mounted shooting.
High-quality options crafted from aluminum or carbon fiber guarantee durability and minimize vibration during critical shots.
You'll appreciate how leveling bases help maintain horizontal alignment regardless of terrain, which is essential for specialized photography.
When selecting your equipment, focus on components that offer both stability and versatility.
The right combination of these elements will support your work's technical demands while streamlining your workflow through reliable performance.
Types of Microscope Camera Adapters
Precision imaging through microscopes demands the right adapter to connect your camera system.
You'll find three main types of microscope camera adapters that serve different imaging needs.
C-mount adapters feature a 1-inch diameter thread, making them ideal for direct attachment to microscopes in research settings. They're specifically designed for digital cameras with matching thread sizes.
C-mount adapters provide precise microscope-to-camera connections with standardized 1-inch threading, essential for professional research imaging applications.
T-mount adapters offer broader compatibility through their universal T-thread design, and you'll need to pair them with appropriate T-rings for your camera brand.
If you're using a mobile device for specimen documentation, smartphone adapters provide a practical solution. These adapters come with adjustable clamps that secure your phone over the microscope's eyepiece.
Each type guarantees high-quality imaging while meeting specific mounting requirements for your chosen camera system.
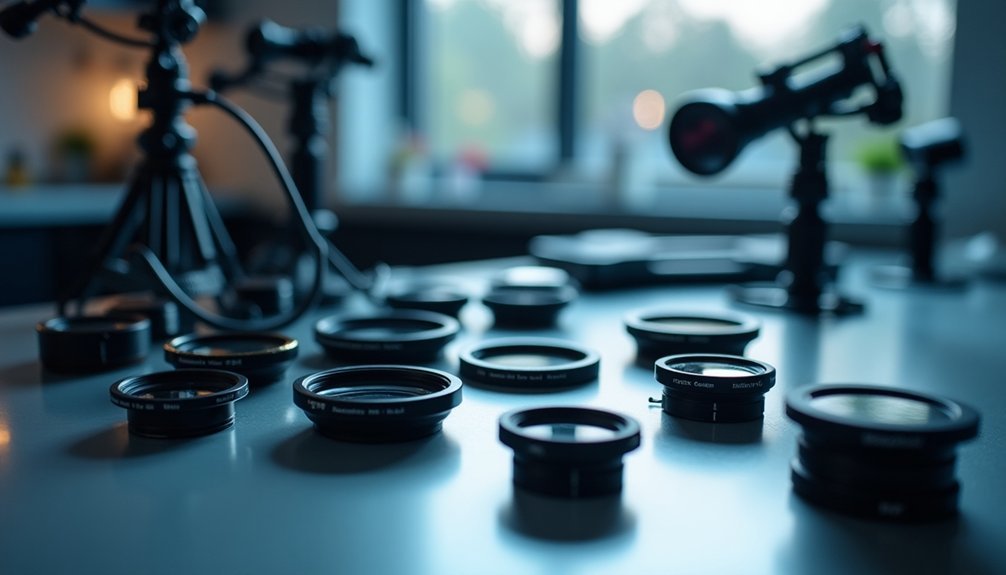
Selecting the Right Mounting Rings and Tubes
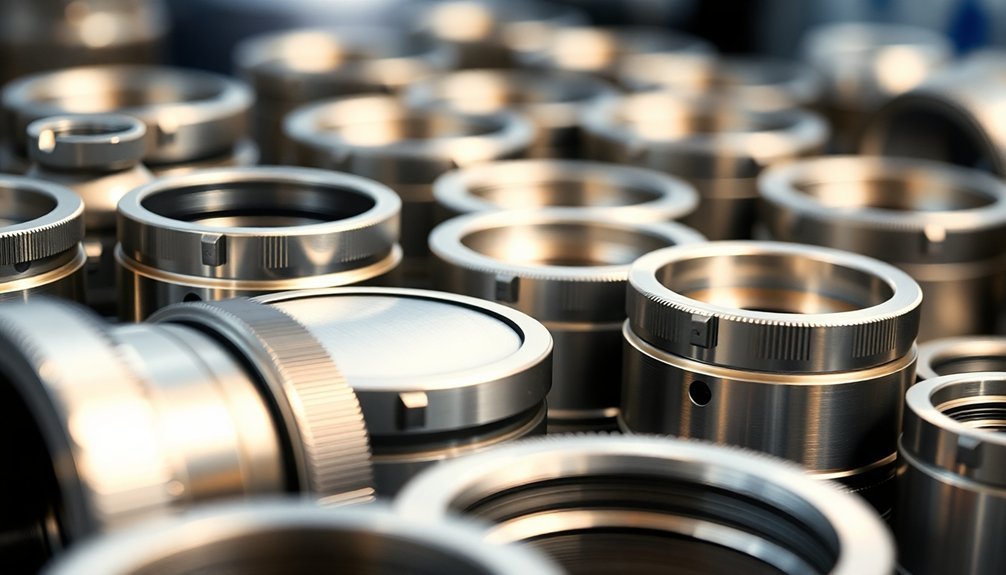
When selecting mounting rings and tubes for scientific imaging, you'll need to match thread sizes and optical path lengths precisely to your equipment. Common options like T2 rings and M42 adapters provide versatile connections between your optical devices and cameras.
Extension tubes can enhance your macro photography capabilities by increasing the distance between lens and sensor for closer focusing. You'll want to carefully consider the optical path length to avoid vignetting and maintain peak image quality.
Look for mounting rings with adjustable designs that allow for precise positioning of your equipment. For the best scientific imaging results, verify your chosen mounting system supports proper alignment and stability.
The right combination of rings and tubes will help you achieve sharp, detailed images while maintaining the integrity of your optical setup.
Optical Path Requirements for Scientific Imaging
To achieve high-quality scientific imaging, you'll need to carefully manage several optical path requirements. The success of your imaging system depends on precise alignment and calibration of multiple components to guarantee ideal results.
- Your choice of lenses greatly impacts image quality, with the numerical aperture being essential for resolution and light collection – higher NA values will give you sharper images.
- You'll need to maintain the correct working distance between your lens and specimen to achieve proper focus and minimize aberrations.
- Select light sources that match your sensor's sensitivity and application requirements, whether you're using LEDs or lasers.
- Confirm proper calibration of your optical system using test patterns or standards to eliminate distortions and assure accurate measurements.
Understanding these fundamentals will help you create a reliable setup for your scientific imaging needs.
Camera-to-Microscope Connection Systems
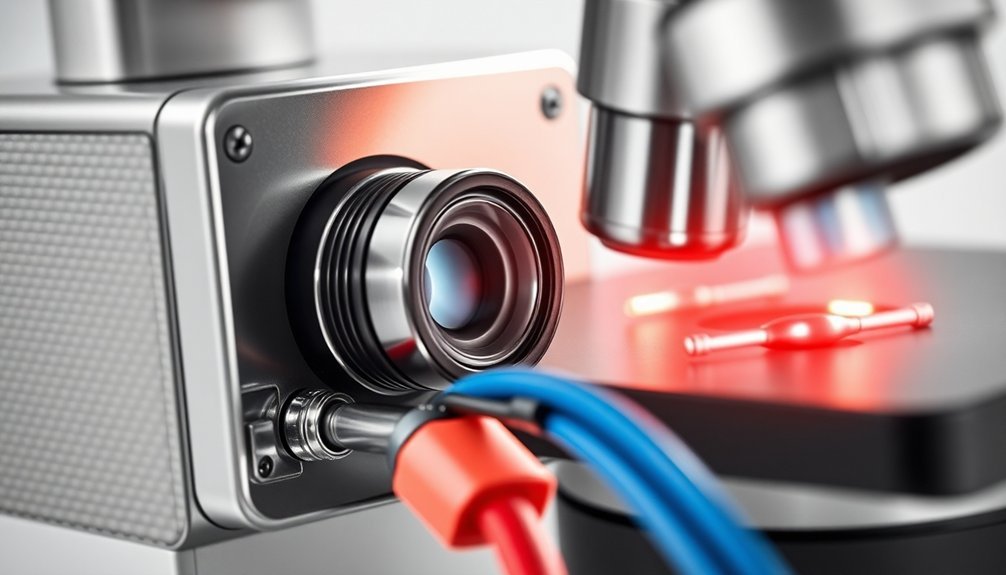
When you're connecting a camera to your microscope, you'll primarily encounter two standard attachment options: C-mount adapters and eyepiece camera ports.
C-mount adapters offer universal compatibility through standardized threading that fits most scientific cameras and microscopes.
Your choice between these systems will depend on your camera's specifications and whether your microscope features a dedicated trinocular port or requires an eyepiece attachment solution.
C-Mount Adapter Designs
Since microscopes and cameras require precise mechanical coupling, C-Mount adapters serve as the critical bridge between these optical systems.
You'll find these versatile tools feature a standardized 1-inch thread design that guarantees compatibility with cameras across various imaging applications. In order to achieve sharp images, these adapters incorporate specialized optics that correct optical aberrations while offering effective focal length options from 0.5x to 2.0x.
When working with C-Mount adapters, you'll need to take into account:
- Proper alignment and focus adjustments to prevent vignetting
- Magnification adjustments based on your camera's sensor size
- Compatibility with your specific camera system (DSLR, mirrorless, or scientific)
- The adapter's optical correction capabilities for your intended application
Microscope Eyepiece Camera Ports
Microscope eyepiece camera ports represent a fundamental component in scientific imaging systems, serving as the vital connection point between your microscope and camera equipment.
These ports enable you to attach digital cameras directly to your microscope for high-resolution capture of specimens.
You'll find that C-mount adapters are particularly versatile, offering compatibility with various microscope models and camera types.
When selecting a port system, you'll need to match the eyepiece tube diameter (typically 23mm or 30mm) to your adapter for proper optical path alignment.
Many systems now include adjustable focus mechanisms, letting you fine-tune your camera's position without disrupting your microscope's setup.
These camera ports aren't just practical—they're indispensable for creating visual documentation that enhances your educational presentations and research work.
Hardware Compatibility and Integration Guidelines
Because scientific photography demands precise equipment integration, understanding hardware compatibility is essential for achieving reliable results.
Before assembling your camera systems, you'll need to verify manufacturer specifications for all components, confirming they work seamlessly together. When using lens adapters for different brands, remember they may affect autofocus performance and electronic functions.
- Choose memory cards that meet speed class requirements for scientific imaging to prevent data loss.
- Test external flash units with your camera system to confirm proper synchronization.
- Check mount types between cameras and lenses to guarantee physical compatibility.
- Keep firmware updated on all components for peak performance.
Mounting Equipment Maintenance and Care
Building on proper hardware integration, maintaining your mounting equipment guarantees consistent, high-quality scientific photography.
You'll need to regularly inspect your equipment for wear and damage, making sure all components remain secure and functioning. Keep mounting surfaces clean using a soft, lint-free cloth to prevent dust from compromising image quality.
Store equipment in a cool, dry environment to avoid rust, and use protective cases to protect against damage.
Proper storage conditions and protective cases are essential safeguards against equipment deterioration and costly damage to scientific gear.
Don't forget to lubricate moving parts according to manufacturer specifications – this will extend lifespan and make certain smooth operation.
Maintain a detailed inventory of your mounting equipment and accessories, noting when maintenance is due or repairs are needed.
This systematic approach to equipment care will help you stay organized and ready for your next scientific photography project.
Frequently Asked Questions
What Are the 6 Most Essential Requirements Needed to Record a Photographic Image?
You'll need a camera body, suitable lens, proper lighting, memory storage, a stable support system like a tripod, and a clear subject to successfully capture your photographic images with professional results.
What Hardware Is Used for Photography?
You'll need a camera (DSLR, mirrorless, or digital), lenses for different shots, memory cards to store images, tripods for stability, lighting equipment, and camera bags to protect your gear.
What Equipment Is Needed for a Photography Studio?
You'll need a professional camera, versatile lenses, studio lights with modifiers, backdrops, tripods, and storage solutions. Don't forget light stands, reflectors, and proper memory cards for your photography studio setup.
What Equipment Do You Need to Take Photos?
You'll need a camera (DSLR or smartphone), memory cards, and a basic lens to start. Adding a tripod, flash, and camera bag will help you capture better photos in various situations.
In Summary
You'll need the right mounting hardware to capture high-quality scientific images. Confirm your camera adapters, mounting rings, and optical components are compatible with both your microscope and camera system. Don't forget to regularly maintain your mounting equipment and check all connections. When you've selected the proper hardware and keep it well-maintained, you'll achieve best results in your scientific imaging work.


Leave a Reply