Selecting the right optical adapter depends on your specific imaging setup. You'll need to match your camera's sensor size (full-frame, APS-C, or micro four-thirds) with the correct mount type (C-Mount or LM adapter) and guarantee proper thread compatibility (typically 25.5mm male thread for C-Mounts). Consider factors like magnification ratio, filter integration needs, and brand-specific requirements from manufacturers like Leica, Zeiss, or Nikon. Exploring these technical specifications will guarantee ideal image quality and performance.
Understanding Adapter Types and Their Applications
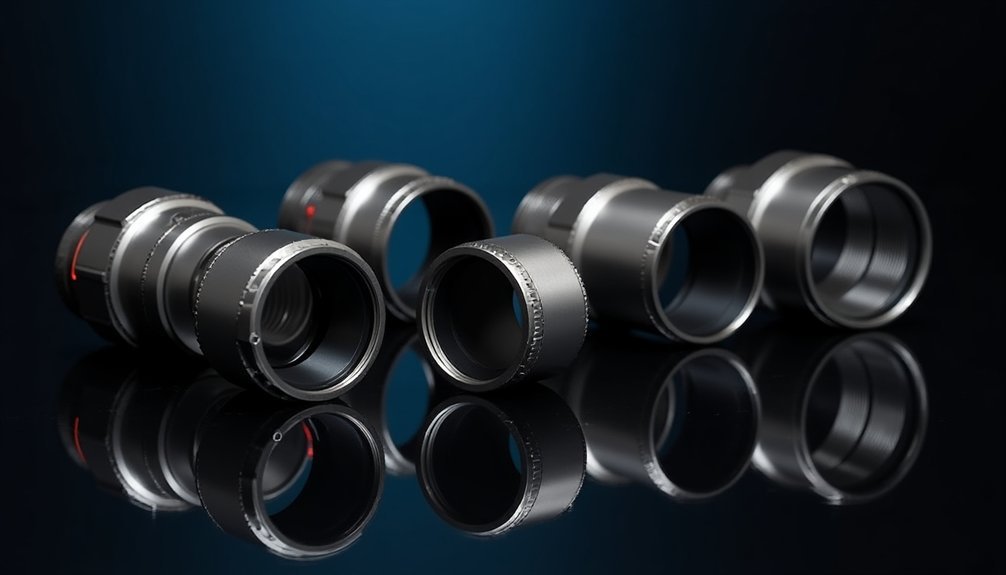
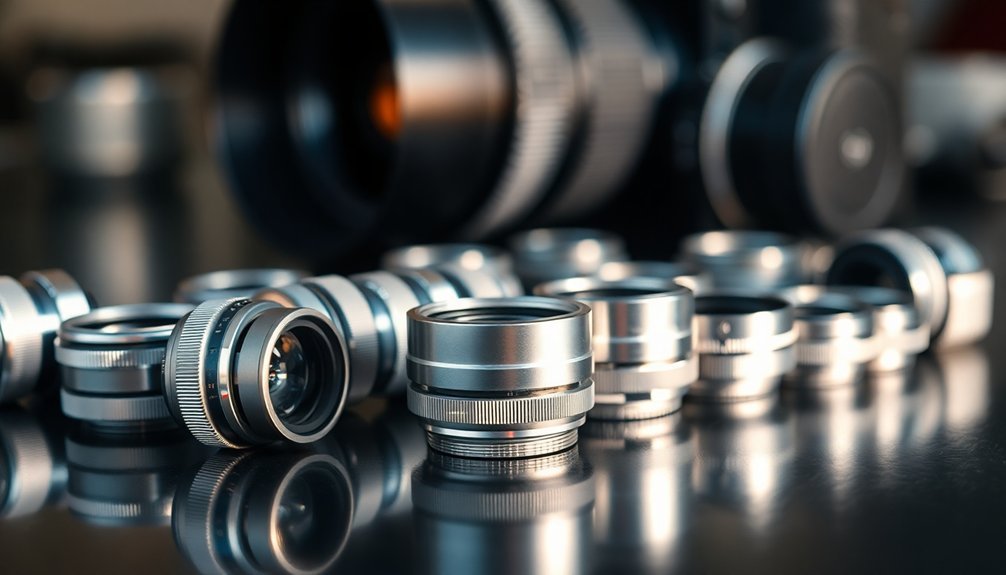
Two main types of optical adapters dominate microscope imaging setups: C-Mount and LM adapters.
You'll find C-Mount adapters particularly useful when you're working with standard trinocular ports, as their 25.5mm male thread provides a secure connection to your optical train. These adapters can also replace eyepieces in binocular microscopes, giving you flexibility in your imaging setup.
LM adapters offer enhanced versatility through their modular design. This adapter allows you to integrate optical filters into your system, which is essential for specialized imaging applications.
LM adapters' modular design expands imaging possibilities by allowing optical filter integration, making them invaluable for specialized microscopy applications.
When selecting your adapter, you'll need to take into account your camera's sensor size and the eyepiece magnification to guarantee you're capturing the ideal field of view. If you can't find a standard solution, custom adapters are available to match your specific microscope and camera combination.
Camera Sensor Compatibility and Mount Requirements
Understanding camera sensor compatibility is essential when choosing optical adapters for microscopy. Your camera body and sensor size directly impact which optical adapters will work effectively with your setup.
You'll need to match the adapter to your specific sensor type, whether it's full-frame, APS-C, or micro four-thirds, to guarantee proper coverage and image quality.
- Check your camera's mount specifications, particularly the C-mount thread compatibility (25.5mm male thread)
- Consider the magnification ratio needed for your sensor size (e.g., 0.5x for 1/2 sensors with 10x eyepieces)
- Verify trinocular port alignment requirements for your microscope model
- Match adapter specifications to your microscope brand (Zeiss, Nikon, or Leica)
- Ascertain the adapter provides full sensor coverage without vignetting or image cropping
Optimal Spacing and Extension Calculations
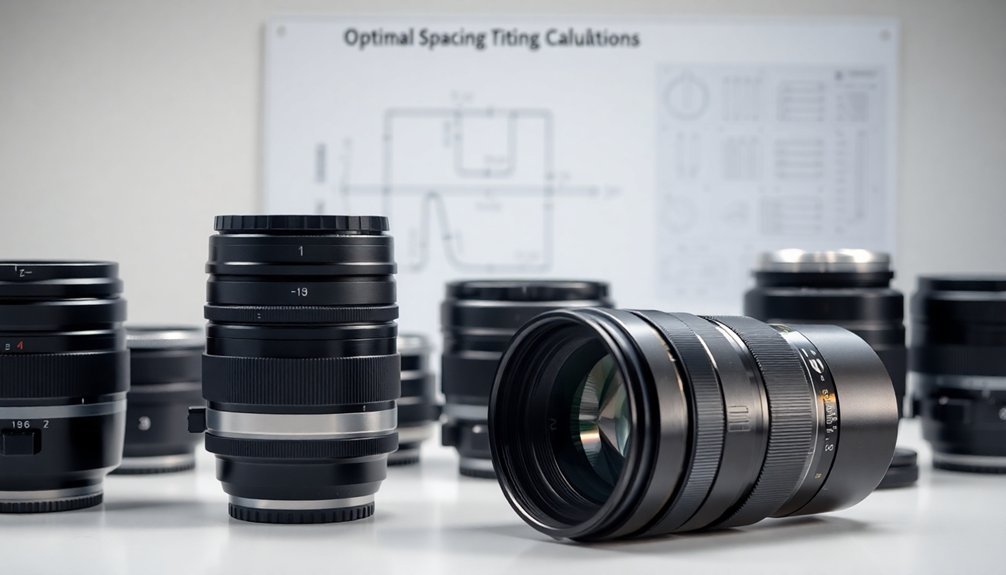
You'll need to calculate the total optical path length by accounting for your sensor-to-reducer target distance of 35mm and any additional components like filter wheels that add roughly 20mm to the spacing.
When using T-thread optical trains, factor in the thickness of your SCT to T adapters and any required spacers to maintain proper alignment throughout the imaging train.
Your final calculations should incorporate both the camera sensor specifications and desired magnification to determine the exact extension tubes needed for ideal focus.
Calculating Total Optical Length
When setting up an imaging system, proper calculation of the total optical length is vital for achieving sharp, well-focused results.
You'll need to maintain a consistent distance between your camera sensor and the focal plane while accounting for a wide range of components in your optical path.
- Measure the spacing from your camera body to the reducer or adapter, typically around 35mm for most systems.
- Calculate the thickness of any filters or additional adapters you're using.
- Consider adding extension tubes if you need extra length for prime focus or eyepiece projection.
- Verify all components align properly to prevent optical distortions.
- Double-check that your total optical length matches the manufacturer's specifications for peak focus.
Remember that precise spacing isn't just about achieving focus—it's vital for preventing distortions and maintaining image quality throughout your imaging session.
Spacing Between Optical Components
Proper spacing between optical components serves as the foundation for achieving sharp, detailed images in any astronomical setup. You'll need to maintain a precise 35mm sensor-to-reducer distance for ideal results. Using low profile adapters and T-thread components, you can fine-tune your spacing while monitoring the live image for any distortions.
| Component Type | Typical Length | Impact on Exposure Times |
|---|---|---|
| T-Thread Adapter | 5-10mm | Minimal |
| SCT Adapter | 15-20mm | Moderate |
| Spacer Ring | 2-5mm | Minimal |
| Low Profile CS | 3-7mm | Significant |
When calculating your spacing needs, consider the total length of your optical train. Regular testing helps guarantee your setup maintains proper alignment, especially after making modifications or switching components. Remember that incorrect spacing can lead to longer exposure times and poor focus.
Filter Integration and Light Path Considerations
The integration of optical filters into imaging adapters opens up powerful capabilities for wavelength-specific analysis while maintaining precise optical alignment.
Precise optical alignment combined with wavelength filtering creates powerful new possibilities for targeted spectral imaging and analysis.
When you're incorporating filters at the bayonet mount, you'll preserve the adapter's height and guarantee consistent optical paths. You can enhance your setup's versatility by choosing modular designs that let you quickly swap filters based on your specific needs.
- Filter wheels provide rapid shifts between different wavelength selections
- Low-profile adapters minimize potential distortions in the light path
- Proper spacing maintains peak image quality and reduces aberrations
- Manual or motorized filter wheels streamline time-sensitive observations
- Bayonet mount integration guarantees stable filter positioning without compromising optical alignment
The right combination of adapters and filters will give you precise control over your imaging setup while maintaining the integrity of your light path.
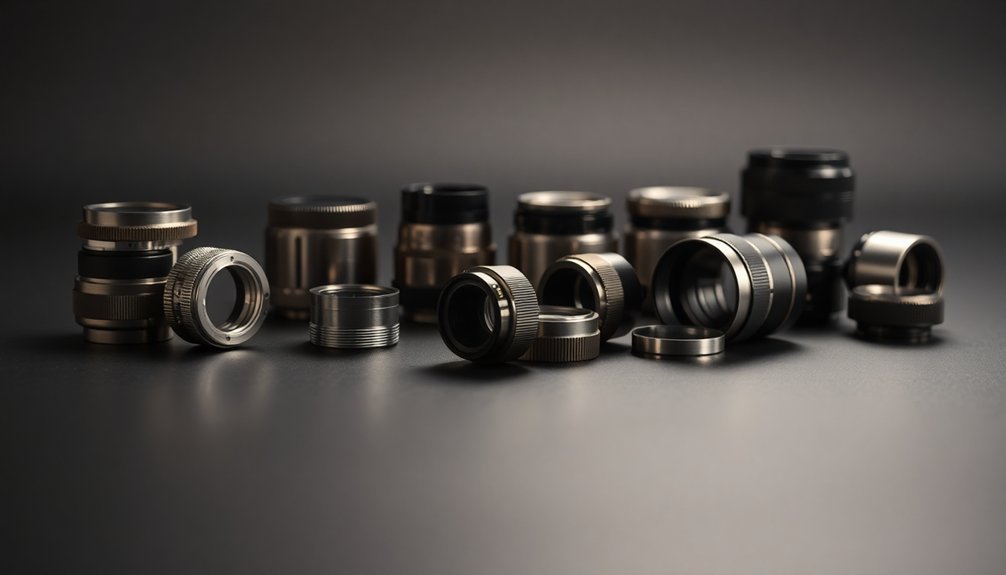
Mechanical Fit and Thread Specifications
When you're selecting optical adapters, you'll need to match standard thread sizes like the common 25.5mm C-Mount specification to guarantee proper connection between your imaging devices.
For ideal compatibility, verify that your adapter's mounting hardware aligns with both your microscope's trinocular ports and your camera's specific requirements.
You can find standardized solutions for major brands or pursue custom adapters when unique thread specifications are needed for your particular imaging setup.
Thread Size Compatibility Guide
Understanding thread size compatibility serves as a critical foundation for successfully connecting optical adapters to your imaging equipment.
When selecting adapters, you'll need to match your camera's specifications with the appropriate thread size, like the standard C-Mount's 25.5mm male thread. You'll also want to take into account how your sensor type interacts with eyepiece magnification to maintain ideal image quality.
- Verify your camera's thread specifications before purchasing any adapter
- Check if you need a dedicated brand-specific adapter for your trinocular port
- Take into account M42 filter holder compatibility with your existing setup
- Match adapter specifications to your microscope's mounting requirements
- Ascertain the thread size supports your desired magnification and sensor combination
Always confirm thread measurements and compatibility with your supplier to avoid fitting issues and guarantee proper optical alignment.
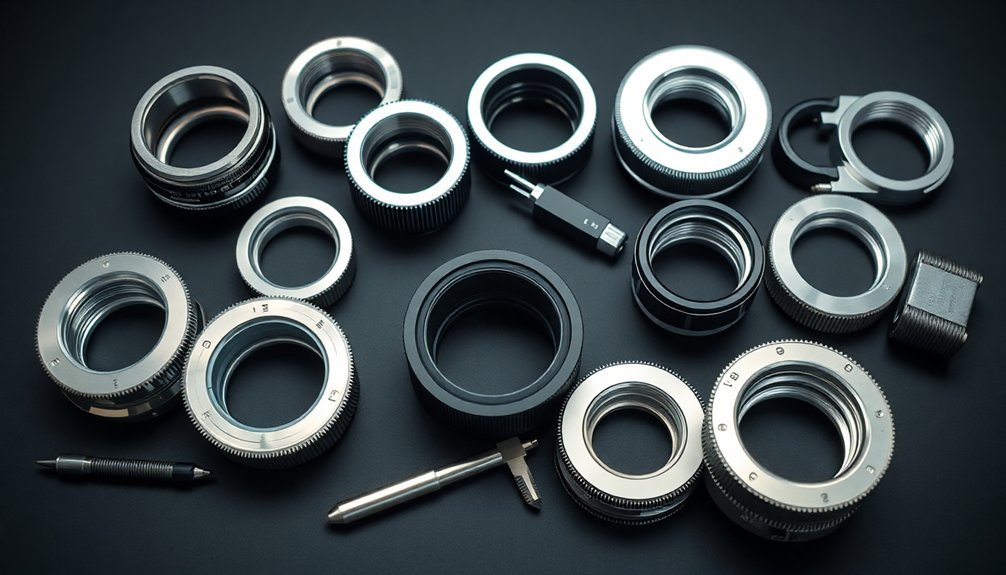
Mounting Hardware Standards
Standardized mounting hardware plays an essential role in connecting optical components across different imaging systems.
You'll find that most adapters follow established specifications like the C-Mount, which features a 25.5mm male thread for universal compatibility.
When you're setting up your imaging system, you'll need to take into account the T-thread optical train, which provides superior focus and alignment capabilities.
Many adapters offer low-profile designs and rotatable mounts to help you meet specific spacing requirements while minimizing optical distortions.
Brand-specific adapters from manufacturers like Leica, Zeiss, Nikon, and Olympus guarantee you maintain peak performance with their respective systems.
Before making your selection, you'll want to verify that your chosen adapter matches your microscope's trinocular ports to assure the best possible image quality and system integration.
Image Quality Optimization Through Proper Mounting
Proper mounting techniques serve as the foundation for achieving superior image quality in optical imaging setups.
You'll need to guarantee your camera's sensor aligns perfectly with the focal point using the right adapter. When you're working with C-mount systems, the standard 25.5mm thread provides versatile compatibility across different devices.
- Maintain a precise camera-to-reducer distance of 35mm to prevent distortion
- Select eyepieces that match your camera's specifications for ideal field of view
- Use a parfocalizing ring to maintain consistent focus between eyepiece and camera
- Check that your C-mount adapter threads align properly with both camera and device
- Verify sensor alignment with the optical path before securing all components
Advanced Adapter Features for Specialized Imaging
When specialized imaging demands more than basic mounting solutions, advanced optical adapters offer sophisticated features that transform standard setups into highly capable systems.
You'll find modular designs that integrate optical filters, perfect for specialized applications like photometry and fluorescence imaging.
These adapters work seamlessly with various digital cameras, supporting high-resolution sensors up to 61 megapixels. If you're dealing with glare or contrast issues, you can opt for a filter holder M42 with circular polarization capability, though it'll cost you around $306.
You'll also appreciate the remote control features through PC/Mac interfaces, giving you precise control over your imaging parameters. The advanced optical systems maintain parfocal alignment throughout camera adjustments, ensuring your specialized imaging needs are met with consistent quality.
Troubleshooting Common Mounting Issues
Mounting challenges can frustrate even experienced photographers during equipment setup. You'll need to carefully verify thread compatibility and maintain proper spacing between components to achieve ideal results.
When troubleshooting mounting issues, always check that your camera-to-reducer distance stays at 35mm for the best light path performance.
- Use brand-specific adapters for your microscope's trinocular port instead of generic options
- Double-check that C-Mount adapters match the standard 25.5mm male thread on your equipment
- Install extension tubes when eyepiece projection methods don't align with your camera's focal point
- Watch for signs of coma or distortion that might require rotatable adapter adjustments
- Maintain consistent spacing between optical components to prevent focusing problems
If you're still experiencing issues, consider using collimatable extension rings to fine-tune your optical alignment and image quality.
Performance Testing and Calibration Methods
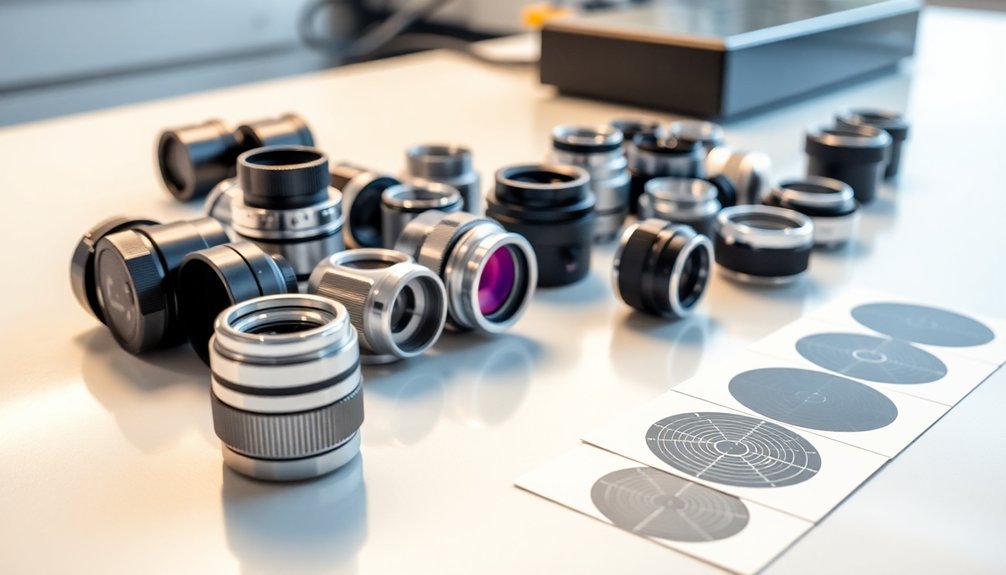
You'll need specific testing tools to measure your optical adapter's resolution quality, including standardized test charts and calibration targets that reveal precise detail reproduction.
To evaluate field flatness, you can capture images of grid patterns across different focal planes, checking for any distortion or curvature that might affect your imaging results.
Running these tests with image analysis software lets you quantify your adapter's performance metrics and maintain consistent optical quality throughout your imaging sessions.
Measuring Optical Resolution Quality
To maintain ideal performance in optical imaging setups, precise measurement of resolution quality serves as a cornerstone of system validation.
You'll need to employ calibrated test targets like USAF resolution charts to determine your system's ability to distinguish fine details. Using MTF analysis, you can quantify how well your setup preserves contrast across different spatial frequencies, ensuring excellent performance.
- Test your system under controlled lighting conditions to evaluate adapter impact
- Compare images with and without specific optical components to assess quality differences
- Focus on proper alignment and calibration of all optical elements
- Check that adapters and filters don't introduce unwanted aberrations
- Implement regular maintenance schedules to maintain consistent resolution quality
Remember to document your measurements and maintain calibration records, as this data will help you track system performance over time and identify potential issues before they affect your imaging results.
Field Flatness Test Methods
When evaluating optical adapters, field flatness testing guarantees uniform sharpness across your entire imaging field. You'll need to assess image quality at multiple points using either a flat-field source or test target. Modern software tools can help you analyze sharpness and distortion metrics, including RMS wavefront error measurements.
| Test Parameter | Method | Key Indicator |
|---|---|---|
| Field Curvature | Flat-field Source | Edge Sharpness |
| Image Distortion | Test Target Grid | Pattern Uniformity |
| Wavefront Error | RMS Analysis | Numerical Value |
| Edge Resolution | Multi-point Testing | Corner Clarity |
| Overall Quality | Software Analysis | Performance Score |
Remember to conduct these tests regularly, especially after making any changes to your setup. This systematic approach guarantees your optical adapter maintains peak performance and delivers consistently high-quality imaging results across the entire field of view.
Maintenance and Care of Optical Adapters
Maintaining the pristine condition of optical adapters requires consistent care and attention to detail.
You'll need to regularly clean them with a microfiber cloth and appropriate cleaning solution to prevent dust buildup that can compromise image quality.
Don't forget to check the alignment periodically to verify proper optical paths and avoid distorted images.
- Store your adapters in a protective case or pouch when they're not in use
- Perform routine inspections for wear, loose fittings, and damaged threads
- Clean surfaces gently to avoid scratching the delicate optical components
- Use only approved cleaning solutions designed for optical equipment
- Check alignment settings before and after each cleaning session
When you follow these maintenance practices, you'll extend the life of your optical adapters and maintain peak imaging performance throughout their service life.
Upgrading Your Adapter System for Better Results
After mastering basic adapter maintenance, you'll likely want to enhance your imaging capabilities with strategic upgrades.
A modular LM adapter system offers greater adaptability and the ability to add optical filters for specialized tasks.
You'll benefit from choosing a plan achromatic optical system, which delivers superior clarity and detail in your images.
When upgrading, verify your adapter is compatible with your camera model – whether it's Sony, Nikon, or Canon – and maintains proper spacing to prevent distortion.
Consider adding a motorized filter wheel to your setup.
This upgrade lets you switch between filters quickly and efficiently, boosting both productivity and image quality.
Frequently Asked Questions
How Do I Know Which Lens Adapter to Use?
You'll need to check your camera type (DSLR, mirrorless, or C-mount), match your sensor size, and calculate required magnification. Use manufacturer's online configurators to find compatible adapters for your specific setup.
Do Adapters Affect Image Quality?
Yes, adapters can affect your image quality. If you're not using properly matched and calibrated adapters, you'll experience distortions and focus issues. High-quality LM adapters with plan achromatic systems minimize these problems.
What Type of Adopter Is Useful for Attaching Still Cameras to the Microscope?
You'll need a C-mount adapter, which has a 25.5mm male thread to connect your still camera to the microscope. It can include internal optics to match your camera's sensor size and field of view.
What Is the Difference Between T Adapter and T Ring?
You'll need both: a T ring connects directly to your camera body, while a T adapter mounts to your telescope's focuser. They work together to properly attach your camera for astrophotography.
In Summary
Your success with optical adapters depends on thorough compatibility checks and proper maintenance. If you're still experiencing issues, revisit your spacing calculations, verify thread specifications, and test your setup's performance. Don't forget to regularly clean and calibrate your adapters. When you're ready to upgrade, choose adapters that'll enhance your imaging quality while maintaining mechanical stability and optical alignment.


Leave a Reply