To optimize live view settings for scientific imaging, balance exposure time with frame rate (aim for 30 fps) while monitoring signal quality. Adjust contrast and brightness using histogram data to prevent clipping. Set camera gain lower for detailed imaging or higher for dim specimens, but watch for increased noise. Use modern fluorophores to enable shorter exposures, and consider binning for low-light conditions. Thunder Live technology can greatly improve real-time processing efficiency. These adjustments will transform your imaging workflow’s speed and quality.
Balancing Exposure Time and Frame Rate for Real-Time Imaging
When setting up your scientific imaging system, achieving the perfect balance between exposure time and frame rate is essential for successful real-time observations.
Select the shortest exposure time that still captures sufficient signal while maintaining a frame rate of approximately 30 fps for responsive feedback.
Remember that shorter exposure times reduce motion blur and improve tracking of fast-moving specimens, but don’t set them too low.
Excessively short exposures can introduce noise and degrade image quality.
If you’re targeting frame rates above 30 fps, you’ll need progressively briefer exposure times, so guarantee your camera’s sensor has adequate sensitivity.
Many researchers utilize sCMOS cameras in 12-bit mode to optimize live view performance without sacrificing image fidelity.
Optimizing Contrast and Brightness for Clear Live Visualization
Although capturing sufficient signal is crucial, properly adjusting contrast and brightness parameters will dramatically enhance your live view quality during scientific imaging sessions.
Precise contrast and brightness adjustments transform ordinary scientific images into revelation-rich visual data.
Monitor your histogram to verify it peaks without clipping, preserving essential highlight detail. Apply gamma correction to maintain natural balance between light and dark areas, revealing subtle features that might otherwise remain hidden.
- Utilize contrast enhancement tools to improve differentiation between structures, making important features immediately identifiable.
- Calibrate camera settings specifically for your fluorophores’ excitation/emission spectra.
- Adjust gain and exposure time to find the best balance between detail and noise.
- Fine-tune brightness levels to avoid overexposure while maintaining visibility of key structures.
Regular experimentation with these settings will help you develop the ideal configuration for your specific imaging needs.
Managing Camera Gain Settings to Reduce Noise in Live View
Adjusting your camera’s gain settings requires balancing sensitivity against noise levels, where higher gain amplifies both signals and background noise while reducing dynamic range.
You’ll need to optimize this tradeoff by selecting lower gain values for bright samples and higher settings for dim specimens, always considering how gain affects your quantitative measurements.
For challenging low-light conditions, consider combining moderate gain with longer exposure times or binning, which often yields cleaner images than maximal gain alone.
Gain vs. Noise Tradeoffs
Because camera gain directly impacts image quality, understanding its relationship with noise is vital for scientific imaging. When you increase gain to brighten your images, you’ll simultaneously amplify noise signals, potentially degrading your results. Finding the ideal balance requires systematic testing with your specific camera system.
- Set your gain within the 0-100 range, starting at lower values to minimize noise while maintaining adequate signal strength.
- Monitor your camera’s quantum efficiency (QE) curve to align gain settings with wavelength-specific sensitivity.
- For EMCCD cameras, carefully adjust EM gain to preserve signal-to-noise ratio (SNR).
- Compensate for lower gain settings by increasing illumination rather than amplifying weak signals.
The gain vs. noise relationship isn’t linear—small gain increases can disproportionately affect noise levels, making methodical optimization vital for precise scientific imaging.
Dynamic Range Optimization
Dynamic range optimization extends beyond basic gain adjustments to encompass the full spectrum of signal detection capabilities in your imaging system.
To maximize your dynamic range, you’ll need to balance gain settings carefully against exposure time. Lower gain reduces noise and preserves subtle details, especially critical when working with delicate fluorescence signals.
When adjusting your live view, consider the signal-to-noise ratio as your primary quality metric. Higher gain amplifies both signal and noise, potentially washing out important sample details.
Instead, opt for longer exposures with lower gain when possible.
For ideal results, reference your camera’s quantum efficiency curve, focusing on the 500-650 nm sweet spot.
Utilize your imaging software’s dynamic range enhancement features to simultaneously visualize bright and dim regions without compromising image quality.
Low-Light Gain Strategies
Three critical principles govern effective gain management in low-light scientific imaging. When operating your microscope camera, always adjust gain settings to the lowest effective level that maintains image clarity while minimizing noise.
Match your camera’s quantum efficiency curve with your exposure parameters to optimize sensitivity at specific wavelengths.
- Incrementally adjust gain based on real-time performance metrics rather than making dramatic changes.
- Utilize HDR settings when available to enhance image quality without introducing excessive noise.
- Consider switching to modern, brighter fluorophores that require less illumination and lower gain settings.
- Monitor live view feedback continuously to find the balance between sensitivity and noise reduction.
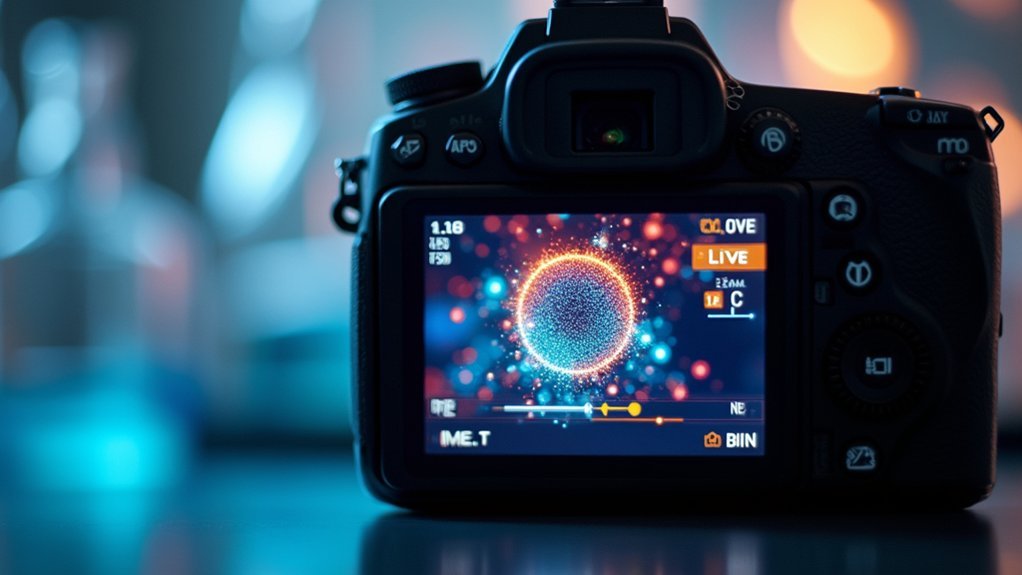
Utilizing Thunder Live Technology for Instant Processing
Release real-time processing power with Thunder Live technology, revolutionizing how researchers approach scientific imaging. You’ll immediately see visual feedback during processing, allowing you to define your region of interest and make adjustments on the fly without waiting for rendering.
The system streamlines your workflow by simplifying Z-stack boundary setting and enabling larger area scans with instant visualization. Integration with Las Navigator supports automated analysis across multiple sample formats.
| Feature | Benefit | Time Saved |
|---|---|---|
| Real-time feedback | Immediate adjustments | 40-60% |
| Simplified Z-boundaries | Streamlined workflow | 30-45% |
| Large area scanning | extensive datasets | 50-70% |
| Template integration | Automated analysis | 35-55% |
| Blur-free acquisition | Enhanced image quality | 45-65% |
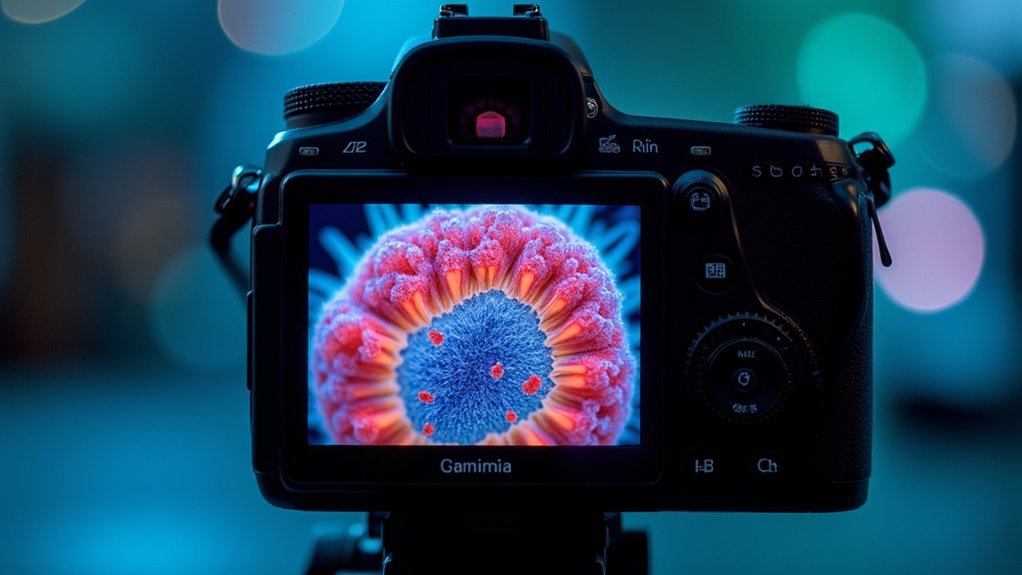
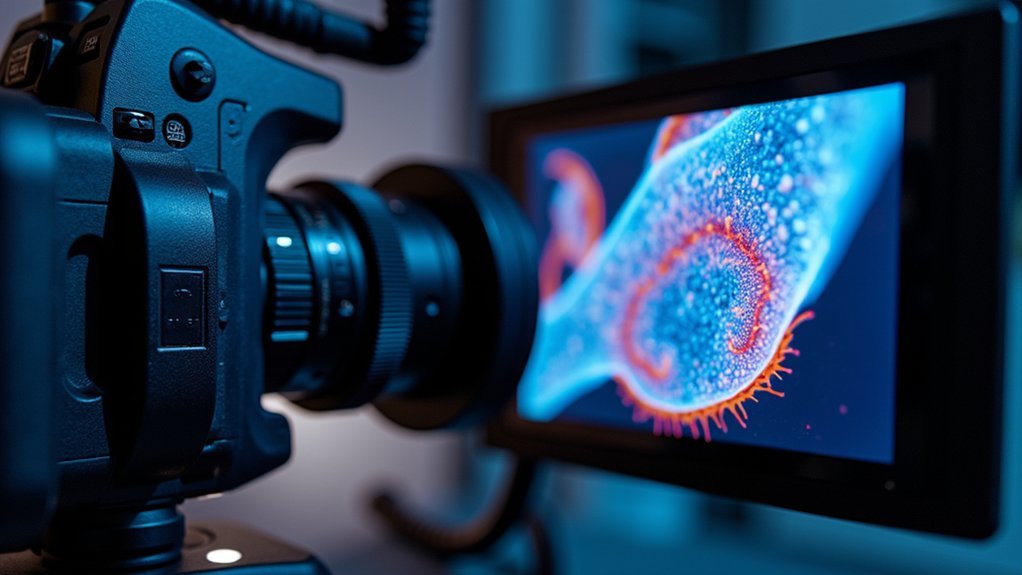
Matching Camera Settings to Specific Fluorophore Requirements
When optimizing your scientific imaging, you’ll need to carefully match camera settings to the specific properties of your chosen fluorophores.
Adjust your exposure times to the minimum effective level for each fluorophore’s brightness characteristics, while ensuring your camera’s quantum efficiency aligns with the emission spectra of your samples.
For best results, balance gain settings against signal strength, monitoring how these adjustments impact both image quality and photobleaching rates during your experiments.
Matching Camera Settings to Specific Fluorophore Requirements
Since each fluorophore has unique optical properties, properly tailoring your camera settings to these specific requirements is essential for successful scientific imaging.
You’ll achieve ideal results by aligning your camera’s capabilities with your fluorophore’s characteristics within your field of view.
- Set exposure time and illumination intensity to the lowest effective levels to prevent saturation while maximizing signal-to-noise ratio.
- Select modern fluorophores that emit within 500-650 nm range where most cameras demonstrate peak sensitivity.
- Reference your camera’s quantum efficiency curve to verify sensitivity at your fluorophore’s emission wavelength.
- Adjust settings based on fluorophore brightness—brighter markers allow shorter exposures without compromising image quality.
Remember to regularly calibrate your settings as fluorophore concentrations change throughout your experiments to maintain imaging consistency.
Exposure Time Optimization
Perfecting your exposure time represents the cornerstone of successful fluorescence imaging, as it directly determines both signal strength and specimen viability.
To achieve ideal exposure time optimization, set your illumination intensity to the lowest effective level, reducing background noise while maintaining clarity.
Switch to modern, brighter fluorophores with improved stability to enable shorter exposures without compromising signal quality. Confirm your camera’s sensitivity aligns with the fluorophore’s emission spectrum (typically 500-650 nm) for maximum detection efficiency.
Fine-tune exposure times according to your camera’s quantum efficiency curve for specific wavelengths.
Don’t set and forget—regularly monitor your imaging results and adjust settings based on feedback. This systematic approach helps you consistently produce quality images while minimizing photobleaching and phototoxicity effects on your specimens.
Gain vs. Signal Ratio
Three critical factors determine your gain enhancement strategy when matching camera settings to fluorophores.
First, understand that higher gain increases sensitivity but amplifies noise, directly impacting your signal-to-noise ratio.
Second, consider your fluorophore’s specific emission profile when setting gain levels.
Third, balance reduced exposure times with appropriate gain adjustments to capture fast dynamics without compromising image quality.
For ideal fluorophore-camera matching:
- Align your camera’s quantum efficiency curve with your fluorophore’s emission spectrum
- Calibrate gain settings specifically for your fluorophore concentration
- Test different gain values to find the sweet spot where signal is maximized but noise remains manageable
- When imaging fast-moving specimens, increase gain judiciously to compensate for shorter exposure times
Configuring Power and Connection Settings for Uninterrupted Streaming
When setting up scientific imaging equipment for extended observation sessions, uninterrupted streaming becomes critical to data collection success. In life science applications, even momentary disruptions can compromise experimental results.
Disable power-saving modes for your PCIe/camera controller card in device manager to prevent live view interruptions. Connect your camera using USB 2 or USB 3 ports for convenience and stability, or consider high-performance options like CoXpress or Cameralink for demanding applications.
Ensure uninterrupted imaging by disabling power-saving features and selecting appropriate camera connections for your specific performance requirements.
Dedicate your PC exclusively to camera operations, avoiding resource competition that might compromise streaming performance.
Don’t overlook the importance of regular software updates for your camera control system—these updates often include optimizations specifically designed to enhance live view stability and performance during extended imaging sessions.
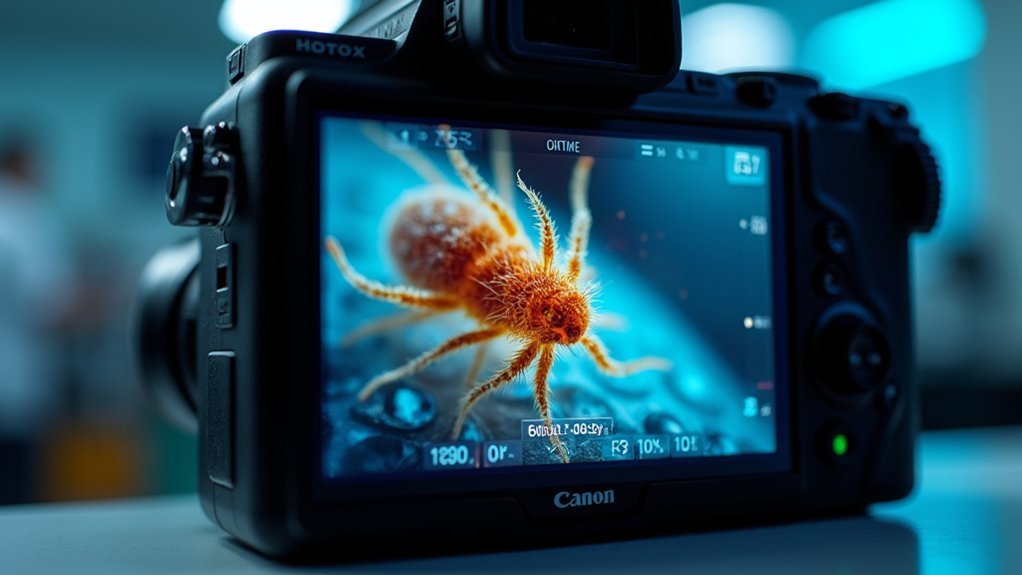
Adjusting Resolution and Binning for Improved Live Feedback
With your equipment properly connected and powered, the next factor that impacts live view performance lies in your resolution and binning settings.
Reducing your resolution during live view considerably accelerates feedback speed while preserving quality for final captures. Implementing binning combines multiple pixels into one, boosting sensitivity in low-light conditions.
To refine your settings effectively:
- Lower resolution to 640×480 during setup and monitoring to maximize frame rates
- Test 2x or 4x binning to increase effective pixel size and enhance faint signal visibility
- Experiment with different resolution/binning combinations to find the ideal balance for your specific requirements
- Regularly adjust these settings based on your lighting conditions and the sensitivity needs of your experiment
Frequently Asked Questions
How Do Sample Mounting Techniques Affect Live Imaging Quality?
Sample mounting impacts your live imaging quality through specimen stability, light scattering, and optical path clarity. Improper mounting causes drift, introduces aberrations, and creates artifacts that degrade your resolution and signal-to-noise ratio.
Can Live View Settings Be Saved for Future Experiments?
Yes, you can save your live view settings for future experiments. Most imaging software lets you store custom configurations, including exposure times, gain settings, and filter combinations as reusable profiles or templates.
How Do Different Objectives Impact Optimal Live View Parameters?
Different objectives impact your live view parameters by changing resolution, light gathering, and depth of field. Higher magnification objectives typically need increased exposure time and gain to maintain brightness in your imaging.
What Hardware Upgrades Most Improve Scientific Live Imaging Performance?
For better scientific live imaging, you’ll benefit most from upgrading your camera sensor (sCMOS), adding hardware acceleration (GPU), improving light sources (LED), and enhancing computing power with faster processors and more RAM.
How Does Temperature Control Influence Live View Image Stability?
Temperature control greatly impacts your live view stability. You’ll notice drift and focus shifts in unregulated setups as thermal expansion affects components. Maintaining constant temperature reduces these artifacts for clearer, more reliable imaging results.
In Summary
Mastering your live view settings is essential for successful scientific imaging. By carefully adjusting exposure, gain, and resolution while incorporating advanced features like Thunder processing, you’ll capture clearer, more meaningful data. Remember to tailor settings to your specific fluorophores and experimental needs. With these optimizations, you’ll eliminate unnecessary noise, maintain smooth frame rates, and guarantee your live imaging delivers reliable, high-quality results every time.


Leave a Reply