Exposure time in microscope photography determines how much light your camera sensor collects, directly impacting image quality and data accuracy. You'll need shorter exposures for bright samples to prevent overexposure, while dim specimens require longer times to capture details. It's essential to balance exposure settings to protect live cells from photodamage while maintaining image clarity. Mastering these settings reveals the full potential of your microscopic imaging.
Understanding the Basics of Camera Exposure Time
Photography in microscopy hinges on mastering exposure time – the vital interval during which your camera's shutter stays open to collect light. As you adjust this duration, you'll directly influence the light intensity captured by your sensor, affecting both image brightness and clarity.
Mastering microscopy requires precise control of exposure time, as this single factor determines both the quality and accuracy of your images.
You'll need to find ideal exposure times that maximize your camera's dynamic range without reaching pixel saturation. This balance is significant when you're working with different sample characteristics, especially in live-cell imaging where excessive exposure could damage specimens.
When you're conducting comparative imaging, maintaining consistent exposure times becomes essential for generating reliable quantitative data.
Remember that each sample may require unique exposure settings based on its brightness and your imaging goals. You'll achieve the best results by carefully monitoring your exposure parameters and adjusting them according to your specific needs.
The Science Behind Light Capture and Sensor Sensitivity
When light travels through your microscope's optical system, it ultimately reaches the camera's sensor, where photons are converted into electrical signals. The sensor's sensitivity determines how efficiently it can process these photons during the exposure time you've set.
Higher light intensity requires shorter exposure times to prevent overexposure, while dimmer samples need longer exposures to capture sufficient detail. You'll need to balance these factors carefully to achieve ideal exposure times that maximize your sensor's dynamic range. This guarantees you're capturing both bright and dark areas with proper contrast and brightness.
Your sample's characteristics will influence the adjustments you make. Different specimens reflect or transmit varying amounts of light, so you'll need to modify exposure times accordingly to maintain consistent detail capture and image quality.
Balancing Dynamic Range in Microscope Photography
While achieving ideal exposure in microscope photography requires technical precision, mastering dynamic range is equally essential for capturing detailed specimen images.
You'll need to carefully balance exposure time to guarantee you're capturing both bright and dark areas without losing critical details through pixel saturation.
- Monitor your histogram while adjusting exposure time to utilize your camera's full dynamic range
- Watch for pixel intensity changes, especially in bright areas where saturation can occur
- Test different exposure settings when working with unevenly lit specimens
- Keep exposure times consistent when making quantitative comparisons between specimens
When you're aiming for peak exposure, remember that brightness isn't everything.
Your goal is to maintain detail across the entire image while avoiding overexposure.
Using histograms as your guide, you can achieve the perfect balance between capturing subtle details and preserving your image's dynamic range.
Essential Factors Affecting Exposure Settings
When selecting exposure settings for microscope photography, you'll need to evaluate the sample's signal strength, as brighter specimens may require shorter exposure times while dimmer ones demand longer durations.
Your microscope's technical capabilities, including sensor sensitivity and optical transmission, will set practical boundaries for achievable exposure times.
You must also factor in potential light-induced damage to your specimens, particularly in live-cell imaging where shorter exposures help preserve cellular integrity.
Sample Signal Strength
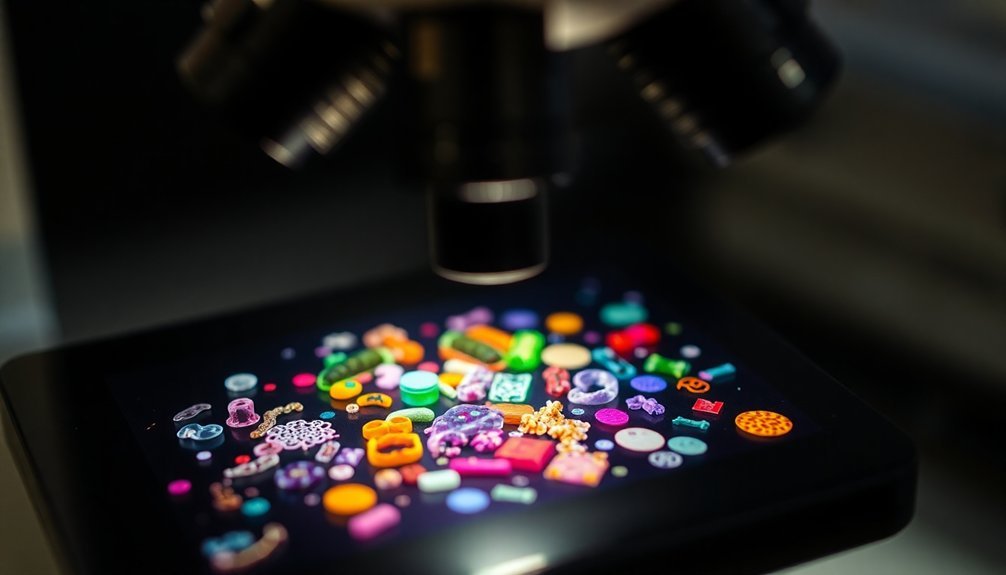
The brightness of your microscopic sample plays a significant role in determining the best exposure time for capturing clear, detailed images.
You'll need to adjust your settings based on signal strength, ensuring ideal exposure times that balance light intensity with image quality.
- For bright samples, you can use longer exposures without risking pixel saturation, allowing you to capture rich detail and full signal intensity.
- When working with dim specimens, you'll need shorter exposures to prevent overexposure while still maintaining image clarity.
- Live-cell imaging requires particularly brief exposure times to protect cell health from light damage.
- Finding the right exposure often requires trial and error, but maintaining consistent exposure across comparative samples is essential for accurate analysis.
Remember that uneven signal distribution or varying stain intensities may need different approaches to achieve the best results.
Technical Equipment Limitations
Understanding your microscope's technical limitations is essential for achieving ideal exposure settings in microscopic photography. Your equipment's capabilities directly impact how you'll need to adjust exposure time for best results.
The objective lens's N.A. affects how much illumination reaches your sample, while your camera's readout speed can limit high-speed imaging performance. If you're using film, you'll need to take into account its specific latitude and contrast characteristics, as different film types respond uniquely to exposure variations. Some films handle overexposure better than others, which influences how you'll set your exposure parameters.
Technical equipment constraints also vary between microscopy types. For instance, you'll need different exposure strategies when switching between fluorescence and brightfield imaging due to distinct light intensity requirements and sample properties.
Light Damage Prevention
Beyond equipment capabilities, protecting your samples from light damage stands as a primary concern when determining exposure settings.
You'll need to carefully manage light exposure to prevent photodamage, especially when working with sensitive live cell samples.
To maintain sample integrity and minimize cellular stress, consider these essential practices:
- Use short exposure times that allow just enough visibility to capture necessary details while protecting cell health.
- Balance light intensity with exposure time to avoid pixel saturation and potential sample damage.
- Adjust settings based on your sample's specific light tolerance, as different specimens have varying sensitivities.
- Implement time-lapse imaging techniques when appropriate to reduce cumulative light exposure while maintaining data quality.
These strategies help you capture clear images while preserving the viability of your specimens throughout the imaging process.
Optimizing Exposure for Live Cell Imaging
When optimizing exposure settings for live cell imaging, you'll need to carefully balance image brightness against cellular health to prevent phototoxic damage.
You should start with the shortest possible exposure time that still allows you to see your target structures clearly, as excessive light exposure can harm cells and alter their natural behavior.
Using your imaging software's saturation indicators, you can fine-tune the exposure settings to capture essential details while keeping your cells healthy and viable throughout the observation period.
Cell Health Vs Brightness
The delicate balance between cell health and image brightness presents a critical challenge in live-cell microscopy.
You'll need to carefully manage exposure time to protect your specimens while capturing clear, detailed images. The key is finding ideal exposure times that minimize photodamage without compromising signal intensity.
To achieve the best results in live-cell imaging:
- Monitor pixel saturation to verify you're utilizing the camera's full dynamic range
- Start with shorter exposure times and adjust gradually based on image quality
- Consider your specific research goals when determining acceptable brightness levels
- Test different exposure settings to find the sweet spot between cell health and image clarity
Minimizing Phototoxic Effects
Since phototoxicity poses a significant threat to live cell specimens, fine-tuning exposure settings becomes crucial for maintaining experimental integrity.
You'll need to carefully balance exposure time with signal intensity to minimize photodamage while still capturing essential cellular processes.
To protect cell health, prioritize shorter exposure times that reduce light-induced stress on your specimens.
You'll want to monitor pixel saturation using software indicators or histograms to verify you're capturing sufficient detail without overexposing your samples.
Finding the ideal exposure time often requires experimentation, as effective settings vary based on your specimen's fluorescence intensity and specific cellular dynamics.
Through systematic testing, you can determine the sweet spot where exposure settings provide clear visualization while keeping phototoxic effects to a minimum.
Achieving Accurate Intensity Comparisons Between Samples
Making accurate intensity comparisons between microscope samples requires meticulous control over exposure time.
You'll need to maintain consistency between treated and control samples to guarantee your fluorescence intensity measurements are reliable. By selecting the longest possible exposure time without pixel saturation, you'll capture subtle differences while maximizing your dynamic range.
- Identify your brightest sample first to determine ideal settings that will work for all your specimens.
- Use software indicators or histograms to monitor pixel saturation actively while imaging.
- Apply the same exposure time across all comparable samples to maintain data integrity.
- Adjust settings based on specific sample characteristics to enhance visual appeal without compromising quantitative accuracy.
Common Challenges in Exposure Time Selection
When you're working with live cells, you'll need to carefully balance the exposure time to avoid damaging your specimens while still capturing sufficient detail.
You'll face a critical trade-off between protecting light-sensitive cells and achieving the necessary image quality, often requiring shorter exposures combined with increased gain or light intensity.
Managing the dynamic range becomes particularly challenging in these situations, as you must optimize exposure settings to prevent both under-exposure of dim features and saturation of bright regions within the same field of view.
Live Cell Light Sensitivity
Although live cell microscopy provides invaluable insights into cellular dynamics, selecting the right exposure time presents a vital challenge for researchers. You'll need to carefully balance signal intensity with cell viability, as excessive light exposure can trigger phototoxicity and damage your specimens.
When working with live cells, understanding their fluorescence properties and metabolic sensitivity is essential for successful imaging sessions.
To optimize your exposure times for live cell imaging:
- Start with shorter exposure times and adjust based on signal quality
- Monitor cell health throughout your imaging sessions to detect any stress responses
- Use software tools to check pixel saturation and maintain proper dynamic range
- Adapt your settings based on specific cell characteristics and fluorescence intensity
Dynamic Range Trade-offs
Beyond live cell considerations, selecting the perfect exposure time involves careful management of dynamic range in microscope photography. You'll need to balance ideal exposure to capture sufficient light intensity while preventing pixel saturation that can compromise image quality.
| Challenge | Solution |
|---|---|
| Overexposed highlights | Reduce exposure time |
| Underexposed shadows | Increase exposure time |
| Uneven signal distribution | Monitor histogram during acquisition |
| Lost detail in bright areas | Check for pixel saturation |
| Sample variability | Use trial and error approach |
Finding the right exposure time isn't a one-size-fits-all process. You'll need to adjust settings based on your specific sample's characteristics. Using software tools to monitor dynamic range during image acquisition helps guarantee you're capturing all the detail you need. Remember that different samples respond uniquely to light, so what works for one specimen may not work for another.
Technical Considerations for Different Sample Types
The technical demands of microscope photography vary considerably across different sample types, each requiring careful consideration of exposure time.
You'll need to adapt your technical photography approach based on the unique characteristics of your specimens and their light intensity patterns.
- For live cell imaging, you'll want to use short exposure times to protect cellular health while still capturing sufficient detail for your research.
- When dealing with fluorescent samples, you must carefully balance exposure time to maximize your camera's dynamic range without causing overexposure.
- If you're conducting comparative studies, maintaining consistent exposure across treated and control samples is essential for reliable data analysis.
- For samples with uneven signal intensity or staining, you'll need to determine ideal exposure times through testing to guarantee both bright and dark regions are well-represented.
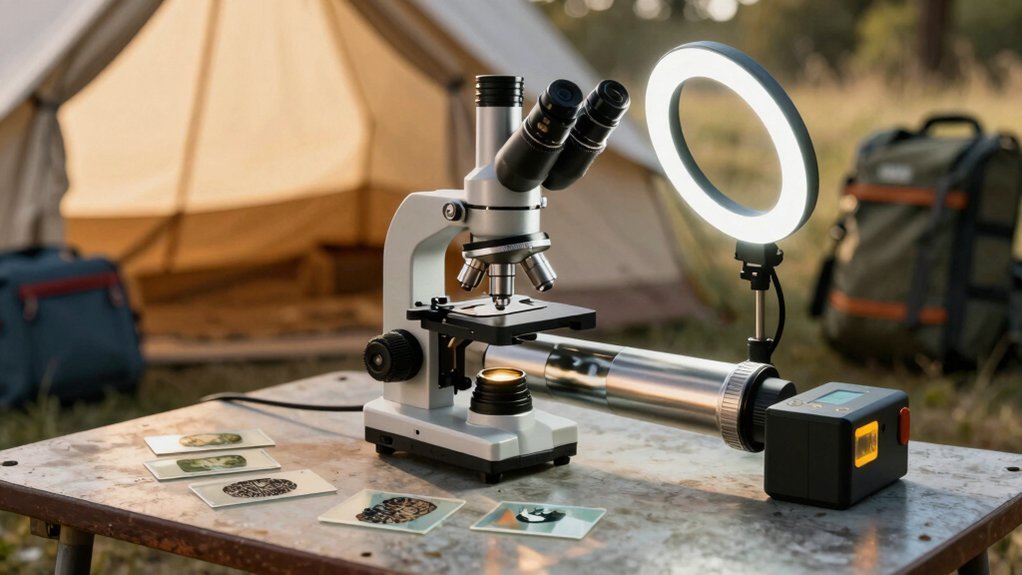
Best Practices for High-Resolution Image Capture
When capturing high-resolution microscope images, mastering exposure time becomes essential for achieving preferred detail and clarity. You'll need to find the best exposure time that maximizes your image's dynamic range while preventing pixel saturation.
For live specimens, use shorter exposure times to protect cellular details from light damage.
To maintain data integrity, you should keep consistent exposure times across your sample set, ensuring accurate intensity measurements for comparative analysis.
If you're unsure about the best settings, try exposure bracketing techniques to capture multiple images at different durations. This approach helps you identify the perfect balance between detail preservation and image brightness.
Exposure Strategies for Fluorescence Microscopy
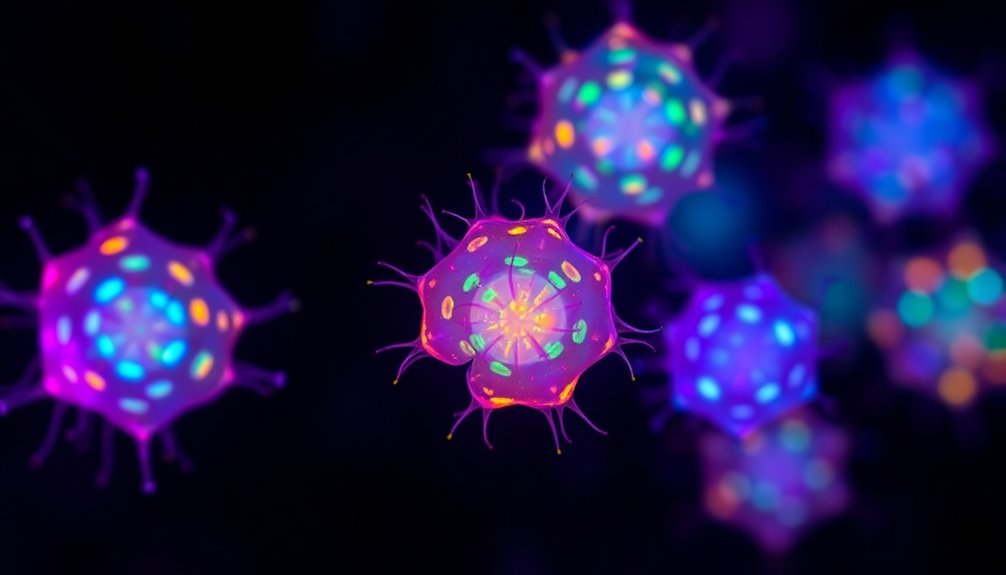
Since fluorescence microscopy relies heavily on light-sensitive signals, mastering exposure time becomes critical for capturing clear, quantifiable images.
Proper exposure timing is the cornerstone of successful fluorescence microscopy, determining both image clarity and measurement accuracy.
You'll need to carefully balance ideal exposure times with your specimen's brightness to guarantee proper signal detection without compromising image quality.
- Set consistent exposure times across all your samples when making quantitative comparisons between treated and control specimens.
- Monitor pixel saturation through histograms to maximize your dynamic range while preserving important image details.
- Adjust longer exposure times for dimmer samples to capture sufficient fluorescence signals.
- Use shorter exposure times during live-cell imaging to reduce phototoxicity while maintaining cellular detail.
Advanced Techniques for Complex Specimen Imaging
Mastering advanced microscopy techniques for complex specimens requires strategic exposure control to reveal intricate structural details.
You'll need to balance exposure time carefully to prevent both underexposure and overexposure that could mask important features.
To capture the best images, you'll want to employ exposure bracketing, taking multiple shots at different exposure times.
When you're working with higher numerical aperture objectives, remember to adjust your settings accordingly, as they'll require shorter exposure times.
If you're using fluorescence microscopy, you'll need to minimize exposure time to reduce photobleaching while maintaining adequate signal intensity.
Don't forget to utilize histogram analysis tools in your imaging software – they'll help you fine-tune your exposure settings by showing pixel saturation levels, ensuring you get the clearest possible images of your complex specimens.
Key Parameters for Quality Control in Image Acquisition
The careful control of exposure time stands at the forefront of quality image acquisition in microscopy. When you're collecting quantitative data, you'll need to maintain consistent exposure times across all your samples to guarantee accurate comparisons between treated and control groups. Your goal is to maximize detail visibility while preventing signal saturation.
Precise exposure timing in microscopy ensures reliable data collection, enabling accurate quantitative comparisons while preserving image quality and preventing oversaturation.
- Monitor your image's light intensity through software histograms to achieve ideal exposure times and utilize your camera's full dynamic range.
- Start with calibrated exposure settings based on your specimen's expected brightness.
- Adjust exposure time according to your magnification and numerical aperture settings.
- Test different exposure durations in low-light conditions to find the sweet spot between capturing details and maintaining cell viability.
Frequently Asked Questions
How Does Exposure Time Affect Photography?
When you're taking photos, exposure time controls how much light hits your camera's sensor. You'll get brighter images with longer exposures, but you'll need to balance this to avoid overexposure and maintain image detail.
How Does Exposure Time Affect Image Quality?
You'll get brighter, more detailed images with longer exposure times, but you'll risk overexposure and blur. Shorter times reduce brightness but keep images sharp and prevent pixel saturation in bright areas.
What Is the Benefit of a Longer Exposure Time When Making an Image?
You'll capture more light with longer exposure times, letting you see clearer details, reduce noise, and reveal subtle color variations. It'll help you achieve better image quality, especially in low-light situations.
Is Longer Exposure Time Better?
You'll find longer exposure time isn't always better. While it can reveal more details, you're risking overexposure, motion blur, and potential cell damage. It's best to find the ideal balance for your specific needs.
In Summary
You'll find that mastering exposure time in microscope photography is essential for capturing detailed, high-quality images. Whether you're working with live cells or fluorescent specimens, proper exposure settings will help you avoid overexposure, reduce photobleaching, and maintain specimen integrity. By applying these principles and continuously refining your technique, you'll consistently produce clear, well-balanced microscopic images suitable for research and documentation.

Leave a Reply