Camera exposure charts are essential for scientific imaging because they help you optimize dynamic range while preventing data loss from under or overexposure. You’ll capture the full spectrum of sample intensities, enabling accurate comparisons between test conditions. For live-cell work, proper exposure settings balance signal quality against phototoxicity risks. Maintaining consistent exposure parameters guarantees observed differences reflect actual biological changes rather than imaging inconsistencies. Mastering these fundamentals transforms questionable results into publishable discoveries.
Fundamentals of Exposure Measurement in Scientific Microscopy
The cornerstone of successful scientific imaging lies in mastering exposure measurement. When you’re capturing microscopic specimens, understanding the relationship between exposure time and light intensity is critical for achieving ideal exposure. Your goal is to capture the full dynamic range of your sample without causing pixel saturation.
Characteristic curves (H and D curves) illustrate how your sensor responds to different exposure levels, helping you predict image density and contrast. Remember that the reciprocity law allows you to adjust exposure time inversely to light intensity, maintaining image quality while adapting to varying conditions.
For precise results, you’ll need to monitor your signal-to-noise ratio, which impacts image clarity.
Consider implementing exposure bracketing techniques to systematically determine the best settings for high-contrast scientific imaging of challenging specimens.
Optimizing Dynamic Range Through Exposure Chart Analysis
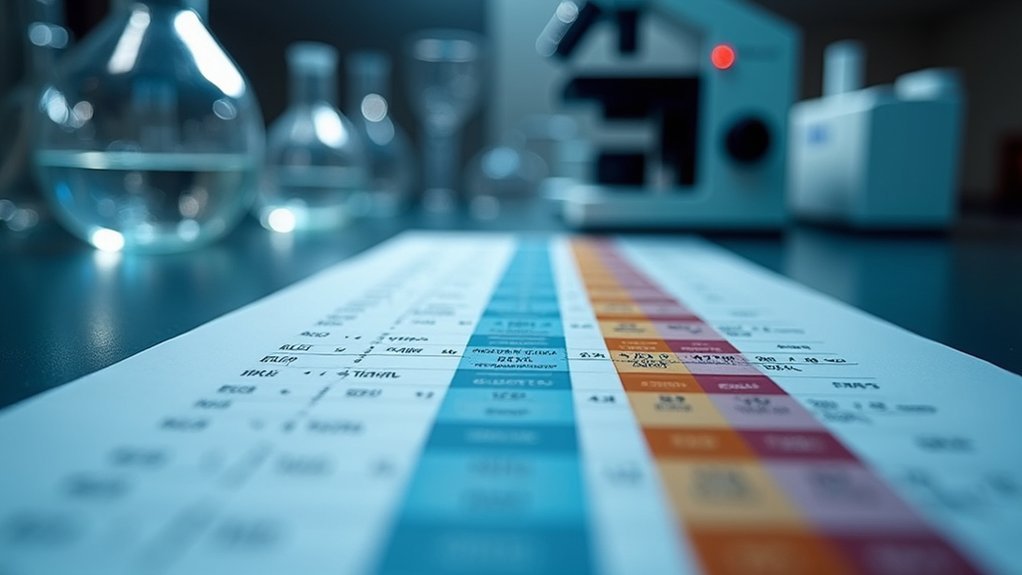
While collecting meaningful scientific data through microscopy, exposure charts serve as invaluable roadmaps for guiding the complex relationship between exposure time and image quality. You’ll find these charts essential for identifying the ideal exposure time that maximizes dynamic range without reaching pixel saturation.
| Exposure Time | Image Quality Impact | Scientific Consequence |
|---|---|---|
| Too Short | Underexposure, poor SNR | Lost dim structures, frustrating analysis |
| Ideal | Maximum dynamic range | Revealing critical details, reliable data |
| Too Long | Overexposure, saturation | Permanently lost information, wasted time |
| Variable | Inconsistent pixel intensity | Compromised comparative studies |
| Calibrated | Enhanced Signal-to-Noise Ratio | Confidence in your research findings |
Comparing Sample Intensities: Standardized Exposure Protocols
When comparing treated versus control samples, standardized exposure protocols become your most powerful tool for generating reliable scientific conclusions.
You’ll need consistent exposure settings across all your images to accurately quantify differences in signal intensities between samples.
Set your exposure time based on the brightest expected signal to maximize dynamic range while avoiding pixel saturation. This approach is particularly critical in fluorescence microscopy, where intensity variations directly reflect experimental outcomes.
Optimize exposure for your brightest signals—ensuring accurate intensity quantification while preserving critical data in your fluorescence experiments.
Always monitor your imaging software to verify similar exposure conditions across samples—this validates that any observed differences stem from your treatment, not from inconsistent imaging parameters.
Live-Cell Imaging: Special Exposure Considerations for Cell Viability
Unlike fixed specimen imaging, live-cell applications demand a delicate balance between image quality and cellular health.
When you’re working with living specimens, minimizing light exposure becomes critical to prevent phototoxicity that can compromise your entire experiment.
- Keep exposure times as short as possible while still capturing sufficient signal strength
- Avoid utilizing your camera’s full dynamic range, as this often indicates excessive light dosage
- Use imaging software to monitor pixel intensity levels, ensuring you’re not approaching saturation
- Set exposure control parameters based on the brightest expected signal in your sample
- Implement trial-and-error testing to find ideal settings that maintain cell viability
Balancing Signal-To-Noise Ratio With Exposure Time Management
Despite its technical nature, mastering signal-to-noise ratio (SNR) in scientific imaging ultimately comes down to a fundamental tradeoff with exposure time.
You’ll need to find the sweet spot where longer exposure time maximizes photon collection without creating saturated pixels.
When you select a correct exposure time, you’re directly affecting your image’s dynamic range and quality.
Shorter exposure time often leads to noisier images with poor SNR, while excessive exposure risks losing critical intensity values.
The key is elevating your background signal 100-200 counts above offset—comparable to choosing proper film speed in traditional photography.
Calculate effective noise using σEFF = √(Dark noise + Shot noise + Read noise) to guide your exposure decisions.
Frequently Asked Questions
Why Is Camera Exposure Important?
Camera exposure is important because you’ll capture better scientific images with proper light collection. It guarantees you’re maximizing your SNR, utilizing full dynamic range, and maintaining consistency when comparing experimental samples.
What Determines the Correct Exposure Time Needed to Take a Digital Image?
You’ll determine correct exposure time based on your subject’s brightness, ensuring the brightest signals don’t saturate pixels while using your camera’s full dynamic range. Trial and error helps achieve ideal visual outcomes.
Why Does Exposure Triangle Matter in Photography?
The exposure triangle matters because it’s your framework for creative control. You’ll need to balance aperture, shutter speed, and ISO to achieve proper exposure while manipulating depth of field, motion, and noise levels.
Why Is It Important to Consider Digital Camera Exposure and Shutter Speed?
You’ll get clearer scientific images when you control exposure and shutter speed. They determine light reaching the sensor, affecting image quality, cell viability in live imaging, and your ability to capture dynamic range accurately.
In Summary
You’ve seen how exposure charts aren’t just photography tools—they’re essential for scientific imaging accuracy. By understanding exposure fundamentals, you’ll capture ideal dynamic range, standardize your comparisons, and protect live specimens. When you’re managing exposure times correctly, you’re maximizing signal-to-noise ratios while maintaining data integrity. Don’t overlook these charts; they’re your key to reproducible, quantifiable scientific imaging results that stand up to peer scrutiny.


Leave a Reply