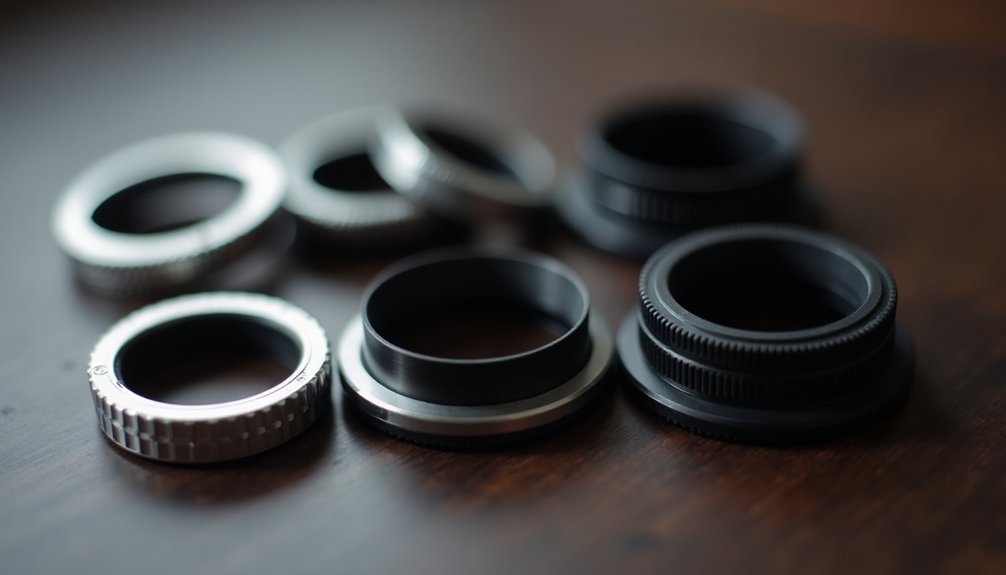
Camera-to-eyepiece adapter rings typically come in two standard sizes: 1.25 inches and 2 inches in diameter. You'll need to match your telescope's eyepiece diameter and verify your camera's mount is compatible with the T-ring threading (usually M42x0.75). For best results, choose 2-inch adapters to minimize vignetting, especially with larger camera sensors. While 1.25-inch adapters work well for beginners, understanding the full scope of adapter specifications will enhance your astrophotography results.
Understanding Adapter Ring Size Standards
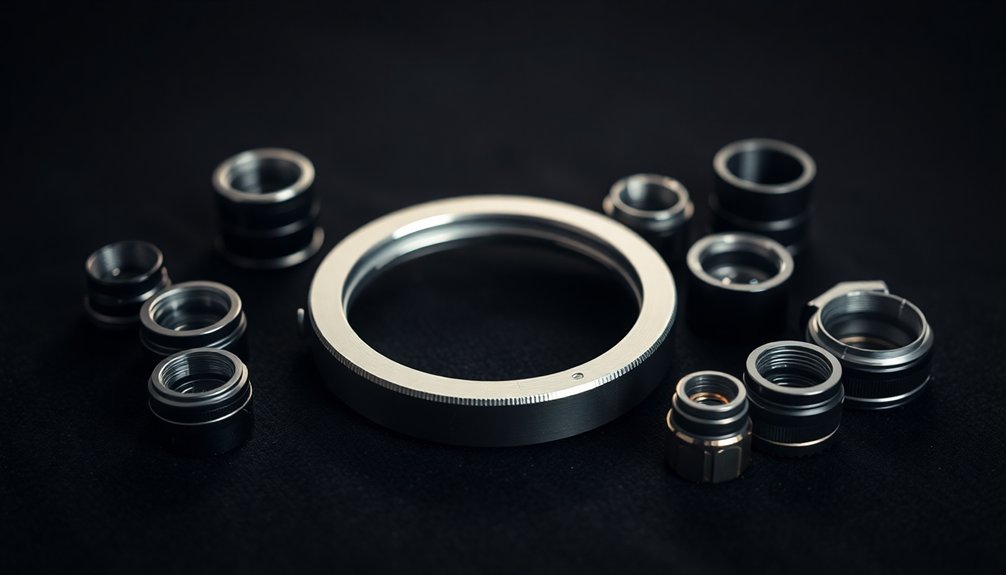
When selecting a camera-to-eyepiece adapter ring, understanding standardized sizes is vital for successful astrophotography.
You'll encounter common diameters of 1.25 inches and 2 inches, which match most telescope eyepiece specifications.
Your adapter's thread size plays an important role in compatibility. T-rings typically follow the M42x0.75 metric specification, ensuring proper connection between your camera and telescope.
When working with Schmidt-Cassegrain telescopes, you'll need adapters that accommodate 2-24 male threads for direct mounting.
Before purchasing an adapter, you'll need to take into account your camera's flange focal distance to maintain proper focus.
Taking precise measurements of your eyepiece diameter is also significant – even slight variations can cause vignetting or poor fitting.
This attention to detail will help you achieve ideal results in your astrophotography setup.
Measuring Your Camera's Mount Requirements
How do you determine the right adapter for your camera?
First, identify your camera's model, as each brand requires a specific T-ring that matches its lens mount system.
Using a caliper or ruler, measure your camera's lens mount thread diameter – most DSLR and mirrorless cameras use an M42x0.75 thread size.
Next, check your camera's flange focal distance (FFD), which is the space between the lens mount and camera sensor.
You'll find this specification in your camera's manual or manufacturer's documentation.
If your telescope has limited back focus, you'll need a low-profile T-ring to maintain proper focusing distance.
Always verify the thread specifications in your camera's manual to ascertain you're selecting a compatible T-ring that will securely attach to your equipment.
Telescope Eyepiece Compatibility Factors
Understanding your telescope's eyepiece specifications plays an essential role in selecting the right camera adapter.
You'll need to verify your eyepiece diameter, which typically comes in either 1.25-inch or 2-inch sizes, to guarantee proper adapter fit.
When choosing your setup, consider the eyepiece's focal length, with 25mm to 40mm being ideal for astrophotography.
Make sure your eyepiece's thread size matches your camera adapters perfectly.
You'll want to examine the eyepiece design carefully – those with recessed lenses might cause vignetting issues when paired with adapters.
Before making your final selection, check that your eyepiece doesn't have any protruding elements that could contact your camera's sensor.
This precaution helps prevent potential damage and guarantees smooth compatibility between your equipment.
Common Size Options and Applications
Camera-to-eyepiece adapters come in two standard sizes: 1.25 inches and 2 inches, matching the most common telescope focus tubes.
You'll find that the 1.25-inch adapter works best with smaller telescopes and excels in eyepiece projection photography. For larger telescopes, you'll want to choose the 2-inch adapter, which provides a wider field of view and reduces light loss.
When selecting your adapter, you'll need to take into account the T-Ring adapter's thread size, typically M42x0.75, to guarantee it fits your camera mount.
For best results, pair your adapter with eyepieces that have focal lengths between 25-40mm, particularly Plossl designs with non-recessed lenses. This combination helps prevent vignetting and maximizes image quality across your field of view.
Vignetting Considerations by Ring Size

When selecting a camera-to-eyepiece adapter ring, the potential for vignetting should be your primary concern.
You'll notice darkened corners in your images if you're using an adapter that doesn't match your telescope's focal path properly.
If you're using a 1.25-inch T-ring adapter, you're more likely to experience vignetting because the narrow diameter limits light reaching your camera sensor.
To improve your image quality, consider upgrading to a 2-inch adapter, which allows more light to reach the sensor and creates more uniform illumination across your frame.
Before committing to a specific size, you should test different adapter configurations with your telescope and camera setup.
This hands-on approach will help you identify the most suitable ring size that minimizes vignetting and delivers the best results for your astrophotography needs.
Mechanical Fit and Threading Specifications
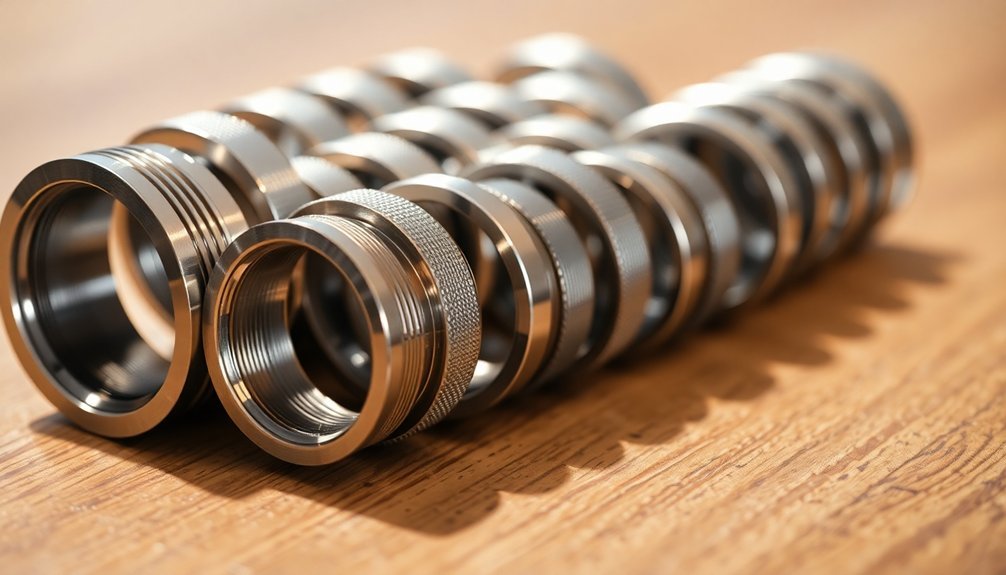
You'll find that most camera-to-eyepiece adapters follow standardized thread patterns, with T-rings typically using M42x0.75 threading and T-adapters featuring M48x0.75 specifications for universal telescope compatibility.
When securing your adapter, you must apply even pressure and avoid over-tightening, as this can damage the delicate threading or create alignment issues in your setup.
The critical tolerances between components require careful attention to dimension specifications, particularly with eyepiece diameters ranging from 1.22 to 1.26 inches for proper T-ring connections.
Thread Patterns and Standards
Understanding thread patterns and standards is essential for successfully connecting your camera to a telescope's eyepiece. When selecting your equipment, you'll need to guarantee your T-ring and T-adapter match the M42x0.75 standard, which is the most common threading specification for astrophotography connections.
| Component | Thread Specification |
|---|---|
| T-Ring | M42x0.75 (standard) |
| T-Adapter (camera side) | M42x0.75 male |
| T-Adapter (telescope side) | 2-24 SCT |
| Low Profile T-Ring | M42x0.75 |
| Standard Optical Length | ~50mm |
You'll need to verify the compatibility of your components before assembly. The T-adapter's male threads must match your T-ring's female threads perfectly, while the telescope-facing side should conform to the 2-24 threading for Schmidt-Cassegrain telescopes. Low-profile T-rings are available when you're working with limited back focus.
Optimal Tightening Techniques
Proper tightening technique marks the difference between a secure camera-to-eyepiece connection and potential equipment damage.
When you threads onto your T-ring and adapter, align them carefully to prevent cross-threading that can ruin your components. You'll want to tighten with a balanced approach – firm enough for security but not so tight that you strip the threads.
Before connecting, verify the thread specifications (like M42x0.75 or M48x0.75) to confirm your components match perfectly. For ideal performance, consider applying a small amount of thread lubricant to your T-ring, making future adjustments easier while maintaining a solid fit.
Don't forget to inspect your threads regularly for signs of wear or debris buildup that could affect alignment. These simple steps will help preserve your equipment and maintain precise optical connections.
Critical Dimension Tolerances
When selecting camera-to-eyepiece adapters, precise dimensional tolerances make all the difference in achieving ideal alignment and protection of your equipment.
You'll need to confirm your T-ring matches the standard M42x0.75 thread specification to properly connect with your camera body.
Pay close attention to the telescope-side threading, particularly with Schmidt-Cassegrain models that use 2-24 threads.
You'll need to account for the 50mm optical length in your setup calculations to maintain proper focal plane distance.
If you're working with a camera that has limited back focus, consider using a low-profile T-ring instead of the standard 55mm version.
Always verify thread specifications between your T-ring and telescope adapter before assembly to prevent cross-threading and potential damage to your valuable equipment.
Image Quality Impact of Ring Selection
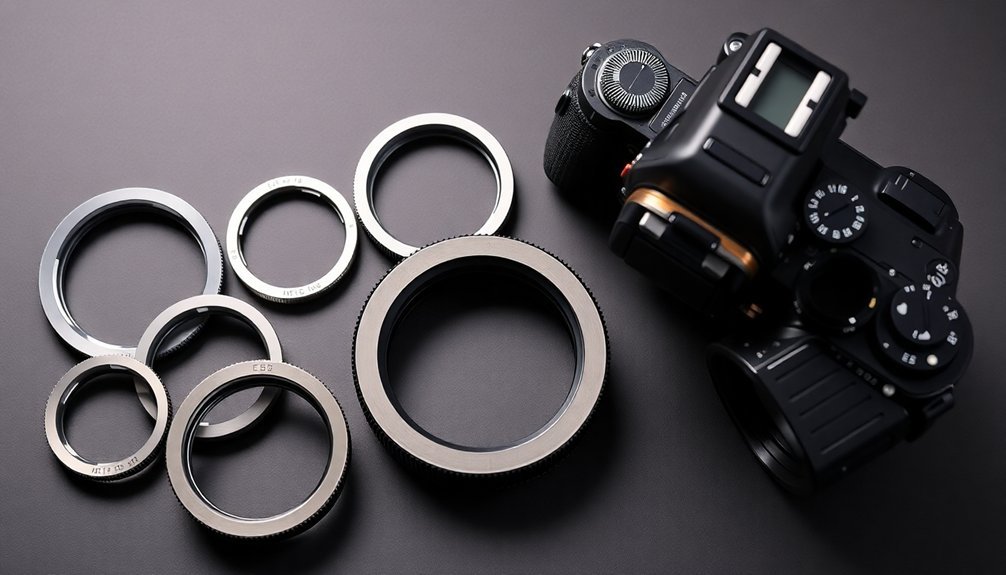
Your choice between 1.25-inch and 2-inch adapter rings will greatly affect the quality of your astrophotography, with the larger 2-inch option reducing vignetting by allowing more light to reach your camera's sensor.
You'll notice that 2-inch adapters are particularly effective at eliminating unwanted halos around bright celestial objects, especially when paired with focal reducers.
The improved light transmission of 2-inch adapters becomes even more essential if you're using a camera with a larger sensor, as it helps maintain consistent illumination across your entire field of view.
Vignetting Effects By Size
Selecting the right adapter ring size plays an essential role in preventing vignetting – that unwanted darkening effect in the corners of your astrophotography images.
When you're using a Telescope Camera Adapter that's too small, you'll notice reduced light transmission at the edges of your frame.
If you're working with larger sensors like APS-C or full-frame cameras, you'll want to upgrade from a 1.25-inch T-adapter to a 2-inch model.
This switch can dramatically improve your image quality by allowing more light to reach your camera's sensor without obstruction.
You'll also notice a reduction in the halo effect when you match your T-adapter to your telescope's focal reducer specifications.
Don't hesitate to test different adapter sizes – many astrophotographers report significant improvements in their images after switching to larger adapters.
Halo Reduction Methods
Three proven methods exist for reducing unwanted halos in your astrophotography images through proper ring selection.
First, upgrade from a 1.25-inch to a 2-inch T-ring adapter to minimize light diffraction patterns, especially when using f/6.3 focal reducers.
Second, choose an adapter size that matches your camera's sensor dimensions to guarantee peak focus and clarity while reducing vignetting effects around image edges.
Finally, consider how your adapter choice affects the focal ratio of your setup. A 2-inch adapter creates a wider light path, allowing more light to reach your sensor and improving overall detail capture.
You'll notice the most significant improvements when combining these methods, as they work together to eliminate the halo effect while maintaining sharp, clear images across your entire field of view.
Professional Vs Amateur Setup Recommendations
While both professional and amateur astrophotographers can capture stunning celestial images, their equipment needs often differ markedly.
Professional astrophotography typically demands 2-inch T-rings and precision-engineered components to accommodate larger sensors and enhance image quality. If you're using a high-end DSLR camera like Canon for professional work, you'll need robust mounting solutions and adjustable camera angles for ideal alignment.
Professional astrophotography requires specialized mounting hardware and precise components to handle advanced cameras and deliver superior image quality.
For amateur setups, you'll find that 1.25-inch adapters offer a more practical and budget-friendly starting point. They're compatible with most entry-level telescopes and provide adequate performance while you're learning the basics.
Before investing in advanced accessories like field flatteners, you'll want to master fundamental techniques with your basic setup. Remember to take into account your camera's weight when choosing an adapter to guarantee stable, vibration-free imaging sessions.
Frequently Asked Questions
What Size Thread Is a T Adapter?
Your T-adapter will typically have M42x0.75mm male threads to connect with T-rings. You'll find them in two main barrel sizes: 1.25 inches or 2 inches, depending on your telescope's focuser requirements.
How Do You Attach a DSLR Camera to a Telescope Eyepiece?
Remove your camera lens, attach a T-ring to the camera body, connect a T-adapter to the ring, insert it into the telescope's eyepiece holder, and use a remote shutter release to avoid camera shake.
What Is the Difference Between T-Ring and T Adapter?
You'll need both pieces: A T-ring connects to your camera's lens mount, while a T-adapter threads into the T-ring and attaches to your telescope. They work together to complete the camera-telescope connection.
How to Attach a Camera to a Dobsonian Telescope?
You'll need to remove your telescope's eyepiece, attach a T-ring to your camera, connect it to a T-adapter, and secure both to your telescope's focuser. Don't forget a remote shutter release.
In Summary
When you're selecting a camera-to-eyepiece adapter ring, you'll want to double-check both your camera's mount dimensions and your telescope's eyepiece barrel size. Don't rush this decision – an incorrect fit can cause vignetting or poor image quality. You can't go wrong with standard T-mount adapters for DSLR setups, but if you're using specialized equipment, you'll need to verify threading specifications carefully before purchasing.
Leave a Reply