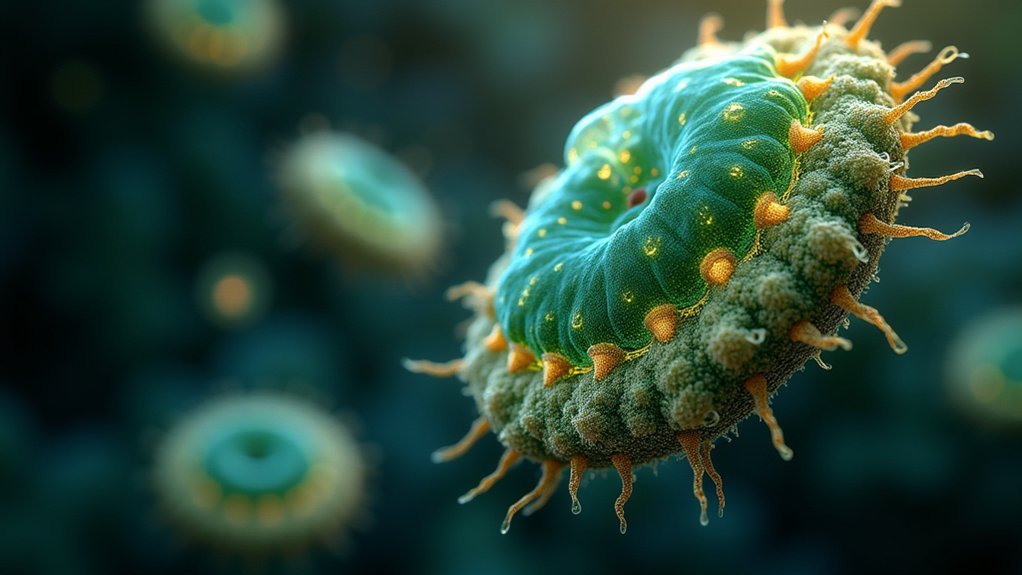
Live cell imaging transforms science education by making cellular processes visible in real-time. You’ll need specialized equipment like the BZ-X800 or Lumascope 620 microscopes, robust cell lines (HEK293/HeLa), and fluorescent dyes for clear visualization. Minimize phototoxicity by using light sheet microscopy and reducing exposure times. Position your setup in vibration-free locations with temperature control. Engage students through interactive discussions and small group analysis of cellular changes. These dynamic demonstrations will bring abstract biological concepts to life.
Numeric List of 13 Second-Level Headings
Thirteen key components form the foundation of effective live cell imaging in science education.
When you’re implementing live cell imaging in your classroom, you’ll need to structure your approach around these essential elements:
- Introduction to Live Cell Imaging
- Basic Microscopy Techniques
- Fluorescence Imaging Fundamentals
- Cell Culture Preparation Methods
- Live Cell Staining Protocols
- Acridine Orange Techniques
- Time-Lapse Imaging Procedures
- Data Capture and Management
- Image Analysis Strategies
- Advanced Visualization Tools
- Integrating Cell Biology Concepts
- Troubleshooting Common Issues
- Student Assessment Methods
These headings create a thorough framework for teaching live cell imaging, ensuring you cover everything from basic techniques to advanced applications.
The Power of Real-Time Cellular Observation in Science Education
When students witness cellular processes unfolding before their eyes, abstract concepts transform into tangible realities. Live cell imaging revolutionizes science education by allowing you to showcase dynamic biological phenomena as they happen, not just through static textbook illustrations.
Modern fluorescence microscopy techniques enable you to highlight specific cellular structures with unprecedented clarity while maintaining cell health during demonstrations.
You’ll find that students engage more deeply when they can observe actual cellular responses rather than merely reading about them.
With advances like the LiTone Line Bessel Sheet microscope, you can now extend imaging sessions with minimal phototoxicity.
Coupled with innovative bioimage analysis tools utilizing deep learning, you’re equipped to help students interpret complex cellular behaviors accurately and develop genuine scientific curiosity through visual discovery.
Essential Equipment for Classroom Live Cell Imaging
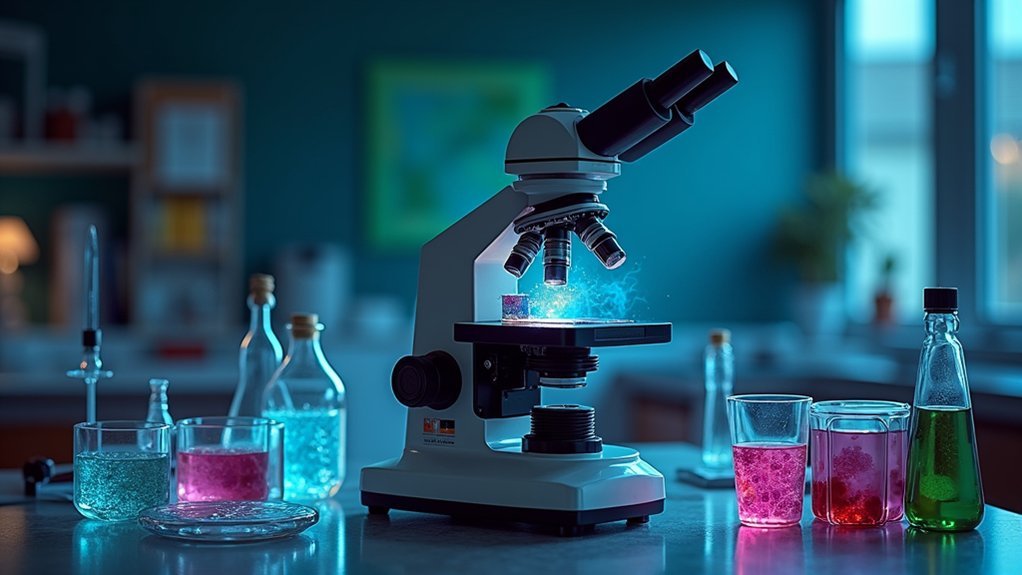
Three key microscope systems form the foundation of any effective classroom live cell imaging setup. You’ll need a fluorescence microscope like KEYENCE’s BZ-X800 for high-quality capture of live cell images across various applications. Consider the Lumascope 620 for real-time observation, enabling students to witness cellular processes unfold before their eyes.
For advanced monitoring of cellular structures, the UltraMicroscope II excels with large specimens and complex imaging needs. Self-driving microscopy technology can automate your imaging process, ensuring reproducible results while reducing hands-on time.
| Equipment Type | Key Features | Educational Benefit |
|---|---|---|
| BZ-X800 | High-resolution fluorescence | Detailed structural analysis |
| Lumascope 620 | Real-time observation | Direct process visualization |
| UltraMicroscope II | Large specimen imaging | Complex structure teaching |
| Self-driving systems | Automated acquisition | Reproducible experiments |
| Live cell painting tools | Non-fixation monitoring | Real-time change observation |
Setting Up Your Live Cell Imaging Workstation
Creating an effective live cell imaging workstation requires careful planning and attention to environmental factors that directly impact image quality and cell viability. Position your chosen microscope system, like the STELLARIS STED or BZ-X800, in a vibration-free location away from direct sunlight and air vents.
Install temperature control units and CO2 incubators to maintain ideal physiological conditions for live cells during real-time observation. Configure your imaging software to balance acquisition speed with minimal phototoxicity—systems like the LiTone Line Bessel Sheet microscope are ideal for reducing light exposure while maintaining clarity.
Dedicate space for your analysis station with sufficient computing power to handle advanced computational methods and deep learning algorithms. Arrange your workspace with ergonomics in mind, placing monitors at eye level and keeping frequently used controls within easy reach.
Selecting Appropriate Cell Cultures for Educational Demonstrations
Choosing the right cell cultures stands as the foundation of successful educational demonstrations in biology classrooms. When capturing images of living cells for teaching, prioritize cultures like HEK293 or HeLa cells that display robust growth and distinct morphological features under microscopy.
The Lumascope 620 facilitates real-time monitoring, allowing students to witness cellular dynamics firsthand.
- Select cells with clear visible structures to maximize learning potential
- Consider incorporating fluorescent dyes like Acridine Orange to enhance visualization
- Choose well-documented cell lines that align with your curriculum objectives
- Opt for cultures that remain viable during the entire demonstration period
- Utilize super-resolution imaging techniques to reveal subcellular details normally hidden from view
Your cell selection directly impacts students’ engagement and understanding of fundamental biological concepts.
Optimizing Microscope Settings for Living Specimens
To optimize microscope settings for living specimens, you’ll need to carefully adjust contrast and brightness levels to reveal cellular structures without overexposing delicate features.
Keep exposure times as brief as possible to minimize phototoxicity and photobleaching, which can damage cells and compromise the educational value of your demonstration.
When working with fluorescent markers, choose fluorophores with appropriate excitation/emission spectra for your microscope’s capabilities and select ones with minimal overlap to clearly distinguish different cellular components.
Contrast and Brightness Adjustments
While capturing stunning live cell images relies on multiple factors, mastering contrast and brightness adjustments stands as perhaps the most critical skill for effective microscopy.
When performing Cell Painting techniques, you’ll need to carefully balance these settings to visualize cellular structures without triggering phototoxicity. Your adjustments directly impact how clearly students can observe dynamic cellular processes.
- Reduce brightness levels to minimize photobleaching and extend specimen viability
- Increase contrast gradually to differentiate between cellular components
- Use automated adjustment systems for consistent results across imaging sessions
- Adjust settings in real-time to capture fleeting cellular movements
- Save your ideal settings for reproducibility in subsequent teaching sessions
Remember that excessive light intensity can disrupt cellular activities, compromising both image quality and the educational value of your demonstrations.
Exposure Time Limitations
Three critical factors determine successful live cell imaging: light intensity, contrast, and exposure time—with exposure time being your most delicate balancing act.
You’ll need to minimize phototoxicity without sacrificing image quality, as excessive light disrupts cellular activities and can lead to cell death.
Set shorter exposure times to preserve cell viability, especially for long-term observations. This reduces light energy absorption while maintaining cellular health.
However, don’t go too short—poor signal-to-noise ratios will make it difficult to capture detailed dynamics.
Consider using advanced techniques like LiTone Line Bessel Sheet microscopy for higher temporal resolution with reduced phototoxicity.
You can also enhance limited-exposure images through computational methods such as drift correction and denoising, allowing you to extract meaningful data even with exposure constraints.
Fluorophore Selection Considerations
Selecting the right fluorophores stands as perhaps the most critical decision you’ll make for successful live cell imaging. When choosing fluorescent markers for living specimens, prioritize options with high photostability and minimal phototoxicity to maintain cell viability throughout your observation period.
- Match your fluorophore emission peaks to your imaging system’s detection capabilities
- Select spectrally distinct fluorophores for effective multichannel imaging
- Verify fluorophore compatibility with cellular environments to avoid altering normal processes
- Consider single dyes like Acridine Orange for detailed morphological information
- Choose fluorophores tailored for systems like LBS microscopy to benefit from high temporal resolution and reduced phototoxicity
Remember that conventional methods sometimes expose cells to damaging light intensities, so selecting appropriate fluorophores helps preserve cellular integrity while achieving ideal visualization results.
Reducing Phototoxicity During Extended Observation Sessions
Because living cells are sensitive to light exposure, phototoxicity poses a significant challenge during extended observation sessions. You’ll need strategies to minimize this damage while maintaining image quality.
Consider utilizing the new LiTone Line Bessel Sheet microscope, which is 1,000 times less phototoxic than traditional confocal systems. This technology captures images 1,000 times faster, dramatically reducing light exposure time for your specimens. Your cells will survive longer during observation, enabling more thorough experiments.
For dynamic cellular processes, take advantage of real-time imaging capabilities that eliminate the need for prolonged exposure to intense light.
Light sheet fluorescence microscopy offers an excellent alternative, providing high-quality 3D imaging while preserving cell viability. The enhanced temporal resolution also guarantees smoother video capture during extended imaging sessions.
Digital Capture Techniques for High-Quality Cell Videos
Successful digital capture requires mastering several key techniques to produce clear, vibrant videos of living cells.
Mastering key techniques opens the door to capturing living cells in unprecedented clarity and vibrancy.
You’ll achieve superior results by leveraging advanced fluorescence microscopy systems like the LiTone Line Bessel Sheet microscope, which reduces phototoxicity by 1,000 times, keeping cells viable throughout observation.
- Implement real-time imaging capabilities to monitor dynamic cellular processes with minimal disruption
- Utilize super-resolution techniques to enhance structural details and cellular behaviors
- Deploy automated systems and self-driving microscopy for consistent, reproducible results
- Apply AI-driven algorithms to improve accuracy in identifying and quantifying cellular features
- Reduce user intervention with automated systems to maintain focus quality during extended recording sessions
These approaches will transform your educational demonstrations into engaging visual experiences that accurately represent cellular dynamics for your students.
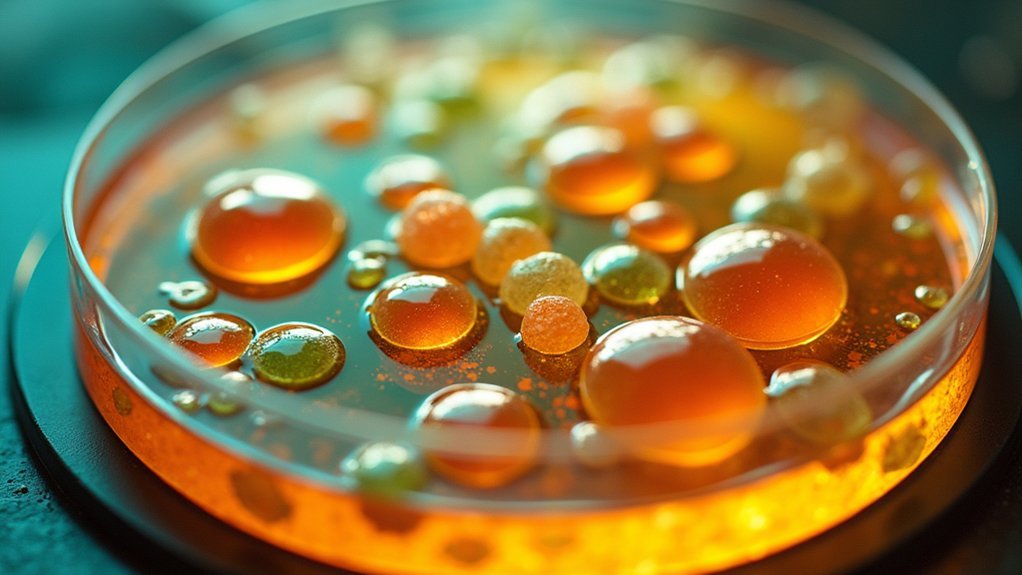
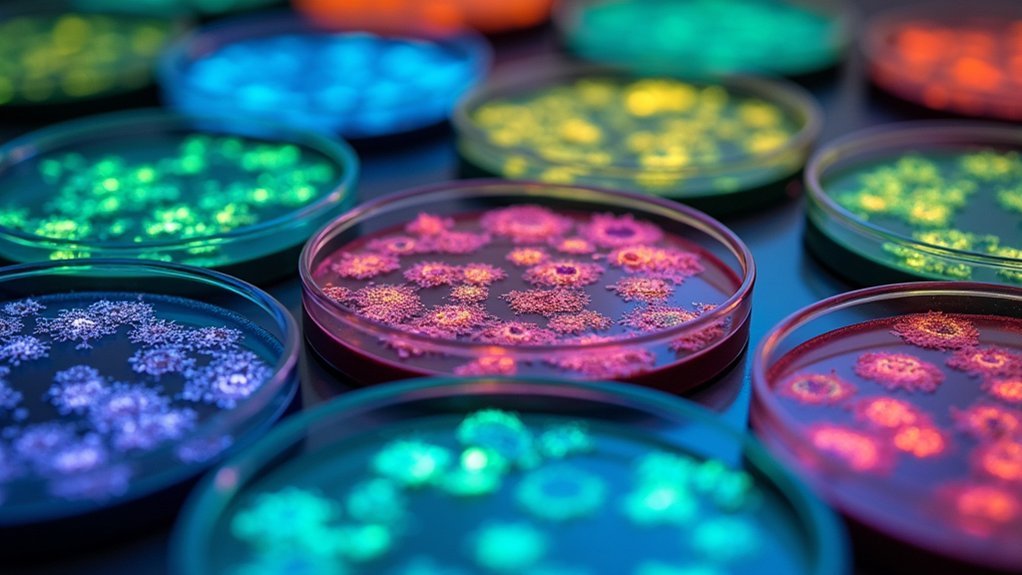
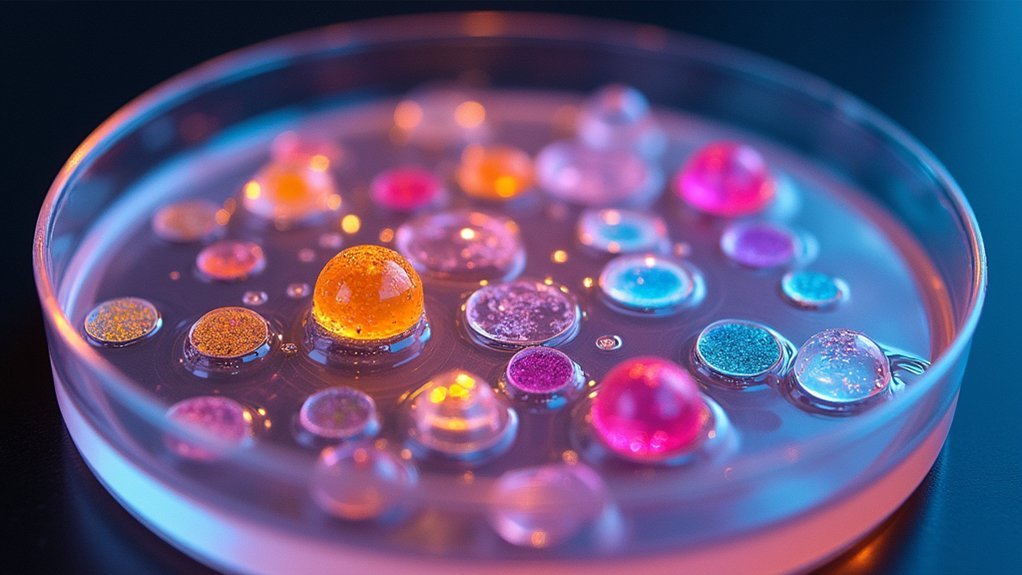
Cell Staining Methods Compatible With Live Imaging
While maintaining cell viability remains critical during observation, effective staining methods can dramatically enhance the educational value of live cell imaging. Acridine Orange (AO) stands out as an excellent choice for classroom demonstrations, allowing you to monitor cellular changes in real-time without sacrificing cell health.
AO is remarkably sensitive, detecting cellular responses at concentrations up to 40 times lower than traditional MTT assays. You’ll be able to track processes like acidic vesicle redistribution and cell death without fixation, providing students with authentic representations of cellular behavior.
When implementing these techniques, be mindful of photobleaching issues. Remember to optimize your imaging parameters and consider emerging technologies that combine AI with label-free approaches to overcome the limitations of conventional fluorescent staining methods.
Lesson Plan Integration: Connecting Observations to Curriculum
When you introduce live cell imaging into your science curriculum, you’re offering students much more than a visual aid—you’re creating dynamic learning experiences that bridge abstract concepts with tangible observations.
Align your imaging activities with curriculum standards to enhance students’ comprehension of cellular and molecular biology concepts.
- Connect real-time observations of cell division to genetics and inheritance lessons
- Use Live Cell Painting techniques to track cellular responses to environmental stimuli
- Incorporate user-friendly bioimage analysis tools to develop students’ data interpretation skills
- Design interdisciplinary projects linking cellular imaging with physics, chemistry, or computational sciences
- Leverage high-quality visuals from fluorescence microscopy to demonstrate cellular complexity and diversity
Student Engagement Strategies Using Live Cell Footage
How can you transform passive learners into active scientific investigators? Incorporate real-time live cell imaging into your teaching. When students witness cellular processes unfolding before their eyes—from mitosis to apoptosis—they’ll connect with biological concepts more deeply than through static diagrams alone.
Try these approaches:
Engage students with real-time observations that transform abstract concepts into visible biological realities.
- Host interactive discussions while viewing cellular responses to drugs using Acridine Orange staining.
- Challenge students to identify and compare structures across different cell types from cell galleries.
- Assign small group analysis of 3D live cell videos, prompting questions about what they observe.
- Create lab activities where students document and present cellular changes over time.
These strategies leverage technology like the Lumascope 620 to spark curiosity and foster interdisciplinary thinking between biology and technology.
Analyzing Cellular Processes Through Time-Lapse Photography
Time-lapse photography transforms your classroom by revealing cellular processes that unfold too slowly for real-time observation.
You’ll capture complete cell division sequences, allowing students to witness mitosis phases from prophase through cytokinesis in a condensed timeframe.
With migration tracking techniques, you can demonstrate how cells move through their environment, respond to stimuli, and interact with neighboring cells—phenomena that enhance students’ understanding of dynamic cellular behaviors.
Visualizing Cellular Dynamics
Although static microscopy provides valuable snapshots of cellular structure, the true magic of cellular biology unfolds through time-lapse photography.
When you implement live cell imaging in your science classroom, you’ll transform abstract concepts into dynamic visual experiences. The LiTone Line Bessel Sheet microscope allows you to capture stunning 3D cellular processes with minimal damage to cells, extending observation periods considerably.
- Watch cell division unfold in real-time, revealing mitotic stages
- Observe cellular responses to environmental stimuli or drug treatments using Acridine Orange staining
- Track cell migration patterns during wound healing demonstrations
- Visualize protein interactions through FRET techniques
- Apply deep learning analysis to help students quantify and interpret cellular behaviors
These visualization techniques don’t just illustrate textbook concepts—they inspire curiosity about the dynamic nature of life itself.
Cell Division Sequence Capture
Witnessing the intricate dance of cell division transforms abstract biological concepts into tangible reality for your students. Through time-lapse photography, you’ll capture cellular mitosis at regular intervals, revealing prophase, metaphase, anaphase, and telophase sequences that textbooks can’t convey.
Enhance your imaging with fluorescence microscopy to highlight chromosomal movements and spindle formation with striking clarity. You’ll find real-time insights emerge as live cell imaging techniques make cellular dynamics visible to even novice observers.
For ideal results, implement computational methods like drift correction to improve data quality. Choose low phototoxicity systems such as the LiTone Line Bessel Sheet microscope when conducting extended observations—these minimize stress on cells, ensuring viable specimens throughout your imaging session while preserving authentic division behaviors.
Migration Tracking Techniques
As cells journey across their microenvironment, you’ll discover that migration tracking opens windows into fundamental biological processes invisible to static imaging.
Time-lapse photography reveals cellular dynamics that transform abstract concepts into observable phenomena for your students.
- Utilize advanced imaging systems from Molecular Devices or Leica to monitor real-time changes in cell position and morphology
- Apply computational drift correction to compensate for movement artifacts and guarantee accurate data interpretation
- Analyze time series images to examine migration patterns in wound healing, immune responses, and cancer metastasis
- Implement tracking algorithms that follow individual cells through their journey across the field of view
- Leverage deep learning technologies to process migration data more efficiently, identifying subtle features that might otherwise go unnoticed
Troubleshooting Common Live Cell Imaging Challenges
Live cell imaging, while powerful, presents several technical hurdles that can compromise your experimental results. Drift during extended imaging sessions can blur your cellular movements, making tracking difficult. Combat this by implementing drift correction algorithms to maintain accuracy over time.
Tracking accurately requires vigilance against image drift—your algorithms are as important as your microscope.
You’ll need to address phototoxicity, which damages cells during observation. Consider using the LiTone Line Bessel Sheet microscope, which reduces toxicity by 1,000 times compared to traditional confocals.
When managing large datasets, employ denoising and super-resolution techniques to enhance quality without overwhelming your storage.
For real-time challenges, try self-driving microscopy systems that automatically adjust parameters based on feedback.
Finally, leverage deep learning technologies to improve accuracy in identifying cellular features, making your analysis more efficient and reliable for teaching purposes.
Frequently Asked Questions
What Do Modern Scientists Use When Studying Living Cells?
You’ll find modern scientists use STELLARIS STED Confocal Microscopes, CloneSelect Imagers, BZ-X800 fluorescence microscopes, LiTone Line Bessel Sheet microscopes, and Live Cell Painting techniques to study living cells with minimal disruption to cellular processes.
What Is the Best Tool to Use When Observing Cells?
The best tool for observing cells depends on your specific needs. You’ll get excellent results with STELLARIS STED for super-resolution, BZ-X800 for general fluorescence, or UltraMicroscope II for larger specimens. LBS microscopes reduce phototoxicity considerably.
What Are the Applications of Live Cell Imaging?
You’ll find live cell imaging valuable for studying dynamic cellular processes, drug development, monitoring cell viability, tissue engineering, and detecting subtle cellular responses through techniques like Live Cell Painting and fluorescence microscopy.
Can You Take a Picture of a Cell?
Yes, you can take pictures of cells using specialized microscopes like fluorescence or confocal systems. They’ll capture living cells in real-time, showing dynamic processes without killing the cells during observation.
In Summary
You’ve now got the tools to transform your science classroom with live cell imaging. By implementing these techniques, you’ll create powerful learning moments that connect abstract concepts to visible cellular activity. Don’t hesitate to experiment with different approaches—your students’ engagement and comprehension will improve dramatically. Remember, when students see real biological processes unfold, they’re developing deeper scientific understanding that textbooks alone can’t provide.


Leave a Reply