Converting your Leica camera to work with other lens systems requires the right adapters and tools. You’ll need precision screwdrivers, thread locker, and measurement tools to maintain accurate focus. For R-to-EF conversions, remove six screws and align the new mount, while M-lens adaptations focus on preserving flange distances. Most conversions require manual aperture control but maintain original equipment value. The following guide offers step-by-step instructions to guarantee your converted setup delivers peak image quality.
Understanding Leica Camera Mount Systems and Compatibility
When exploring the world of Leica cameras, you’ll encounter three distinct mount systems that define compatibility between bodies and lenses.
The M-mount serves rangefinder models like the M3 and M10, offering a unique manual focus experience.
The R-mount caters to SLR cameras with expanded lens options, while the newer L-mount—developed with Panasonic and Sigma—powers mirrorless systems like the SL and CL series.
If you’re looking to mix systems, conversion solutions exist particularly for adapting R-mount lenses to Canon EF mounts.
These adapters maintain a non-destructive approach, allowing you to revert to original configurations when needed.
Remember that flange distance is critical—requiring precision within 12 microns to achieve proper infinity focus across all Leica camera mount systems.
Essential Tools and Equipment for Adapter Conversions
You’ll need specific screwdrivers, particularly #0 and #00 Phillips JIS types, to successfully complete your Leica camera-to-adapter conversion.
Your toolkit should include thread locker for securing the M1.7 Phillips pan-head screws that come with the EF Flange in your conversion kit.
The calibration lens provided with your conversion service is essential for verifying proper infinity focus adjustment after installation.
Essential Toolkit Components
For successful Leica camera-to-adapter conversions, proper tools make all the difference between frustration and smooth installation.
You’ll need specialized #0 and #00 Phillips JIS screwdrivers to handle the delicate screws during the installation process.
Your conversion kit includes an EF Flange and six M1.7 Phillips pan-head screws designed specifically for mounting.
When securing these components, apply a torque specification of 0.4 Nm—hand-tightening to achieve a secure fit without damaging parts.
Don’t forget to apply thread locker to screw threads for added security and stability over time.
The entire procedure requires basic mechanical aptitude and typically takes 10-20 minutes to complete.
With these essential tools and proper technique, you’ll transform your Leica camera efficiently and safely.
Specialty Calibration Equipment
Beyond basic installation tools, precision calibration equipment represents the difference between a functional conversion and optical excellence.
When adapting Leica cameras, you’ll need specialty calibration equipment to achieve accurate infinity focus within 12 microns (0.0005″) tolerance.
Start with a high-precision caliper to measure flange distances exactly. A lens alignment jig guarantees proper sensor-to-mount alignment, critical for edge-to-edge sharpness.
Don’t overlook a digital torque wrench—applying correct pressure prevents damage while securing components properly.
For professional results, an optical collimator verifies your optical path alignment, maintaining the camera’s performance characteristics through conversion.
Finally, calibration software helps fine-tune sensor adjustments and verify focus accuracy after installation.
This systematic approach using precision equipment assures your adapted Leica will deliver the exceptional image quality the brand is known for.
Step-by-Step Leica R to Canon EF Mount Conversion
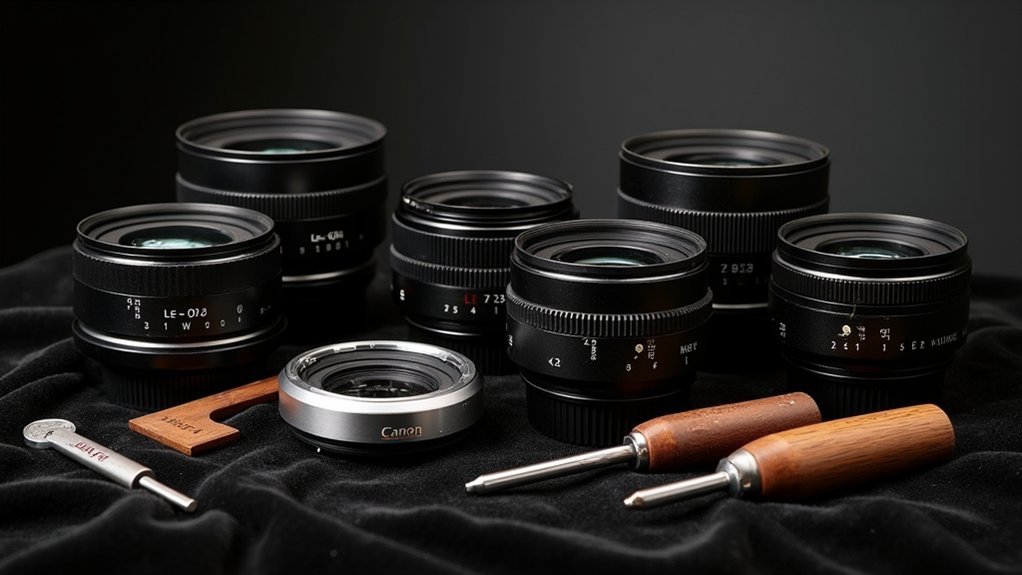
Converting your Leica R lens to a Canon EF mount requires a minimal set of tools including a precision screwdriver set, thread locker, and calipers for checking flange distance.
You’ll need to carefully remove the six original screws, align the new mount using the witness mark, and secure it with the provided M1.7 Phillips pan-head screws.
After installation, you should test the lens’s infinity focus, making any necessary adjustments to guarantee the flange distance is within the critical 12-micron tolerance for peak performance.
Required Tools & Materials
Successful completion of a Leica R to Canon EF mount conversion depends on having the right tools and materials at hand before you begin.
You’ll need #0 and #00 Phillips JIS screwdrivers to remove the six screws from the original Leica R mount and install the new Canon EF mount.
The conversion kit provides an EF flange and six M1.7 Phillips pan-head screws for the installation process.
When securing the new mount, align it properly with the original mount’s witness mark and tighten the screws to a torque of 0.4 Nm.
For long-term stability, apply thread locker to the screw threads before installation.
Remember that the original screws on your Leica R mount may be either Phillips or slotted type, so prepare accordingly.
Adapter Installation Process
Once you’ve gathered all necessary tools and materials, the actual conversion from Leica R to Canon EF mount can begin with a straightforward process that preserves your lens’s functionality.
Start by removing the six screws from your Leica R mount. If your lens has a 10-hole pattern, keep the longer screws. Position the Canon EF mount over the lens, aligning the witness mark correctly. Hand-tighten the M1.7 screws to 0.4 Nm, using thread locker for security.
| Step | Action | Time Required |
|---|---|---|
| 1 | Remove original mount screws | 2-3 minutes |
| 2 | Align new Canon EF mount | 1 minute |
| 3 | Insert M1.7 screws | 3-5 minutes |
| 4 | Apply thread locker | 1 minute |
| 5 | Final tightening | 3-5 minutes |
The entire installation process takes 10-20 minutes. Maintaining proper flange distance within 12 microns guarantees accurate infinity focus.
Testing Focus Performance
After completing the mount installation, you’ll need to verify focus accuracy across your lens’s entire range. The success of your Leica R mount to Canon EF conversion hinges on precise flange distance adjustment—within 12 microns (0.0005″)—to guarantee accurate infinity focus with your quality glass.
Begin by mounting various Canon EF lenses to test focus performance. Capture test shots at different focusing distances, paying special attention to infinity focus. If you notice inconsistencies, fine-tune the alignment by slightly adjusting the mount’s position before fully tightening the M1.7 screws.
Remember that proper focus testing confirms whether your conversion maintains the optical characteristics that make Leica lenses exceptional. Document your focus tests for each lens to establish a baseline for future reference.
Adapting Leica M Lenses to Digital Mirrorless Bodies
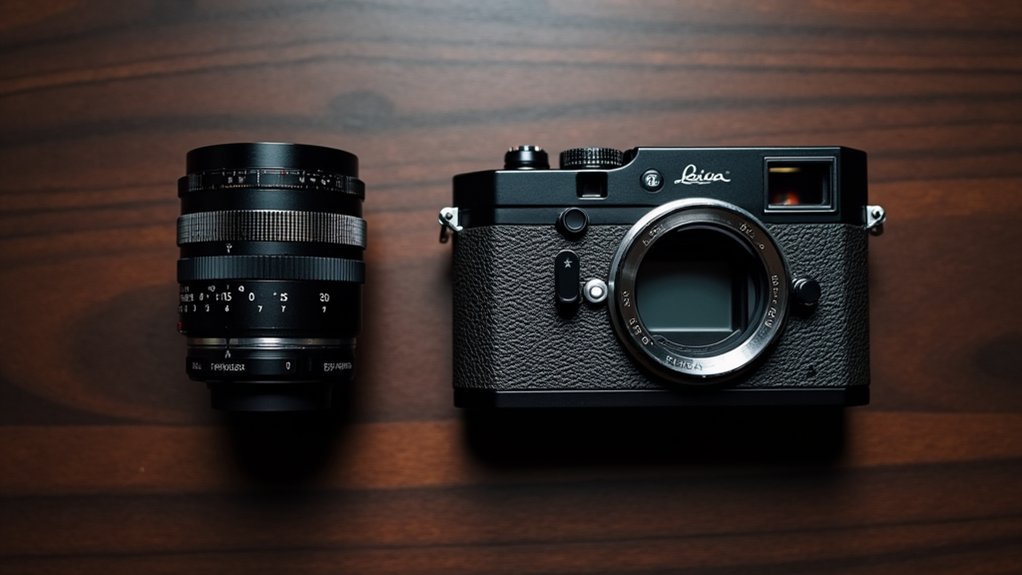
The timeless optical quality of Leica M lenses needn’t be confined to rangefinder bodies, as modern adapters now bridge these classic optics to contemporary mirrorless cameras.
These non-destructive conversion methods preserve your lens’s integrity while opening new creative possibilities.
You’ll find purpose-built adapters for popular mirrorless systems that maintain Leica’s unique optical characteristics while leveraging modern sensor technology.
When mounting, pay careful attention to flange distance—accuracy within 12 microns guarantees proper infinity focus.
Your manual focusing experience remains seamless, as these adapters utilize Leica’s traditional mechanical feel without introducing electronic interference.
The tactile precision you love about Leica lenses translates perfectly to your mirrorless body.
Growing community interest has created a thriving market for conversion kits and services, helping you maximize the versatility of your valuable lens collection.
Full-Frame vs. APS-C Sensor Considerations for Adapted Lenses
While adapters expand your Leica lens functionality across camera systems, the sensor size inside your chosen body dramatically affects imaging results.
Full-frame sensors utilize the entire image circle from adapted lenses, delivering superior edge-to-edge sharpness and reduced vignetting compared to APS-C alternatives.
APS-C sensors introduce a 1.5x crop factor, effectively turning your 50mm lens into a 75mm equivalent—beneficial for wildlife or portraits when you need extra reach.
However, this crop limits wide-angle opportunities that full-frame bodies excel at capturing.
You’ll also notice differences in depth of field control; full-frame setups allow shallower depth of field than the same lens on APS-C.
Consider that optical quality may vary, as some lenses are specifically tailored for full-frame use and mightn’t perform at their best when adapted to APS-C bodies.
Calibrating Focus and Infinity Adjustment Techniques
Precise focus calibration represents the most critical aspect of any successful Leica lens adaptation project, especially when reaching infinity focus becomes problematic.
When mounting Leica lenses on different camera bodies, you’ll need to guarantee proper sensor alignment using spacers between the lens mount and sensor.
For NEX sensors specifically, you might need to file down the sensor slightly to achieve the exact focal plane required.
Always use a custom lens during your calibration process, as this allows for precise adjustments tailored to your specific Leica lens characteristics.
To verify your infinity adjustment is correct, utilize your camera’s live view magnification feature. This allows you to confirm true infinity focus accuracy without guesswork.
Remember that proper calibration isn’t just about reaching infinity—it’s about maintaining peak sharpness throughout the entire focusing range.
Preserving Lens Functionality During Conversion
Maintaining your Leica lens’s original functionality during conversion requires attention to specific technical details often overlooked in standard adaptation methods.
The non-destructive nature of proper Leica-to-Canon EF conversion guarantees your investment remains protected, with all original parts preserved for potential reversal.
Critical to successful conversion is achieving the precise flange distance—within 12 microns—to maintain accurate infinity focus.
During installation, you’ll use six M1.7 Phillips screws to secure the EF flange, requiring basic mechanical aptitude but no specialized tools.
The conversion kit’s included free custom lens calibration optimizes your adapted Leica glass for peak performance.
This calibration step, combined with proper installation technique, guarantees your converted lens maintains all the optical characteristics that made you choose Leica glass originally.
Custom Adapter Solutions for Microscope Integration
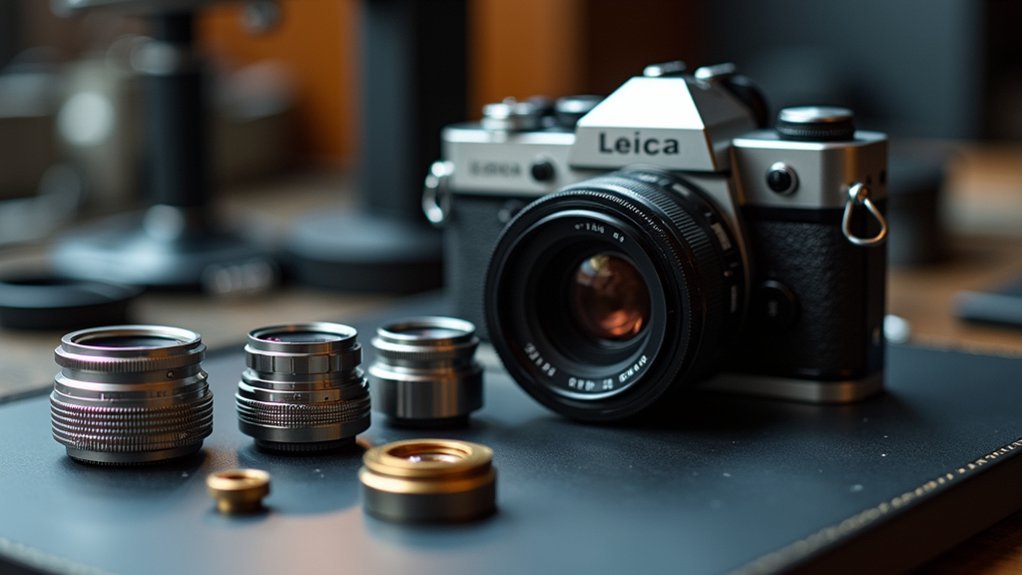
Although Leica cameras excel in photography, their integration with microscopes requires specialized adapter solutions that transform your imaging capabilities in laboratory settings. These custom adapter solutions guarantee perfect optical alignment between your Leica camera systems and microscope, delivering exceptional image clarity during scientific observation.
The non-destructive conversion process preserves both your valuable equipment while optimizing image capture quality. High-quality materials minimize light loss, critical for detailed microscopic analysis.
| Adapter Type | Compatible Microscope Models | Key Benefits |
|---|---|---|
| C-mount | Zeiss, Olympus, Nikon | Universal compatibility |
| T-mount | Leica, Wild | Precise alignment |
| DIN/JIS | Educational models | Cost-effective |
| Custom | Specialized research equipment | Tailored solutions |
| Camera-specific | All with proper adapter | Maximum sensor utilization |
You’ll find adapters for virtually any microscope model, guaranteeing your Leica camera seamlessly integrates with your existing laboratory setup.
Impact of Lens Stack Thickness on Image Quality
When adapting Leica cameras for microscopy, lens stack thickness becomes a fundamental consideration that shapes your results. The stack’s thickness directly affects focal plane alignment, which is essential for achieving infinity focus with adapted lenses.
You’ll notice that thicker lens stacks may introduce optical aberrations, compromising image sharpness and overall quality. Additionally, modifications to stack thickness alter the effective aperture, impacting both exposure and depth of field in your final images.
Precision is non-negotiable—calibration must be accurate within 12 microns (0.0005″) to prevent substantial misalignment. Even minor deviations can lead to significant image degradation.
Consider using thin spacers during your conversion process to maintain image quality while ensuring compatibility with various lens types. This approach helps preserve optical performance while achieving the desired adaptation.
Electronic Communication and Manual Aperture Control
Since most Leica camera-to-adapter conversions lack electronic communication capabilities, you’ll need to adjust your shooting approach accordingly.
When using adapted lenses, particularly with passive solutions like Leica R to Canon EF, you’ll rely entirely on manual control for aperture settings via the physical aperture ring on your lens.
To master manual aperture control with adapted Leica lenses:
- Understand basic lens mechanics – familiarize yourself with how your specific lens’ aperture system operates.
- Pre-visualize exposure settings – compensate for limited metering capabilities by anticipating lighting conditions.
- Practice manual adjustments – develop muscle memory for quick aperture changes without electronic feedback.
- Leverage the creative control – use the manual nature of adapted lenses to explore unique photographic techniques that automated systems might limit.
Reversible Conversion Methods to Protect Original Equipment
Your Leica equipment’s value remains intact with our fully reversible mounting techniques, ensuring you’ll never permanently alter your precious gear.
Every screw, mount, and component we use in our conversion solutions can be completely removed, returning your camera to its factory condition whenever you choose.
We’ve designed our preservation methods to protect your original parts throughout the conversion process, with calibration tools that achieve micron-level precision without risking damage to your investment.
Non-permanent Mounting Techniques
Three key principles govern non-permanent mounting techniques for Leica camera-to-adapter conversions: preservation of original equipment value, minimal technical expertise requirements, and precision in maintaining optical alignment.
You’ll find these reversible conversion methods respect your investment while delivering professional results. The process secures a new mount to your existing lens assembly without damaging original components, allowing future restoration if desired.
- Installation time: Complete the adapter conversion in just 10-20 minutes using basic tools
- Precision focus: Achieve critical flange distance adjustments within 12 microns for accurate infinity focus
- Simple process: Use passive mounts that require minimal mechanical aptitude
- Support resources: Access detailed installation instructions and technical assistance to guarantee proper implementation
These techniques guarantee your Leica camera maintains its integrity while gaining new functionality.
Original Part Preservation
Building on our exploration of non-permanent mounting techniques, preserving original Leica components remains at the heart of every conversion project. The non-destructive approach guarantees your camera’s integrity stays intact throughout the adaptation process.
When you install a conversion kit, you’ll appreciate how meticulously designed spacers and alignment tools protect your camera’s aesthetic preservation while adding digital functionality. Each kit includes detailed instructions that guide you through safe installation and removal, making the process accessible even with basic mechanical skills.
What makes these solutions truly valuable is their reversible conversion capability. You can always return to your original film mechanism whenever desired, without permanent alterations to your camera body or internal components.
This thoughtful design philosophy maintains the authentic Leica experience while offering modern versatility.
Troubleshooting Common Alignment and Calibration Issues
While converting a Leica camera to accept different adapters, precise alignment and calibration stand as critical factors determining your success.
You’ll need to verify your sensor sits parallel to the mount using spacers, as misalignment frequently causes focus issues with Leica lenses. Remember that proper calibration requires attention to tolerances within 0.0005 inches.
- Infinity focus verification – Use live view magnification to confirm sensor positioning is correct, making adjustments as needed.
- Sensor stack considerations – Be aware that thick sensor stacks may obstruct the shutter curtain; use thin spacers or remove the stack entirely.
- Shutter release wiring – Implement a two-stage release system to verify proper half-pressed and fully-pressed functionality.
- Regular alignment checks – Test frequently during conversion to prevent photographic errors from minor mounting discrepancies.
Advanced Techniques for Scientific and Macro Photography
Leica cameras release extraordinary potential in scientific and macro photography when properly adapted with specialized hardware. By adding macro extension tubes to your Leica lenses, you’ll dramatically reduce minimum focusing distance, perfect for capturing intricate details of tiny subjects. Consider adapting Leica R mount lenses to Canon EF mounts for expanded macro accessories.
| Technique | Application | Key Benefit |
|---|---|---|
| Focus Stacking | Specimen documentation | Enhanced depth of field |
| Macro Filters | Small subject photography | Magnify subjects while maintaining quality |
| R-to-EF Adapters | Scientific photography | Access to specialized lighting tools |
Don’t overlook the importance of stability—your tripod and remote shutter release eliminate vibrations that would otherwise blur fine details. For ideal results, combine these approaches with focus stacking techniques, merging multiple images at different focus points for extraordinary clarity.
Frequently Asked Questions
Do Leica Adapter Conversions Affect Lens Resale Value?
Yes, converting Leica lenses usually decreases their resale value. You’ll find collectors and purists prefer original condition lenses. However, if you’ve done a reversible conversion, you’ll maintain more of the lens’s value.
Can Vintage Leica Lenses Maintain Sharpness With Modern Digital Sensors?
Yes, your vintage Leica lenses can maintain excellent sharpness with modern digital sensors. While they lack coatings of newer lenses, they’ll still deliver that distinctive Leica rendering and impressive optical performance you’re looking for.
How Much Weight Do Adapters Add to Camera Setup?
Adapters typically add 50-150 grams to your setup. You’ll notice the extra weight with multiple adapters or when using heavier vintage lenses, but it’s usually minimal compared to the lens itself.
Are There Weather-Sealed Adapter Options for Outdoor Shooting?
Yes, you’ll find several weather-sealed adapter options for outdoor photography. Brands like Metabones, Sigma, and Novoflex offer sealed adapters that protect internal components from moisture and dust during challenging weather conditions.
Do Adapters Impact In-Body Image Stabilization Effectiveness?
Yes, adapters can reduce IBIS effectiveness. You’ll notice less stabilization with heavier adapters that extend the lens’s center of gravity. Electronic adapters typically maintain better stabilization than purely mechanical ones.
In Summary
You’ve now mastered the art of adapting Leica optics to various camera systems. Whether you’re preserving vintage glass or expanding your creative toolkit, these conversion solutions offer tremendous flexibility. Remember to maintain precision during installation, consider optical characteristics when matching to sensors, and always protect your original equipment. With patience and proper technique, you’ll reveal the legendary Leica look across multiple photography platforms.



Leave a Reply