
Köhler lighting dramatically improves your microscope images by eliminating filament patterns and creating perfectly uniform illumination across your specimen. You’ll get sharper details, enhanced contrast, and artifact-free visualization by properly aligning the light source with the condenser and optimizing aperture settings. This technique balances resolution and contrast while preventing glare that obscures subtle features. Mastering the proper adjustment of field and condenser diaphragms reveals delicate structures you’d otherwise miss entirely.
The Science Behind Köhler Illumination: How It Works
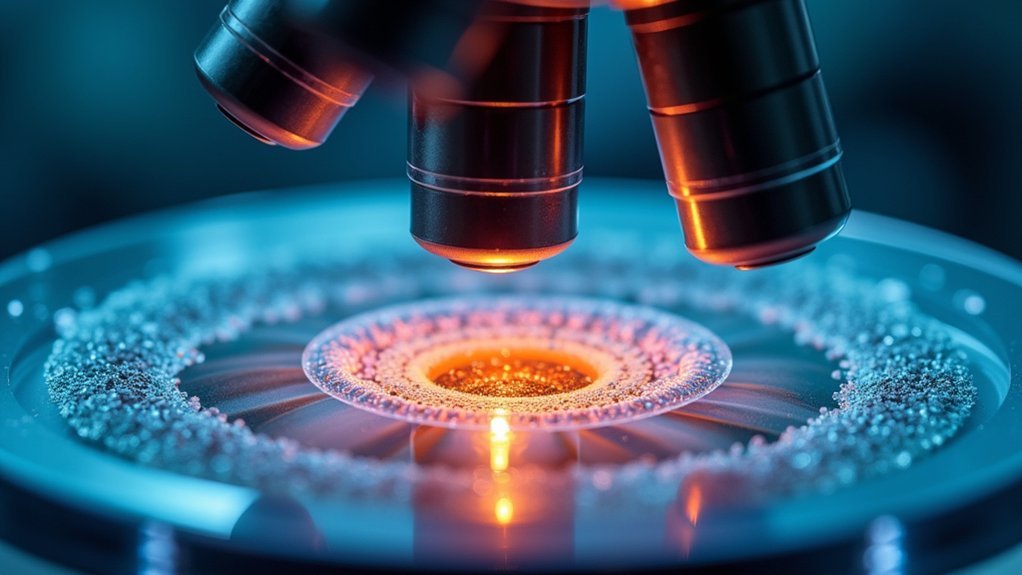
While many microscopy techniques have evolved over decades, Köhler illumination remains the gold standard for achieving ideal specimen visibility. This technique creates uniform light distribution across your specimen by precisely aligning the light source with the condenser, eliminating distracting filament patterns.
When you properly adjust the condenser aperture diaphragm, you’re balancing light intensity and optical resolution, preventing diffraction artifacts that can obscure critical details. The field diaphragm further enhances contrast by controlling light rays reaching the specimen without sacrificing numerical aperture.
What makes Köhler illumination superior is its clever use of conjugate planes that optimize light pathways. This guarantees only light scattered by your specimen contributes to the final image, creating the crisp, artifact-free views at the specimen level that distinguish professional-quality microscopy.
Essential Components for Proper Köhler Setup
To achieve the precision of Köhler illumination, you’ll need several key components working in perfect harmony. Your microscope’s light source must be aligned so the lamp filament image centers perfectly in the objective’s back focal plane, eliminating glare and guaranteeing uniform specimen illumination.
| Component | Function |
|---|---|
| Light Source | Provides illumination and must be properly centered |
| Field Diaphragm | Controls light ray width without affecting optical resolution |
| Condenser | Focuses light onto the specimen |
| Condenser Aperture Diaphragm | Should be set to 60-90% of light disc size for ideal contrast |
| Objective Lens | Collects light from the specimen for image formation |
Properly adjusting your field diaphragm enhances contrast while maintaining resolution, while the condenser aperture diaphragm maximizes image detail. A successful Köhler setup guarantees your illuminated area matches or exceeds your field of view.
Setting Up Your Microscope for Optimal Köhler Lighting
Setting up Köhler illumination transforms an ordinary microscope into a precision optical instrument.
Begin by positioning the condenser height 1-3mm below your slide—never allowing contact that could damage components. Fully open the field diaphragm, then gradually close it until its edges just exceed your field of view, ensuring uniform illumination.
Next, use the condenser centering knobs to perfectly center the field diaphragm’s image, which guarantees even light distribution across your specimen.
Adjust the condenser aperture diaphragm to illuminate 65-80% of the pupil diameter, balancing contrast and resolution for peak viewing.
For consistent high-quality imaging, perform this alignment daily to compensate for any shifts in optical performance.
These precise adjustments are the foundation of peak Köhler illumination and will dramatically improve your microscopy results.
Common Mistakes That Ruin Microscope Image Quality
Despite having quality equipment, microscope users often sabotage their own imaging results through several common errors. You’ll compromise image quality when condenser diaphragm controls aren’t properly adjusted, creating artifacts that obscure detail. The aperture diaphragm size directly affects the light cone and contrast necessary to produce clear images.
| Error | Consequence | Solution |
|---|---|---|
| Overly closed aperture | Darkened image, reduced resolution | Open appropriately for specimen type |
| Misaligned field diaphragm | Uneven illumination, glare | Center and adjust until just outside field of view |
| Improper light intensity | Overexposure or underexposure | Guarantee uniform illumination across specimen |
Mastering Aperture Diaphragm Adjustments for Better Contrast
The aperture diaphragm serves as your primary tool for manipulating the microscope’s light path, directly affecting both resolution and contrast in your specimens.
You’ll achieve ideal imaging by adjusting the diaphragm to allow 60-80% of the light cone through, balancing the field diaphragm effects with your contrast requirements.
When fine-tuning your microscope, remember that different specimens respond uniquely to aperture adjustments, requiring you to develop sensitivity to how these settings enhance structural details while maintaining sufficient brightness.
Light Path Manipulation
Mastering aperture diaphragm adjustments stands as one of the most critical skills for achieving ideal contrast in microscopy. Your condenser’s aperture diaphragm controls the angle of light rays hitting your specimen, directly impacting both contrast and resolution of your final image.
For best results, you’ll want to adjust your diaphragm to allow 60-90% of the light disc to pass through. This balances direct and deviated light perfectly. Specifically, aim to illuminate 65-80% of the pupil diameter to maximize numerical aperture without sacrificing image quality.
Be careful—closing the diaphragm too much creates diffraction artifacts like fringes and banding, while opening it too wide reduces contrast and creates glare.
Regularly adjust your settings based on each specimen’s optical characteristics to reveal fine details and prevent unwanted artifacts.
Contrast Optimization Techniques
While proper alignment forms the foundation of Köhler illumination, effective contrast enhancement requires mastering aperture diaphragm adjustments. You’ll achieve peak contrast when the diaphragm allows 60-90% of the light disc size, balancing direct and deviated light rays.
| Aperture Setting | Effect on Image | Application |
|---|---|---|
| Too Closed (≤50%) | Diffraction artifacts, visible fringes | High-contrast specimens |
| Optimal (65-80%) | Maximum detail visibility | Most routine specimens |
| Too Open (≥90%) | Reduced contrast, loss of detail | Thick or dense specimens |
For best results, aim for illuminating 65-80% of the pupil diameter. Remember that adjusting the aperture diaphragm should be specimen-specific—different samples require different settings for ideal contrast enhancement. Avoid closing the diaphragm excessively, as this creates image quality issues through unwanted diffraction effects.
Field Diaphragm Effects
Beyond aperture adjustments, field diaphragm control represents another significant dimension in Köhler illumination mastery.
You’ll achieve ideal imaging by adjusting your field diaphragm to control the light reaching the specimen. When set properly at 50-80% open, you’ll enhance image quality while preventing excessive brightness that can wash out essential details.
The field diaphragm serves an important function: it eliminates stray light from your optical path, resulting in clearer images with sharp edges and improved contrast.
By aligning the field diaphragm with your specimen, you guarantee the illuminated area properly matches your field of view.
Don’t neglect regular adjustments to maintain consistent illumination conditions. This simple practice dramatically improves your microscopy results, providing the clarity and detail your scientific work demands.
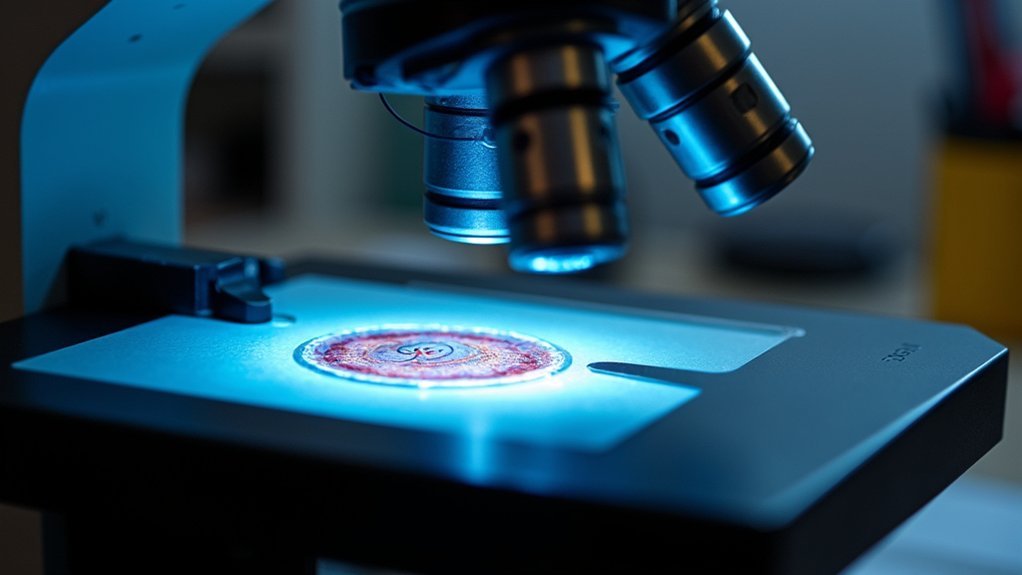
Visualizing Resolution Improvements With Köhler Techniques

Once you’ve properly configured Köhler illumination, you’ll immediately notice dramatic improvements in image resolution and clarity. The technique’s primary advantage is ensuring uniform, parallel light rays enter your objective lens, maximizing the numerical aperture and revealing fine details previously hidden.
When adjusting your condenser aperture diaphragm, you’re directly controlling contrast and resolution. Proper balance prevents diffraction artifacts while maintaining brightness for ideal specimen image quality.
- Compare split-field images (half with Köhler, half without) to see the striking difference in detail visibility
- Examine high-contrast specimens where edges appear sharper and more defined
- View delicate structures that become visible only with proper illumination
- Notice the elimination of glare that previously washed out subtle features
These improvements make Köhler illumination indispensable for serious photomicrography and research applications.
Köhler Illumination for Different Specimen Types
The remarkable resolution benefits of Köhler illumination must be tailored to specific specimen types for best results.
When you’re examining thin, well-stained specimens (under 8 micrometers), you’ll achieve maximum light transmission and minimal artifacts, enhancing overall image clarity.
Your condenser aperture diaphragm adjustment is critical—different specimen types require specific numerical aperture settings based on their unique optical characteristics.
For instance, specimens with varying absorption, diffraction, and refraction properties need customized Köhler setups to reveal their true details.
This illumination method also protects delicate specimens by preventing excess heat generation during observation.
Troubleshooting Light Distribution Problems in Microscopy
When you encounter uneven illumination across your field of view, first check that both your field diaphragm and condenser are properly aligned and centered.
You’ll need to adjust your field diaphragm until it’s just outside the field of view, ensuring light is evenly distributed without introducing glare that masks important details.
If problems persist, examine the condenser aperture diaphragm setting, as improper adjustment can greatly reduce contrast and resolution, making fine structures difficult to distinguish.
Uneven Illumination Causes
Despite careful setup of your microscope, uneven illumination can frustrate even experienced microscopists and compromise image quality. The causes often involve misaligned optic components, particularly when your condenser isn’t properly focused or centered, creating inconsistent light distribution across specimens.
Your objective lens’s numerical aperture must match specimen characteristics for ideal illumination. Incorrect adjustments to the condenser aperture diaphragm can introduce diffraction artifacts that obscure fine details, while poor quality images also result from improper field diaphragm settings.
Common culprits include:
- Dust or contaminants on optical surfaces scattering light
- Misaligned condenser creating shadows or bright spots
- Incorrect field diaphragm settings causing glare or insufficient illumination
- Improper matching between numerical aperture and specimen requirements
Adjusting Diaphragm Settings
Mastering diaphragm settings forms the cornerstone of troubleshooting uneven illumination in microscopy. Your condenser aperture diaphragm requires careful adjustment—too closed creates diffraction artifacts, too open produces glare. Aim to illuminate 65-80% of the pupil diameter to achieve ideal resolution while maintaining contrast.
Your field diaphragm controls light ray width and should remain 50-80% open to enhance specimen contrast without introducing glare. When light distribution appears uneven, check if the field stop diaphragm aligns concentrically with your viewfield. Use condenser centering screws to adjust accordingly.
Regularly inspect image quality and fine-tune diaphragm settings based on your specimen’s characteristics. These ongoing adjustments prevent artifacts that might obscure detail or create false contrast.
Frequently Asked Questions
What Is the Purpose of Köhler Illumination?
Köhler illumination provides you with uniform, glare-free lighting across your specimen. It enhances your microscope’s image quality by aligning the light source perfectly with optical components, giving you ideal contrast and resolution.
Why Is Proper Lighting Important in Microscopy?
Proper lighting in microscopy is essential because you’ll get clearer images with better contrast and resolution. It helps you avoid damaging heat buildup, eliminates glare, and guarantees you see all fine details in your specimen.
What Makes the Image Clearer on a Microscope?
Your microscope images become clearer when you properly adjust the condenser, use Köhler illumination, center the field diaphragm, prepare thin specimens, and optimize aperture settings to maximize contrast and resolution while reducing glare.
How Does Light Affect a Microscope?
Light quality directly impacts your microscope’s performance. You’ll see clearer images when you’ve got proper illumination that eliminates glare, enhances contrast, and reveals fine details through controlled pathways and diaphragm adjustments.
In Summary
You’ve now seen how Köhler illumination transforms your microscope imaging by delivering even lighting, superior contrast, and enhanced resolution. By following proper setup procedures and avoiding common pitfalls, you’ll consistently produce clearer, more detailed images of any specimen. Don’t settle for subpar microscopy—implement these Köhler techniques in your workflow and you’ll immediately notice the difference in your scientific observations and photomicrographs.


Leave a Reply