
For crystal-clear specimen photos, try dry mounting for stability, hot compression for metallographic samples, or cold mounting for delicate structures. Select appropriate adhesives like clove oil for soft specimens or stronger bonding agents for hard ones. Clean thoroughly with 95% alcohol, use specialized tools like turntables and cork pedestals, and prevent air bubbles by applying medium carefully. Don’t forget compatibility testing between cleaners and mounting media. These techniques will transform your specimen photography from amateur to museum-quality.
7 Best Specimen Mounting Techniques For Clear Photos
When capturing detailed specimen photographs, proper mounting techniques make all the difference between mediocre and exceptional results. The dry mount mounting method stands out as particularly effective, creating a smooth surface that keeps your specimen stable without liquid interference.
Dry mounting creates stable specimen conditions for superior photographic detail and clarity.
Before mounting, thoroughly clean your specimens to remove all contaminants, ensuring ideal adhesion and photographic clarity. Select premium materials like museum board and Mylar silver tape to enhance both presentation and durability of your mounted specimens.
Don’t rush the curing process—allow sufficient time for your mountant to set completely and for air bubbles to escape. This patience will greatly improve your final images.
Always work in a clean, well-lit environment to minimize dust particles that might otherwise obscure important details in your photographs.
Selecting the Optimal Mounting Medium for Your Specimen Type
Choosing the right mounting medium can dramatically influence both the preservation quality and visual clarity of your specimen.
For soft specimens, clove oil serves as an excellent mounting medium thanks to its pleasant aroma and compatibility with other media.
If you’re working with fragile samples, opt for diluted water-soluble glue that provides gentle adhesion without damaging delicate structures.
Harder specimens require stronger bonding agents, making hot glue an ideal choice for securing larger samples.
When photographic clarity is your priority, consider Euparal essence as your mounting medium—it remains clear and enhances visibility for detailed imaging.
Remember that patience pays off; longer curing times allow bubbles to escape and guarantee your specimen remains perfectly positioned.
This attention to curing time often distinguishes amateur mounts from professional-quality preparations.
Proper Cleaning and Preparation Before Mounting
Because contaminants can compromise both adhesion and visibility, thorough specimen cleaning represents the critical first step in successful mounting.
You’ll want to handle each specimen individually, meticulously removing all surface debris to guarantee a perfect bond with your mounting medium.
Consider immersing specimens in 95% alcohol or higher for effective dehydration and hardening, but be aware this treatment may increase brittleness.
Before transferring to a clearer, remove all excess alcohol from your specimen.
Always work with a clean slide and maintain detailed notes about the specimen’s condition and preparation methods.
These records prove invaluable for future reference, especially when troubleshooting or replicating successful mounts.
Your attention to cleanliness during these preparatory stages directly affects the quality of your final mounted specimen.
Hot Compression Mounting for Edge Retention
With your thoroughly cleaned specimen ready for preservation, hot compression mounting offers superior edge retention that’s particularly valuable for metallographic and geological samples. You’ll achieve consistent results when processing multiple specimens using specialized equipment like the CitoPress.
Before applying these mounting techniques, always assess your specimen’s heat tolerance to prevent thermal damage. The resins used provide minimal shrinkage and excellent adhesion, enhancing microscopic visibility.
| Mounting Parameter | Ideal Setting | Benefits |
|---|---|---|
| Temperature | 150-180°C | Complete curing |
| Pressure | 250-300 bar | Eliminates air bubbles |
| Heating Time | 3-5 minutes | Proper resin flow |
| Cooling Method | Forced water | Prevents warping |
| Resin Type | Phenolic/Epoxy | Matches specimen needs |
This method works especially well for batch processing when you need uniform, high-quality preservation that protects delicate edges during handling and examination.
Cold Mounting Methods for Heat-Sensitive Specimens
When working with temperature-sensitive specimens, you’ll find transparent epoxy solutions offer excellent clarity while preserving delicate structures.
Low-temperature acrylic methods provide a faster curing alternative that won’t compromise your specimen’s integrity during the mounting process.
For extremely fragile samples, silicon-based embedding options create flexible mounts that reduce stress on the specimen while maintaining excellent optical properties.
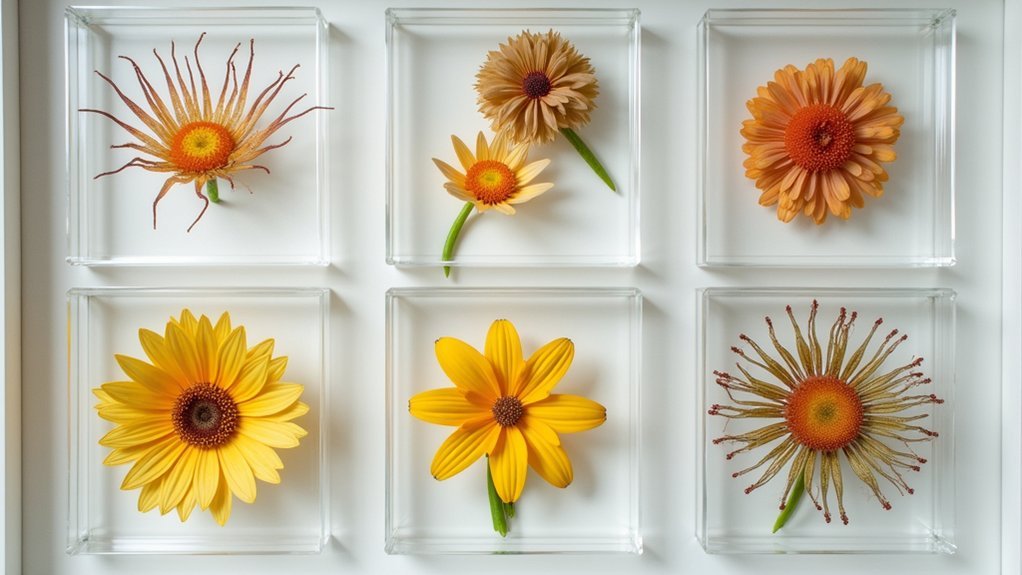
Transparent Epoxy Solutions
Three significant advantages make transparent epoxy solutions the preferred choice for mounting heat-sensitive specimens.
First, these solutions cure at room temperature, eliminating thermal damage risk—making them the best method for preserving delicate materials that can’t withstand hot compression mounting.
Second, you’ll achieve superior clarity with transparent epoxy. The formulation provides exceptional visibility of fine specimen details, which is essential for capturing high-quality images where every feature matters.
Third, transparent epoxy allows for precise specimen positioning during preparation. You’re less likely to experience unwanted movement during the curing process, ensuring your specimen remains exactly where you place it.
When working with these solutions, remember to mix the epoxy resin and hardener in the manufacturer’s recommended ratio (typically 1:1 or 2:1) for best results.
Low-Temperature Acrylic Methods
Similar to transparent epoxy solutions, low-temperature acrylic methods provide excellent protection for delicate specimens without applying damaging heat.
These cold mounting techniques use room-temperature curing resins that give you extended working time to position intricate specimens precisely where you need them.
You’ll find these methods particularly valuable when working with heat-sensitive materials, as they preserve delicate structures and surface finishes that might otherwise distort under thermal stress.
By using diluted water-soluble glues or acrylic-based adhesives, you’ll secure even the most fragile specimens while maintaining their integrity.
The clear, protective layer created through cold mounting enhances visual quality by minimizing distortion and maintaining true color fidelity in your photographs—critical factors when documenting small, detailed specimens that require peak clarity and preservation.
Silicon-Based Embedding Options
Silicon-based embedding materials offer five distinct advantages for cold mounting heat-sensitive specimens.
You’ll find these methods particularly valuable when working with delicate samples that can’t withstand high temperatures. The simple mixing process makes application efficient whether you’re preparing single or multiple specimens.
- Exceptional clarity with minimal shrinkage for distortion-free imaging
- Variable cure times that generally process faster than traditional methods
- Superior edge retention that protects delicate structures during handling
The protective layer created by this method safeguards your specimen while maintaining structural integrity, ensuring your photographs capture even the finest details.
When you need to preserve heat-sensitive samples without compromising on image quality, silicon-based embedding provides the ideal balance of protection and clarity.
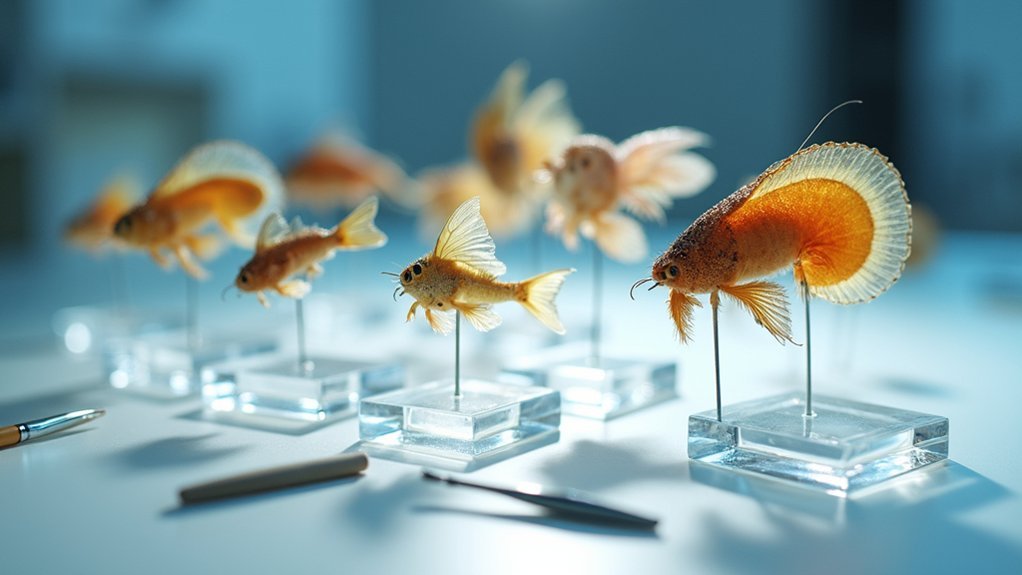
Specialized Techniques for Micromounting Small Specimens
For successful micromounting, you’ll need an essential tools matrix including Euro-style MM boxes for flush mounting, mineral tack for delicate specimens, and cork pedestals for proper positioning.
To stabilize without damaging fragile specimens, apply diluted water-soluble glue with precision and use toothpicks as temporary supports during the drying process.
Remember that your choice of adhesive matters long-term, as some materials can release oils that might compromise your carefully mounted specimens over time.
Essential Tools Matrix
Mastery of micromounting begins with assembling the right toolkit for handling specimens smaller than a fingernail.
You’ll need specialized equipment to guarantee your tiny minerals remain stable and well-positioned for photography. A turntable proves invaluable for achieving consistent focal planes, while mineral tack and diluted water-soluble glue provide secure attachment options based on the size of the specimen without damaging delicate structures.
- Elevation Systems – Cork pedestals glued into micro boxes create stable bases that improve visibility and photographic angles.
- Protection Solutions – Clear acrylic or glass cover slips protect mounted specimens while maintaining visual transparency.
- Positioning Aids – Risers specifically designed for thumbnails help achieve ideal angles, especially when photographing multiple specimens simultaneously.
When properly equipped, you’ll transform challenging micromounting tasks into precise, repeatable procedures that showcase your specimens beautifully.
Stabilization Without Damage
Handling delicate microminerals requires finesse to prevent irreparable damage during the mounting process. When you place the specimen, opt for mineral tack or diluted water-soluble glue that provides secure attachment without risking breakage.
These gentle adhesives maintain specimen integrity while ensuring stability during photography.
For soft or crumbly samples, insert toothpicks as temporary supports during drying. You’ll find cork pieces excellent as pedestals inside mounting boxes, creating elevation that improves visibility and reduces contact damage.
Standard 7/7 x 7/8 x 3/4 inch plastic boxes work perfectly for micromounting, allowing specimens to sit flush with the open top for ideal microscope viewing.
Don’t hesitate to experiment with Fimo Clay or nylon fishing leader to craft custom supports that securely hold specimens while permitting easy repositioning without harm.
Eliminating Air Bubbles and Artifacts in Mounted Samples
When preparing microscope slides, air bubbles can greatly diminish the quality of your specimen observations. To keep the specimen clearly visible, apply a drop of mounting medium directly onto the cover slip before lowering it onto your sample. This technique notably reduces air entrapment during the mounting process.
Air bubbles are the enemy of clear microscopy. Apply mounting medium to the cover slip first for dramatically improved visibility.
- Remove excess mounting medium carefully before placing the cover slip.
- Allow proper curing time for bubbles to escape naturally.
- Use gentle pressure with a pencil eraser or camel hair brush to push out small bubbles.
Remember to verify your clearer is fully miscible with your mounting medium to prevent incompatibilities that create artifacts.
These simple techniques will help you achieve bubble-free preparations with minimal disturbance to your specimens, resulting in clearer images and more accurate observations.
Frequently Asked Questions
What Method Is Widely Used for Mounting of Specimen?
You’ll find several widely used specimen mounting methods: dry mounts for flat samples, wet mounts for living specimens, section mounts using microtomes for internal structures, and smear mounts for fluids like blood.
What Are the Different Types of Mounting Methods?
You’ll find four main mounting methods: hot compression mounting, cold mounting, dry mounting, wet mounting, section mounting, and smear technique. Each serves different purposes depending on your specimen type and viewing needs.
What Is the Difference Between Hot and Cold Mounting?
Hot mounting uses heat and pressure with thermosetting resin for durability, while you’ll find cold mounting uses room-temperature resin for heat-sensitive specimens. You’re choosing between efficiency and edge retention versus specimen protection and flexibility.
Which Mounting Technique Is Best Suited for Irregularly Shaped Specimens?
You’ll want to use cold mounting for irregularly shaped specimens. It allows careful positioning with minimal pressure, preserving delicate structures. Materials like mineral tack or diluted water-soluble glue accommodate unique contours effectively.
In Summary
You’ve now mastered the essential mounting techniques that’ll transform your specimen photography. By selecting the right medium, properly preparing your samples, and applying the appropriate mounting method, you’ll capture stunning, artifact-free images every time. Remember, patience during the mounting process pays off with crystal-clear results. Don’t hesitate to experiment with these techniques to find what works best for your unique specimens.


Leave a Reply