For the brightest halogen setup in scientific imaging, use a 150W tungsten-halogen lamp with high-quality glass reflectors and a dimmer switch for intensity control. Position your lamp 10-15cm from specimens and implement Köhler illumination techniques for best alignment. Add 80B daylight blue filters to achieve the ideal 5000°K color temperature for accurate specimen representation. Effective heat management with cooling fans will extend your lamp’s 3,600-hour lifespan. Proper maintenance guarantees consistent results throughout your research.
Understanding Halogen Light Sources for Microscopy
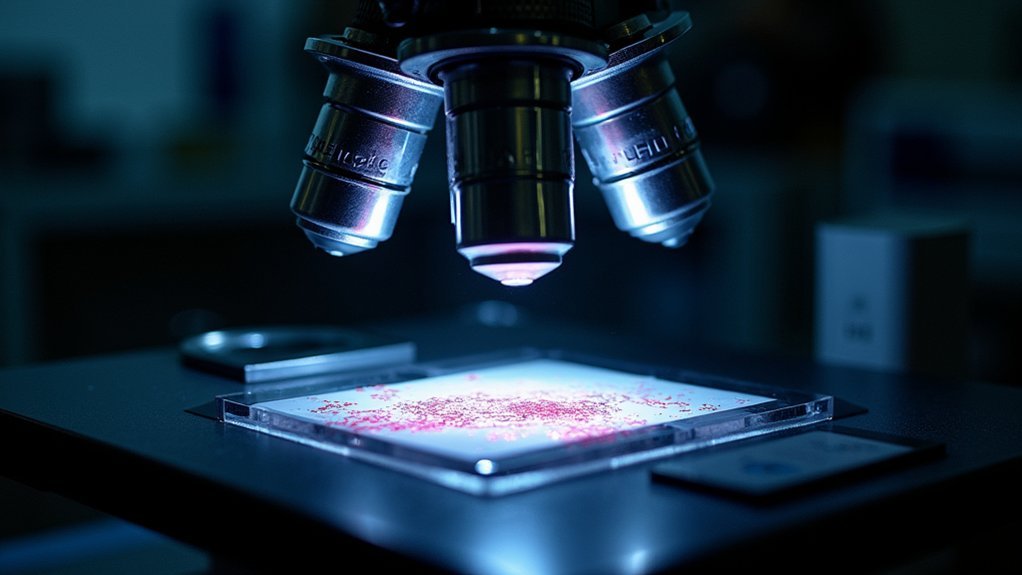
When setting up scientific imaging equipment, tungsten-halogen lamps stand out as exceptional light sources due to their bright, concentrated white light with a color temperature of approximately 3200 K.
This illumination source delivers a continuous spectrum that’s particularly valuable for brightfield microscopy and photomicrography applications.
You’ll appreciate the halogen light’s enhanced longevity—approximately 3,600 hours—thanks to its regenerative cycle that efficiently recycles tungsten from the filament.
Most tungsten-halogen lamp setups include reflector systems that maximize light gathering and direction for your microscopy work.
Remember to handle these bulbs carefully; skin oils can cause hotspots that may lead to premature failure or bursting.
Wearing gloves during installation guarantees you’ll maintain peak performance from your halogen illumination system.
The Science Behind Tungsten-Halogen Illumination
Although conventional incandescent bulbs provide illumination, tungsten-halogen lamps achieve superior performance through their sophisticated regenerative cycle. This cycle recycles evaporated tungsten back to the filament, greatly extending bulb life while maintaining brightness throughout operation.
You’ll benefit from the tungsten halogen lamp’s continuous spectrum of light centered at 3200K, ensuring accurate color reproduction in your scientific imaging work. The quartz envelope enables higher operating temperatures, resulting in greater luminous efficacy—typically 37 lumens per watt.
| Parameter | 100W | 150W | 200W | 250W | 500W |
|---|---|---|---|---|---|
| Luminous Flux (lm) | 1200 | 2000 | 3600 | 5000 | 10500 |
| Color Temp (K) | 3200 | 3200 | 3200 | 3200 | 3200 |
| Lifespan (hrs) | 2000 | 2000 | 2000 | 1500 | 1000 |
| Efficacy (lm/W) | 12 | 13.3 | 18 | 20 | 21 |
| Application | Micro | Macro | Lab | Field | Studio |
Key Components of an Optimal Halogen Lighting Setup
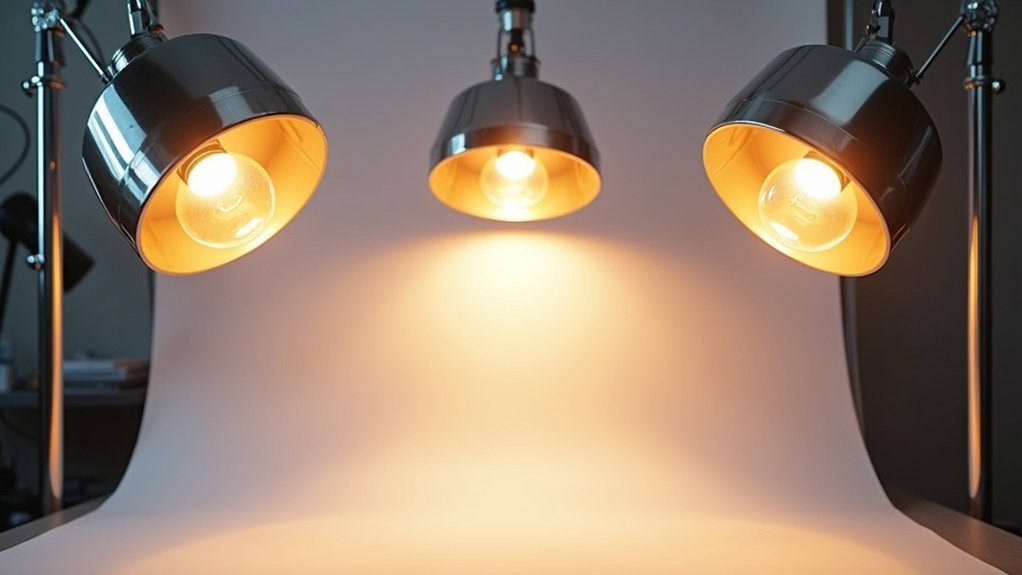
Building an effective scientific imaging system requires thoughtful selection of key halogen lighting components.
You’ll need a 100-150 watt tungsten-halogen lamp that delivers high light intensity with a continuous spectrum centered at 3200 K—ideal for brightfield imaging applications.
Incorporate quality focusing reflectors made of glass or aluminum to enhance light concentration and minimize spectral loss.
Your light source should include a dimmer switch for precise intensity control, reducing heat output that could damage sensitive specimens.
Proper alignment of your halogen lighting with the microscope’s optical pathway is critical; even minor misalignments can compromise illumination uniformity and image quality.
When these components work together correctly, you’ll achieve consistent, uniform lighting that reveals specimen details with remarkable clarity.
Selecting the Right Wattage for Scientific Applications
You’ll need to match your tungsten-halogen lamp’s wattage to your specific imaging requirements, with 100W-150W options providing the ideal balance between brightness and practicality for most applications.
Higher wattages deliver more intense illumination essential for brightfield microscopy and photomicrography but generate additional heat that must be managed effectively.
When selecting your lamp, consider both your imaging technique’s light intensity needs and your system’s thermal management capabilities to guarantee peak performance and component longevity.
Understanding Power Requirements
Selecting the appropriate wattage for halogen lighting in scientific imaging involves balancing several critical factors. Your power setup must accommodate not only the basic electrical demands but also manage the thermal load generated by these lamps.
Higher wattage halogen lamps (150-200W) deliver increased brightness—up to 3600 lumens—but require robust power supplies and cooling systems to prevent overheating. Remember, light output scales with wattage, but so does heat production. For most laboratory applications, a dedicated circuit with sufficient amperage is vital.
When planning your power infrastructure, consider the lamp’s 3200K color temperature and 3,600-hour lifespan.
For sensitive applications requiring precise color fidelity in photomicrography, make sure your power supply provides stable, consistent current to maintain the halogen lamp’s continuous spectrum output.
Thermal Management Considerations
While higher wattage halogen lamps deliver superior brightness for scientific imaging, they simultaneously generate substantial heat that requires careful management. When selecting your wattage, remember that the average halogen lamp’s 3,600-hour lifespan can be shortened by excessive thermal stress.
| Wattage | Heat Production | Recommended Application |
|---|---|---|
| 100W | Moderate | Temperature-sensitive samples |
| 150W | High | Standard brightfield microscopy |
| 200W | Very High | High-resolution documentation |
| Dimmed | Adjustable | Variable imaging needs |
You’ll need effective thermal management strategies when using higher wattages. Consider implementing dimmer controls to balance brightness and heat production, particularly when working with heat-sensitive materials. This approach maintains the halogen lamp’s favorable 3200K color temperature while protecting your optical components and specimens from potential thermal damage.
Color Temperature Considerations for Accurate Imaging
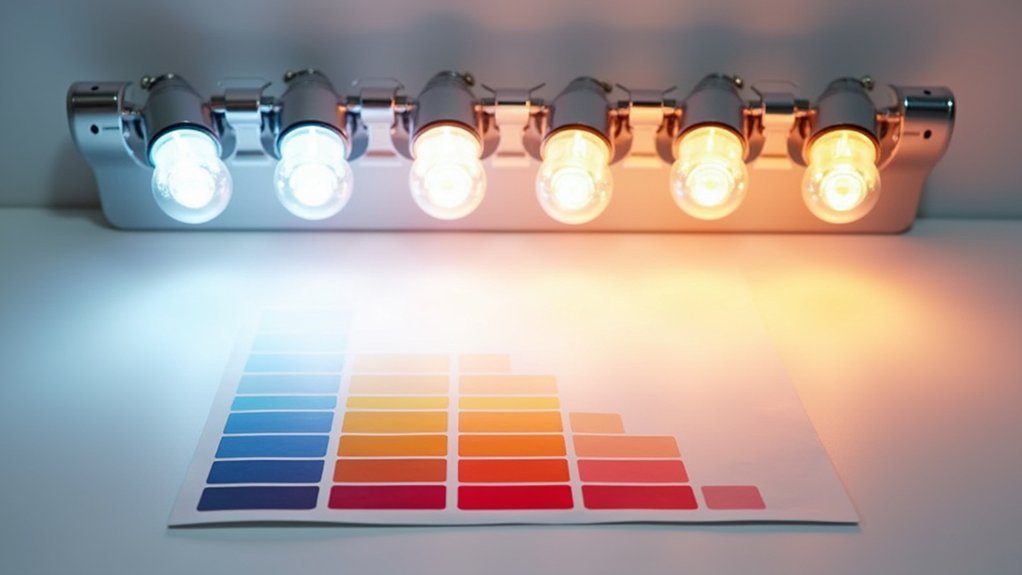
The yellowish tint of standard halogen lamps at 3200°K will skew your specimen’s true colors, potentially compromising research validity and reproducibility.
You’ll achieve more accurate color fidelity by implementing Daylight Blue Conversion Filters (80A-80D) to shift the light closer to the recommended 5000°K standard for scientific imaging.
Your specimens’ subtle color variations and distinctive features will remain faithfully represented when you balance proper color temperature with high-quality paper selection for subsequent documentation.
Optical Impact Analysis
Because color temperature fundamentally shapes the quality of scientific imagery, understanding its impact on specimen representation is essential. The warmth of your halogen bulb at 3200°K creates specific optical effects that influence how specimens appear. To achieve true white light conditions, you’ll need to balance wavelength intensity across the spectrum.
| Color Temp (°K) | Appearance | Application |
|---|---|---|
| 3200 (Halogen) | Warm white | Brightfield baseline |
| 5000 (D50) | Neutral | Color reference standard |
| 6500+ (Daylight) | Cool blue | Specialized contrast |
When you need consistent results across instruments, consider using Daylight Blue Conversion Filters to standardize your halogen’s output. This standardization prevents color temperature variations that could lead to misinterpretation or reduced diagnostic accuracy in your scientific imaging workflow.
Specimen Fidelity Optimization
Achieving ideal specimen fidelity requires precise control over your halogen lighting’s color temperature characteristics.
Standard halogen bulbs operate at approximately 3200°K, which shifts warmer as bulbs age, compromising color accuracy in scientific imaging.
For consistent results, aim for standardized 5000°K (D50) color temperature across your imaging system. You’ll need to install Daylight Blue Conversion Filters (80A, 80B, 80C, or 80D) to correct your light source’s spectral output, eliminating the yellowish cast typical of halogen illumination.
Remember that accurate white balance references throughout your setup are vital.
Without proper color temperature adjustment, the varying wavelengths in your halogen’s spectral output will create distortions that compromise specimen representation.
These calibration steps guarantee your images faithfully reproduce the subject’s true characteristics rather than artifacts of inconsistent lighting.
Essential Filters for Enhanced Halogen Performance
Proper filtration transforms ordinary halogen illumination into precision scientific lighting. When working with halogen’s natural 3200°K color temperature, you’ll need essential filters to achieve the standard 5000°K (D50) white light ideal for scientific imaging. Daylight Blue Conversion Filters (80A, 80B, 80C, 80D) effectively compensate for halogen’s inherent color cast.
| Filter Type | Color Correction | Contrast Enhancement | Image Quality Impact |
|---|---|---|---|
| 80A | Strongest blue shift | Moderate | Dramatic temperature correction |
| 80B | Medium-strong correction | Good | Natural tissue rendering |
| 80C | Moderate correction | Very good | Enhanced cellular detail |
| 80D | Light correction | Excellent | Subtle temperature refinement |
Always check manufacturer specifications for proper mired shifts to guarantee ideal compatibility with your halogen setup. The right filter combination will maximize contrast and clarity, particularly for specimens with specific wavelength absorption characteristics.
Heat Management Techniques for Extended Lamp Life
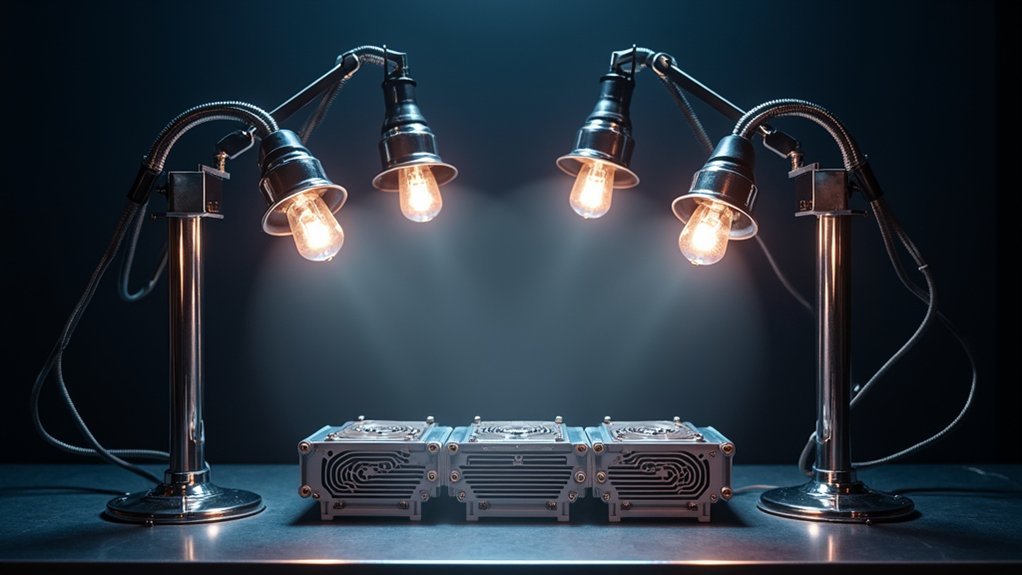
To maximize your halogen lamp’s lifespan, you’ll need effective thermal dissipation systems like cold-light reflectors that filter out infrared wavelengths and properly positioned cooling fans.
You can considerably reduce heat accumulation by maintaining clean lamp surfaces free of fingerprints and oils that impede normal heat dispersion.
Implementing strategic power cycling with dimmers when full brightness isn’t required will minimize thermal stress while ensuring ideal illumination for your scientific imaging requirements.
Thermal Dissipation Systems
While halogen lamps deliver exceptional illumination for scientific imaging, they generate significant heat that can dramatically shorten their lifespan if not properly managed.
Installing effective thermal dissipation systems can extend your halogen lamps beyond their average 3,600-hour lifespan by efficiently controlling heat build-up.
Incorporate a fan system to expel excess heat and design your lamp housing with materials that offer high thermal conductivity.
Heat sinks and proper ventilation pathways create essential airflow around the bulb. For peak performance, integrate temperature sensors that monitor conditions in real-time and automatically adjust cooling mechanisms when needed.
Don’t overlook maintenance—regularly clean dust from ventilation pathways to guarantee your thermal dissipation system operates efficiently.
This simple step prevents overheating and helps maintain your halogen lamps’ performance and longevity in scientific imaging applications.
Optimized Power Cycling
Strategic power cycling techniques can dramatically extend your halogen lamp’s operational lifespan beyond the standard 3,600 hours. By implementing voltage adjustments during operation, you’ll minimize thermal stress on the bulb’s filament and internal components.
Install a potentiometer to enable dimming capabilities, reducing power consumption when maximum brightness isn’t necessary. This simple addition manages heat output effectively while preserving illumination quality for your scientific imaging.
Allow your halogen lamps to cool completely before restarting them to prevent thermal shock. Complement this practice by mounting a cooling fan near your setup to actively dissipate heat during extended imaging sessions.
Don’t overlook proper alignment of the lamp’s housing and reflector—this improves heat distribution and eliminates hotspots that cause premature failures.
These optimized power cycling techniques will guarantee consistent performance for your critical imaging applications.
Positioning Your Halogen Source for Maximum Clarity
Three critical factors determine the effectiveness of your halogen lighting setup: distance, alignment, and focus. Position your halogen light source approximately 10-15cm from your specimen to achieve even illumination without creating hot spots. This ideal distance varies slightly depending on your lamp’s wattage.
Optimal halogen lighting requires precise positioning—maintain 10-15cm specimen distance for even illumination without compromising image quality.
For superior clarity, implement these essential adjustments:
- Align your setup using Köhler illumination techniques to guarantee the light source image precisely matches the condenser aperture diaphragm.
- Adjust your condenser height to match the light center length of your halogen lamp.
- Experiment with different aperture diaphragm settings to enhance contrast and resolution.
Don’t forget to clean lamp surfaces and condenser regularly, as dust accumulation considerably degrades image quality.
Even minor adjustments to these parameters can markedly improve your scientific imaging results.
Adjusting Light Intensity for Different Specimen Types
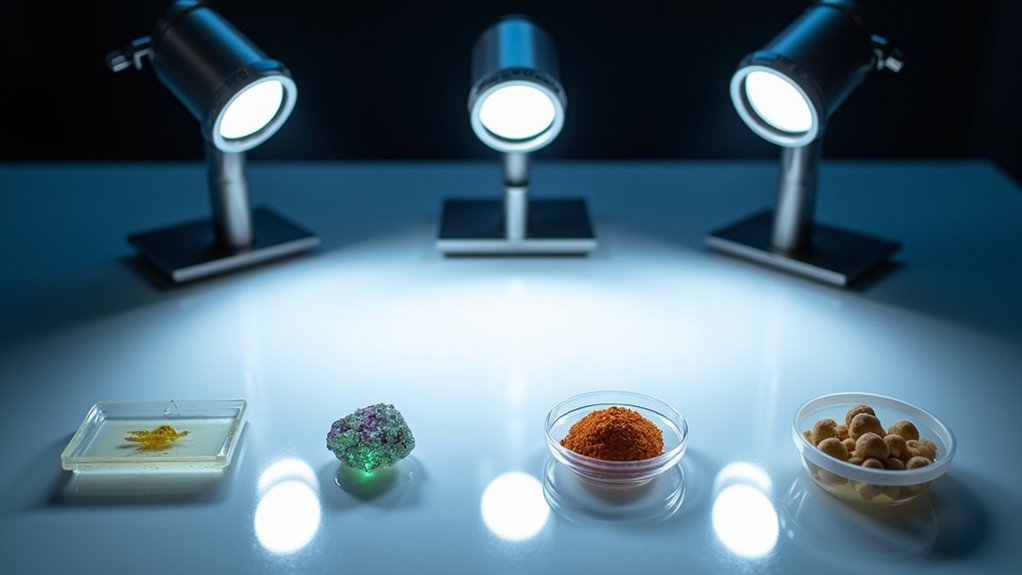
Because different specimen types absorb and reflect light in unique ways, mastering light intensity adjustment is essential for producing high-quality scientific images.
Translucent specimens typically require lower light intensity to prevent overexposure, while opaque samples need increased brightness for proper visibility.
When working with halogen illumination, utilize your dimmer control for precise light intensity adjustments that enhance contrast and detail—particularly valuable in photomicrography.
Remember that halogen bulbs gradually lose brightness over their 3,600-hour average lifespan, requiring periodic adjustments to maintain consistent illumination quality.
For heat-sensitive specimens like living cells, consider using cold-light reflector lamps that provide adequate brightness without thermal damage.
Always coordinate your light intensity settings with proper field and aperture diaphragm adjustments to minimize artifacts and maximize image clarity.
Köhler Illumination With Halogen Light Sources
While many lighting techniques exist for scientific imaging, Köhler illumination stands as the gold standard for microscopy when paired with halogen light sources.
You’ll achieve superior contrast and uniform specimen illumination by properly aligning your tungsten-halogen lamp within the optical path.
The 50-100 watt tungsten-halogen lamp provides ideal brightness with its 3200K continuous spectrum, lasting approximately 3,600 hours thanks to the halogen regenerative cycle.
For best Köhler illumination results:
- Precisely align all optical components to prevent image degradation
- Carefully adjust both field and aperture diaphragms to control light intensity
- Position the light source image directly at the condenser aperture diaphragm
Comparing Reflector Options for Directed Illumination
Beyond Köhler alignment, your choice of reflector greatly impacts illumination quality in scientific imaging systems.
When selecting reflector lamps, consider both geometry and material composition. Elliptical reflectors concentrate light at a precise focal point, while parabolic designs produce parallel beams—choose based on your imaging requirements.
Standard sizes like MR 11 and MR 16 offer different illumination intensities and coverage areas. Glass reflectors provide superior dimensional stability and allow for specialized coatings that can filter or enhance specific wavelengths.
In contrast, aluminum reflectors are easier to fabricate but offer less spectral control.
You’ll achieve ideal performance by ensuring proper alignment of your light sources within the reflector. This precision minimizes common issues like hot spots and vignetting while maximizing the efficiency of your directed illumination.
Digital Imaging Calibration With Halogen Systems
To achieve precise results in scientific imaging, proper calibration of your digital system with halogen illumination is essential. With a color temperature around 3200K, halogen serves as a reliable light source across the visible spectrum, but requires daylight blue conversion filters to match your desired imaging conditions.
For ideal calibration results:
- Verify proper lamp alignment to eliminate hot spots and achieve even illumination across your specimens.
- Regularly adjust field and aperture diaphragms to minimize glare and enhance contrast.
- Account for the 3,600-hour lifespan when planning long-term studies requiring consistent illumination.
Digital imaging calibration isn’t a one-time setup—it’s an ongoing process that demands attention to detail.
Calibration requires persistent vigilance and meticulous care to maintain imaging accuracy over time.
Your efforts will be rewarded with high-fidelity color reproduction and enhanced detail visibility in your scientific images.
Troubleshooting Common Halogen Lighting Issues
When your halogen lighting system isn’t performing at its best, methodical troubleshooting can quickly resolve most issues. First, verify that your bulb is properly seated and securely connected—loose connections often cause flickering light.
Next, inspect and clean the reflector and lens regularly, as accumulated dust dramatically reduces light output and creates uneven illumination.
Monitor operating temperature closely, as overheating accelerates bulb failure. Installing a dimmer helps manage heat while extending bulb life.
Don’t wait for complete failure—replace bulbs preemptively when you notice dimming or color temperature shifts, typically from the standard 3200K.
Ensure your halogen’s color temperature matches your imaging requirements, as the yellowish light may not suit all scientific applications.
This careful attention to maintenance and specifications will keep your imaging system producing consistent, reliable results.
Frequently Asked Questions
Is Halogen or LED Better for Microscopes?
For microscopes, you’ll find LED is better overall with longer lifespan and energy efficiency, though halogen offers excellent continuous spectrum lighting that’s ideal for certain contrast techniques and detailed specimen imaging.
What Is the Best Light Source for a Microscope?
For your microscope, the best light source depends on your needs. LED offers longevity and consistency, while tungsten-halogen provides excellent color rendering. Xenon arc lamps are superior for fluorescence applications requiring high intensity.
What Is the Disadvantage of Halogen Lights?
You’ll find halogen lights have several disadvantages: they’re hot to touch, sensitive to skin oils, have shorter lifespans than LEDs, produce excessive heat, yellow over time, and emit UV radiation that causes eye strain.
How Many Lumens Are Halogen Lights?
Halogen lights typically output between 300 and 3600 lumens, depending on their wattage. You’ll find that a standard halogen bulb produces about 37 lumens per watt, with higher wattage models delivering more brightness.
In Summary
You’ll achieve exceptional results by optimizing your halogen lighting setup with proper wattage, reflectors, and filtration. Remember to implement Köhler illumination techniques and regularly calibrate your system. Don’t overlook color temperature adjustments for consistent specimen representation. While LEDs offer alternatives, a well-configured tungsten-halogen system still provides the brightness and spectral qualities needed for demanding scientific imaging applications.



Leave a Reply