
Focus stacking in microscopy requires capturing multiple images at different focal planes and merging them for complete clarity. You’ll need a USB microscope camera, stable setup, and proper lighting with manual exposure settings. Work methodically from the specimen’s highest point downward, maintaining consistent settings throughout. Use quality stacking software like Combine ZP or Piccola to merge images effectively. Keep your setup aligned to prevent ghosting effects and artifacts. The following tips will transform your microscopic photography from flat to fascinating.
Microscope Focus Stacking: Top 10 Photography Tips
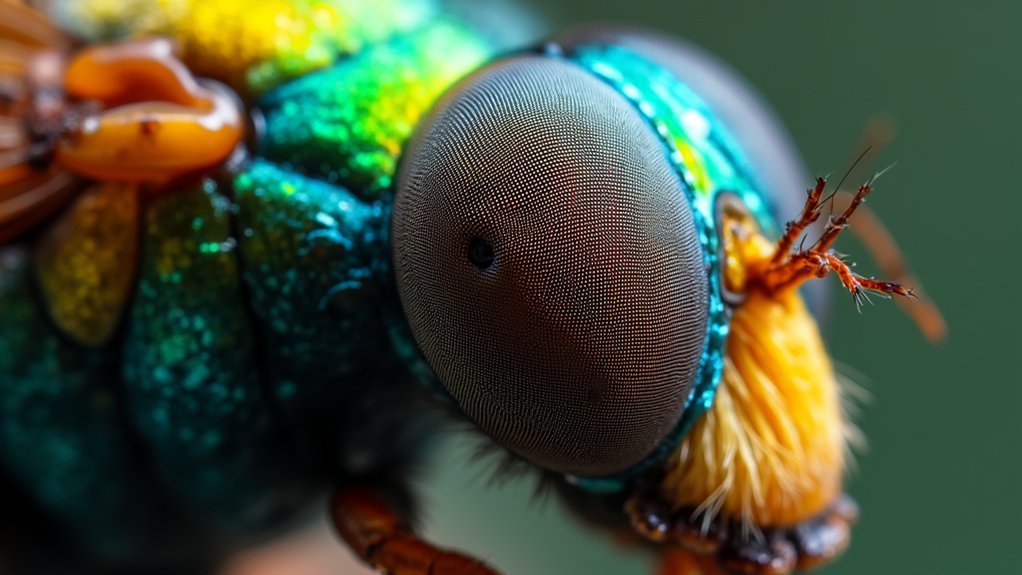
While many photographers struggle with limited depth of field in microscopy, focus stacking offers a powerful solution to capture incredibly detailed specimens.
To create stunning focus stacked images, use a USB microscope camera with manual exposure settings to maintain consistent lighting throughout your sequence.
Capture images methodically from top to bottom, making small focus adjustments between frames. Be mindful of focusing speed to prevent missing critical sections. Save your images with sequential naming in a dedicated directory for efficient organization.
For processing, try software like Combine ZP or Piccola to merge your frames, paying close attention to alignment issues that might introduce artifacts.
The greater your Depth of Field in the final composite, the more impressive detail you’ll reveal. Connect with online communities for additional techniques that can elevate your microscopy work.
Understanding the Science Behind Focus Stacking
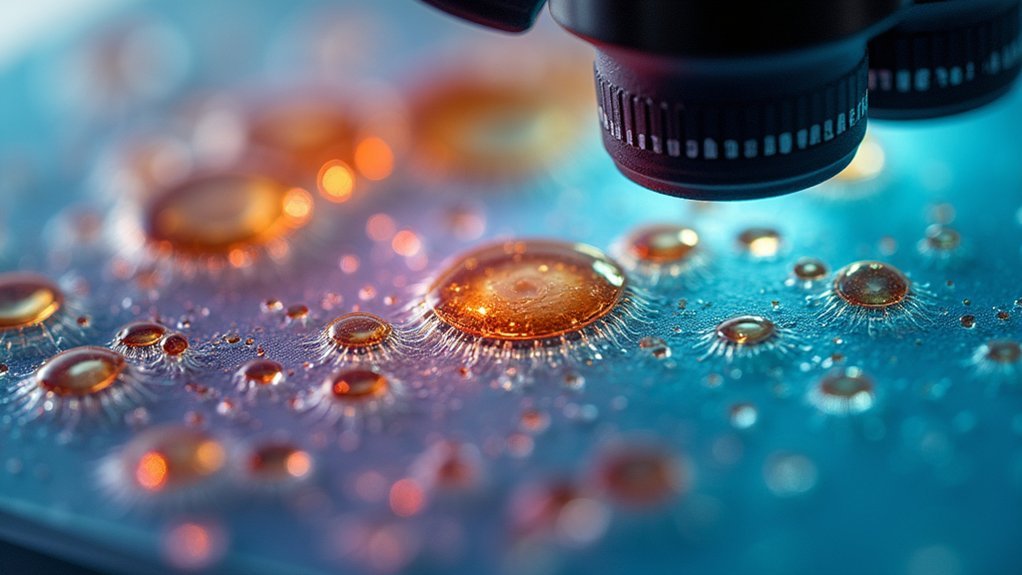
Because microscopes create an extremely shallow depth of field, focus stacking has emerged as a critical technique for microscopy enthusiasts seeking complete specimen clarity.
Focus stacking overcomes microscopy’s shallow depth limitations, giving researchers unprecedented clarity across entire specimens.
When you use a microscope or macro lens, physics limits how much of your specimen can be in focus at once.
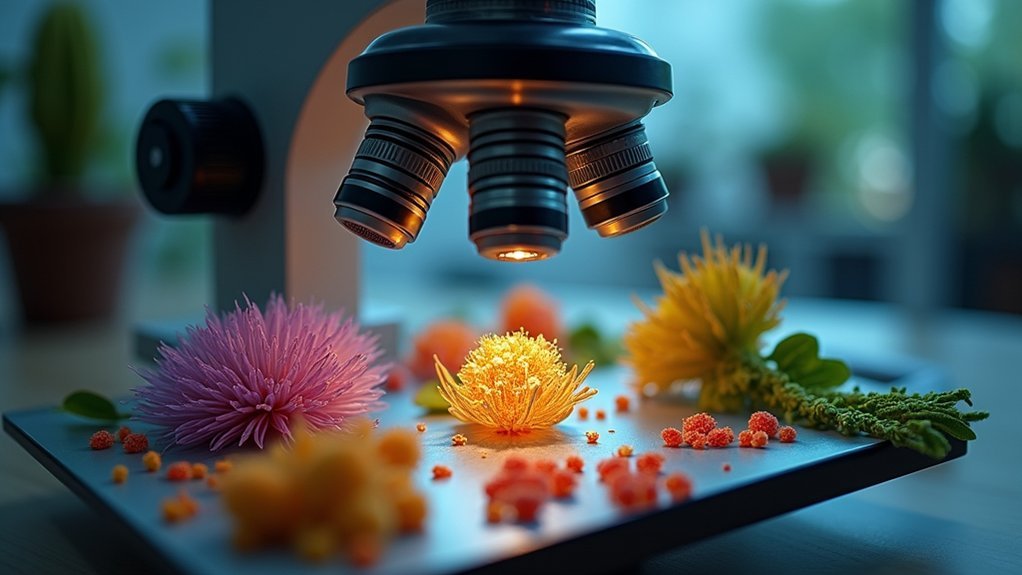
The science behind focus stacking revolves around capturing multiple images at different focal planes—starting from the top of your specimen and methodically working downward. Each image contains sharp details from different depths that would be impossible to capture in a single frame.
Software like Combine ZP then analyzes these images, identifying the sharpest areas from each frame and merging them into one composite image.
This process effectively circumvents the physical limitations of optics, resulting in an image with extended depth of field and enhanced detail throughout your entire specimen.
Essential Equipment for Successful Microscope Stacking
Five critical pieces of equipment form the foundation of effective focus stacking in microscopy.
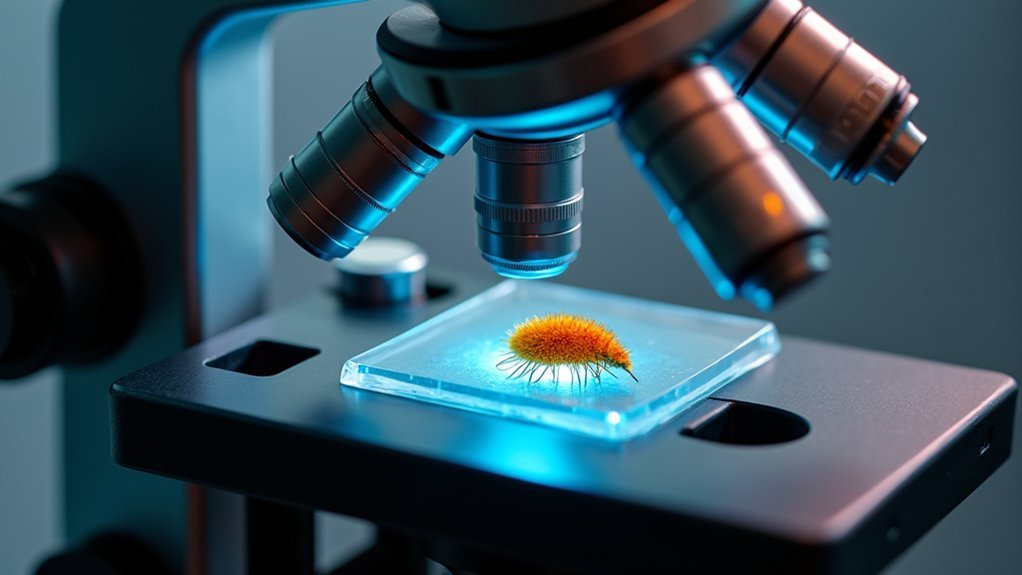
First, a USB 2.0 microscope camera is non-negotiable for capturing detailed, high-resolution images at various focus levels. Pair this with Tube View software, which provides the interface needed to control your camera and manage your image collection efficiently.
You’ll need a stable microscope setup with proper illumination to avoid unwanted artifacts. Always center your specimen carefully before beginning the capture process.
Set manual exposure on your camera to maintain consistent lighting across all images—this consistency dramatically improves your final stacked result.
Finally, equip yourself with quality stacking software like Combine ZP or Piccola. These essential tools will merge your captured images together, bringing your entire specimen into perfect focus.
Optimizing Your Microscope Camera Settings
Successful focus stacking depends heavily on properly configured camera settings that maximize image clarity and consistency. Always set your microscope camera to manual exposure mode to eliminate lighting variations between images that could compromise your final stacked result.
Select your exposure time based on specimen brightness, balancing detail preservation in both highlights and shadows. Keep your ISO setting low to reduce noise that might obscure the fine details critical to successful focus stacking.
Before beginning your imaging session, verify that your camera is properly calibrated and connected to your computer, confirming it appears in your imaging software’s camera list.
When ready, use the auto capture feature strategically to efficiently collect your stack while monitoring focus, avoiding unnecessary images that complicate the stacking process.
The Top-Down Focus Technique for Maximum Detail

The top-down focus technique starts at your specimen’s highest point and methodically works downward to capture every essential detail.
You’ll need to carefully control your focusing speed, ensuring each image overlaps with the previous one to prevent gaps in your final stacked result.
This progressive descent method particularly benefits delicate structures like insect antennae and wings, where precise sequential imaging dramatically improves the clarity of your composite photograph.
Subheading Discussion Points
When capturing microscopic details with precision, mastering the top-down focus technique becomes essential for creating stunning stacked images.
Begin at the highest point of your specimen and move downward methodically, ensuring each focal plane contributes to your focus stacking process.
Control your focusing speed carefully—moving too quickly can cause lost frames that compromise your final image quality.
Pay special attention to intricate features like antennae and wings, as these areas often reveal the most compelling details.
Capture your images sequentially to maintain organization throughout the stacking workflow.
Remember to keep your exposure settings consistent across all frames; any fluctuations in brightness can create distracting artifacts in your final image.
This methodical approach will help you achieve maximum clarity and depth throughout your microscopic photography.
Progressive Descent Method
Mastering the Progressive Descent Method transforms ordinary microscopic imagery into extraordinary visual revelations.
Begin at the specimen’s top layer, then systematically work your way downward, capturing sharp images at each incremental focus level. This methodical approach guarantees you’ll document all critical features, from delicate antennae to intricate wing structures.
Keep your movements small and deliberate between captures to prevent frame loss and avoid overwhelming your stacking software.
You’ll want to maintain consistent exposure settings throughout the entire process—any lighting variations can compromise your final merged layer quality.
When paired with a USB microscope camera and reliable stacking software, this top-down technique efficiently combines your images into a single, breathtakingly detailed composite that reveals your specimen’s complete morphology with unparalleled clarity.
Maintaining Consistent Lighting Across Your Image Series
Successful focus stacking hinges on maintaining uniform lighting conditions throughout your entire image capture process. When using your USB microscope camera, always opt for manual exposure settings instead of auto features, which can create inconsistencies between frames that complicate stacking.
Consistent lighting and manual exposure control create the foundation for flawless focus stacking results.
Take time to adjust your exposure settings meticulously, finding the perfect balance that reveals details without creating overly bright or dark areas. This attention to exposure guarantees your focus stacking results will have a uniform appearance and accurate detail representation.
Set up stable lighting sources like ring lights or LED panels to evenly illuminate your specimen. Before beginning your image series, check your lighting setup carefully and make any necessary adjustments.
This preparation pays dividends in producing professional-quality focus stacks with seamless shifts between the combined focal planes.
Choosing the Right Software for Your Stacking Needs
Although technique matters greatly, your choice of focus stacking software ultimately determines the quality of your final composite image.
Combine ZP stands out as a purpose-built option with user-friendly features specifically designed to merge images from microscope photography.
If you’re looking for alternatives, consider Piccola, which offers comparable stacking capabilities but with different features that might better suit your workflow.
Whichever you choose, make sure your software supports manual exposure settings to maintain lighting consistency throughout your image series.
Look for programs that include multiple stacking algorithms—different specimens respond better to different processing methods.
This flexibility allows you to achieve the best results for various subjects.
Finally, always use the latest version of your stacking software to guarantee compatibility with your microscope camera and access to the newest improvements.
Avoiding Common Artifacts in Stacked Microscope Images
Even with the best software at your disposal, your stacked images can fall short if you don’t address the common artifacts that plague microscope photography.
Precise alignment during capture is essential—any misalignment will create ghosting effects that diminish image quality.
Opt for manual focus adjustments instead of relying on autofocus. This gives you control over consistent focus points across your image set, reducing artifacts from focus shifts.
Maintain identical exposure settings throughout your capture sequence to prevent brightness variations that create unwanted artifacts.
Select stacking algorithms specifically suited to your specimen type—different subjects respond better to certain processing methods.
After stacking, critically evaluate your results for artifacts and clarity. This assessment helps you select the best version and refine your technique for future microscope imaging sessions.
Advanced Manual Focusing Strategies for Complex Specimens
When examining complex specimens under your microscope, you’ll achieve superior results by isolating and focusing on key structural elements like antennae and wings first.
Control your single-plane focus by adjusting the focusing speed methodically—neither too fast to cause blurring nor too slow to overwhelm your stacking software.
Implement a systematic layer-by-layer approach, capturing images from top to bottom, while consistently monitoring your lighting conditions to maintain uniform exposure throughout the stacking process.
Advanced Manual Focusing Strategies for Complex Specimens
Mastering manual focus techniques becomes essential as you tackle intricate specimens under the microscope. When approaching complex subjects, always start manual focusing from the top and work downwards methodically to capture all critical details.
Use a focus rail or fine adjustment knob for precise layer-by-layer movements, guaranteeing each focus point receives proper attention. You’ll achieve better results by maintaining slow, steady focusing speeds that prevent motion blur and lost frames.
Take time to identify key structural elements like antennae or wings, and make certain these remain sharp in your captures.
As you work, implement a systematic labeling system for your images—this organizational approach will greatly streamline your stacking workflow later.
These methodical techniques will dramatically improve your final composite images and reveal details invisible to the naked eye.
Single-Plane Focus Control
Although manual focusing techniques provide a solid foundation, single-plane focus control elevates your microscopy to professional levels. When examining complex specimens with varying depth features like antennae and wings, precision at specific focal points becomes essential.
Invest in a manual focus rail to make fine adjustments without overshooting your target planes. This tool gives you exceptional control when implementing a systematic top-to-bottom focusing approach that maintains organization throughout the stacking process.
Don’t forget to adjust your focusing speed appropriately—moving too quickly can cause you to lose important frames.
Keep your lighting and exposure settings consistent while using single-plane focus control to prevent brightness variations that would compromise your final stacked image. This methodical approach guarantees each layer captures exactly the details you’re targeting.
Layer-by-Layer Approach
The layer-by-layer approach represents the pinnacle of manual focusing mastery for microscope enthusiasts tackling intricate specimens. You’ll achieve superior results by making deliberate, incremental focus adjustments that capture every critical detail without overshooting focus planes.
Invest in a focus rail for precise control over specimen-to-objective distance, ensuring consistent adjustments between layers. This methodical approach produces repeatable results across multiple image captures.
When photographing complex structures, remember that higher magnifications demand more layers due to narrower depth of field.
As you work, methodically label each captured layer at the top of your organizational system based on focal depth. This streamlines post-processing and prevents confusion during stacking.
Utilize your camera’s manual focus peaking features to visually confirm sharpness before finalizing each layer—this extra verification step guarantees all critical details remain crystal clear.
Post-Processing Techniques to Enhance Stacked Results
Once you’ve captured your focus-stacked images, effective post-processing becomes essential to transform your raw captures into a stunning final result.
Begin by using software like Adobe Photoshop or Combine ZP to align your layers efficiently. The Auto-Align feature will correct any misalignments caused by slight movements during capture.
Apply layer masks to selectively reveal sharp areas while concealing non-focused regions, creating a seamless composition. This targeted post-processing approach guarantees only the sharpest details make it into your final image.
Don’t forget to adjust contrast, brightness, and saturation to highlight intricate details and enhance overall visual appeal.
Finally, save your work in non-destructive formats like PSD or TIFF, allowing for future adjustments without compromising image quality.
Frequently Asked Questions
What Are the Best Settings for Focus Stacking?
For focus stacking, you’ll want manual exposure, a narrow aperture (f/8-f/11), sturdy tripod, and incremental focus shifts. Use consistent lighting and choose software with good alignment features for the cleanest final image.
What Aperture Is Best for Focus Stacking?
For focus stacking, you’ll get best results using an aperture 2-3 stops down from your lens’s maximum. Typically f/8 to f/16 works well, balancing sharpness and depth of field while avoiding diffraction blur.
How to Take Focus Stacking Photos?
Capture sequential images at different focus points from top to bottom of your subject. Set your camera to manual mode, maintain consistent exposure, and use small focus adjustments between shots. Don’t move the camera position.
What Is the Best Program for Focus Stacking?
For focus stacking, Combine ZP is highly popular among microscopists. You’ll also find Helicon Focus and Affinity Photo excellent alternatives. Choose based on your specific needs—they all offer different feature sets and user experiences.
In Summary
You’re now equipped to capture stunning microscope images with incredible depth of field. By mastering focus stacking, you’ll reveal details invisible in single exposures. Remember to start with proper equipment setup, use appropriate software, and refine your technique through practice. Don’t hesitate to experiment with different stacking parameters and post-processing techniques. Your microscopic photography will transform from flat images to spectacular three-dimensional revelations.


Leave a Reply