To optimize fluorescence microscope camera settings, start with low exposure times and increase gradually to minimize phototoxicity. Cool your camera below 0°C to reduce dark current noise. Adjust gain settings based on your fluorophore’s brightness and use binning for dim samples. Monitor your histogram to prevent overexposure while maximizing signal-to-noise ratio. Use anti-fade reagents to extend fluorescence stability. These foundational adjustments will dramatically improve your image quality and experimental reliability.
Understanding Signal-to-Noise Ratio for Quality Fluorescence Images
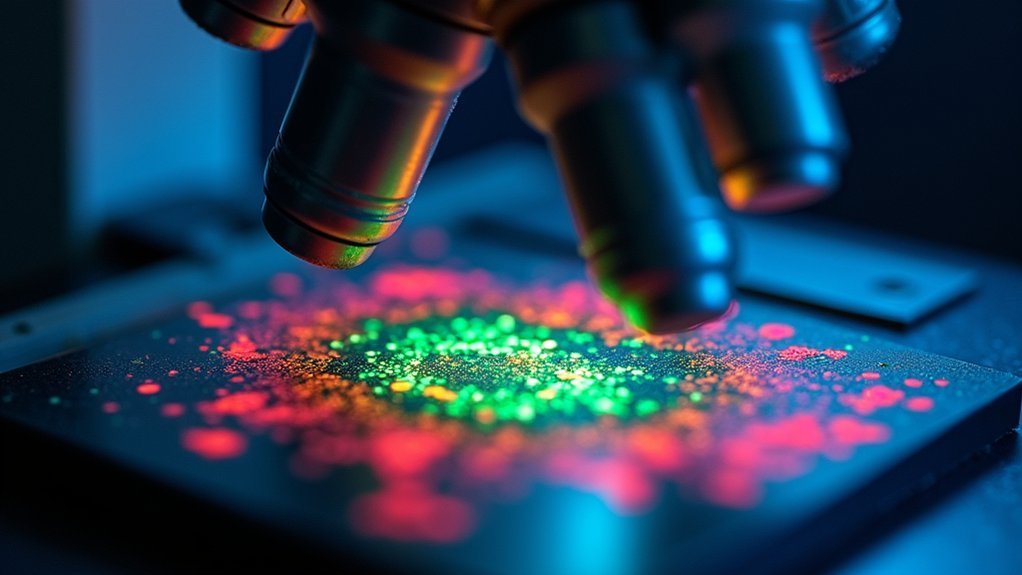
When capturing fluorescence microscopy images, the signal-to-noise ratio (SNR) stands as the fundamental measure of image quality. SNR represents the relationship between your sample’s actual signal and the unwanted background noise. The higher your SNR, the more accurate your quantitative analyses will be.
SNR is the cornerstone of fluorescence microscopy quality—higher ratios mean more reliable data and cleaner quantitative results.
To maximize SNR, you’ll need to address two factors simultaneously: increase signal strength and reduce background noise. While adjusting gain settings might seem helpful, they amplify both signal and noise equally, offering no SNR improvement. Instead, focus on optimizing exposure time and excitation intensity to collect more true sample signal.
Remember that background noise comes from multiple sources: biological (autofluorescence), environmental light, shot noise (which follows a ±√(N) fluctuation pattern), and camera noise.
Cooling your camera sensor can greatly reduce thermal noise, enhancing your image fidelity.
Balancing Exposure Time and Phototoxicity in Live-Cell Imaging
When imaging live cells, you’ll need to weigh longer exposures that provide stronger signals against the increased risk of phototoxicity that can damage or kill your specimens.
Your imaging strategy must account for the cumulative light dose cells receive, as damage often occurs proportionally to total illumination rather than single-exposure intensity.
You should also consider how frequently you’ll capture images in time-lapse experiments, as repeated exposures compound phototoxic effects and may require adjusting your settings to prioritize cell viability over image quality.
Exposure Tradeoff Fundamentals
Finding the perfect balance between exposure time and cell viability represents one of the most critical challenges in live-cell imaging.
You’ll need to carefully calibrate exposure time to capture sufficient signal intensity without damaging your living specimens. Longer exposures yield brighter images but increase phototoxicity risk.
Set your exposure just long enough to visualize essential details without saturating your camera’s dynamic range. Modern microscopy often requires methodical experimentation, especially with unevenly stained samples.
Consider using lower concentrations of newer, brighter fluorophores to reduce necessary exposure times while maintaining image quality.
Always monitor your cells during imaging sessions. If they show stress indicators, immediately reduce exposure time or light intensity.
This preventative approach helps preserve cellular function and guarantees your imaging data accurately represents natural biological processes.
Dose-Dependent Cell Damage
Phototoxicity poses a significant yet often overlooked threat to live-cell imaging experiments, directly correlating with exposure duration and light intensity.
When capturing fluorescence signals, you’ll need to find the sweet spot between image quality and cell viability.
To minimize dose-dependent damage while maintaining adequate signal:
- Start with the lowest possible excitation intensity and shortest exposure time that still yields usable data.
- Incorporate anti-fade reagents to extend fluorescence duration while reducing required exposure time.
- Conduct preliminary tests to determine phototoxicity thresholds specific to your cell type.
- Monitor cell morphology continuously throughout imaging sessions, adjusting parameters if you observe stress indicators.
Remember that different cell types exhibit varying sensitivity to light exposure.
Your imaging strategy should prioritize cellular health while collecting meaningful data, as compromised cells yield questionable results.
Imaging Frequency Considerations
Although capturing rapid cellular processes demands frequent image acquisition, the cumulative light exposure from repeated imaging can greatly increase phototoxicity risk. When planning your experiment, determine the minimum imaging frequency needed to observe your phenomenon of interest.
Reduce exposure time whenever possible in fluorescence microscopy while maintaining adequate signal intensity. Test multiple exposure settings before your main experiment to find the sweet spot that delivers sufficient detail without compromising cell viability.
Monitor your histogram during acquisition to prevent saturation while using the available dynamic range effectively. Consider supplementing your optimized settings with anti-fade reagents to stabilize fluorescence and improve image quality.
Remember that the best balance uses the lowest effective illumination intensity combined with the shortest practical exposure time for your specific biological question.
Optimizing Camera Gain Settings for Different Fluorophores
When working with different fluorophores, you’ll need to carefully adjust your camera’s gain settings to match each fluorophore’s unique spectral properties. Your camera’s quantum efficiency varies across wavelengths, directly impacting how effectively you’ll detect signals from specific fluorophores.
Finding the ideal balance is vital for maximizing your signal-to-noise ratio:
- For dim fluorophores, increase gain to amplify weak signals, but monitor noise levels carefully.
- Use lower gain settings for naturally bright fluorophores to prevent pixel saturation.
- Conduct preliminary tests with each fluorophore to determine suitable gain settings before your actual experiments.
- Continuously adjust settings during imaging sessions as fluorophore concentration and environmental factors change.
Remember that higher gain amplifies both signal and noise, so always aim for settings that provide clear fluorophore visualization without introducing excessive background interference.
Using Histograms to Determine Ideal Exposure Parameters
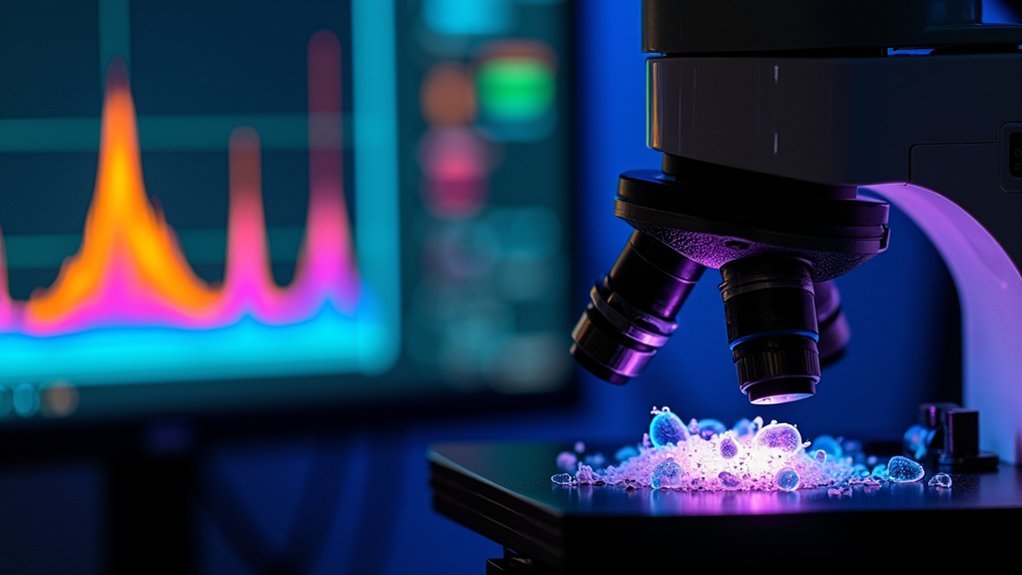
Why rely on subjective visual assessment when your microscope’s histogram offers quantitative guidance for ideal exposure? This powerful tool displays your image’s pixel intensity distribution, instantly revealing whether you’re capturing prime data.
Look for a bell-shaped curve that spans the full dynamic range without touching either edge. If your histogram is compressed to the left, you’re underexposing your sample and missing valuable signals. Conversely, a histogram pushed against the right indicates overexposure and detail loss in bright regions.
Adjust your exposure time while monitoring the histogram in real time. Increase gradually until the curve shifts right without reaching saturation. This approach guarantees you’ll capture maximum signal while preserving structural details and protecting your sample from unnecessary photobleaching or phototoxicity.
Selecting Appropriate Binning Options to Enhance Sensitivity
In microscopy imaging where light is scarce, binning becomes your secret weapon for revealing details otherwise lost in darkness. By combining adjacent pixels, you’ll capture more light at the expense of resolution—a worthwhile trade-off when tracking faint fluorescent signals.
Finding your ideal binning setting requires balancing sensitivity against spatial detail:
Balancing sensitivity and resolution through binning is the microscopist’s art—discovering where signal meets detail.
- Start with 2×2 binning for a four-fold sensitivity boost when imaging low-expressing fluorophores.
- Consider 3×3 or 4×4 configurations for extremely dim samples where detecting the signal is more critical than resolving fine structures.
- Test different settings before your actual experiment to determine the sweet spot for your specific sample.
- Match binning levels to your experimental needs—dynamic processes may require different settings than fixed specimens.
Managing Camera Cooling for Reduced Background Noise
You’ll achieve considerably clearer microscopy images by properly cooling your camera below 0°C, which directly minimizes dark current noise and improves signal-to-noise ratios.
Set your cooling level according to the manufacturer’s recommendations, typically between -20°C and -80°C depending on your specific camera model and imaging requirements.
For long-term experiments, monitor the cooling system’s performance regularly to maintain consistent image quality and prevent thermal fluctuations that could compromise your results.
Cooling Level Considerations
Effective temperature management represents one of the most critical aspects of microscope camera optimization. When cooling the sensor, you’ll achieve better quantum efficiency and greatly reduce dark current noise—especially important for low-light fluorescence imaging.
To maximize your camera’s cooling performance:
- Maintain temperatures within the manufacturer’s specified range to prevent sensitivity degradation and minimize background noise.
- Monitor cooling system performance regularly as temperature fluctuations directly impact image integrity.
- Consider deeper cooling for detecting faint fluorescence signals where thermal noise could mask subtle details.
- Use cooling to eliminate hot pixels that might otherwise compromise high-resolution imaging results.
Remember that proper temperature control isn’t just about noise reduction—it fundamentally enhances your sensor’s ability to detect the photons that matter most in your experiments.
Dark Current Reduction
Three primary factors determine your microscope camera’s ability to produce clear images in low-light conditions, with dark current being perhaps the most critical to control. This thermal noise generated by your camera sensor can severely degrade fluorescence images, particularly during extended exposures.
To maximize your signal-to-noise ratio, maintain your sensor temperature below 0°C. Active cooling systems effectively minimize dark current, greatly enhancing your camera sensitivity for detecting faint fluorescent signals.
Consider implementing a temperature-stabilized environment to prevent fluctuations in dark current caused by ambient temperature changes. Always check your manufacturer’s temperature guidelines and adjust cooling settings accordingly.
Frequently Asked Questions
How Can You Improve the Quality of an Image on a Microscope?
You’ll improve microscope image quality by increasing exposure time before saturation, optimizing light intensity, using high NA objectives, adjusting camera settings for better SNR, and using anti-fade reagents during preparation.
What Fluorescent Technique Can Improve the Spatial Resolution of the Light Microscope?
You can use super-resolution techniques like STED, SIM, or SMLM (PALM/STORM) to break the diffraction limit. They’ll improve your spatial resolution to 10-50 nanometers, far beyond conventional light microscopy’s capabilities.
What Is the Best Camera for Fluorescence Microscopy?
For fluorescence microscopy, you’ll find back-illuminated sCMOS cameras are typically best, offering 95%+ quantum efficiency. If you’re doing extremely low-light imaging, EMCCD cameras provide excellent signal amplification with minimal noise increase.
How Are Images Focused Under a Fluorescence Microscope?
You’ll focus fluorescence microscope images by adjusting the objective distance to your sample using the fine focus knob. High NA objectives enhance resolution while proper alignment of filters and dichroic mirrors guarantees clear fluorescent signals.
In Summary
You’ll achieve superior fluorescence microscopy results by deliberately optimizing your camera settings. Remember to monitor your signal-to-noise ratio, balance exposure time against phototoxicity, adjust gain for specific fluorophores, and use histograms to verify proper exposure. Don’t overlook binning options for sensitivity enhancements or camera cooling to minimize background noise. These adjustments aren’t just technical details—they’re essential steps toward capturing meaningful, publication-quality images of your specimens.

Leave a Reply