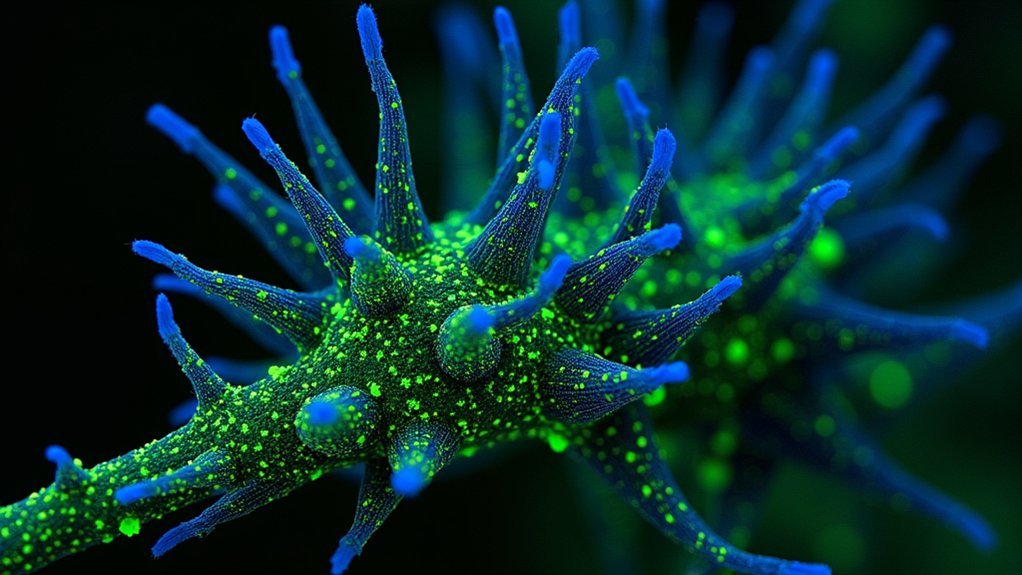
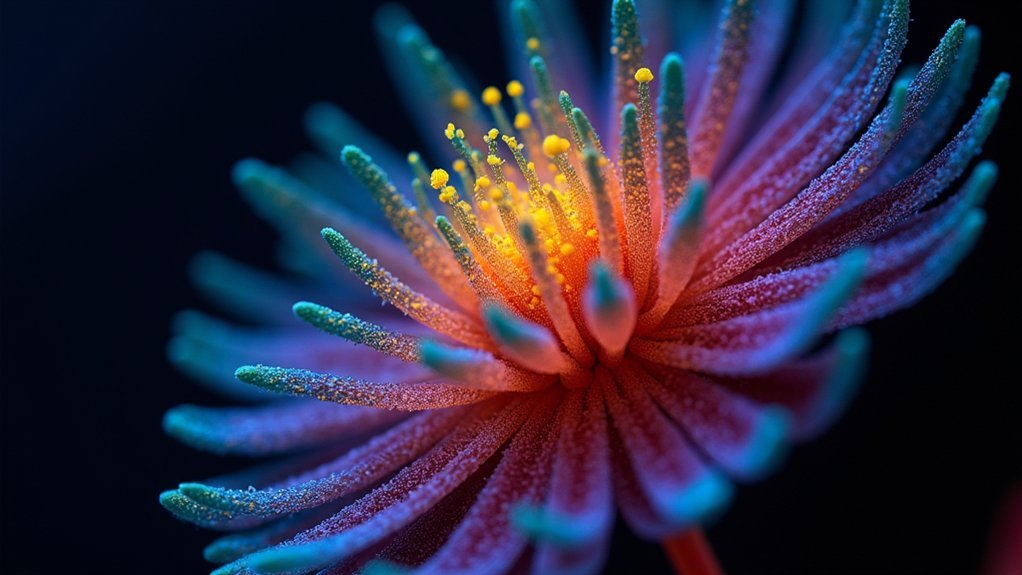
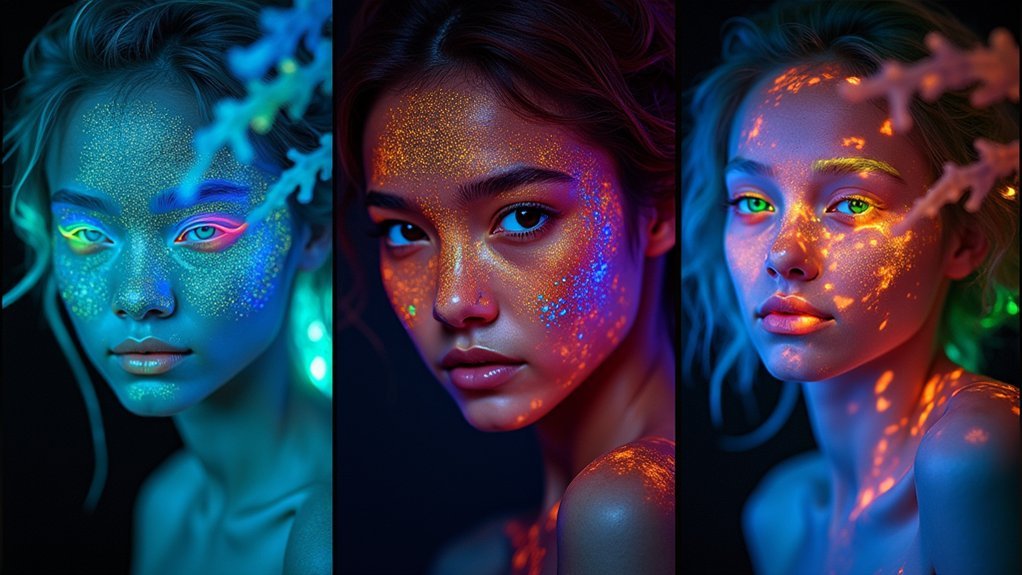
For fluorescence photography, your best image formats are TIFF, RAW, and PNG. TIFF provides lossless quality with excellent metadata storage for scientific applications. RAW captures give you maximum post-processing flexibility to adjust exposure and recover highlight details. PNG maintains image integrity without compression artifacts that could obscure faint fluorescent signals. Avoid JPEG as its lossy compression can destroy subtle fluorescent details. These format choices directly impact your ability to analyze and represent fluorescent subjects accurately.
TIFF Format: Preserving Detail in Fluorescent Images

When capturing the ethereal glow of fluorescent subjects, your choice of file format can make or break the final image. The TIFF format stands out as the gold standard for fluorescence images because it’s completely lossless, preserving every bit of valuable image data.
Unlike compressed formats, TIFF maintains all subtle variations in your fluorescent subjects. You’ll benefit from its high bit-depth capacity—up to 32 bits—ensuring accurate color representation of even the most vibrant fluorescent hues.
Though the file size is larger, this trade-off is worthwhile for scientific applications where detail matters.
TIFF’s ability to store complex metadata and multiple channels allows you to capture different wavelengths separately, giving you unprecedented flexibility for analysis and processing in professional and research settings.
RAW Capture: Maximizing Post-Processing Flexibility
For serious fluorescence photographers, RAW format provides unparalleled advantages over compressed alternatives. When you capture in RAW, you preserve all pixel data and metadata from your sensor, giving you maximum flexibility to adjust exposure, white balance, and color later without degrading image quality.
Unlike JPEG files which discard information through compression, RAW files retain the full dynamic range of your fluorescence images. This preservation is critical when you need to recover subtle details in highlights and shadows that reveal important fluorescent elements.
Your post-processing capabilities expand considerably with RAW files. Software like Adobe Lightroom and Photoshop offer specialized tools for enhancing fluorescence photography, allowing you to make precise adjustments to accurately represent fluorescent colors and intensities without introducing artifacts.
PNG vs. JPEG: Balancing Quality and File Size

Although both formats serve different purposes in digital imaging, PNG and JPEG represent two distinct approaches to storing fluorescence photography data.
When you’re capturing delicate fluorescence details, your choice of image file format greatly impacts result quality. PNG format preserves every subtle detail without compression loss, maintaining the integrity of your fluorescence data despite larger file sizes.
Meanwhile, JPEG’s compression reduces file size but may introduce artifacts that compromise detail preservation.
JPEG’s lossy compression sacrifices critical fluorescence detail for smaller file sizes—an unacceptable tradeoff in precision microscopy work.
- Vibrant green fluorescent protein markers glowing against a black background, with every gradient perfectly preserved in PNG
- Intricate cellular structures with transparent regions clearly defined against varying background intensities
- Side-by-side comparison showing JPEG artifacts obscuring faint fluorescence signals that remain crystal clear in PNG
For scientific applications where accuracy is paramount, PNG’s quality advantage typically outweighs JPEG’s smaller size benefits.
Frequently Asked Questions
How Do You Photograph Fluorescence?
To photograph fluorescence, you’ll need a UV light source, bandpass filter, and dark environment. Use a tripod for stability, set low ISO, and try longer exposures to capture the subtle glow effectively.
What Image Format Has the Highest Quality?
For highest image quality, you’ll want to use TIFF format as it’s completely lossless. RAW files also preserve all data and give you maximum flexibility for post-processing, unlike JPEGs which lose information through compression.
What Is the Best Image Format for Transparency?
PNG is your best choice for transparency as it supports alpha channels without quality loss. For modern applications, you’ll find WebP offers excellent transparency with better compression. TIFF works for high-quality archival needs.
What Is the Best Image Format for Image Processing?
For image processing, you’ll want to use TIFF format. It preserves all pixel data without compression loss, supports high bit depths, and maintains metadata integrity—essential qualities when you’re manipulating and analyzing images precisely.
In Summary
You’ll get the best results by choosing the right file format for your fluorescence photography needs. TIFF provides uncompressed quality for scientific documentation, RAW offers maximum editing flexibility, and PNG delivers lossless compression when file size matters. Whatever your project demands—whether it’s research, publication, or presentation—selecting the appropriate format guarantees you’re capturing all the fluorescent detail your work deserves.


Leave a Reply