Exposure bracketing in microscope photography captures ideal detail in high-contrast specimens by taking multiple images at different exposure settings. Set your microscope lamp to 8.5-9 volts for consistent illumination, then shoot a series of images around your base exposure in 1/3-stop increments. Remember that doubling magnification requires four times the exposure time. Track your results systematically to build a reference library for future sessions. The techniques below will help you master this essential skill for breathtaking microscopic imagery.
Numeric List of 7 Second-Level Headings
Several key techniques form the foundation of effective exposure bracketing in microscope photography. When capturing high-contrast subjects, you’ll need to follow these essential procedures:
Mastering exposure bracketing is critical for revealing detail in difficult microscopic specimens with significant contrast range.
- Setting Appropriate Bracketing Increments (1/3 f-stop for transparency films, full f-stop for print films)
- Maintaining Consistent Illumination (keeping microscope lamp voltage between 8.5-9 volts)
- Adjusting Exposure Times Systematically
- Evaluating Exposure Effects Across Multiple Images
- Identifying Ideal Exposure Settings for Your Specimen
- Adapting to Changes in the Optical System
- Recalculating Exposures After Equipment Modifications
When you’re working with sheet film, you can utilize regions of varying exposure on a single sheet, maximizing efficiency.
Understanding Exposure Variables in Microscope Photography
When working with microscope photography, you’ll need to understand that exposure follows the reciprocity law where exposure equals light intensity multiplied by time (E = l × t).
As you increase magnification, you’ll encounter significant exposure shifts requiring longer exposure times because higher magnifications reduce available light.
You can’t rely on simple calculations alone, as extended exposures often trigger reciprocity failure, requiring additional compensation to maintain image quality.
Reciprocity Law Fundamentals
Photography’s fundamental reciprocity law governs how you’ll approach exposure in microscope photography. When working with exposure times exceeding 1/2 second, you’ll encounter reciprocity failure—where the linear relationship between exposure time and light intensity breaks down. This is particularly problematic in microscopy, where longer exposures often can’t be avoided.
- Feel confident adjusting your settings when you understand how reciprocity failure affects shadow detail in your specimens.
- Experience frustration-free color microscopy by consulting manufacturer data sheets for proper filter adjustments.
- Master bracketing techniques with the peace of mind that comes from knowing exactly how to compensate for reciprocity effects.
For color transparency films, you’ll need more precise adjustments than with black-and-white materials.
Consider increasing development time to compensate for lost shadow detail in longer exposures.
Magnification Exposure Shifts
Magnification levels in microscope photography directly impact your exposure settings through a predictable mathematical relationship. When you double your magnification, you’ll need to increase exposure time fourfold, following the square law of exposure calculation. This becomes essential when bracketing exposures across different objectives.
As you increase magnification, you’ll notice decreased depth of field and reduced light intensity, both affecting image contrast. The numerical aperture of higher-power objectives compounds this challenge, requiring longer exposures to compensate for diminished light transmission.
When shifting between objectives, maintain consistent illumination settings while adjusting your exposure times accordingly. For effective bracketing, recalibrate your proper exposure at each magnification level rather than using fixed increments.
This methodical approach guarantees peak detail capture despite the significant exposure shifts that occur in microscope photography.
Essential Equipment Setup for Bracketing in Microscopy
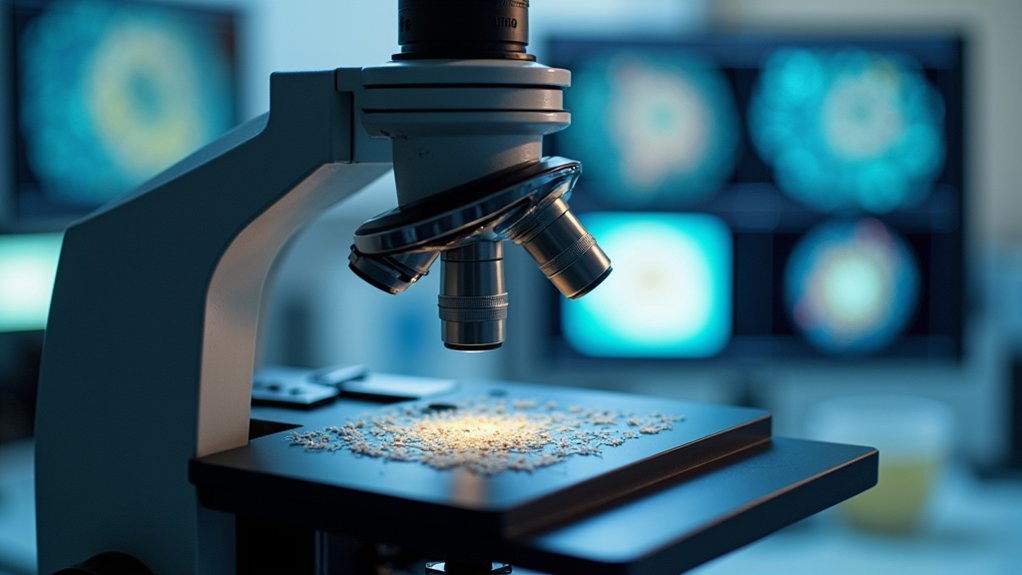
To achieve consistent and reliable bracketed exposures in microscopy photography, you’ll need to properly configure several key equipment components. Start by setting your tungsten-halogen microscope lamp to 8.5-9 volts to maintain constant illumination throughout your session.
Use your camera’s full range of shutter speeds while keeping the illumination steady, and consider neutral density filters to modify illumination intensity without altering color temperature or film response.
- Precision control transforms ordinary specimens into breathtaking scientific imagery when you apply the correct bracketing increment—1/3 f-stop for transparency film and whole f-stops for print film.
- Creative freedom emerges as you master varied exposure times, opening new visualization possibilities.
- Confidence in results develops when your meticulous setup guarantees every critical detail is captured across multiple exposure options.
Determining Your Base Exposure Settings
With your equipment properly configured, establishing accurate base exposure settings becomes the foundation for successful microscope photography. Begin by setting your tungsten-halogen bulbs to a consistent voltage (8.5-9 volts) to guarantee reliable results. Calculate your initial exposure time using the formula E = l × t, adjusting for your camera’s ISO rating and the specimen’s magnification.
| Technique | Purpose | Application |
|---|---|---|
| Auto exposure | Quick calibration | Different magnifications |
| Spot metering | Targeted measurement | Specific specimen areas |
| Exposure bracketing | Finding ideal exposure | 1/3 f-stop increments |
Don’t hesitate to use auto exposure as a starting point, particularly when working with new specimens. Once you’ve determined your base exposure, implement bracketing by varying exposure times in small increments while maintaining consistent light intensity. This methodical approach guarantees you’ll capture the specimen’s finest details regardless of challenging lighting conditions.
Step-by-Step Bracketing Technique for Microscope Specimens
You’ll need to set up your manual exposure series by first securing your specimen and configuring your microscope’s camera to shoot consecutive frames at different exposure times.
Begin with your base exposure, then systematically capture additional frames at both shorter and longer exposures, typically working in 1/3-stop increments for transparency films or full stops for print films.
When combining bracketing with focus stacking techniques, you’ll want to complete one full bracketed series at each focus position before adjusting the fine focus to the next plane in your specimen.
Manual Exposure Series Setup
Setting up a manual exposure series provides the foundation for successful microscope photography bracketing. Begin by adjusting your microscope lamp voltage to 8.5-9 volts for tungsten-halogen bulbs, ensuring consistent illumination throughout your session.
Activate your spot meter and focus it on specific areas of interest to avoid glare interference.
With manual exposure controls, capture multiple frames of the same specimen at varied exposure times:
- For transparency films, adjust in 1/3 f-stop increments to capture subtle tonal variations
- For print films, use whole f-stop adjustments for more dramatic exposure differences
- Create an extensive range that captures both shadow detail and highlight retention
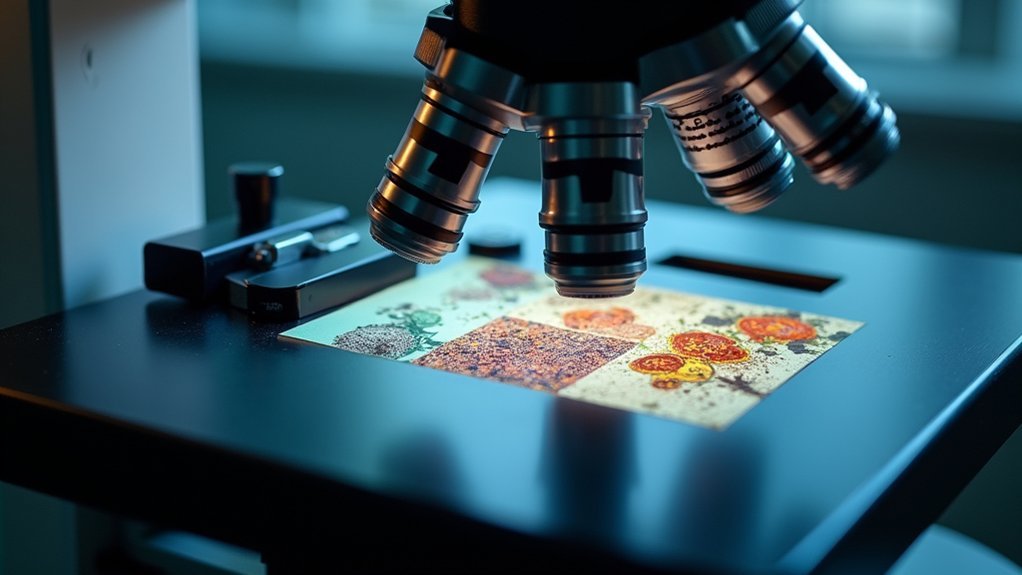
After processing, examine your frames on a light table with a loupe to select the ideal exposure that balances all elements of your specimen perfectly.
Focus Stacking Integration
Focus stacking integration elevates microscope photography bracketing to new heights by combining exposure and focal plane techniques.
Begin with consistent illumination at 8.5-9 volts for tungsten-halogen sources, ensuring uniform lighting throughout your session. Capture a sequence of images using exposure bracketing at 1/3 f-stop increments to identify ideal exposure for each focal plane.
When photographing specimens with significant depth, adjust your focus systematically through different layers while maintaining exposure consistency. Remember to recalibrate your ISO settings based on the objective’s magnification and numerical aperture between focus shifts.
After capturing your bracketed series, evaluate images on a light table or with a loupe to select the best candidates for stacking.
This combined approach maximizes detail retention by merging the benefits of both depth adjustment and exposure bracketing techniques, resulting in extraordinarily detailed microscope images.
Analyzing and Selecting the Optimal Microscope Images
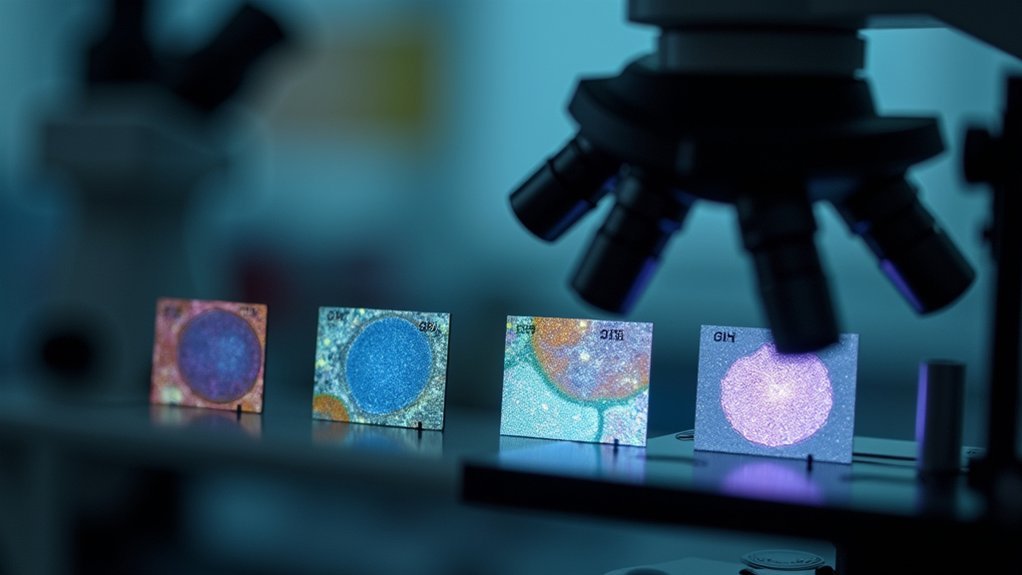
When reviewing your bracketed microscope images, the selection process can make or break your final results. Examine your frames using a loupe on a light table to identify ideal images with the best exposure times and detail clarity.
For transparency films, make incremental exposure adjustments at 1/3 f-stop intervals, while contrast films perform better with whole f-stop changes.
Maintain consistent illumination by using neutral density filters rather than adjusting lamp voltage, preserving color temperature and film response during bracketing exposures.
- Feel the satisfaction of discovering that perfect frame where every cellular detail pops with clarity
- Experience confidence knowing your documentation system guarantees reproducible results
- Enjoy the efficiency of having a reference table that streamlines future microscope photography sessions
Document your findings systematically to build a valuable exposure reference library for different objectives.
Compensating for Reciprocity Failure in Long Exposures
Although standard exposure calculations work perfectly for normal shutter speeds, microscope photography often requires exposures exceeding 1/2 second where reciprocity failure becomes a significant challenge. When this occurs, you’ll need to increase both exposure times and development time to maintain proper shadow detail and contrast.
| Exposure Length | Compensation Factor | Development Adjustment | Color Balance Shift |
|---|---|---|---|
| 1-2 seconds | +1/3 stop | +10% time | Minimal |
| 2-10 seconds | +2/3 stop | +15% time | Moderate blue |
| 10-30 seconds | +1 stop | +20% time | Strong blue |
| 30+ seconds | +2 stops | +30% time | Severe blue/green |
When bracketing exposures for microscope subjects, use incremental variations of 1/3 to 1/2 stop. For color films, consult manufacturer data sheets for specific filter recommendations to counteract color shifts during long exposures.
Frequently Asked Questions
How Does a Photographer Bracket Exposures?
You’ll bracket exposures by taking multiple shots of the same subject at different exposure levels, typically adjusting shutter speed, aperture, or ISO in regular increments above and below your initial exposure setting.
How to Set up Exposure Bracketing?
To set up exposure bracketing, you’ll need to take multiple shots at different exposure values. Set your camera to bracket mode, choose your increment stops, and let it automatically capture underexposed, normal, and overexposed images.
How Many Stops Are Needed for Exposure Bracketing?
You’ll need three to five stops for effective bracketing. Each stop doubles or halves exposure, giving you a thorough range to evaluate. This guarantees you’ll capture the best exposure for your microscope photography work.
Is Exposure Bracketing Worth It?
Yes, exposure bracketing is absolutely worth it. You’ll capture details in both shadows and highlights that a single exposure might miss. It’s especially valuable when you’re shooting high-contrast subjects or uncertain lighting conditions.
In Summary
You’ve now mastered the art of exposure bracketing for microscope photography. By following these techniques, you’ll capture stunning details that might otherwise be lost in a single exposure. Remember to review your bracketed sets carefully, noting which settings work best for specific specimens. With practice, you’ll develop an intuitive feel for when and how to bracket exposures in your microscopic imaging workflow.


Leave a Reply