Three essential EPI lighting patterns for engaging specimen photography include directional reflective illumination, which creates dramatic shadows and reveals texture; diffused ring-light patterns that produce even illumination with a subtle halo effect; and cross-polarization techniques that eliminate glare on reflective specimens. You’ll achieve the best results by experimenting with different angles, intensities, and distances based on your specimen type. Mastering these lighting approaches will transform ordinary samples into extraordinary photographic subjects with stunning detail.
Directional Reflective Illumination: Creating Depth and Texture
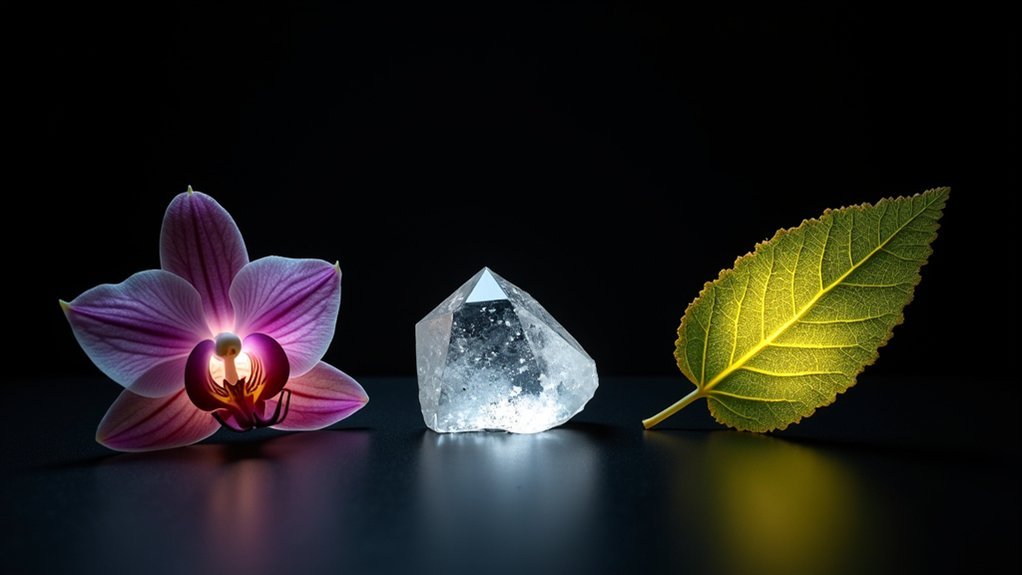
When capturing specimen photographs, directional reflective illumination serves as a powerful technique to reveal the intricate textures and surface details that might otherwise remain hidden. By positioning your focused light source at precise angles, you’ll create shadows that enhance contours and edges, adding remarkable depth to your images.
Precise directional lighting unveils hidden specimen details, transforming ordinary samples into dramatic three-dimensional landscapes.
As featured in Microscopy U publications, proper alignment between your light source and specimen is critical for maximum effect. You’ll find that adjusting the angle of incidence dramatically alters your specimen’s appearance, often revealing previously obscured features.
For best results, incorporate specialized reflective objectives and condensers.
Don’t forget to experiment with contrast-enhancing filters during photography—they’ll further enhance your directional lighting effects, resulting in vibrant, high-resolution images that showcase your specimen’s finest details.
Diffused Ring-Light Patterns for Specimen Detail Enhancement
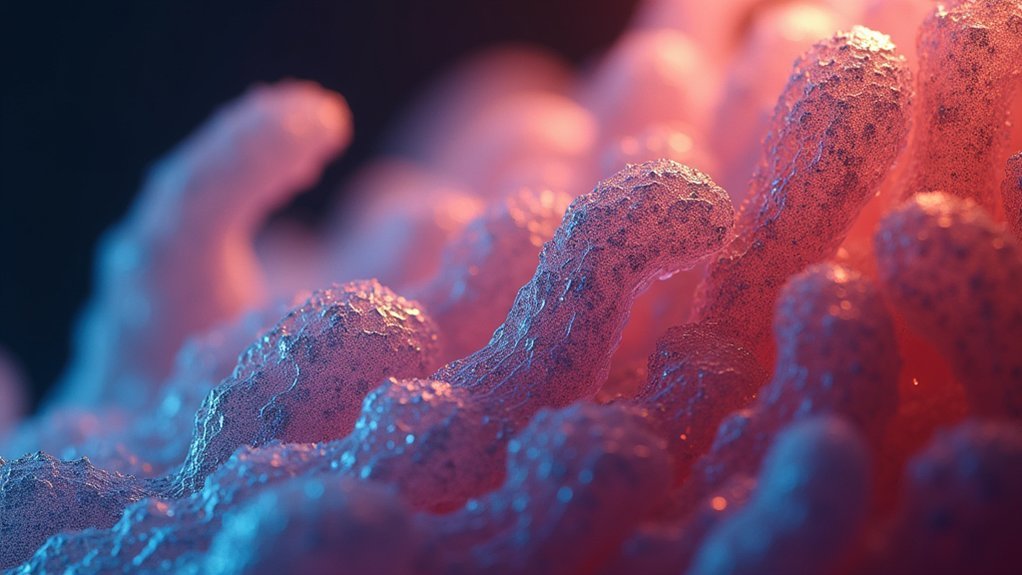
Unlike directional lighting methods, diffused ring-light patterns create an even illumination field that surrounds your specimen, revealing intricate details without the distraction of harsh shadows.
When applied in microscopy settings, this technique produces a distinctive halo effect that emphasizes texture and dimensional properties, particularly on reflective surfaces.
For best results with ring lights:
- Position the light at a slight angle to minimize glare while maintaining even illumination
- Adjust the intensity to match your specimen type—lower for delicate biological samples, higher for minerals
- Combine with a polarizing filter to reduce unwanted reflections and enhance contrast
- Experiment with distance to balance the halo effect with the need for clear detail capture
This lighting approach transforms challenging specimens into beautifully detailed subjects, revealing structures that might otherwise remain hidden.
Cross-Polarization Techniques for Eliminating Glare on Reflective Specimens
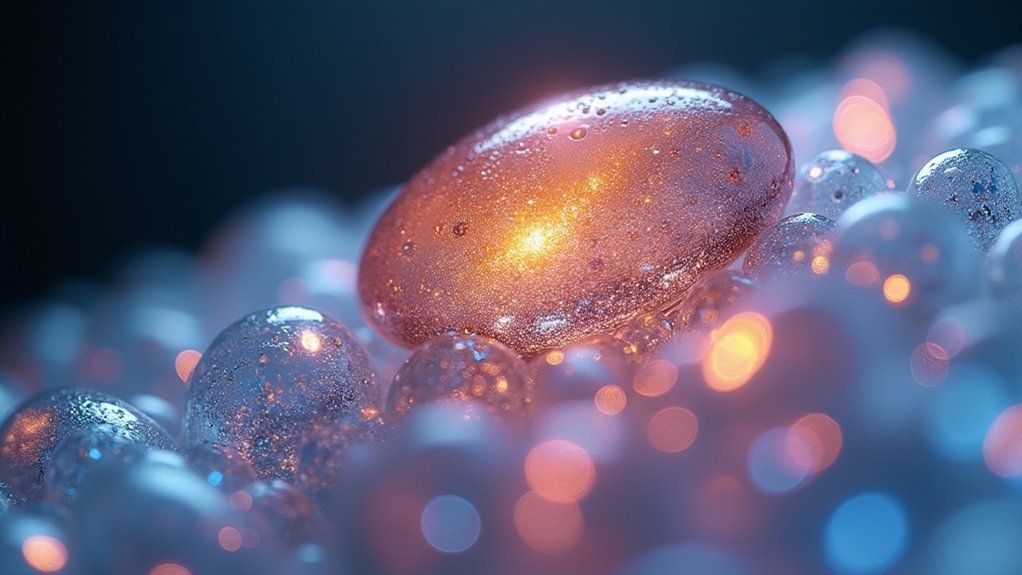
Reflective specimens present one of photography’s most challenging obstacles: distracting glare that obscures critical details. Cross-polarization offers an effective solution, especially when examining minerals or metallic samples under microscopy.
You’ll need to position two polarizers: one before your light source and another between your specimen and camera. By rotating the analyzer polarizer, you can fine-tune contrast to reveal textures previously hidden by specular reflections.
| Setup Component | Function | Adjustment | Result |
|---|---|---|---|
| Source Polarizer | Orients light waves | Fixed position | Controlled illumination |
| Specimen | Reflects polarized light | Precise alignment | ideal subject visibility |
| Analyzer Polarizer | Filters reflections | Rotation | Enhanced contrast |
| Camera | Captures filtered light | Exposure settings | Glare-free imagery |
For accurate calibration, verify proper alignment of all components—making this technique an invaluable source for microscopy education.
Frequently Asked Questions
What Is the 3 Lighting Rule?
The 3 lighting rule requires you to use three distinct light sources: a key light (primary illumination), a fill light (shadow reduction), and a backlight (edge highlighting) to create depth and dimension in your photography.
What Are the 5 Major Types of Lighting Setups Used in Photography?
The five major lighting setups in photography you’ll encounter are Split Lighting, Loop Lighting, Rembrandt Lighting, Butterfly Lighting, and Broad Lighting. Each creates distinct shadows and highlights to shape your subject differently.
What Are the Lighting Techniques Used in Forensic Photography?
In forensic photography, you’ll use oblique lighting to highlight surface details, polarized light to reduce glare, epi-illumination for high-resolution evidence capture, fluorescent lighting to reveal hidden fluids, and backlighting to emphasize object edges.
What Is the Difference Between Rembrandt and Loop Lighting?
In Rembrandt lighting, you’ll notice a triangle of light under one eye creating dramatic depth, while loop lighting gives you a softer shadow under the nose for a more natural, flattering look.
In Summary
You’ve now mastered these three essential epi lighting techniques for specimen photography. By manipulating directional light, you’ll reveal textural details; with diffused ring-light patterns, you’ll capture even the smallest features; and through cross-polarization, you’ll eliminate unwanted reflections on shiny specimens. Don’t be afraid to experiment—combining these approaches will help you develop your unique style while showcasing your specimens in their most striking light.


Leave a Reply