To increase your digital microscope's light sensitivity, optimize your camera settings by balancing exposure time and gain while monitoring the histogram to prevent signal saturation. Use active cooling systems to maintain lower sensor temperatures, and implement image stacking to enhance detail in low-light conditions. Select larger physical sensors with high quantum efficiency, and utilize advanced LED lighting with dark field illumination for better contrast. Understanding the complete system of components and techniques will reveal even greater imaging potential.
Understanding Digital Microscope Light Sensitivity Basics
Light sensitivity forms the backbone of effective digital microscopy, determining how well your microscope can capture clear images in low-light conditions. Your camera's sensor size and noise reduction capabilities play vital roles in achieving ideal image quality, especially when you're working with dim specimens.
To maximize your microscope's performance, you'll need to understand how the signal-to-noise ratio affects your results. A higher ratio means clearer images with less background interference, which is essential for accurate analysis.
You'll find this particularly important when conducting fluorescence or live cell imaging. The size of your camera's sensor directly impacts light sensitivity – larger sensors generally perform better in low-light situations.
Key Components Affecting Image Sensor Performance
Your digital microscope's light sensitivity largely depends on the sensor size and resolution, where larger sensors collect more photons for superior low-light performance.
You'll get better results by incorporating advanced light collection technologies like high quantum efficiency sensors and specialized cooling systems that minimize thermal noise.
Integrating sophisticated signal processing algorithms with your microscope's hardware lets you maximize sensitivity while effectively reducing unwanted background interference.
Sensor Size And Resolution
When selecting a digital microscope, understanding the relationship between sensor size and resolution is essential for achieving optimal image quality.
You'll need to balance these factors carefully, as they directly impact your imaging results. A larger sensor size captures more light and improves quantum efficiency, while higher resolution provides finer detail in your specimens.
- Large sensors offer superior light sensitivity and better signal-to-noise ratios, making them ideal for low-light microscopy.
- Higher resolution sensors deliver more detailed images but may struggle in poor lighting conditions.
- Bigger pixels on your sensor will capture more light, reducing noise in your microscope images.
- The combination of ideal sensor size and resolution guarantees you'll get clear, bright images while maintaining the detail you need for accurate specimen analysis.
Light Collection Technologies
For ideal microscopy performance, several key light collection technologies work together to maximize your sensor's light-gathering capabilities. The numerical aperture of your objective lens plays an essential role in determining light intensity and image clarity, while anti-reflective lens coatings help minimize light loss through reflection.
You'll achieve better results by incorporating back-illuminated sensors, which allow more light to reach the sensor surface, improving performance in low-light conditions.
Larger pixel sizes enhance your signal-to-noise ratios by capturing more photons, resulting in clearer images. When working with fluorescent samples, you can optimize your setup using specialized light sources like LED arrays that emit specific wavelengths.
These technologies complement each other to deliver superior image quality and sensitivity in your digital microscopy applications.
Signal Processing Integration
Signal processing integration plays an essential role in maximizing your digital microscope's light sensitivity. When you're working with digital microscopes, effective signal processing guarantees you'll capture clearer images by enhancing how your system handles and manipulates incoming light signals.
To achieve ideal results through signal processing, focus on these key elements:
- Implement advanced noise reduction algorithms to minimize background interference and boost your signal-to-noise ratio.
- Utilize high quantum efficiency cameras to enhance signal detection, especially in low-light conditions.
- Fine-tune your gain settings to amplify desired signals without introducing excessive noise.
- Calibrate image acquisition parameters carefully, including exposure time and gain levels, to maximize true signal capture.
These signal processing techniques will greatly improve your microscope's ability to produce sharp, clear images while maintaining optimal light sensitivity.
Optimizing Camera Settings for Light Capture
You'll need to find the right balance between exposure time and gain settings to maximize your digital microscope's light sensitivity.
Longer exposure times can capture more light detail, but you must watch for motion blur, while increased gain enhances brightness but can introduce unwanted noise in your images.
Adjusting your camera's dynamic range helps optimize the balance between the brightest and darkest areas of your specimen, ensuring you don't lose vital details in either the highlights or shadows.
Exposure Length And Gain
When working with digital microscopes, mastering exposure length and gain settings becomes essential for capturing clear, detailed images of your specimens.
You'll need to balance exposure time and gain setting carefully to achieve peak image quality while managing potential drawbacks like motion blur and noise.
- Longer exposure times allow more light to reach your sensor, brightening your image, but you'll need to watch for blur with moving samples.
- Higher gain settings increase your camera's light sensitivity, though they can introduce unwanted noise.
- You'll achieve the best results by experimenting with different combinations of both settings for your specific samples.
- Using a higher NA objective lens alongside refined exposure and gain can further enhance your microscope's light-gathering capabilities.
These adjustments will help you capture clearer, more detailed microscopic images.
Dynamic Range Adjustment
Understanding dynamic range adjustment can dramatically improve your microscope's ability to capture fine details across varying light intensities.
When you properly adjust your camera's dynamic range settings, you'll enhance contrast and utilize the full spectrum of available light, resulting in high-quality images with better detail retention.
To refine your dynamic range settings, use your camera's histogram as a guide.
You'll want to verify that the light distribution curve doesn't indicate signal saturation, which can wash out important details in brighter areas. By monitoring these levels, you can make precise adjustments to capture both dim and bright regions effectively.
Remember that dynamic range settings work in conjunction with light sensitivity controls like exposure time and binning modes, so you'll need to balance these parameters for prime results.
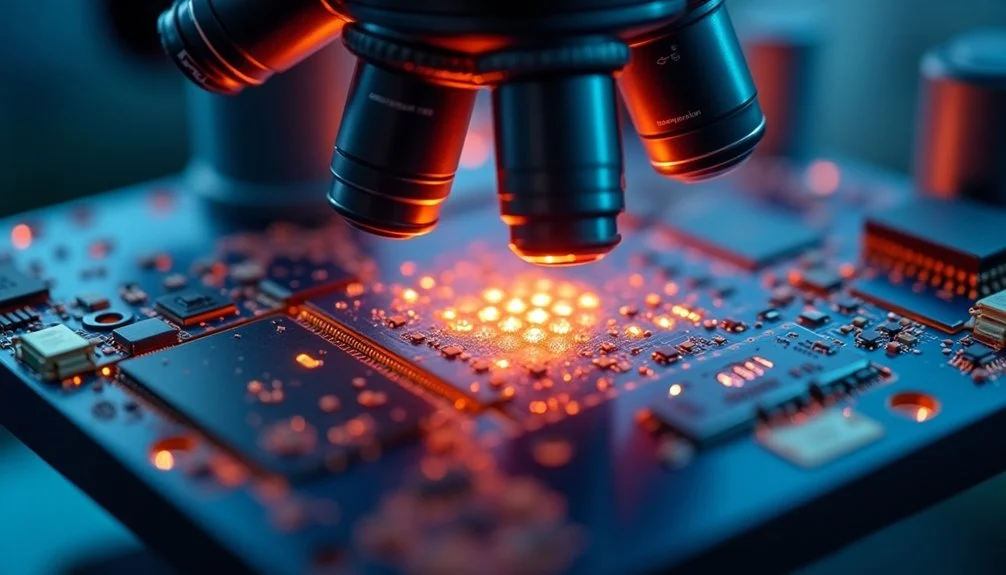
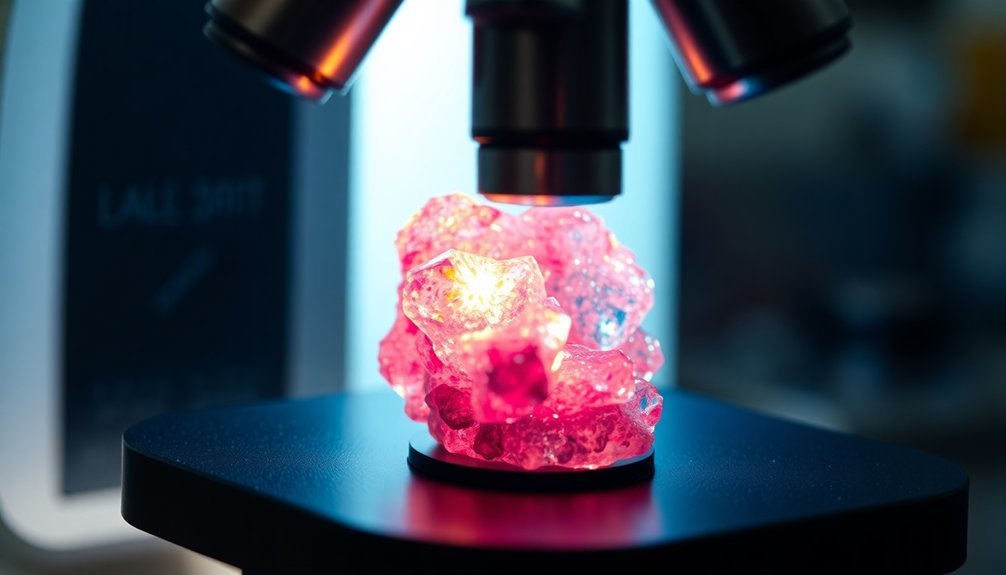
Advanced Illumination Techniques and Methods

Several advanced illumination techniques can dramatically improve your digital microscope's light sensitivity and imaging capabilities. By implementing modern LED lighting systems, you'll achieve enhanced light sensitivity while maintaining energy efficiency and minimal heat output.
Advanced LED lighting revolutionizes microscopy by delivering superior sensitivity and imaging while keeping energy costs and heat generation low.
The right combination of illumination methods and proper setup will greatly boost your image quality.
- Install advanced LED lighting for superior control and reduced heat emission
- Utilize dark field illumination to enhance contrast in transparent specimens
- Apply fluorescence microscopy techniques for detecting low-abundance targets
- Adjust the objective lens's numerical aperture to optimize light collection
These techniques, combined with image stacking software, will help you capture clearer, more detailed microscope images.
You'll notice improved contrast, better detection of subtle features, and enhanced overall sensitivity when examining specimens under various lighting conditions.
Balancing Resolution and Light Sensitivity
Beyond advanced illumination techniques, achieving ideal microscope performance requires careful consideration of both resolution and light sensitivity. You'll need to make strategic choices about pixel size, as it directly impacts both image quality and light capture capabilities.
| Parameter | Effect |
|---|---|
| Large Pixels | Higher sensitivity, Better SNR |
| Small Pixels | Higher resolution, Lower sensitivity |
| High NA Objectives | Improved light collection, Better resolution |
When balancing these factors, consider your specific imaging needs. If you're working with dim specimens, you might want to prioritize light sensitivity by selecting larger pixels. However, if detail is essential, smaller pixels will provide better resolution. You can compensate for reduced sensitivity by adjusting gain settings or exposure times, but remember that excessive gain will amplify background noise along with your desired signal.
Signal-to-Noise Ratio Enhancement Strategies
While capturing detailed microscope images presents numerous challenges, improving the signal-to-noise ratio (SNR) remains a critical factor in achieving superior image quality.
To enhance your microscope's light sensitivity and produce clearer images, you'll need to implement several proven strategies that maximize signal while minimizing unwanted noise.
- Invest in high sensitivity cameras with larger sensors, which capture more light and provide better performance in low-light conditions.
- Select objectives with higher numerical aperture (NA) to collect more signal from your specimen.
- Monitor your gain settings carefully – avoid excessive levels that can amplify background noise.
- Apply advanced image processing techniques like noise filtering and image stacking to boost SNR post-capture.
These approaches will help you achieve sharper, more detailed images while maintaining ideal signal-to-noise ratio in your digital microscopy work.
Pixel Size and Light Gathering Capabilities
Your digital microscope's pixel size dramatically affects its light-gathering abilities, with larger pixels collecting more photons and producing clearer images in low-light conditions.
You'll find that bigger pixels improve the signal-to-noise ratio, making them particularly valuable when you're working with dim specimens or fluorescence microscopy.
While selecting your microscope's sensor, you'll want to take into account the ideal pixel size that matches your optical system's resolution limit to achieve the best balance between light sensitivity and image detail.
Larger Pixels Capture More
The size of a digital camera's pixels plays a fundamental role in its light-gathering capabilities. When you're working with digital microscopy, larger pixels offer significant advantages in capturing and processing light.
You'll find that doubling the pixel size increases the gathering capacity by four times, making a substantial difference in low-light conditions.
- Larger pixels improve your signal-to-noise ratio, helping you detect faint signals more effectively.
- Your fluorescence microscopy results will be clearer due to enhanced light sensitivity.
- You'll achieve better performance in low-light scenarios, as each pixel captures more photons.
- Shot noise reduction becomes more effective with increased pixel dimensions.
The key is matching pixel size to your microscope's optical resolution.
While you might sacrifice some resolution with larger pixels, you'll gain superior light sensitivity and clearer images in challenging conditions.
Optimal Sensor Design Specs
Selecting ideal sensor specifications can dramatically enhance your microscope's light-gathering performance.
To achieve the best results, you'll want to focus on pixel size and quantum efficiency metrics that maximize light sensitivity.
Choose sensors with pixel sizes between 2 to 6 micrometers – this range provides the sweet spot between resolution and light collection.
When you're working with larger pixels, you'll capture more photons, resulting in cleaner images with better signal-to-noise ratios.
For even better performance, opt for high quantum efficiency sensors, particularly back-illuminated models that allow direct photon contact with the sensor surface.
These advanced designs minimize light loss from structural elements and wiring.
Don't forget to evaluate larger sensor formats, as they'll give you an expanded field of view while maintaining excellent sensitivity for detecting faint signals.
Exposure Time Management for Clear Images
Successfully managing exposure time plays a pivotal role in capturing clear digital microscope images, especially when working with dim specimens.
You'll need to carefully balance exposure settings to maximize light sensitivity without compromising image quality. While longer exposures increase image brightness, they can also introduce motion blur if your sample moves during capture.
- Monitor your histogram closely to prevent signal saturation in bright areas
- Combine higher gain settings with exposure adjustments for best results
- Test different exposure times under various lighting conditions
- Keep your sample completely still during longer exposures
Low-Light Imaging Best Practices
Mastering low-light imaging requires a strategic combination of camera settings and specialized techniques. You'll need to start by selecting high sensitivity cameras that excel at detecting minimal light levels, ensuring you capture clear, detailed images even in challenging conditions.
To optimize your results, carefully balance exposure time with your light source intensity. This prevents sample damage while maximizing signal detection.
Balancing exposure duration and light intensity creates optimal imaging conditions while protecting specimen integrity and enhancing signal capture.
When adjusting gain settings, remember that higher gains can amplify both your desired signal and unwanted noise, so find the sweet spot for your specific application.
Experiment with different lighting techniques like dark field or fluorescence to enhance specimen contrast.
For the best results, try image stacking – it's an effective method to combine multiple exposures, giving you sharper, more detailed final images in low-light conditions.
Sensor Technology Selection Guidelines
Building on your low-light imaging techniques, the right sensor technology forms the foundation of high-sensitivity microscopy. When selecting sensors for your digital microscope, you'll need to focus on features that maximize light sensitivity and improve signal-to-noise ratio for clearer images.
- Choose larger physical sensor sizes to capture more light photons, greatly enhancing your microscope's performance in low-light conditions.
- Look for sensors with high quantum efficiency (QE) ratings, as they'll convert more photons into usable signals.
- Select sensors that support binning capabilities to boost sensitivity and reduce noise when you're working with faint specimens.
- Consider back-illuminated (BI) sensor technology, which minimizes light loss during transmission and delivers superior brightness and clarity in your microscopic imaging.
Temperature Control for Enhanced Sensitivity
While maximizing your digital microscope's sensitivity starts with selecting the right sensor, proper temperature control plays an equally critical role in achieving crystal-clear images.
By implementing effective temperature control measures, you'll considerably reduce thermal noise that can interfere with image clarity, especially during low-light observations.
High sensitivity cameras with active cooling systems, like thermoelectric coolers, can maintain sensor temperatures 20-30 degrees below ambient conditions.
This cooling directly improves your signal-to-noise ratio, making it easier to capture faint signals in challenging applications like fluorescence microscopy.
You'll also protect your investment, as controlled temperatures extend your sensor's lifespan by preventing overheating during long imaging sessions.
For the best results in microscopy imaging, make temperature management a priority in your setup.
Digital Processing for Light Enhancement
Beyond temperature control, digital processing serves as a powerful ally in maximizing your microscope's light sensitivity.
You'll find that modern software tools can remarkably reduce background noise while enhancing signal clarity, especially in challenging low-light conditions. By leveraging advanced digital processing techniques, you can optimize your microscope's signal-to-noise ratio for clearer, more detailed images.
Digital processing tools transform microscope data, cutting through noise to reveal crisp, clear details even in dim lighting conditions.
- Use image stacking to combine multiple captures, effectively averaging out noise and increasing detail.
- Apply noise reduction algorithms to clean up unwanted artifacts and enhance image clarity.
- Adjust histograms to optimize exposure settings and capture maximum usable light.
- Utilize post-processing software like Adobe Lightroom to fine-tune exposure, contrast, and color balance.
These digital enhancements work together to transform your raw microscope data into high-quality, professional-grade images suitable for documentation and analysis.
Calibration Methods for Optimal Sensitivity
Three essential calibration steps form the foundation of maximizing your digital microscope's light sensitivity.
First, adjust your gain settings to enhance low-light detection while monitoring noise levels.
Second, fine-tune your white balance to guarantee accurate color representation under different lighting conditions.
Third, optimize your exposure settings by balancing aperture size, shutter speed, and illumination intensity.
To further improve light collection efficiency, you'll want to use a high numerical aperture objective lens.
This enhancement, combined with proper calibration methods, will greatly boost your microscope's sensitivity.
Don't forget to implement image stacking techniques during calibration – they'll help you capture sharper images by combining multiple focal planes.
When you follow these calibration steps systematically, you'll achieve clearer, more detailed images even in challenging low-light conditions.
Frequently Asked Questions
How to Improve Microscope Image Quality?
You'll get better microscope images when you adjust exposure settings, use high-sensitivity cameras, optimize lighting, implement image stacking, and calibrate white balance. These steps enhance detail and color accuracy markedly.
How Can You Increase the Contrast of Your Image With Your Light Microscope?
You can increase microscope image contrast by using stains, adjusting illumination angles, implementing phase contrast techniques, choosing higher NA objectives, and calibrating white balance. These methods will enhance your specimen's visibility considerably.
How to Increase Light on a Microscope?
You can increase microscope light by adjusting the iris diaphragm, using LED or halogen lamps, raising the light source intensity, and optimizing mirror alignment. Don't forget to check your microscope's brightness control knob.
What Would You Adjust on a Microscope to Allow More Light Through?
You'll get more light through your microscope by widening the iris diaphragm, increasing the gain setting, using a faster shutter speed, adding external LED lights, or switching to lower magnification objectives.
In Summary
You've now learned the essential techniques to boost your digital microscope's light sensitivity. By adjusting sensor settings, optimizing illumination, controlling temperature, and applying proper calibration methods, you'll capture clearer, more detailed images. Remember, it's all about finding the right balance between resolution and sensitivity. Apply these methods consistently, and you'll achieve professional-quality microscopy results in even challenging low-light conditions.


Leave a Reply