To capture perfect images in poor lighting, you'll need to optimize your camera's settings strategically. Switch to RAW format and increase ISO sensitivity while managing noise. Mount your camera on a tripod for longer exposures, and use manual focus for precise control. Add filters or reflectors to maximize available light, and try image stacking techniques to enhance detail. Master these fundamentals, and you'll reveal the secrets to stunning low-light photography.
Optimizing Sensor Sensitivity and Exposure Settings
When shooting in challenging low-light conditions, understanding how to optimize your camera's sensor sensitivity and exposure settings becomes essential for capturing high-quality images.
Start by switching to RAW format, which preserves maximum data and gives you more flexibility during post-processing.
You'll want to manage your ISO setting carefully – increase it to enhance sensor sensitivity, but keep it as low as possible to minimize noise.
Open up your aperture to a wider setting to let in more light while creating a pleasing shallow depth of field.
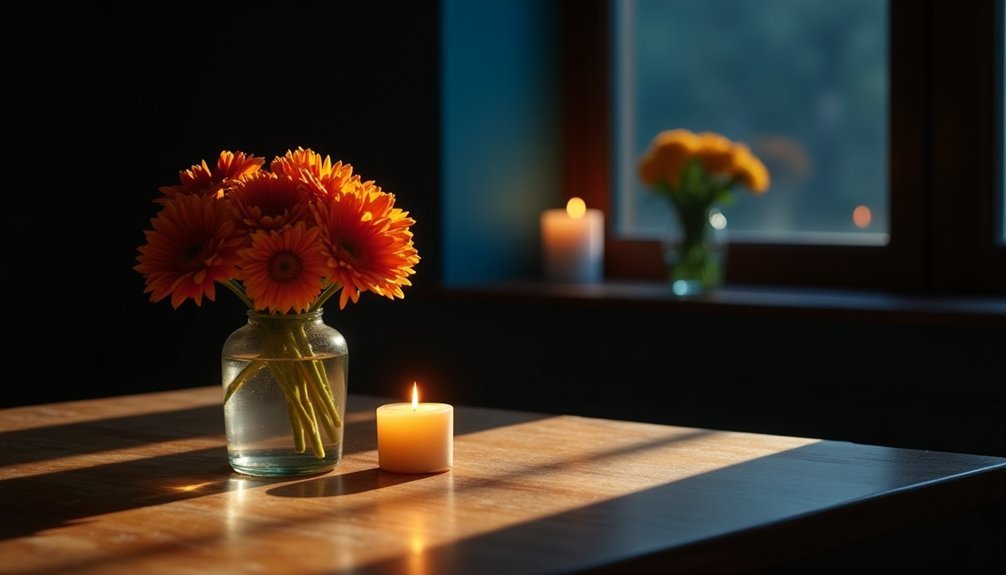
For darker scenes, you can use longer exposure times with slower shutter speed, but don't forget to mount your camera on a tripod to prevent blur.
Finally, use exposure compensation to fine-tune your shots when standard metering falls short in tricky lighting situations.
Managing Noise Reduction and Signal Processing
Since noise can severely impact image quality in low-light situations, effective noise reduction and signal processing become essential elements of your photography workflow. You'll want to shoot in RAW format to preserve maximum signal data for post-processing, while using long exposure techniques with low ISO settings to minimize digital noise.
| Technique | Purpose | Result |
|---|---|---|
| Dark Frame Subtraction | Remove thermal noise | Cleaner shadows |
| Median Stacking | Average multiple frames | Reduced random noise |
| Environmental Control | Manage temp/humidity | Lower sensor noise |
Consider image stacking based on star size and seeing conditions to enhance your signal-to-noise ratio. You'll achieve better results by combining multiple noise reduction methods, from capture through post-processing. Remember that environmental factors play a significant role – shooting in cooler conditions naturally reduces sensor noise levels.
Enhancing Image Quality With Proper Focus Control
Beyond managing noise, mastering focus control stands as a fundamental pillar for capturing sharp images in poor lighting conditions.
You'll need to stabilize your camera with a tripod, especially when longer exposure times are required for proper focus in low-light situations. Select a specific autofocus point on your subject's vital area to maintain sharpness and prevent focusing errors.
When lighting conditions are challenging, switch to manual focus for better control, as autofocus systems often struggle in dim environments. Take advantage of your camera's focus peaking or magnification features to confirm focus accuracy.
Additionally, consider opening up your aperture to a wider setting, which allows more light through the lens and helps achieve better image quality. These techniques will greatly improve your ability to capture crisp, well-focused shots in poor lighting.
Utilizing Advanced Lighting Techniques and Filters
Although poor lighting presents significant challenges, advanced lighting techniques and filters can transform mediocre conditions into opportunities for stunning photography.
You'll find that a polarizing filter enhances color balance and reduces glare, while an ND filter lets you control shutter speed for creating ethereal effects in daylight.
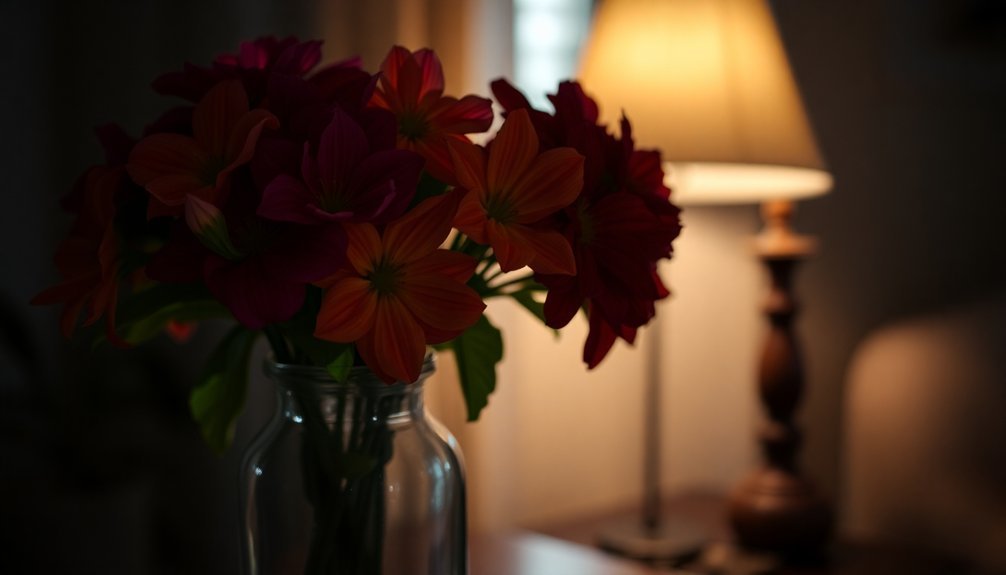
In poor lighting conditions, you can maximize available light by using reflectors to add depth and dimension to your shots.
When facing tricky light situations, try exposure bracketing to capture a wider dynamic range, giving you more flexibility during editing.
Don't hesitate to employ off-camera flash to introduce directional light that cuts through flat lighting while maintaining natural-looking shadows.
These tools and techniques work together to help you overcome lighting obstacles and create images with professional-quality results.
Maximizing Resolution Through Stacking Methods
When shooting in challenging light conditions, image stacking emerges as a powerful technique to dramatically improve your photo's resolution and clarity. To maximize resolution and combat light pollution, you'll want to stack images using specialized software like DeepSkyStacker or PixInsight for great photos with superior noise reduction.
Image stacking transforms challenging shots into crystal-clear photography, using smart software to eliminate noise and enhance detail in low-light conditions.
For the best results when you stack images:
- Capture at least 10-20 frames with consistent camera settings and environmental conditions
- Use calibration frames (dark, flat, and bias) to correct sensor imperfections
- Maintain uniform shooting conditions throughout your longer exposure sequence
This technique is particularly effective in low-light situations where a single exposure mightn't deliver the detail you're after.
Frequently Asked Questions
How to Take Good Pictures in Bad Lighting?
You'll get better shots in bad lighting when you shoot RAW, use a tripod, raise your ISO settings, and open your aperture wider. Don't forget to adjust exposure compensation and consider using a polarizing filter.
How to Make a Bad Lighting Photo Look Good?
You'll need to edit your photo using software to adjust exposure, brightness, and contrast. Boost shadows, reduce highlights, fine-tune white balance, and apply selective adjustments to enhance specific areas that need improvement.
How to Take Good Pictures With a Bad Background?
You'll get better photos by using a shallow depth of field to blur distractions, positioning your subject against contrasting elements, and trying different angles. Consider framing through natural elements or post-processing for background improvements.
How Can I See Better in Low Light?
You'll see better in low light by adjusting your eyes first. Wait 20-30 minutes to let them adapt naturally, avoid bright lights, and look slightly off-center at objects since peripheral vision's more sensitive.
In Summary
You'll find that mastering low-light photography isn't impossible with these proven techniques. By fine-tuning your sensor settings, managing noise, maintaining sharp focus, leveraging creative lighting, and using image stacking, you'll capture stunning shots even in challenging conditions. Don't let poor lighting hold you back – put these five tips into practice and watch your nighttime and low-light photography transform dramatically.


Leave a Reply