
Correctly scaling your digital microscope images transforms raw visuals into scientifically valuable data. Without proper calibration, you risk drawing flawed conclusions and compromising research integrity. Accurate scaling enables meaningful comparisons across different imaging systems and guarantees measurement precision in your micrographs. Regular calibration with micrometer slides confirms true microscopic dimensions and supports scientific validity. Standardized scaling protocols prevent data errors that could undermine months of research effort. Discover how proper calibration techniques can safeguard the credibility of your microscopy work.
7 Second-Level Headings for “Why Scale Your Digital Microscope Images Correctly?”
When capturing microscopic specimens, accurate scaling transforms ordinary images into valuable scientific data. Without proper calibration, your measurements could lead to flawed conclusions and compromise research integrity.
Scale bars are non-negotiable in scientific publications, providing immediate context for specimen dimensions and enhancing your photomicrographs’ professionalism. Understanding image resolution and pixel sizes guarantees you’re meeting Nyquist conditions to avoid undersampling.
Accurate representation isn’t just about appearances—it enables meaningful comparisons across different imaging systems and guarantees reproducibility.
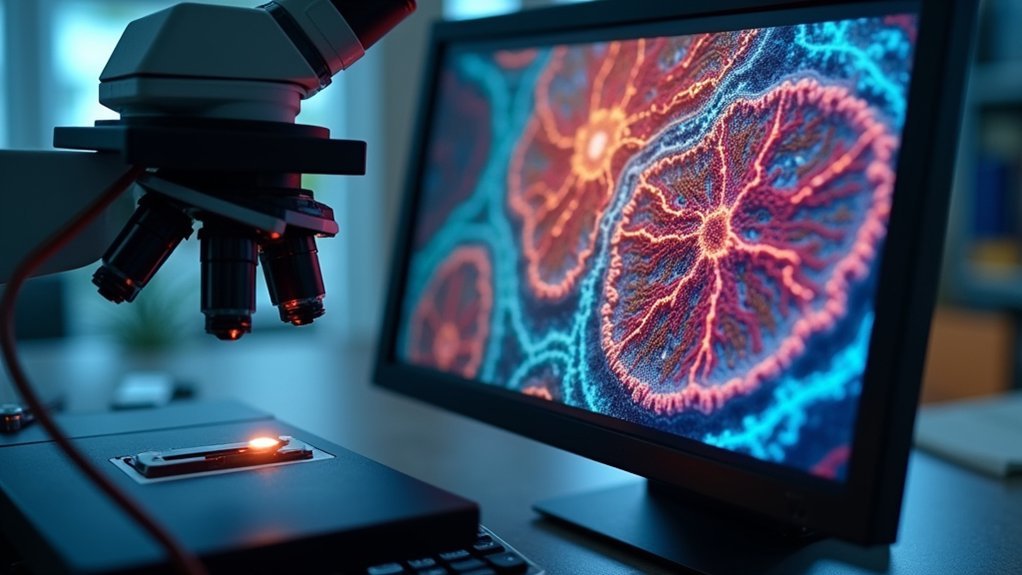
When you properly calibrate your digital images in software like ImageJ, you convert abstract pixel measurements into physical units, allowing for precise quantification of microscopic features. This becomes especially critical in studies involving size distribution analysis.
The Science Behind Accurate Microscope Image Scaling
The conversion from pixels to microns forms the mathematical foundation of accurate microscope image scaling, requiring you to establish a precise relationship between digital units and physical dimensions.
You’ll need to select appropriate calibration standards—typically stage micrometers or certified reference materials—that match your magnification range and provide known distances for establishing your scale.
Setting this relationship correctly in software like ImageJ guarantees your measurements remain consistent across different imaging sessions and enables reliable quantitative analysis of your microscopic specimens.
Pixel-to-Micron Conversion Fundamentals
Understanding how to convert pixels to microns forms the cornerstone of accurate microscopic measurement. When you capture digital microscope images, each pixel represents a specific physical distance determined by your optical magnification and camera sensor specifications.
To establish a reliable pixel-to-micron conversion, you’ll need to perform calibration using a micrometer slide with known distances. This creates a conversion factor that you can apply in image processing software like ImageJ to set the proper scale.
Remember that accurate measurements depend on appropriate resolution—the Nyquist theorem dictates that your pixel size should be less than half the smallest feature you’re trying to measure.
Calibration Standard Selection
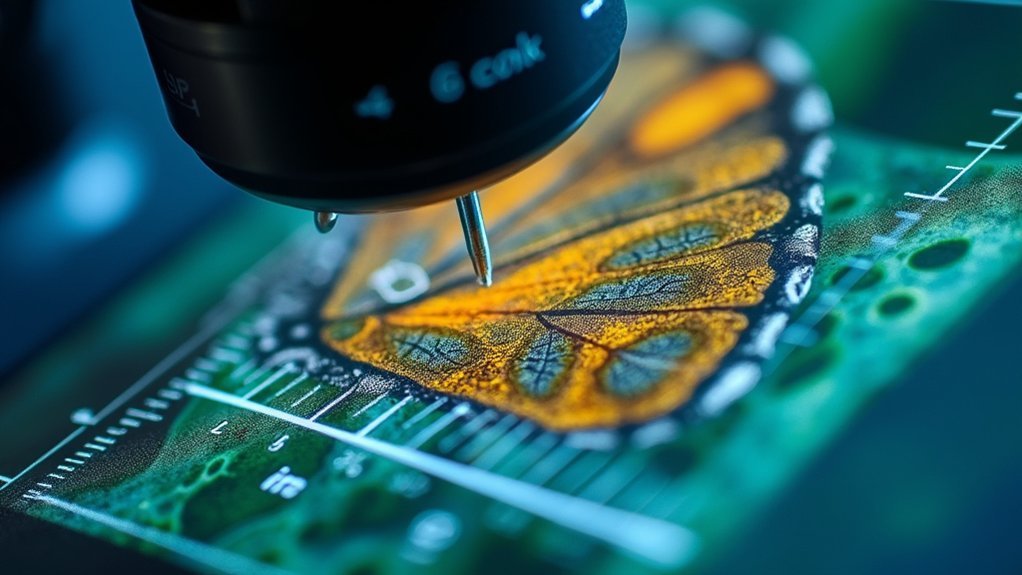
Selecting appropriate calibration standards represents the essential foundation for achieving scientifically valid microscope measurements. Your primary tool should be a precision micrometer slide with a 1 mm scale divided into 0.010 mm increments. This slide allows you to determine the distance in microns for each eyepiece reticle division across all objectives.
You’ll need to calibrate systematically for each objective magnification you use, including higher powers like 60X and 100X. Don’t skip this vital step—your optical microscope’s measurement accuracy depends on proper calibration across all zoom levels.
After calibration, record your results for quick reference during future measurements. These records enable efficient conversion from reticle units to actual specimen dimensions. Implement regular calibration checks to maintain accuracy and identify potential discrepancies in your imaging system that could compromise your scientific data.
Common Pitfalls in Digital Micrograph Calibration
You’ll encounter several traps when calibrating digital micrographs, including inconsistent magnification labels that vary between microscope models and manufacturers.
Software calibration errors can compound this problem, especially when you’ve forgotten to reset parameters between samples or neglected to apply the correct scale bar.
Without proper reference structures in your images, such as calibration slides or standard markers, you can’t verify measurements or troubleshoot discrepancies that arise during analysis.
Inconsistent Magnification Labeling
While digital microscopy has revolutionized scientific imaging, inconsistent magnification labeling remains one of the most troublesome pitfalls researchers encounter.
You’ll compromise your entire dataset if your scale bars don’t accurately reflect specimen dimensions due to improper calibration.
Remember that different objective lenses require individual calibration to guarantee measurements are accurate in microns. Your pixel size is particularly critical—measurements below your pixel dimensions will be unreliable, especially if they exceed the Nyquist limit.
When using tools like ImageJ, you must precisely set the scale in pixels to known distances. Without this step, magnification labeling becomes inconsistent across different imaging systems.
Implement regular calibration checks using micrometer scale slides to maintain consistency. This vigilance prevents errors that could undermine the integrity and reproducibility of your scientific findings.
Software Calibration Errors
Beyond inconsistent labeling lies the domain of software calibration errors that can silently corrupt your measurement data.
When you incorrectly set pixel size in your image processing software, you’re introducing calibration errors that propagate through all subsequent measurements.
You’ll encounter significant measurement discrepancies if you don’t account for additional lenses or adapters in your optical path.
Digital micrographs can further suffer from variations in pixel dimensions across different axes, requiring proper adjustment in programs like ImageJ.
Your data reliability depends on regular verification of calibration settings—failing to update these leads to cumulative errors over time.
Be especially vigilant when comparing measurements between microscopes, as inconsistent calibration techniques can render cross-instrument data comparisons meaningless without proper documentation of all imaging parameters.
Missing Reference Structures
Accurate measurement in digital microscopy fundamentally depends on proper reference structures being present in your images, yet their absence remains one of the most overlooked calibration pitfalls.
Without proper scale references, measurement errors can exceed ±10%, drastically affecting your interpretations and conclusions.
To guarantee your image measurements remain reliable:
- Use a precision microscope slide with a micrometer scale as your reference structure for each objective you employ
- Validate scale settings across different imaging modalities, as pixel dimensions often vary between systems
- Perform regular calibration checks using standardized references like eyepiece reticules to maintain measurement consistency
Remember that different imaging techniques (like confocal versus widefield) can produce varying optical sectioning profiles, further complicating accurate calibration.
When reference structures are missing, you’re fundamentally working with arbitrary scale units rather than meaningful measurements.
Essential Tools for Proper Image Scale Determination
Because digital microscopy relies on precise measurements, you’ll need specific tools to confirm your images maintain accurate scale representation. Start with a calibrated eyepiece reticle designed for your specific microscope to convert divisions into accurate microns.
Digital microscopy demands precision tools—begin with calibrated eyepiece reticles to ensure your measurements reflect true microscopic dimensions.
Software programs like ImageJ and Fiji are invaluable for digital image scaling. Using the straight line selection tool, measure a known distance on your image, then input this value in the “Set Scale” dialog to establish proper calibration.
Always capture background images to assess illumination and noise factors that might affect measurement accuracy.
Maintain consistency by regularly checking calibration with micrometer slide rulers and documenting your settings during imaging sessions. These practices confirm your digital images consistently represent true microscopic dimensions across all your research or diagnostic work.
Step-by-Step Guide to Calibrating Your Microscope Images
While digital microscope imaging offers tremendous analytical potential, proper calibration remains essential for scientific validity. You’ll need to determine the distance in microns for each reticle division at all magnifications, from low power to high power objectives like 60X and 100X.
- Begin by measuring your field of view diameter at each magnification, converting these values from millimeters to microns (e.g., 40X objective = 560 microns).
- Use image processing algorithms in software like ImageJ to set the scale by relating pixel measurements to known micron distances.
- Add proper scale bars to your images that accurately reflect the resolution of a digital microscope at your specific magnification.
Regularly validate your calibration by measuring known samples and recalibrating as needed to maintain measurement accuracy across all your digital microscopy work.
How Scaling Errors Impact Research Validity and Reproducibility
Improperly scaled microscope images can devastate scientific research, undermining months or even years of meticulous work. When you fail to correctly calibrate your microscope, your size measurements become unreliable, leading to erroneous data interpretation and questionable conclusions.
| Impact Area | Consequence | Prevention |
|---|---|---|
| Data Integrity | Misleading representations of specimen dimensions | Regular calibration checks |
| Cross-Study Comparison | Invalid comparative analyses between research | Standardized scaling protocols |
| Scientific Credibility | Breakdown of reproducibility | Document all scaling methods |
Different imaging modalities compound these risks—what appears accurate in confocal microscopy might be notably distorted in widefield systems. When other researchers attempt to validate your findings but encounter inconsistent measurements due to scaling errors, the scientific community’s confidence in your work diminishes. Remember: proper scaling isn’t optional—it’s fundamental to maintaining research validity.
Best Practices for Scale Bar Implementation Across Platforms
Having established the serious consequences of scaling errors, let’s focus on how to get scale bars right. Consistent implementation across different imaging systems guarantees your measurements remain reliable and reproducible.
When adding scale bars to your micrographs, you’ll need to calculate the exact length in pixels based on your known distances in microns.
- Use specialized software like ImageJ to accurately convert between physical size and pixels, guaranteeing your scale bars provide trustworthy quantitative information.
- Maintain consistent scale bar placement and formatting across all images in your research to facilitate easy comparison.
- Calibrate your scale bars separately for each imaging system and objective combination you use, as magnification factors can vary considerably.
These practices will enhance your scientific credibility and meet publication requirements while guaranteeing accurate size representation.
Frequently Asked Questions
What Is the Use of Scale in Microscope?
Scale in microscopes lets you accurately measure specimen size, compare different images, and interpret tiny structures. You’ll need this for scientific publications and to guarantee your research findings are valid and reproducible.
What Is the Importance of Scale Bar in Specimen Imaging?
Scale bars in specimen imaging let you accurately interpret size relationships. They’re essential for scientific publications, allowing you to make precise measurements and meaningful comparisons between different specimens across various magnifications and imaging conditions.
How Do You Scale a Microscope Image?
You’ll scale a microscope image by using software like Fiji, measuring a known distance in pixels, then setting the scale by inputting this measurement alongside the actual distance in microns under “Analyze” → “Set Scale.”
Why Is It Important to Add a Scale or Magnification to a Drawing or a Photograph?
You should add a scale or magnification to your drawings and photographs because it enables accurate size interpretation, allows scientific verification, facilitates comparison between studies, and guarantees viewers can properly understand the true dimensions of your specimen.
In Summary
You’re now equipped to properly scale your digital microscope images. By implementing these calibration techniques and avoiding common pitfalls, you’ll guarantee your research maintains scientific integrity. Don’t underestimate the impact of accurate scaling—it’s fundamental to reproducibility and credibility in your work. Remember, a well-scaled image doesn’t just look professional; it upholds the scientific standards your research deserves.


Leave a Reply