To improve your digital lab imaging, optimize your gain control for proper signal amplification, adjust gamma correction for better contrast, and define an Area of Interest to focus on critical regions. Set appropriate exposure times to prevent pixel saturation, use native ISO settings for best results, implement hardware triggering for precision, and monitor your histogram to balance dynamic range. These seven adjustments will transform your scientific imaging from merely adequate to publication-ready with minimal effort.
Mastering Gain Control for Optimal Signal Amplification
When capturing digital images in laboratory settings, understanding gain control provides a significant advantage for achieving high-quality results. Gain determines how much your camera amplifies the sensor’s signal, directly affecting your image’s brightness and noise levels.
Mastering camera gain control is essential for optimal laboratory imaging, impacting both brightness and signal quality.
For best results, optimize your aperture and shutter speed before adjusting gain. While automatic gain control (AGC) works well in many situations, manual adjustment offers precision when needed. Remember that applying gain before the analog-to-digital converter preserves bit-depth in low-light conditions, while post-ADC adjustments may sacrifice image information.
Though higher gain settings can improve signal-to-noise ratio, excessive gain introduces unwanted noise. Balance is key.
Additionally, understand how gain interacts with gamma settings to guarantee accurate grayscale reproduction in your lab images.
Using Gamma Correction to Enhance Image Contrast
Closely related to gain adjustments is the powerful tool of gamma correction, which transforms how your camera interprets luminance values in the captured scene.
When you’re struggling with flat, low-contrast images, applying the right gamma adjustment can dramatically improve your results.
A gamma value of 1 maintains linear response, preserving accurate grayscale reproduction across your dynamic range.
For challenging low-light conditions, consider higher gamma settings to stretch the dynamic range and boost your SNR. You’ll notice improved detail visibility in both shadows and highlights.
Be cautious with values above 1, as excessive gamma correction can create silhouetted images.
For scientific imaging or digital archiving work, precise gamma adjustments are critical to maintain the detail integrity your lab work demands.
Leveraging Area of Interest to Focus on Critical Regions
When working with digital lab imaging, you’ll find that defining an Area of Interest allows you to optimize field selection by focusing only on critical regions of your sample.
You can greatly increase frame rates by reducing the data transfer load while maintaining full resolution quality within your selected area.
This targeted approach not only improves imaging efficiency but also enhances your ability to capture high-quality images of specific features in challenging conditions such as low light environments.
Optimizing Field Selection
Although many researchers capture the entire field of view, you’ll achieve considerably better results by strategically implementing the Area of Interest (AOI) feature in your digital lab imaging setup.
By selecting only the region that contains your critical sample, you’re effectively maximizing your camera settings for the elements that truly matter in your research.
When you focus on a smaller FOV, you’ll notice immediate improvements in frame rate while maintaining full resolution where it counts.
This targeted approach not only reduces unnecessary data transfer but also streamlines your analysis workflow.
You’ll spend less time processing irrelevant image areas and more time examining detailed results.
For high-speed imaging applications, this optimization is particularly valuable—you won’t sacrifice detail quality while capturing rapid cellular changes or reactions.
Increasing Frame Rates
By leveraging the Area of Interest (AOI) feature effectively, you’ll dramatically increase your camera’s frame rate capabilities without sacrificing resolution quality where it matters most. When you select a specific subset of the sensor array, you reduce data transfer requirements while maintaining full resolution in vital regions.
| AOI Selection | Benefits | Impact on Exposure Settings |
|---|---|---|
| 494 x 494 pixels | 2-3x faster frame rates | Allows shorter exposure times |
| Custom regions | Focused analysis | Reduces sensor readout noise |
| Dynamic tracking | Real-time adjustments | Enables consistent exposure |
AOI implementation is particularly valuable for high-speed applications like live-cell imaging where exposure settings must be precisely controlled. By focusing only on essential regions, you’ll capture the significant data faster while optimizing your imaging workflow for speed and efficiency.
Maintaining Resolution Quality
Isolate critical image details while preserving full resolution with strategic Area of Interest (AOI) implementation. By selecting specific sensor regions, you’ll capture only what matters most in your lab imaging workflow, eliminating distracting backgrounds while maintaining pixel-perfect clarity where it counts.
AOI functionality delivers dual benefits: you’re reducing the overall data transfer load while ensuring exposure time can be optimized precisely for your target area. This targeted approach means you’ll achieve better exposure in critical regions without sacrificing detail quality.
You’ll also notice improved signal-to-noise ratios when concentrating on smaller, defined areas rather than processing the entire field of view. For precision lab work, this means cleaner images with enhanced detail visibility—exactly what you need when accuracy is non-negotiable.
Optimizing Exposure Time to Prevent Pixel Saturation
You’ll need to carefully set your exposure time based on the brightest signals in your sample to maximize dynamic range while preventing pixel saturation and histogram clipping.
For live cell imaging, keep exposure times as short as possible to capture essential details without damaging your cells with excessive light.
Monitor your pixel intensity through your imaging software’s histogram to guarantee you’re capturing the full range of intensities without losing data to overexposure.
Avoid Histogram Clipping
While capturing detailed images in a digital lab environment, preventing histogram clipping is vital for preserving significant data in your samples.
You’ll need to set your exposure time based on the brightest signals expected, making sure pixels don’t reach saturation levels where detail is lost.
Regular histogram monitoring provides real-time feedback as you adjust settings. Aim for the longest exposure that doesn’t cause saturation, capturing the full dynamic range of your specimen.
To maintain consistent imaging quality:
- Run test shots under controlled lighting conditions
- Use software tools to visualize histogram data during your session
- Make incremental exposure adjustments while watching for signs of clipping
This methodical approach guarantees you’ll capture all relevant information without compromising highlight details that might be essential for your analysis.
Master Live Cell Timing
Setting precise exposure times becomes particularly critical when imaging live cells, as excessive light exposure can damage delicate specimens while inadequate exposure leads to noisy, unusable data.
Adjust your shutter speed based on the brightest sample you expect to image, ensuring you’ll capture essential details without saturation. You’ll want to utilize your camera’s full dynamic range while keeping pixels below saturation limits. This balance produces the most informative and visually striking images.
When dealing with uneven staining, use trial and error to find ideal exposure settings. For particularly sensitive specimens, you might need to sacrifice some signal intensity to maintain cell viability.
Remember that the perfect exposure time is just long enough to capture necessary details while minimizing phototoxicity—your cells’ health depends on this careful balance.
Maximize Dynamic Range
Achieving ideal image quality requires maximizing your camera’s dynamic range through careful exposure control. Set your exposure time based on the brightest expected signals in your sample to prevent pixel saturation while capturing the full spectrum of intensity values.
Use your imaging software to monitor pixel intensity levels as you adjust settings. You’ll want the longest possible exposure that doesn’t saturate your brightest pixels, giving you the most accurate data representation.
For best results:
- Test exposure times on your brightest sample first
- Aim for 70-80% of maximum pixel capacity for headroom
- For live cells, balance shorter exposures with adequate signal intensity
When you properly maximize dynamic range, you’ll detect subtle variations in your samples that might otherwise be lost to under-exposure or saturation artifacts.
Selecting Appropriate ISO Settings for Microscopy Applications
How you configure your camera’s ISO can dramatically impact the quality of microscopy images. For ideal results, use your camera’s native ISO setting—for example, ISO 160 on the Fuji X-T4. This preserves dynamic range while minimizing noise introduction.
Rather than adjusting ISO, prioritize modifying your shutter speed to achieve proper exposure and maximize image clarity.
| ISO Setting | Best For | Image Quality Impact |
|---|---|---|
| Native (e.g., ISO 160) | Most microscopy work | Ideal balance of detail and noise |
| Lower (e.g., ISO 100) | Fixed, stable samples | Potentially reduced dynamic range |
| Higher (≥ISO 800) | Low light conditions | Increased noise, reduced detail |
Avoid shooting below native ISO as this can paradoxically increase noise and reduce dynamic range—contrary to what you might expect from traditional photography principles.
Implementing Hardware Triggering for Precise Image Capture
Hardware triggering represents the next advancement in your microscopy imaging process once you’ve mastered ISO settings.
This approach delivers unparalleled precision by synchronizing your camera with external events, minimizing latency that software methods can’t match. When you’re capturing fast-moving specimens or time-critical events, hardware triggering guarantees you’ll capture the exact moment needed for accurate analysis.
Implement hardware triggering in your lab workflow through:
Taking full control of your imaging precision with expertly timed hardware triggers elevates microscopy results from adequate to exceptional.
- Integrating physical buttons or sensors that send direct signals to your camera
- Synchronizing your microscope’s events with automated image capture systems
- Creating consistent triggering protocols for reproducible experimental results
Balancing Dynamic Range Through Histogram Analysis
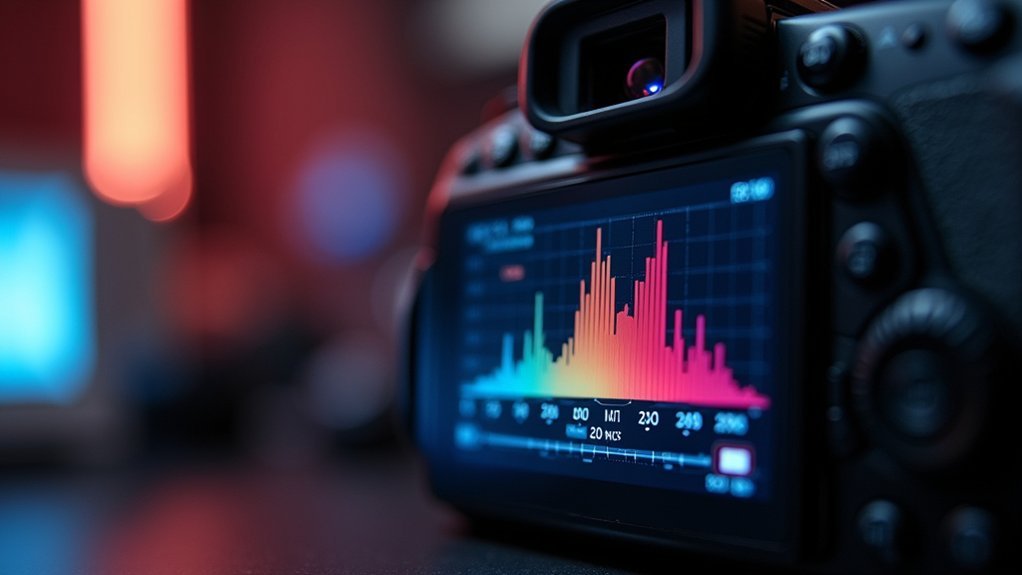
While proper exposure settings form the foundation of scientific imaging, your ability to interpret histogram data transforms basic microscopy into precise visual documentation. By regularly checking your camera’s histogram during lab imaging sessions, you’ll immediately identify potential pixel clipping or saturation issues that could compromise your experimental data.
Familiarize yourself with your specific camera’s histogram behavior, as different models represent exposure levels uniquely, especially in challenging microscopy lighting conditions.
When working with color specimens, utilize RGB histograms to guarantee balanced exposure across all channels—preventing one color from becoming overexposed while others remain properly rendered.
Make real-time adjustments based on histogram feedback to optimize dynamic range, preserving critical details in both shadowed structures and bright fluorescent regions, ultimately enhancing the scientific validity of your images.
Frequently Asked Questions
What Is the Best Exposure Setting for a Digital Camera?
The best exposure setting uses your camera’s native ISO, keeping noise low. You’ll want to adjust shutter speed rather than ISO when possible. Check your histogram regularly to verify you’re capturing the full dynamic range.
What Are the Three Camera Settings That Control Exposure?
You control exposure through three key camera settings: aperture (size of lens opening), shutter speed (duration light enters), and ISO (sensor sensitivity). These work together to determine how much light reaches your sensor.
What Determines the Correct Exposure Time Needed to Take a Digital Image?
The correct exposure time is determined by your sample’s brightness. You’ll want the longest exposure that doesn’t cause pixel saturation while considering cell viability in live imaging and maintaining consistency between samples for comparisons.
What Is Usually Fixed Inside a Digital Camera?
In your digital camera, the fixed components typically include the image sensor, gamma settings, gain parameters, and processing algorithms. You’ll find these hardware elements can’t be changed after manufacturing, unlike adjustable exposure settings you control.
In Summary
You’ve now mastered the essential camera exposure fixes for your digital lab imaging. By controlling gain, adjusting gamma, focusing on specific regions, and optimizing exposure time, you’ll capture clearer images. Don’t forget to select appropriate ISO settings, implement hardware triggering, and analyze your histograms. These techniques will transform your scientific imaging, ensuring you’re capturing the precise visual data your research requires.


Leave a Reply