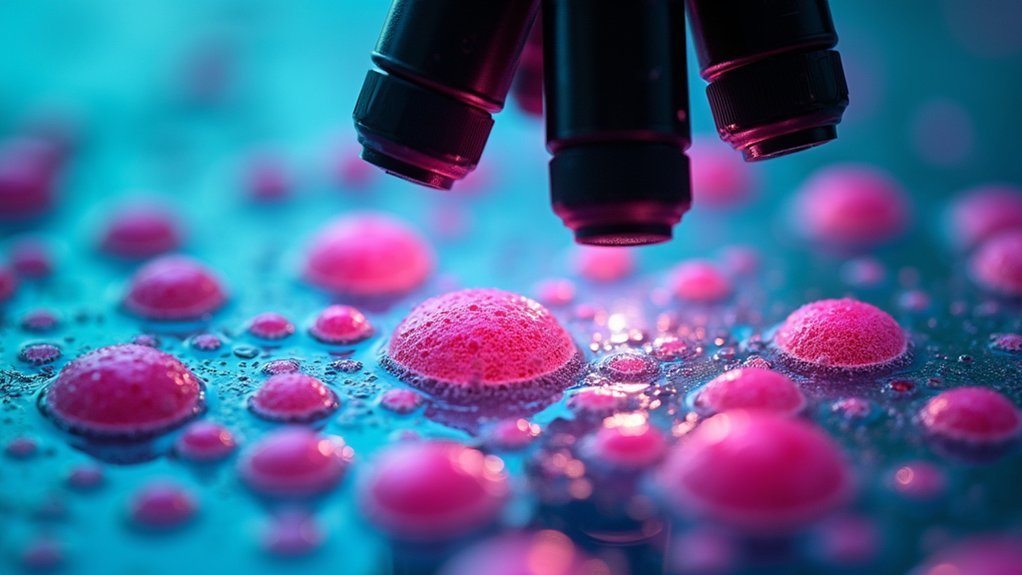
Differential staining reveals essential bacterial structures through multiple dyes that highlight contrasting features. You’ll need glass slides, sterile loops, reliable heat source, and specific stains like crystal violet and safranin. For best results, use fresh cultures, maintain precise timing during decolorization, and examine under oil immersion at 1000X magnification. Troubleshoot issues by controlling decolorization time, using fresh reagents, and ensuring proper heat-fixing. The following techniques will transform your microscopic imaging from basic to publication-quality.
The Science Behind Differential Staining
While simple staining techniques can reveal a microorganism’s basic morphology, differential staining opens up a deeper level of bacterial classification. These methods leverage multiple stains to highlight contrasting cellular structures based on biochemical differences.
The Gram stain procedure, the cornerstone of differential staining techniques, distinguishes between Gram-positive and Gram-negative cells by targeting differences in cell walls. Crystal violet dye adheres differently depending on peptidoglycan thickness, creating distinct purple or pink appearances after counterstaining.
Similarly, acid-fast staining exposes mycolic acid-containing bacteria through carbol fuchsin and heat application.
Endospore staining uses malachite green with heat to penetrate resistant spore coats, while capsule staining employs negative staining principles to reveal protective layers as unstained halos around colored cells.
Each technique uncovers specific bacterial characteristics you can’t observe with simple stains.
Essential Tools and Materials for Staining Procedures
Success in differential staining depends entirely on having the right equipment at your fingertips.
Proper tools and materials are the foundation of effective differential staining, determining your diagnostic accuracy from the start.
You’ll need basic essential tools including glass slides for mounting your specimen, sterile loops or swabs for collection, and a reliable heat source for fixing bacterial smears.
Your staining materials should include primary stains like crystal violet, methylene blue, or carbol fuchsin.
Don’t forget mordants such as iodine, which form complexes with primary stains to enhance dye retention.
Decolorizing agents like ethanol or acid-alcohol are critical for differential color removal, while counterstains like safranin provide necessary contrast for visualization.
Complete your setup with sterile water for rinsing, droppers for applying stains, and immersion oil for high-resolution microscopic examination.
With these materials prepared, you’re ready to achieve clear, differentiated specimen images.
Gram Staining: Distinguishing Bacterial Cell Wall Types
You’ll find Gram staining invaluable for distinguishing bacteria through their distinct cell wall compositions and staining reactions.
When interpreting results, remember that purple cells indicate Gram-positive bacteria with thick peptidoglycan layers, while pink cells reveal Gram-negative bacteria with thinner walls and outer membranes.
If you encounter inconsistent staining patterns, check your culture age, staining reagent quality, and technique—particularly decolorization timing which can lead to false results when rushed or prolonged.
Step-by-Step Staining Protocol
To achieve accurate bacterial identification through Gram staining, following a precise protocol is essential.
Begin by heat fixing a thin smear of fresh bacterial cultures to the slide, ensuring cells maintain their morphology throughout the staining procedure.
Apply crystal violet as your primary stain for 60 seconds, followed by iodine as a mordant for another minute. This combination forms a complex in the cell wall composition of all bacteria.
The critical decolorization step with ethanol must be timed carefully—too long leads to false Gram-negative results, while too short causes inaccurate Gram-positive readings.
Finally, apply safranin counterstain. Gram-positive bacteria retain the crystal violet and appear purple, while Gram-negative bacteria lose it and appear pink from the safranin.
Interpreting Color Results
After mastering the staining protocol, accurate interpretation of color results becomes the next essential key to bacterial identification.
When examining your slides, remember that Gram-positive bacteria retain the crystal violet dye due to their thick peptidoglycan layer, appearing purple, while Gram-negative bacteria lose this dye during decolorization and take up the safranin counterstain, appearing pink.
For successful interpretation, focus on:
- Fresh cultures yield more reliable results—older specimens may falsely appear Gram-negative
- Assess both color AND morphology—cell shape and arrangement provide vital identification clues
- Purple cells indicate Gram-positive bacteria with antibiotic implications
- Pink cells reveal Gram-negative bacteria requiring different treatment approaches
Always evaluate specimen quality alongside staining results for accurate bacterial identification.
Common Troubleshooting Techniques
The most frequent challenges in Gram staining can considerably impact your identification results if not properly addressed. Always use fresh bacterial cells, as aged cultures often produce misleading Gram-negative results due to cell wall deterioration. Properly heat-fix your slides to prevent specimen loss during the staining process.
| Issue | Cause | Solution |
|---|---|---|
| False negatives | Over-decolorization | Apply ethanol briefly, 10-15 seconds |
| Weak staining | Insufficient crystal violet | Extend primary stain to full minute |
| No visible cells | Inadequate heat-fixing | Secure cells with proper fixation |
Ensure you apply crystal violet stain for a full minute before rinsing. After counterstaining with safranin, examine specimens under oil immersion at 1,000X magnification for clear differentiation between purple Gram-positive and pink Gram-negative structures.
Acid-Fast Staining for Mycobacteria Visualization
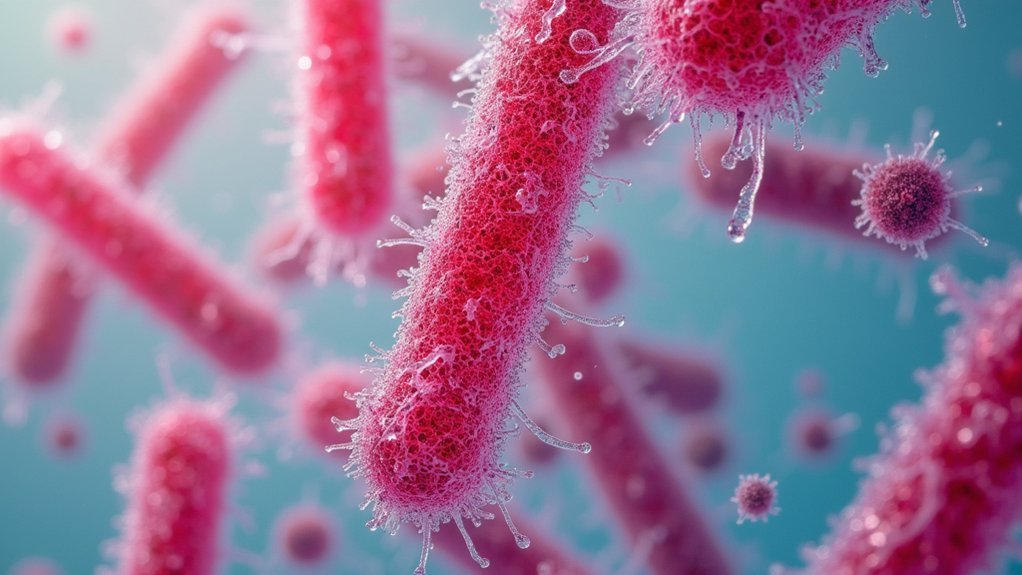
When conventional Gram staining fails to reveal certain pathogens, acid-fast staining becomes your essential diagnostic tool for identifying mycobacteria. This differential staining technique effectively penetrates the waxy cell wall rich in mycolic acid that typically resists standard stains.
To perform this procedure, flood your heat-fixed bacterial culture smear with carbol fuchsin while steaming, then decolorize with acid-alcohol solution. Acid-fast bacteria retain the pink stain while non-acid-fast cells appear blue from the methylene blue counterstain.
- You’ll clearly differentiate dangerous pathogens like M. tuberculosis from harmless bacteria
- Fresh cultures provide more reliable results than older specimens
- Your diagnostic accuracy increases dramatically with proper technique
- Each positive result could mean catching a life-threatening infection early
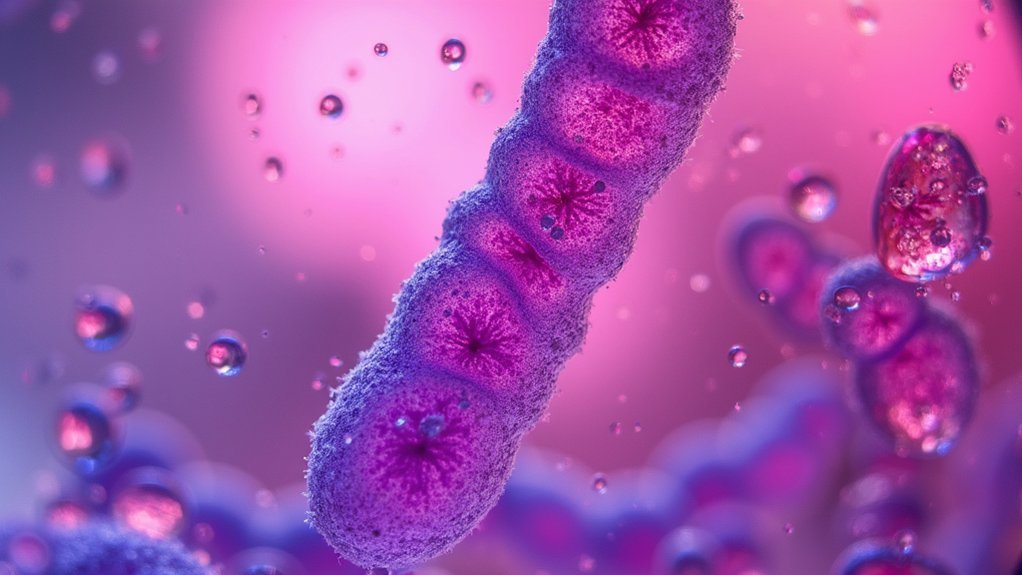
Endospore Staining Techniques and Applications
Identifying bacterial endospores presents a unique challenge beyond acid-fast organisms, requiring specific staining techniques that penetrate their highly resistant outer coats. The Schaeffer-Fulton method employs heat to force malachite green through these tough layers, allowing you to visualize these durable bacterial structures.
After applying the primary stain, you’ll decolorize with water, which removes malachite green from everything except endospores. A safranin counterstain then turns vegetative cells pink, creating a clear contrast with the green endospores. You’ll observe these structures as oval or spherical formations either within or outside the pink cells.
This staining technique is invaluable for identifying Gram-positive bacteria like Bacillus and Clostridium species. By carefully noting endospore location, shape, and vegetative cell morphology, you’ll gather critical information for accurate bacterial identification.
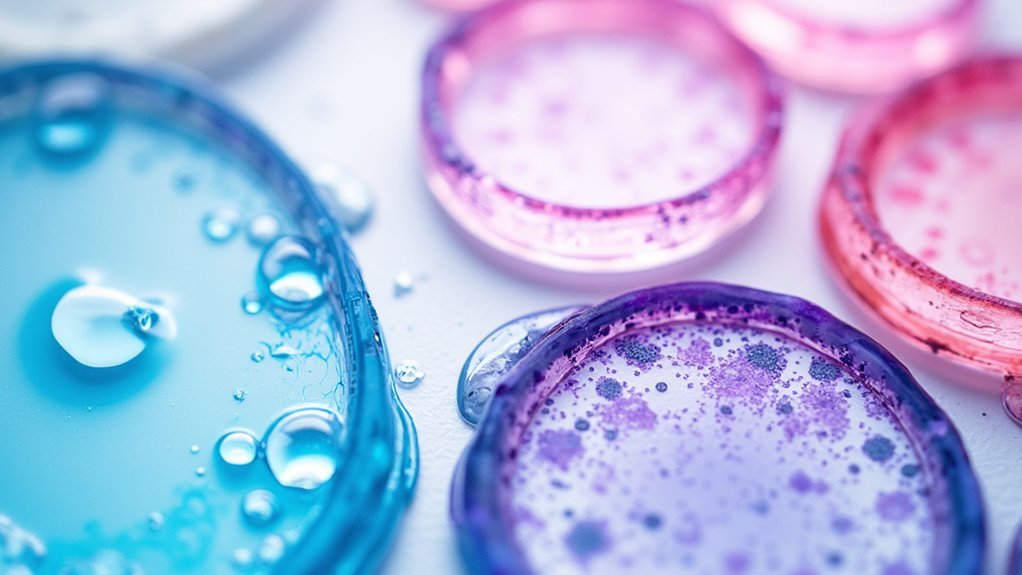
Capsule Staining Methods for Enhanced Structure Visibility
Unlike other bacterial structures, capsules remain invisible under normal microscopy conditions due to their transparent, hydrophilic nature. To visualize these protective capsules, you’ll need to employ specific capsule staining techniques.
The process begins with air drying your bacterial smear, an essential step that preserves the capsule’s integrity. Then apply crystal violet as your primary stain, followed by a 20% copper sulfate solution that acts as both decolorizing agent and counterstain.
- Reveals vital virulence factors that help pathogenic bacteria evade immune detection
- Transforms invisible protective shields into clearly visible halos around violet cells
- Exposes the survival strategies of dangerous pathogens like Klebsiella pneumoniae
- Enables clear identification of encapsulated bacteria that might otherwise go undetected
This differential staining technique provides remarkable contrast for microscopy examination.
Optimizing Contrast in Microscopic Photography
To capture stunning microscopic images with exceptional detail, you’ll need to master contrast optimization techniques. Start by selecting appropriate chromogenic dyes for staining specimens based on your target cellular structures. Gram staining offers excellent differentiation, revealing cell wall structure through purple (positive) and pink (negative) coloration.
Consider employing phase contrast or differential interference contrast microscopy to enhance visibility of unstained or lightly stained components. Proper light adjustments are essential—control intensity and use appropriate filters to highlight fine features without washing out the image.
For maximum clarity, use oil immersion lenses when photographing at high magnifications. The increased numerical aperture greatly improves both contrast and resolution, allowing you to capture detailed images that clearly display cellular components with sharp boundaries and distinct internal structures.
Troubleshooting Common Staining Challenges
You’ll need to address faded stains by using fresh reagents and extending staining times while ensuring proper heat-fixing.
Prevent precipitate formation by filtering staining solutions before use and maintaining appropriate temperature conditions during the staining process.
Reduce background noise by thoroughly rinsing slides between steps and using filtered distilled water for all washing procedures.
Faded Stain Solutions
Five common causes can lead to frustratingly faded differential stains under the microscope. Inadequate heat-fixing fails to secure cells properly, so guarantee thorough fixation before proceeding.
Over-decolorization strips dyes from Gram-positive cells, creating false negatives—carefully control both timing and decolorizer concentration. When staining solutions lose potency, even perfect technique yields subpar results, so always use fresh reagents stored according to manufacturer guidelines.
- Don’t rush your staining protocol—insufficient staining time prevents dyes from properly penetrating cellular structures.
- Handle slides gently when rinsing to prevent washing away precious counterstains.
- Check expiration dates religiously—outdated reagents are the silent saboteurs of staining quality.
- Master the balance between adequate decolorization and excessive dye removal for ideal contrast.
Precipitate Formation Prevention
Precipitates appearing as dark specks across your slides can render careful morphological observations impossible, regardless of how well you’ve addressed fading issues. To prevent precipitate formation during staining, always use freshly prepared solutions free from contamination.
Maintain proper pH levels in your staining solutions, as incorrect pH can cause dyes to precipitate or bind improperly to cellular structures. Use high-quality, filtered water for all dilutions and rinses, since minerals in tap water often react with stains.
Don’t exceed recommended concentrations when preparing staining solutions—follow established protocols precisely. Between staining steps, perform thorough rinses to remove excess dye that might otherwise dry and form unwanted precipitates on your specimens.
These simple precautions will greatly improve staining clarity and consistency in your differential staining procedures.
Background Noise Reduction
Even when following standard protocols meticulously, background staining can obscure critical cellular details and compromise your differential staining results.
Reducing background noise begins with proper specimen preparation and extends through each step of your staining procedure.
Always use properly heat-fixed smears from fresh cultures to guarantee cellular material adheres to your slides.
The decolorization step requires particular attention—too long and you’ll lose primary stain, too short and background noise persists.
- Feel the frustration melt away as crystal-clear fields reveal perfect cellular contrast
- Experience the confidence of presenting flawless specimens free from distracting artifacts
- Enjoy the satisfaction of capturing publication-quality images on your first attempt
- Marvel at the striking colors and defined structures when background interference disappears
Clean slides and optimized counterstain application complete your strategy for noise reduction.
Frequently Asked Questions
What Are the Three Types of Differential Staining?
You’ll encounter three main differential staining techniques: Gram staining (distinguishing bacteria by cell wall composition), acid-fast staining (identifying waxy-walled mycobacteria), and endospore staining (revealing bacterial spores). Each highlights specific cellular characteristics for identification.
What Common Mistakes Can Lead to Poor Results in the Gram Stain?
You’ll get poor Gram stain results by using old cultures, inadequately heat-fixing slides, over-decolorizing with ethanol, under-decolorizing Gram-negative cells, or skipping the safranin counterstain step. These mistakes compromise accurate bacterial identification.
What Is the Better Choice of Staining for Visualizing Spirochetes?
For spirochetes, you’ll get the best results with darkfield microscopy. If that’s unavailable, try silver stains like Steiner or immunofluorescence techniques. These methods overcome spirochetes’ poor visibility with conventional Gram staining.
Why Would a Differential Stain Be Used to Stain a Microscopic Organism?
You’d use a differential stain to distinguish between microorganisms based on their structural differences. It helps you identify specific bacterial types by highlighting their unique cell wall compositions, making classification and diagnosis more accurate.
In Summary
You’ve now mastered the essential techniques for differential staining. By applying these methods correctly, you’ll produce clear, high-contrast specimens that reveal critical cellular structures. Remember to maintain proper staining times, use fresh reagents, and optimize your microscope settings. Don’t hesitate to experiment with different techniques as you develop your skills. Your improved specimen visualization will enhance both your research and diagnostic capabilities.


Leave a Reply