Dehydrating biological specimens requires several critical steps. First, fix your sample in formaldehyde or glutaraldehyde for 6-24 hours. Next, gradually dehydrate through increasing ethanol concentrations (70% to 100%). Then choose either critical point drying (using CO₂) or chemical drying with HMDS as alternatives. Finally, mount your specimen on stubs and apply a conductive coating for imaging. Proper execution of these techniques guarantees preservation of delicate structures for microscopic examination.
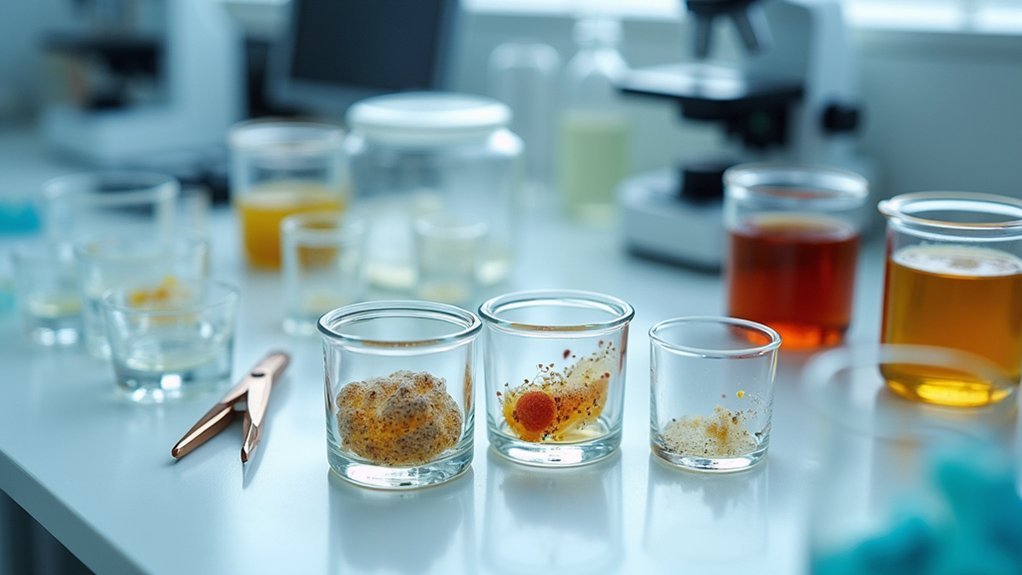
Initial Fixation of Biological Specimens
Before you can successfully dehydrate any biological specimen, proper fixation must occur to preserve cellular structures and prevent decomposition.
Begin by immersing your sample in a fixative solution like formaldehyde or glutaraldehyde. Make sure the specimen remains completely submerged for 6-24 hours, depending on its size and type, to allow proper penetration.
Place each sample in a labeled cassette to maintain organization and prevent cross-contamination during this vital stage.
After fixation is complete, thoroughly wash the specimens with PBS to remove excess fixative before proceeding to ethanol dehydration. This washing step is essential as residual fixative can interfere with subsequent dehydration processes.
Remember that inadequate fixation will compromise the quality of your final specimen, regardless of how carefully you perform later steps.
Graded Ethanol Series for Progressive Dehydration
After proper fixation, you’ll need to gradually remove water from your specimens using a graded ethanol series. This process involves immersing your samples in increasingly concentrated ethanol solutions, typically starting at 70% and working up to 100%.
Begin by placing specimens in 70% ethanol for 30 minutes to several hours, depending on sample size. Then move them through higher concentrations (80%, 90%, 95%) before finishing with two or three changes of 100% ethanol.
Start with specimens in 70% ethanol, then progress through 80%, 90%, 95%, and finish with multiple 100% ethanol changes.
This gradual approach prevents osmotic shock and preserves structural integrity of delicate tissues.
For complete dehydration, you can follow the ethanol series with hexamethyldisilazane (HMDS) treatment to eliminate residual moisture. Thorough dehydration is essential for successful critical point drying or embedding procedures, as any remaining water will compromise imaging quality during electron microscopy.
Critical Point Drying Technique for Structural Preservation
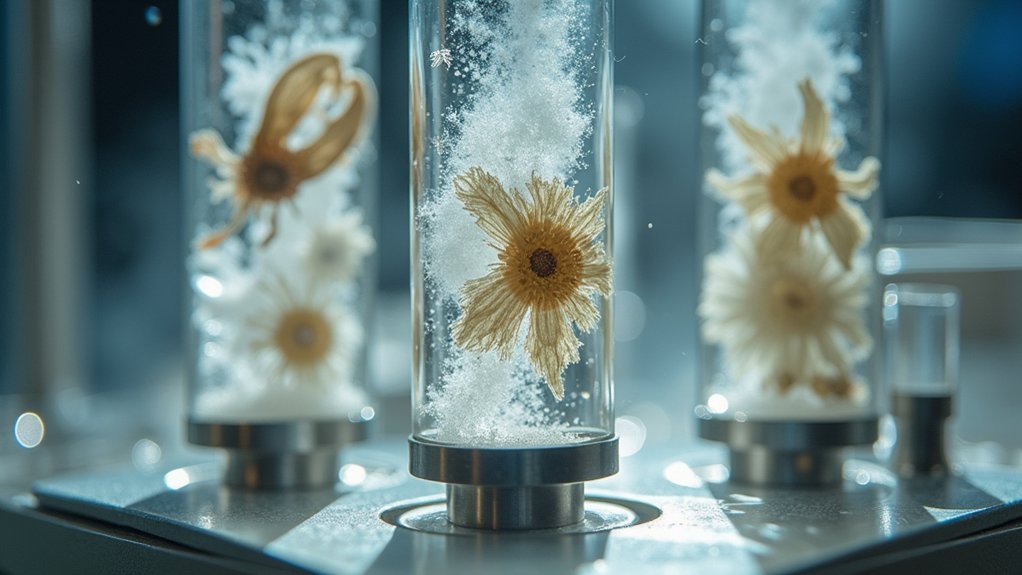
Critical point drying requires you to first configure your CPD chamber with precise temperature and pressure controls for ideal CO₂ shift at 31°C and 74 bar.
You’ll need to transfer your ethanol-dehydrated specimens quickly into the chamber to prevent air exposure, then gradually replace the exchange fluid with liquid CO₂ through multiple flush cycles.
To protect delicate biological structures from collapse, you must maintain slow pressure reduction during the critical phase shift, allowing the CO₂ to convert from liquid to gas without disruptive surface tension effects.
CPD Operating Principles
The preservation of delicate biological structures depends on carefully shifting specimens from wet to dry states without causing structural collapse.
Critical Point Drying achieves this through exploitation of CO₂’s physical properties at its critical point (31°C and 74 bar), where liquid and gas phases become indistinguishable, eliminating damaging surface tension effects.
- Replace specimen’s water with ethanol or acetone through sequential concentration increases (30%-100%) to guarantee compatibility with liquid CO₂.
- Transfer dehydrated specimen to the CPD chamber where liquid CO₂ replaces the intermediate fluid at low temperature.
- Raise temperature and pressure above CO₂’s critical point (31°C, 74 bar), then slowly release pressure while maintaining temperature, allowing CO₂ to shift to gas without creating destructive liquid-vapor interfaces.
Equipment Setup Process
Before attempting to dehydrate biological specimens, you’ll need to properly configure your critical point drying (CPD) equipment to guarantee ideal results.
Begin by inspecting your critical point dryer, confirming all components are clean and functional. Connect the liquid CO₂ source to the pressure chamber, checking for secure fittings and potential leaks.
Verify that the temperature control system works correctly, as maintaining temperatures below CO₂’s critical point (31°C) is essential during the initial stages. Set up the specimen basket or holder inside the pressure chamber, making sure it’s stable and accessible.
Prepare your workflow station with ethanol solutions and HMDS nearby for the dehydration sequence.
Test the pressure release valve and monitoring gauges before processing actual specimens. This preparation confirms smooth shifts between critical drying phases while preserving delicate biological structures.
Preventing Specimen Damage
Properly preserving biological specimens during dehydration represents the cornerstone of successful structural imaging.
Critical Point Drying (CPD) offers a superior approach by replacing water with liquid CO₂, which can shift directly from liquid to gas without creating damaging surface tension. This preservation technique maintains delicate morphological features essential for high-resolution SEM imaging.
To prevent structural damage during dehydration:
- Replace water with ethanol through incremental concentration increases until reaching 100% ethanol.
- Transfer specimens to the CPD chamber where liquid CO₂ purges all ethanol from the sample.
- Heat the chamber to 31°C while maintaining 74 bar pressure, bringing CO₂ to its critical point where it converts to gas without surface tension effects.
Automating this process further reduces specimen damage by eliminating human error and improving reproducibility.
Chemical Drying Using HMDS as an Alternative Method
HMDS (hexamethyldisilazane) offers you a simpler alternative to critical point drying for preserving biological specimens with minimal structural distortion.
You’ll find this method particularly useful because it avoids the specialized equipment of CPD while effectively replacing water molecules with less polar HMDS to maintain cellular integrity.
To implement HMDS drying, you’ll progress through graduated ethanol-HMDS solutions (1:2, then 2:1), followed by pure HMDS immersions, before allowing your specimen to air-dry completely in a fume hood.
HMDS DRYING PROCESS OVERVIEW
An effective alternative to critical point drying exists in the HMDS method, which offers significant advantages for preserving delicate biological structures. The process involves gradually shifting your specimen from ethanol to HMDS through a series of solutions with increasing HMDS concentration.
You’ll need to follow these key steps:
- Transfer your specimen from 100% ethanol to a 1:2 HMDS-ethanol solution for 20 minutes, then to a 2:1 solution for another 20 minutes.
- Immerse in 100% HMDS twice, each for 20 minutes, ensuring thorough chemical substitution.
- Allow the specimen to dry in a fume hood for 12-24 hours in an aluminum weighing dish.
This chemical drying approach minimizes structural distortion by eliminating the damaging effects of water evaporation, resulting in well-preserved specimens ready for advanced imaging techniques.
ADVANTAGES OVER CPD
Despite its technical reputation, chemical drying using HMDS offers several notable advantages over traditional critical point drying methods.
You’ll find HMDS processing preserves your specimens’ original morphology and antigenicity more effectively, making it ideal for immunolabeling applications.
HMDS greatly reduces preparation time, allowing your specimens to dry within 12-24 hours—much faster than CPD. This method also minimizes structural distortion by avoiding the phase changes associated with critical point drying.
Another key benefit is safety. HMDS eliminates the need for hazardous solvents like xylene during dehydration, creating a safer laboratory environment.
Most importantly, HMDS effectively replaces water in biological samples without creating the damaging surface tension effects that commonly occur with traditional methods, resulting in better-preserved specimens.
STEP-BY-STEP HMDS PROTOCOL
The detailed protocol for chemical drying with HMDS allows you to leverage all the advantages described above in your laboratory work.
Begin by transferring your specimen to a 1:2 HMDS:ethanol solution for 20 minutes, then progress to a 2:1 ratio for another 20 minutes.
Next, immerse in 100% HMDS twice, each for 20 minutes, before placing in an aluminum weighing dish with a loose lid for 12-24 hours in a fume hood.
This process effectively:
- Replaces water in specimens with a chemical that evaporates rapidly
- Preserves delicate structures that might collapse during conventional drying
- Maintains specimen integrity by minimizing surface tension distortion
When executed properly, this HMDS method delivers high-quality specimens ready for SEM analysis without the expense and complexity of critical point drying.
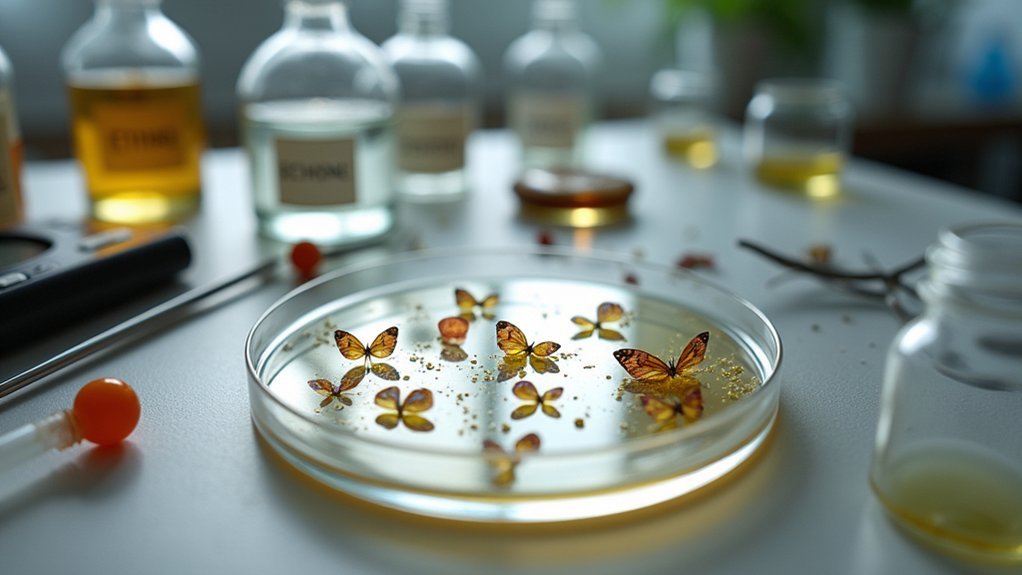
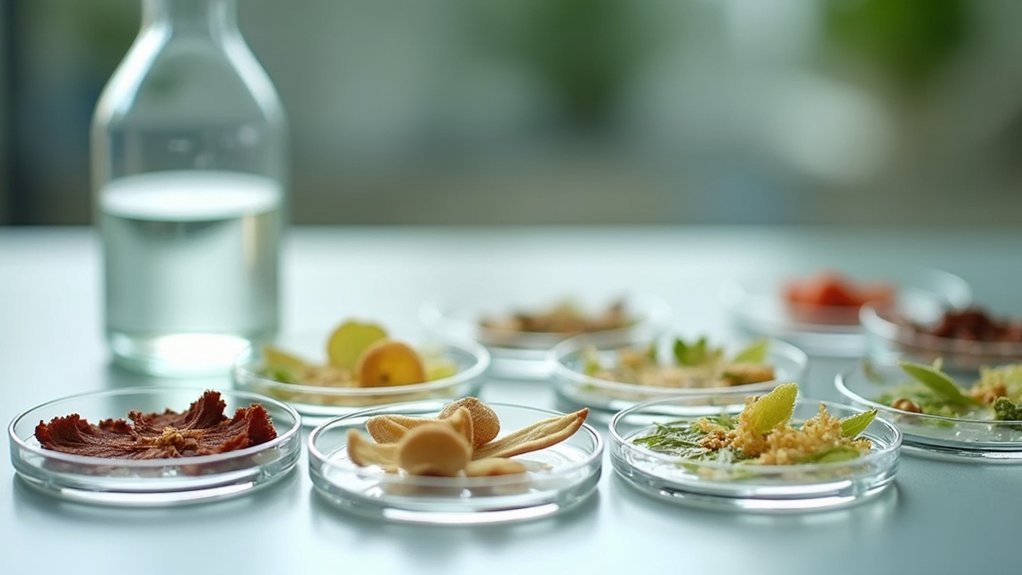
Specimen Mounting and Positioning for Microscopy
Once your biological specimens have been fully dehydrated, proper mounting becomes vital for successful microscopy imaging.
Begin by securing your specimen on microscope stubs using carbon adhesive tape, which provides both stability and conductivity.
Using precision tweezers, carefully position each specimen on the carbon adhesive tabs while working under a dissecting microscope. It’s important that your specimen is placed accurately to guarantee the best imaging angles.
Apply silver paint around the stub edges and extend it to your samples to enhance electrical conductivity.
Take care not to contaminate imaging areas with adhesive materials, as this will compromise image quality.
After mounting, place your stub holder box in a desiccator for at least three hours to allow the silver paint to dry completely before proceeding with electron microscopy.
Conductive Coating Applications for SEM Imaging
With your specimens properly mounted and positioned, they now require a conductive coating before SEM imaging can begin. This critical step prevents charging effects that would distort your images and compromise resolution.
Apply thin layers (5-20 nm) of gold, platinum, or palladium using a sputter coater to maintain specimen integrity while enhancing conductivity.
When applying conductive coatings:
- Select your coating material based on your specific biological specimen and desired imaging resolution – gold works well for general applications, while platinum offers superior resolution.
- Monitor coating thickness carefully – too thin won’t provide adequate conductivity, while too thick obscures fine surface details.
- Verify even coating distribution across your specimen to prevent artifacts and guarantee uniform image quality.
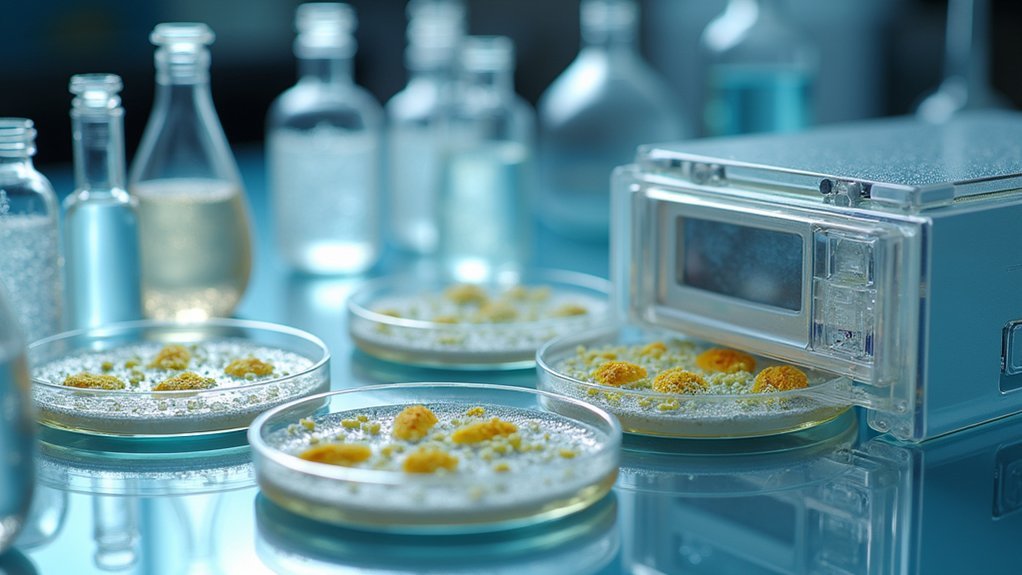
Quality Assessment of Dehydrated Specimens
Evaluating the quality of your dehydrated specimens represents an essential step before progressing to imaging, as even minor imperfections can greatly compromise your results.
When reviewing specimens, look for uniform texture and color with no signs of distortion or artifacts that indicate improper dehydration techniques. Your specimens should be completely dry, with no residual moisture that could interfere with electron microscopy imaging.
If you’ve followed the proper protocol of using ascending ethanol concentrations, you’ll minimize cellular collapse and structural distortion. Adhere strictly to specified dehydration times at each concentration to guarantee thorough preparation.
Consider incorporating HMDS as a chemical drying agent to accelerate drying and reduce artifact formation. This additional step often yields superior specimens with fewer imperfections, ultimately enhancing the quality of your microscopy images.
Frequently Asked Questions
How Do You Dehydrate Samples?
You’ll gradually dehydrate samples using increasing ethanol concentrations from 70% to 100%, followed by a drying agent like HMDS. Then place them in an evaporating dish and allow complete evaporation overnight in a fume hood.
Why Biological Samples Must Be Dried First and How Can This Be Done?
You must dry biological samples before imaging to prevent structural damage in vacuum conditions. You’ll need to replace water using ascending ethanol concentrations, followed by chemical drying agents like HMDS to preserve morphology.
What Are the Steps of Specimen Preparation?
You’ll prepare specimens by first fixing them in a fixative, then dehydrating through ethanol series (70-100%), treating with HMDS, and finally air-drying overnight. These steps preserve structure for electron microscopy analysis.
What Are the Steps for SEM?
For SEM preparation, you’ll fix your specimens, dehydrate with ethanol series, critical point dry or use HMDS, mount on stubs with carbon tape, apply conductive coating, and finally image under vacuum.
In Summary
You’ll find that proper dehydration of biological specimens requires careful attention to each step. By following the fixation, graded ethanol series, and critical point or chemical drying processes, you’re ensuring structural integrity of your samples. Don’t forget proper mounting and coating for microscopy. Always assess your specimens for artifacts or distortion. With practice, you’ll achieve consistently high-quality dehydrated specimens for your research.

Leave a Reply