For successful darkfield imaging, use manual exposure with spot metering focused directly on your specimen. Apply negative exposure compensation (-1 to -2 EV) to preserve texture details in dark subjects. Mount your camera on a tripod to maintain stability at slower shutter speeds. Select smaller apertures (f/8-f/16) to maximize depth of field. Always check your histogram after each shot to avoid highlight clipping. These fundamentals will transform your microscopy results with dramatic edge illumination.
Mastering Manual Exposure for Dark Field Illumination
Five key steps will help you master manual exposure for dark field illumination.
First, set your aperture to control depth of field. Then adjust shutter speed based on your light meter reading while maintaining your f-stop. This approach guarantees consistent depth of field throughout your dark field imaging session.
Switch to center-weighted or spot metering to focus exposure readings on your subject’s surface rather than bright backgrounds.
Apply negative exposure compensation (-1 to -2 EV) to prevent dark subjects from appearing unnaturally gray and to preserve texture details.
Continuously monitor your histogram while shooting to avoid highlight clipping, especially when using grazing light that creates high contrast.
Finally, regularly reassess your exposure settings as you photograph different materials—glass and metal reflect light differently and require unique approaches for correct exposure.
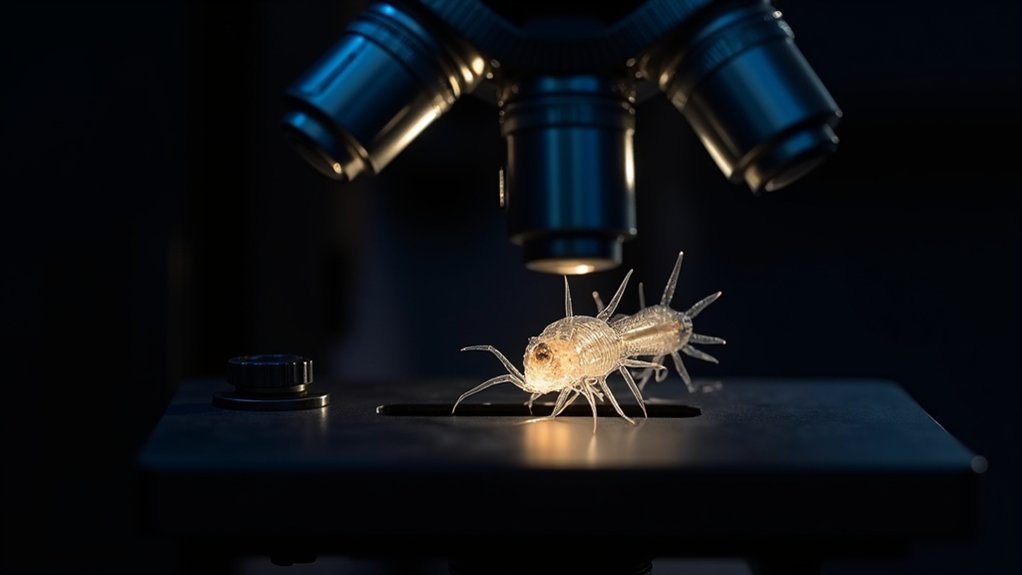
Essential Camera Settings for Clear Surface Detail Capture
Several critical camera settings will dramatically improve your dark field surface detail capture.
Select a small aperture between f/8-f/16 to maximize depth of field, ensuring all surface details remain sharp. Implement spot metering to properly expose your subject instead of the background, preventing your camera from averaging the scene.
Apply negative exposure compensation (-1 to -2 EV) to counter your light meter’s tendency to brighten dark areas, which preserves texture details.
Mount your camera on a tripod when using these smaller apertures, as they reduce light reaching the sensor and require slower shutter speeds for proper exposure.
After each shot, check your histogram to confirm you’re maintaining detail in both highlights and shadows—this quick verification helps capture clear surface detail without losing information in critical parts of your image.
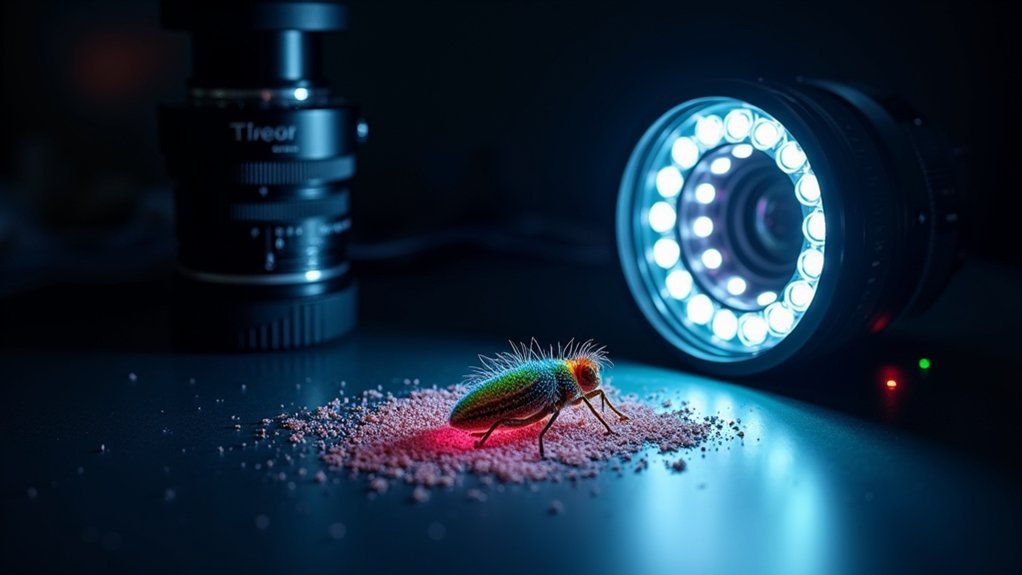
Light Placement Strategies to Maximize Specimen Contrast
Masterful light positioning forms the foundation of effective darkfield imaging. Position a large light source behind your specimen, ensuring the dark field patch is properly sized to block direct light from reaching your camera. This creates the signature dark field effect where grazing light illuminates only the specimen’s edges against a black background.
To enhance contrast, adjust the distance between your light source and the patch, controlling both edge hardness and the angle at which light grazes your subject. Deploy aperture flags strategically to prevent light spill and unwanted lens flare.
Don’t hesitate to experiment with specimen angles—rotating your subject can dramatically improve the visibility of surface textures and shadow detail. You may need subtle exposure compensation to balance the dramatic lighting while preserving the intricate details your darkfield setup reveals.
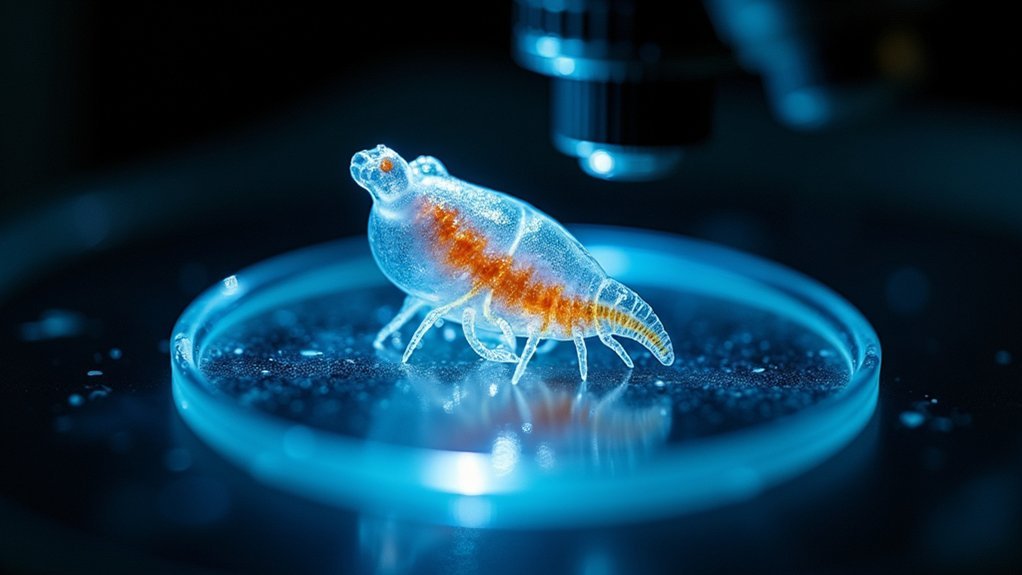
Balancing Exposure With Specimen Reflectivity Challenges
Darkfield imaging presents unique exposure challenges that stem from the dramatic contrast between illuminated specimen edges and the black background.
When working with overall dark specimens, your camera’s light meter typically attempts to average the scene to middle grey, resulting in overexposed backgrounds.
To counter this, apply negative exposure compensation between -1 and -2 EV. Spot metering proves invaluable, allowing you to measure only the specimen area for correct exposure.
Remember that specimen reflectivity profoundly affects light absorption, requiring manual adjustments to preserve detail.
For consistent results, use a grey card to establish proper baseline exposure.
Regularly check your histogram during shooting—gaps at either end indicate potential clipping that limits post-processing flexibility.
This careful balance maximizes your camera’s dynamic range while accurately capturing the subtle illuminated edges that make darkfield imaging so distinctive.
Advanced Metering Techniques for Dynamic Microscopy Scenes
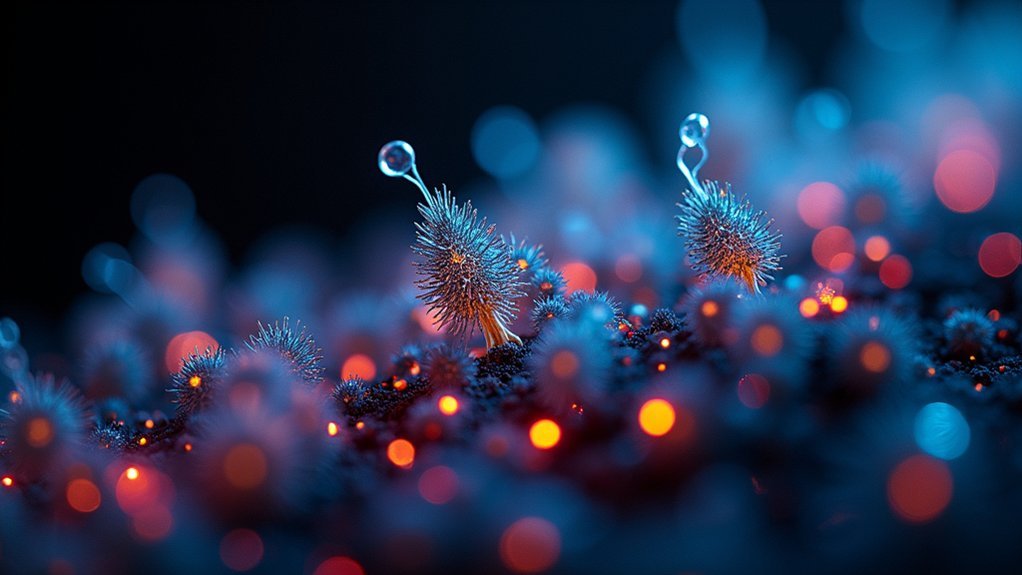
When confronting the unique challenges of darkfield microscopy, you’ll need to move beyond basic camera metering systems to capture truly accurate exposures. For precise results, use spot metering to focus on the illuminated edges of your specimen, where vital detail often resides.
A handheld light meter provides invaluable incident readings that your camera’s built-in system might miss. Don’t hesitate to apply exposure compensation between -1 and -2 EV for darker specimens, as standard metering tends to brighten these surfaces inappropriately.
For consistent results, incorporate a grey card as your neutral reference point amid the stark contrasts of dynamic microscopy.
Throughout your session, monitor your histogram vigilantly to prevent highlight clipping, adjusting your shutter speed accordingly. This careful attention to metering will preserve both delicate surface textures and the dramatic dark background essential to darkfield imaging.
Frequently Asked Questions
How Can I Make My Camera Quality Better in the Dark?
You’ll get better dark photos by using a wider aperture (f/2.8-f/4), increasing ISO (800-1600), stabilizing your camera with a tripod, shooting in manual mode, and adding strategic external lighting when needed.
What Is the Cloudy 8 Rule?
The Cloudy 8 Rule helps you calculate exposure on overcast days. You’ll set your shutter speed to 1/ISO and aperture to f/8. It’s a quick starting point that works well for landscape photography in diffused light.
What 3 Factors Determine Proper Exposure for an Image in the Camera?
Proper exposure for your images is determined by three key factors: aperture (f-stop), shutter speed, and ISO sensitivity. You’ll need to balance these elements to control how much light reaches your camera’s sensor.
What Is the Ideal ISO for a Dark Room?
In a dark room, you’ll want to use a low ISO between 100-400. This gives you ideal sensitivity while minimizing noise. If you need longer exposure times, don’t forget to use a tripod.
In Summary
You’ve now mastered the essentials of darkfield exposure. Remember, it’s not just about your camera settings, but also how you position your light sources and adapt to your specimen’s reflectivity. Don’t rely solely on automatic metering—trust your eyes and experience. With practice, you’ll instinctively balance exposure variables to reveal stunning surface details that remain invisible under standard illumination techniques.


Leave a Reply