For stunning darkfield images, underexpose by -1 to -2 EV to preserve bright edge details. Use spot metering to focus on your subject rather than the entire scene. Balance aperture (f/2.8-f/4) with appropriate shutter speeds, using a tripod for stability. Position your light source carefully and use flags to prevent spillage, maintaining pure black backgrounds. Monitor your histogram to avoid clipping highlights while retaining shadow details. These techniques will transform your texture photography from basic to breathtaking.
Mastering Exposure Compensation in Dark Field Setups

When working with dark field imaging, proper exposure compensation becomes your most valuable tool for capturing stunning detail and contrast.
Start by applying negative exposure compensation of -1 to -2 EV to prevent overexposing the bright edges where light grazes your subject.
Underexpose deliberately to preserve those delicate bright edges where light reveals your subject’s true character.
Utilize spot metering to focus on the subject rather than the brighter background, ensuring the correct exposure for the areas you want to highlight.
Monitor your histogram carefully—keep bright pixels near but not touching the right edge to preserve highlight detail.
Switch to manual mode for consistent results across multiple shots, adjusting shutter speed to control the light reaching the sensor.
Experiment with different distances between your light source and subject to optimize how light reveals textures while maintaining sufficient depth of field in dark areas.
Selecting the Optimal Metering Mode for Surface Detail
Since surface textures and fine details are the hallmarks of successful dark field imaging, choosing the right metering mode becomes essential for capturing these subtle elements.
Spot metering excels in dark field photography by measuring exposure from a precise area, ensuring proper exposure of your subject against black backgrounds.
Center-weighted average metering offers another effective option, prioritizing the frame’s central portion where most subjects reside while maintaining highlight and shadow detail.
Avoid Evaluative Metering, as it tends to average the entire scene, often underexposing critical surface textures.
Consider your camera’s dynamic range limitations when selecting metering modes. For challenging subjects, use a grey card to establish baseline exposure, then adjust your shutter and exposure compensation accordingly.
This methodical approach will help you consistently capture the intricate details that make dark field images so compelling.
Balancing Aperture and Shutter Speed for Dark Field Clarity
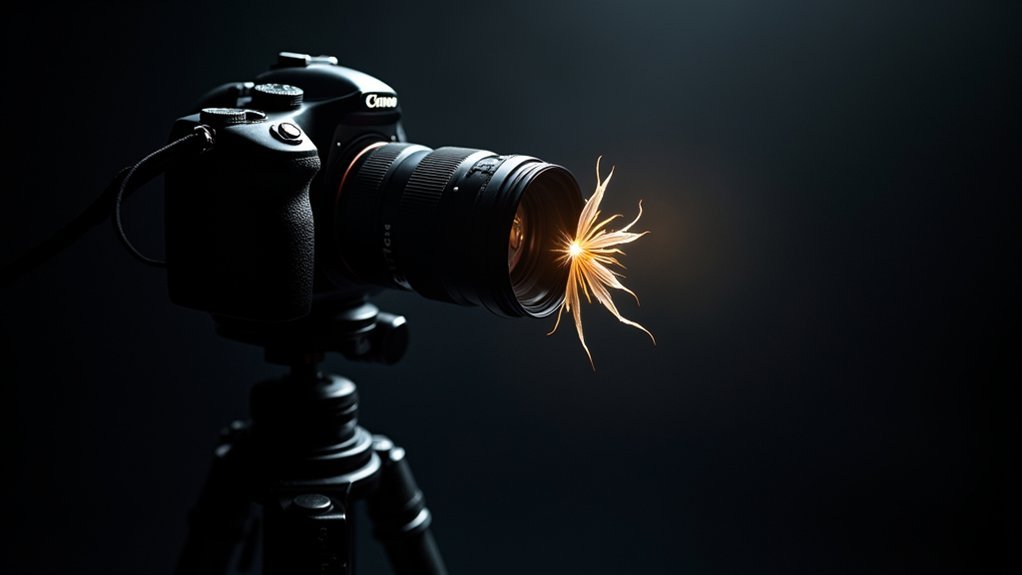
Achieving ideal clarity in dark field imaging requires careful balancing of aperture and shutter speed settings.
You’ll want to use a wider aperture (f/2.8 to f/4) to allow more light to graze your subject’s surface, enhancing texture details while maintaining background blur.
In low-light conditions typical of dark field setups, slower shutter speeds like 1/60s may be necessary to properly expose your image with an f/4 aperture.
Your light meter and histogram should be continuously monitored to avoid highlight overexposure while capturing sufficient shadow detail.
Always use a tripod when shooting with slower shutter speeds to prevent motion blur and guarantee sharp details.
If needed, apply exposure compensation after reviewing your histogram to fine-tune the balance between capturing surface textures and maintaining the dark field aesthetic.
Managing Light Spillage for Perfect Black Backgrounds
The signature black background of dark field imaging demands meticulous control of light spillage throughout your setup.
To achieve those striking black backgrounds with perfectly illuminated subject details, you’ll need to focus on precise exposure control and light management.
- Confirm your camera’s field of view remains smaller than the dark field patch, preventing unwanted light from entering the frame.
- Position your light source strategically, adjusting distance to control the angle of grazing light that highlights subject edges.
- Use aperture flags to block any stray light that might cause lens flare and compromise your black background.
- Keep experimenting with the relationship between light source size and patch placement to find the perfect balance for maximum contrast.
Remember to regularly clean your subject—even minor dust particles become distractingly visible against pristine dark field backgrounds.
Overcoming Dynamic Range Challenges in Textured Subjects

Textured subjects present unique challenges in darkfield imaging because their varying heights create dramatic contrast between brightly lit edges and subtle shadow details.
To capture their full dynamic range, apply negative exposure compensation between -1 and -2 EV to prevent highlights from blowing out while preserving shadow detail.
Instead of relying on average metering, use spot metering to obtain accurate exposure readings directly from the textured areas.
You’ll achieve better results by focusing on the specific textures rather than the entire scene.
Implement bracketing techniques to capture multiple exposures that can be blended during post-processing for enhanced dynamic range.
Regularly check your histograms while shooting—gaps at either end indicate potential clipping.
Adjust your settings accordingly to maintain both highlight details and shadow information in your textured subjects.
Frequently Asked Questions
How Can I Make My Camera Quality Better in the Dark?
You’ll improve your camera’s dark performance by using a larger aperture, increasing ISO sensitivity, stabilizing with a tripod, utilizing manual exposure settings, and experimenting with spot metering for better results.
What Is the Cloudy 8 Rule?
The Cloudy 8 Rule is your baseline for cloudy day photography: use f/8 aperture with 1/80 second shutter speed at ISO 100. It’s a starting point that’ll help you achieve balanced exposures in overcast conditions.
What 3 Factors Determine Proper Exposure for an Image in the Camera?
You’ll need to balance three critical factors for proper exposure: aperture (controlling light amount), shutter speed (determining exposure duration), and ISO (adjusting sensor sensitivity). Together, they create well-exposed images regardless of lighting conditions.
What Is the Ideal ISO for a Dark Room?
In a dark room, you’ll want to use ISO 800-3200 for balanced sensitivity and noise control. If it’s extremely dark, you can try ISO 6400+, but you’ll notice more grain in your images.
In Summary
Dark field microscopy doesn’t need to be intimidating. With these exposure techniques, you’ll transform challenging specimens into stunning images with dramatic contrast. Remember, it’s all about finding the perfect balance—controlling your metering, managing light spillage, and adjusting your exposure compensation. When you’ve mastered these fundamentals, you’ll consistently capture those elusive surface details that make dark field photography so rewarding. Keep experimenting and refining your approach.

Leave a Reply