
For crystal-clear darkfield images, position your light source at a perfect 90-degree angle to your lens axis. Use genuine black velvet backgrounds to absorb excess light, and elevate your subject slightly for a floating effect. Control reflections with polarizing filters, and try softboxes for even edge illumination. Apply thin oil on reflective surfaces to amplify highlights, and experiment with light distance to control intensity. These techniques will transform your ordinary specimens into stunning visual masterpieces with dramatic dimension.
10 Best Darkfield Lighting Tricks For Crystal-Clear Images
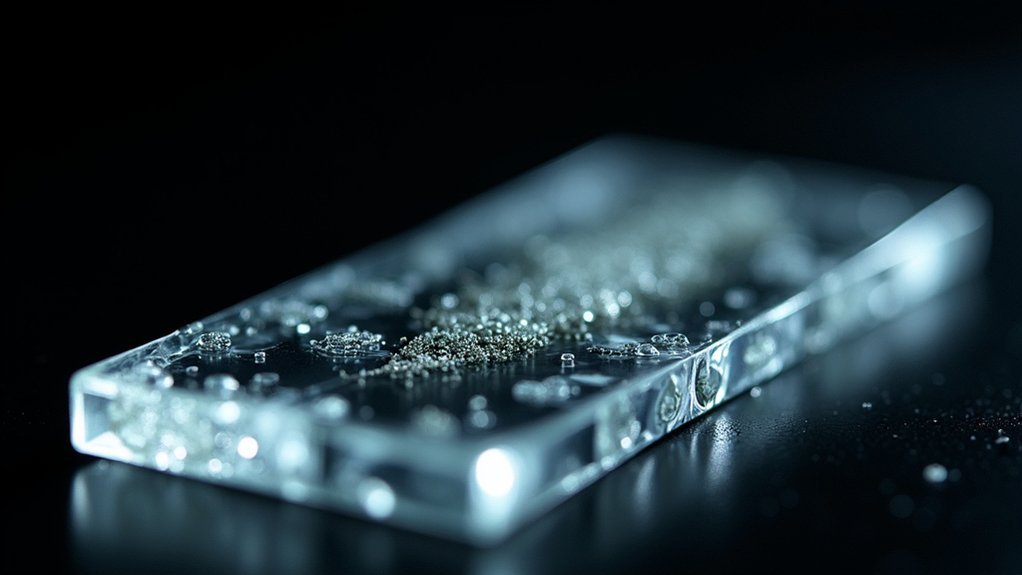
While traditional lighting often flattens your subjects, darkfield lighting dramatically transforms ordinary objects into extraordinary images with striking contrast and dimension.
To achieve stunning dark field effects, position your light source at nearly 90 degrees to the lens axis, creating crisp edge highlights while keeping the background dark.
Position lights at near-right angles to create dramatic edge highlights while maintaining the shadowy mystery of darkfield photography.
Experiment with light distance and angle to control strip size and intensity. A black velvet backdrop absorbs excess light, enhancing subject contrast considerably.
For reflective surfaces like skin or metal, try applying a thin oil layer to amplify striking highlights.
Don’t hesitate to introduce secondary light sources or bounce boards to selectively illuminate specific areas without compromising the darkfield effect.
These techniques give you precise control over highlights and shadows, revealing intricate details that ordinary lighting simply can’t capture.
Positioning Your Light Source at the Perfect 90-Degree Angle
The single most critical element in darkfield photography is positioning your light source at a precise 90-degree angle to your lens axis. This perpendicular arrangement illuminates the edges of your subject while preventing direct light from entering your lens, creating that distinctive darkfield contrast.
Try small adjustments around this 90-degree mark – moving your light source slightly closer or further from your subject will dramatically affect the highlight intensity on edges and textures.
| Light Position | Effect | Best For |
|---|---|---|
| Exact 90° | Maximum contrast | Transparent subjects |
| 85-89° | Softer edge highlights | Textured surfaces |
| 91-95° | Enhanced side detail | Angular objects |
| With slit aperture | Concentrated illumination | Small flat items |
| Multiple 90° sources | Balanced edge lighting | Complex subjects |
For small objects, a ringlight with a taped slit positioned at 90° works exceptionally well.
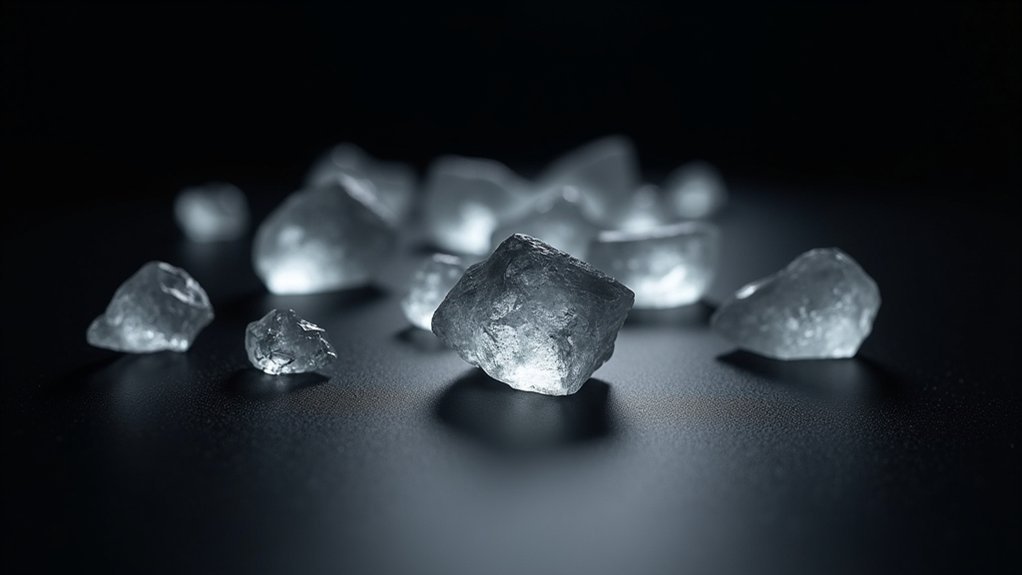
Mastering the Black Velvet Background for Maximum Contrast
The right black velvet material forms the foundation of striking darkfield photography, with pure cotton velvet outperforming synthetic alternatives for light absorption.
You’ll achieve zero reflections by positioning your subject slightly elevated above the velvet, creating that perfect floating effect that defines masterful darkfield images.
Keeping your velvet pristine requires careful handling with a lint roller before each session, as even microscopic dust particles can create distracting sparkles that compromise your dramatic contrast.
Selecting Perfect Velvet Material
Choosing the right black velvet material stands as perhaps the most critical decision when creating a darkfield lighting setup.
You’ll want to select genuine black velvet with deep pile rather than velour or velveteen, as true velvet offers superior light absorption properties.
When purchasing your black velvet, examine it carefully for absolute color uniformity. Even subtle variations can create unwanted reflections in your final images.
The material should feel substantial—lightweight options often allow light to penetrate, compromising your darkfield effect.
Before each shoot, inspect your velvet for dust particles and wrinkles.
These imperfections capture light and appear as bright spots in your photographs. Keep a lint roller and steamer nearby to maintain a flawless backdrop surface.
Positioning For Zero Reflections
With your perfect velvet material now selected, mastering precise positioning becomes the next step in creating stunning darkfield images. Place your subject centrally on the velvet, ensuring the fabric extends well beyond your frame to absorb all stray light.
Position your light source at a near-90-degree angle to your lens axis. This critical angle creates dramatic edge lighting while minimizing unwanted reflections. Use black card barriers strategically to block any light from hitting the background.
| Position Element | Correct Setup | Common Mistake | Effect | Solution |
|---|---|---|---|---|
| Light Source | 80-90° to lens | Direct lighting | Washed-out image | Lower angle |
| Background | Full velvet coverage | Partial coverage | Edge reflections | Extend velvet |
| Subject | Centered on velvet | Too close to edge | Uneven lighting | Reposition center |
| Black Card | Between light/background | Missing barriers | Background glow | Add more cards |
| Camera | Directly above subject | Off-axis view | Asymmetric lighting | Center lens |
Cleaning Dust Effectively
Perfect darkfield photography crumbles instantly when dust particles contaminate your velvet backdrop.
Even microscopic lint can disrupt the darkfield effect, destroying the contrast you’ve worked so hard to achieve.
Before each shoot, make cleaning dust effectively your top priority. Gently run a lint roller across your black velvet backdrop, working methodically to capture all particles.
For stubborn areas, a microfiber cloth works wonders without damaging the delicate fabric.
Position your backdrop at an appropriate distance from your subject to prevent shadow interference, and incorporate edge lighting to emphasize your subject’s details.
Remember that dust becomes more visible when using directional lighting techniques.
Don’t neglect regular maintenance—your black velvet will accumulate dust over time.
With consistent cleaning, you’ll maintain the pristine surface essential for those crystal-clear darkfield images that showcase every detail.
Using Soft Boxes to Create Even Edge Illumination
Softboxes transform ordinary darkfield photography by providing exceptionally even illumination along subject edges. Position your softbox at a low angle to enhance texture and allow light to wrap naturally around your subject. You’ll find that this approach reveals surface details that would otherwise disappear with overhead lighting.
| Softbox Setup | Benefits | Application |
|---|---|---|
| Low angle placement | Enhances texture | Product photography |
| Against black backdrop | Improves contrast | Glassware/crystals |
| Variable distance | Customizable light strip | Scientific specimens |
For best results, use a black backdrop to absorb stray light and guarantee your subject stands out dramatically. Don’t forget to experiment with your softbox distance—this simple adjustment can considerably alter the size and intensity of your edge lighting. Consider adding a reflector as a secondary light source to emphasize specific areas and add depth.
Controlling Reflection With Polarizing Filters
One of the most powerful tools in your darkfield lighting arsenal is the polarizing filter, which transforms how light interacts with reflective subjects.
When you’re dealing with glossy surfaces that create distracting glare, these filters become indispensable for achieving crystal-clear results.
For maximum effectiveness, position your filter at approximately 90 degrees to the light coming from your source. By rotating the polarizer, you’ll gain precise control over reflected light reaching your camera sensor, dramatically enhancing contrast and surface detail.
This simple adjustment can reveal textures previously hidden by unwanted reflections.
Linear polarizing filters work particularly well in darkfield setups by selectively blocking specific light waves.
When combined with proper edge illumination techniques, you’ll capture images with emphasized textures and remarkable clarity that showcase every intricate detail of your subject.
Adjusting Camera Settings for Optimal Darkfield Exposure
Since darkfield photography relies on capturing light that bounces off the edges of your subject, mastering your camera settings becomes essential for successful results.
Start by increasing your ISO to 800-1600, which provides the sensitivity needed for low ambient light conditions typically found in darkfield setups.
ISO sensitivity becomes your greatest ally in darkfield photography, compensating for the minimal light while revealing edge details.
Open your aperture wide (f/2.8 or lower) to maximize light reaching your sensor, revealing delicate details that might otherwise remain invisible.
Set your shutter speed around 1/250 sec to eliminate motion blur and capture crisp images.
For longer exposures, a tripod is non-negotiable—it prevents camera shake that would compromise your image quality.
Don’t hesitate to experiment with different combinations of these settings until you find the perfect balance that delivers the contrast and clarity darkfield photography is known for.
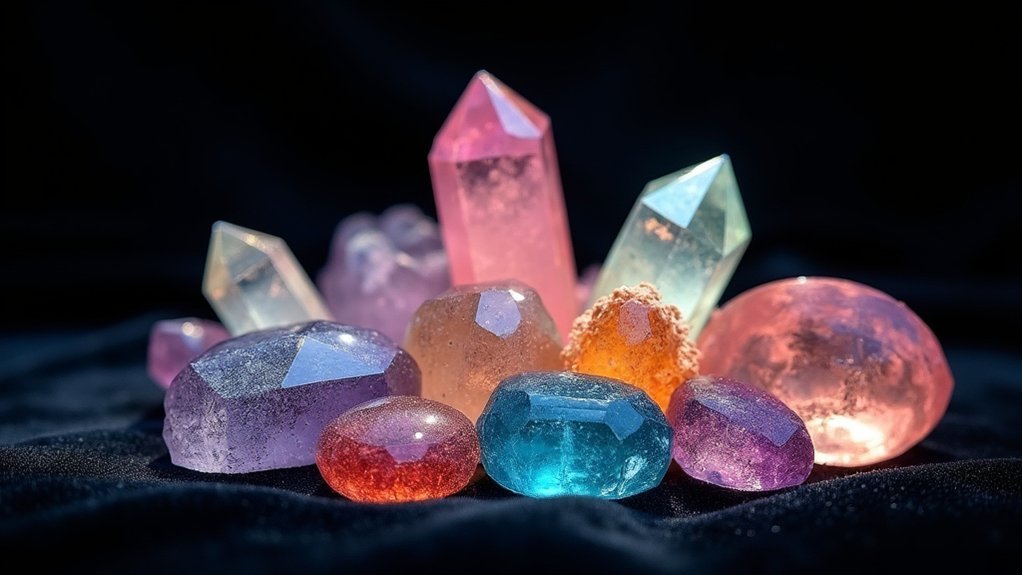
Creating Dramatic Rim Lighting Effects for Transparent Specimens
Positioning your light source at nearly 90 degrees to the lens axis creates striking rim lighting that transforms transparent specimens into glowing subjects with defined edges.
You’ll achieve the most dramatic effects by carefully adjusting the light’s intensity and distance, creating the perfect balance between illumination and shadow.
Properly preparing your specimens by cleaning their surfaces and positioning them against black velvet will dramatically enhance the rim lighting effect, allowing even the subtlest details to stand out.
Side-Illumination Positioning Techniques
When properly executed, side-illumination transforms transparent specimens into striking subjects with dramatic rim lighting effects. Position your light source at nearly 90 degrees to your lens axis, creating a stark contrast between the illuminated edges and the black background.
For ideal results, direct a narrow beam at your specimen from the side. You’ll notice how the light catches the contours, revealing intricate details that would otherwise remain invisible.
| Distance | Effect | Application |
|---|---|---|
| Close | Intense highlights | Delicate structures |
| Medium | Balanced contours | General specimens |
| Far | Subtle outlines | Large transparent objects |
| Angled up | Top-edge emphasis | Tall specimens |
| Angled down | Base-edge emphasis | Sessile subjects |
Don’t hesitate to add diffusers when harsh highlights overpower your image. Secondary fill lights can also balance the dramatic effect while maintaining the distinctive rim lighting.
Adjusting Light Intensity
Why does light intensity matter so dramatically in darkfield photography? It’s the difference between revealing or obscuring the delicate details of transparent specimens.
By adjusting light intensity through dimmers or changing the distance between your light source and subject, you gain precise control over highlights and edge definition.
Position your light source at a 90-degree angle to the lens axis for the most striking rim lighting effects.
Use a narrow strip of light rather than a broad wash to accentuate contours and textures in your transparent subjects. For even more depth, incorporate bounce boards to redirect light back onto your specimen without overwhelming its transparency.
Don’t forget to experiment with colored gels over your light source—they’ll influence the mood while maintaining clarity in your rim lighting effects.
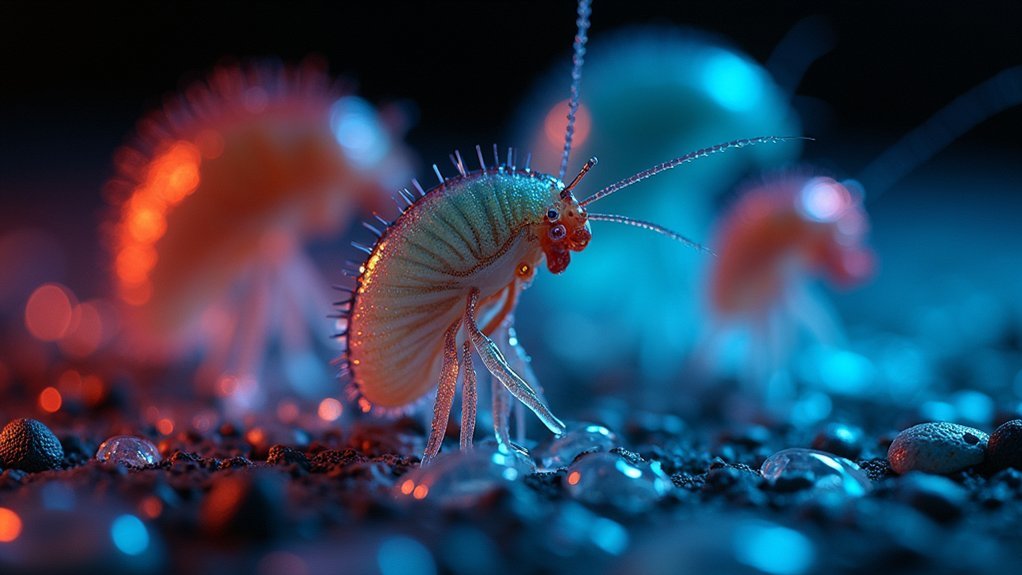
Specimen Preparation Matters
The most stunning darkfield photographs begin long before you adjust any lights. Thorough cleaning of your transparent specimens eliminates surface contaminants that scatter light and degrade image quality. Specimen preparation matters considerably when creating dramatic rim lighting effects.
Position your specimen at an angle to your light source, controlling the intensity with a narrow strip of light. Find that perfect distance where transparency maximizes while internal reflections diminish.
| Preparation Step | Effect | Importance |
|---|---|---|
| Thorough cleaning | Eliminates contaminants | Essential |
| Angular positioning | Creates rim lighting | Critical |
| Light strip adjustment | Controls intensity | Key |
| Distance optimization | Balances transparency | Fundamental |
| Dark background | Enhances contrast | crucial |
A black card would provide the ideal background, as black velvet creates contrast that makes transparent specimens truly stand out.
Managing Glare on Metallic and Shiny Surfaces
Metallic and shiny surfaces present unique challenges in darkfield photography due to their highly reflective properties. You’ll need specialized techniques to capture their detail without distracting glare.
Position your light source at a low angle to create dramatic effects while minimizing unwanted reflections. For best results, try using polarized filters—they’re incredibly effective at cutting through glare while enhancing contrast and surface details.
Don’t rely on just one light; experiment with multiple sources at varying angles to highlight different facets of your metallic subjects.
To diffuse light evenly across shiny specimens, incorporate softboxes or diffusers that scatter illumination and produce smoother surface appearances.
Play with light-to-subject distance as well—moving lights closer intensifies reflections, while positioning them farther away softens the effect and reduces overwhelming glare.
Enhancing Detail With Multi-Directional Darkfield Lighting

When standard darkfield techniques leave you wanting more detail, multi-directional darkfield lighting becomes your secret weapon. By positioning light sources at approximately 90 degrees to your lens axis, you’ll capture intricate surface textures that remain hidden in conventional setups.
Try varying the distance and intensity of each light source—closer lights create stronger highlights and shadows, dramatically enhancing contrast and depth perception. The multiple light sources work together to accentuate the three-dimensionality of your subject, revealing subtle features through dynamic highlights and shadows.
For even better results, add polarizing filters to your multi-directional darkfield lighting arrangement. This combination effectively reduces glare and unwanted reflections from metallic or shiny surfaces, delivering images with exceptional clarity and detail that truly showcase your subject’s finest features.
Modifying Light Intensity for Different Subject Materials
Different materials demand tailored light intensity adjustments to reveal their unique characteristics in darkfield photography.
You’ll need to position your light source strategically—moving it closer for brighter highlights on textured subjects or farther away to soften the effect on delicate details.
When photographing reflective objects like glass or polished metal, reduce light intensity to prevent overexposure and preserve critical details.
Conversely, matte surfaces often require higher intensity to make their textures visible. Consider using neutral density filters to control light without affecting color balance.
Experiment with different angles of incidence to modify how light interacts with your subject’s surface.
For precise control, use strobe lights with adjustable output—this allows you to fine-tune light intensity based on each material’s unique properties, ensuring you capture every subtle nuance in your darkfield images.
Frequently Asked Questions
What Is the 3 Lighting Rule?
The 3 lighting rule uses three light sources: key light (primary), fill light (shadow reduction), and backlight (separation). You’ll create depth and dimension by positioning them at different angles for well-balanced, professional-looking images.
What Is the Best ISO for Dark Lighting?
For dark lighting, you’ll want to set your ISO between 1600-3200. This higher sensitivity captures more light while maintaining decent image quality. Don’t go too low or you’ll end up with underexposed shots.
How Do You Take Good Pictures in a Dark Room?
In a dark room, you’ll need to use a high ISO (1600+), wide aperture (f/1.8), and stable tripod. Don’t forget to slow your shutter speed and consider bouncing flash for softer, more natural lighting.
What Technique Photographers Use to Brighten Deep Shadowed Areas?
You can brighten deep shadowed areas by using bounce boards to reflect light, adding secondary light sources, adjusting your main light angle, increasing ISO settings, or applying post-processing techniques in editing software.
In Summary
You’ve now mastered the essentials of darkfield lighting techniques. By implementing these strategies, you’ll capture stunning images with exceptional clarity and depth. Remember, practice makes perfect—don’t be afraid to experiment with different angles, intensities, and materials. Your patience will pay off as you continue refining these methods. Soon, you’ll develop your own signature style that brings out the hidden beauty in even the most challenging subjects.


Leave a Reply