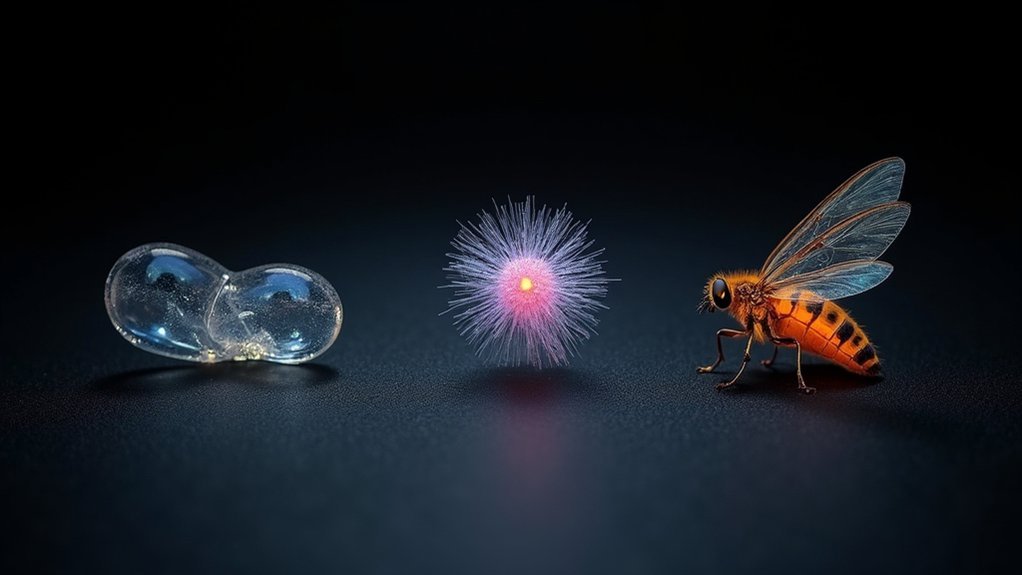
The three best dark field specimen methods for photography are wet mount, dry smear, and suspension techniques. You’ll get ideal contrast with wet mounts using thin water droplets (0.1-0.2mm) on clean slides. Dry smears work best for high-resolution imaging, creating uniform layers on quality glass. For dramatic three-dimensional effects, try suspension methods with glycerin or agar. Proper condenser adjustment and meticulous cleanliness across all techniques will elevate your microscopy images from ordinary to extraordinary.
Wet Mount Preparation for Optimal Dark Field Contrast
When creating a wet mount for dark field microscopy, precision and cleanliness determine your results. Place your specimen in a small water droplet on a spotless glass slide and cover it carefully to guarantee flatness. This positioning is vital for effective dark-field illumination.
Maintain a thin mount (0.1-0.2 mm) to allow proper light passage and maximize high contrast. You’ll need to avoid air bubbles, as they scatter the light source and compromise image clarity.
For photography success, verify your slides are impeccably clean—any dirt will create distracting bright spots in your images.
Finally, properly adjust and center your condenser to achieve the correct numerical aperture. This adjustment is essential for revealing fine specimen details and producing striking dark-field microscopy photographs worthy of publication.
Dry Smear Techniques for High-Resolution Specimen Imaging
Precision in dry smear preparation forms the foundation of exceptional dark field photography.
You’ll achieve ideal results by spreading your specimen in an extremely thin, uniform layer on high-quality glass slides (1.1-1.2 mm thickness). This careful preparation maximizes light transmission while reducing background noise during dark-field microscopy.
When creating your smear, use a fine applicator or pipette to apply minimal specimen material. Allow it to air-dry completely—any residual moisture will obscure vital details at high magnification.
The thinness of your preparation is essential; it prevents excessive light scattering and enhances the visibility of minute bacterial structures or cellular details during specimen imaging.
This meticulous approach to dry smear techniques guarantees your light microscopy captures the exceptional contrast and resolution that dark field photography demands.
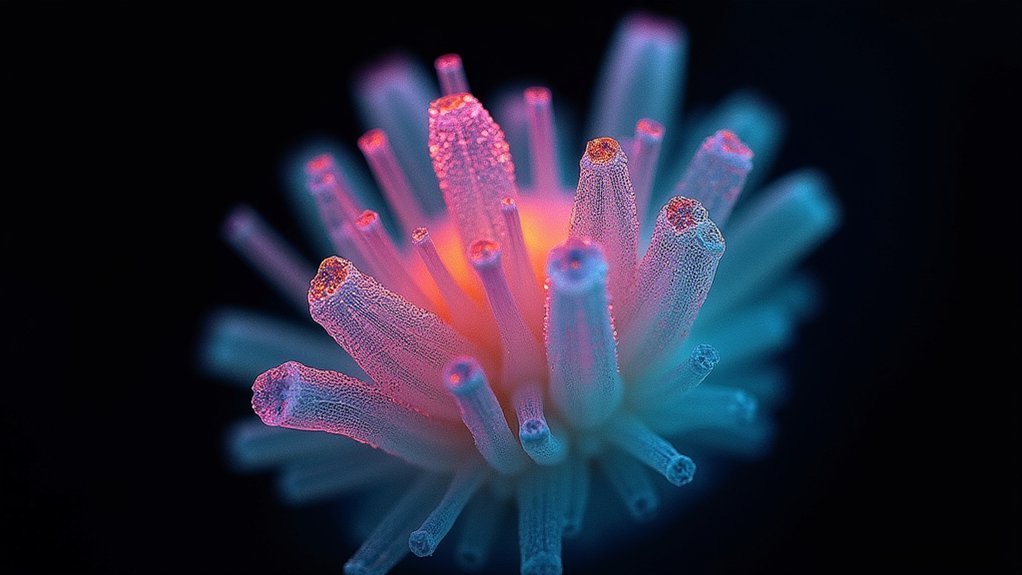
Suspension Methods for Three-Dimensional Dark Field Effects
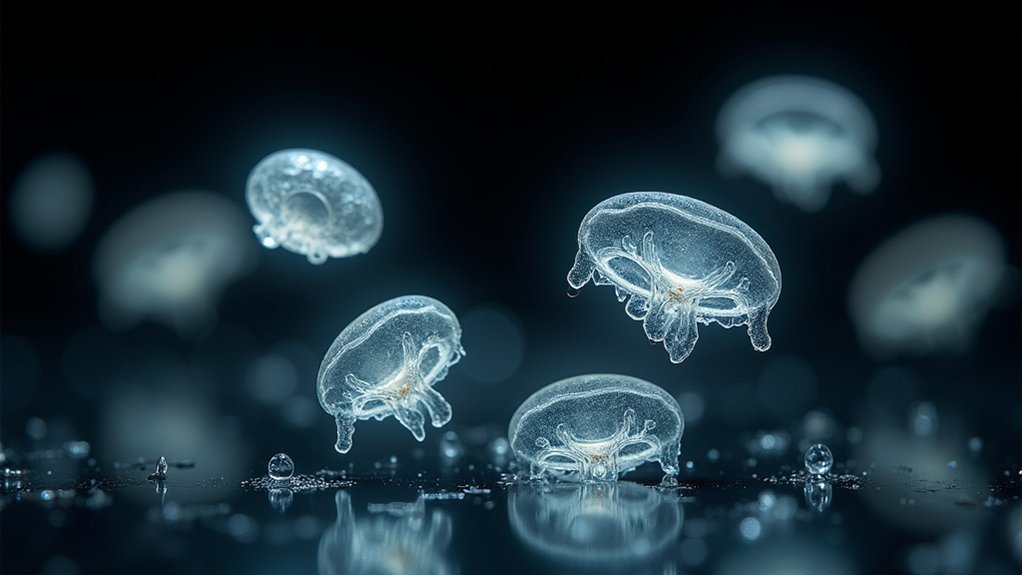
While dry smear techniques excel at revealing fine details in flat specimens, suspension methods access an entirely different dimension in dark field photography.
You’ll achieve stunning three-dimensional effects by placing your specimen in a liquid medium, allowing light scattering from multiple angles.
Choose a viscous medium like glycerin or agar to stabilize delicate specimens and prevent settling.
Control the suspension layer thickness carefully—too thin won’t scatter enough light, while too thick will attenuate your illuminating light.
Position specimens away from the container bottom to maximize light incidence angles and enhance scattering effects.
Don’t hesitate to experiment with different suspension solutions and concentrations.
Each combination creates unique artistic effects that can dramatically transform your dark field images from scientific documentation into mesmerizing visual art.
Frequently Asked Questions
Which Is the Most Effective Use of Dark Field Microscopy?
You’ll find dark field microscopy most effective for observing transparent, colorless specimens like live microorganisms without staining. It creates high contrast by scattering light, revealing structures invisible under standard brightfield microscopy.
How to Prepare a Specimen for a Dark Field Microscope?
Prepare your specimen by making it thin and flat on clean slides (1.1-1.2mm thick). Use objectives with NA ≤0.65, center the specimen in your field of view, then focus carefully using fine adjustment knobs.
For Which Types of Specimens Is Dark Field Microscopy?
You’ll find dark field microscopy ideal for live microorganisms, transparent specimens, clinical pathogens, environmental microorganisms, and opaque materials. It’s perfect when you’re looking to observe specimens with enhanced contrast without staining.
What Are Dark Field Techniques?
Dark field techniques illuminate your specimen with oblique light that only allows scattered light to enter the objective lens. You’ll see bright objects against a dark background, perfect for viewing unstained, transparent specimens.
In Summary
You’ve now mastered the three essential dark field specimen methods for stunning photography. Whether you’re using wet mounts for vibrant contrast, dry smears for detailed resolution, or suspension techniques for enthralling 3D effects, you’ll capture microscopic subjects with dramatic clarity. Experiment with these methods to discover which works best for your specific specimens. Your dark field images will stand out with the professional quality they deserve.


Leave a Reply