Dark field photos require light sources positioned at angles between 45° and 90° relative to your camera’s optical axis. You’ll want the light to graze across your subject’s surface without directly reflecting into the lens. This creates a dramatic effect where only scattered light from textures and imperfections reaches your camera, leaving smooth surfaces dark. Adjusting your lighting distance (ideally 0.5-2cm from the subject) and experimenting with different angles will help you master this revealing photographic technique.
What Lighting Angle Creates Dark Field Photos?
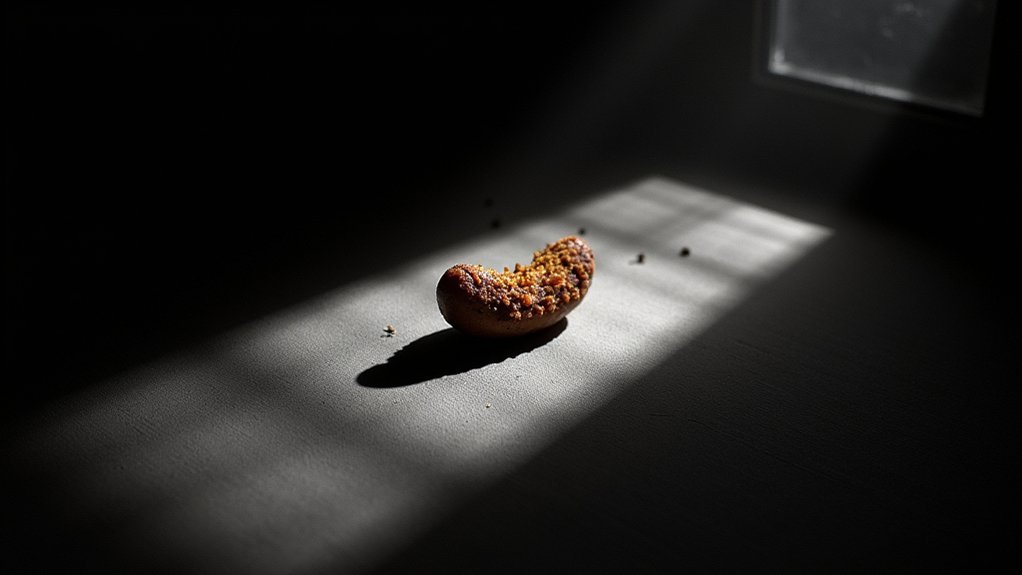
To create effective dark field photos, you’ll need to position your light source at an angle between 45° and 90° relative to your camera’s optical axis. This lighting angle guarantees that light grazes across your subject’s surface rather than bouncing directly back to the camera.
The key is achieving low angles of incidence where light reflects away from the camera on smooth surfaces but highlights imperfections and textures. Your lighting angle directly impacts contrast and detail visibility, often requiring adjustments based on your specific sample.
Consider using modular bar lights and angle changers to achieve precise lighting angles.
Don’t hesitate to experiment with different positions and distances—moving your light source closer or farther can dramatically change how surface details appear in your final dark field image.
The Science Behind Dark Field Illumination
The science of dark field illumination relies on positioning your light source at critical angles between 45° to 90° to prevent direct reflections from reaching your camera.
You’ll achieve ideal surface texture enhancement by maintaining a close working distance of 0.5-2 cm, allowing you to precisely control how light scatters off microscopic features.
Critical Angle Mechanics
Understanding the physics behind dark field illumination reveals why angle selection becomes so critical to successful photography.
When you position your light source at low angles of incidence—typically between 0° and 45°—you create conditions where only scattered light from imperfections reaches your camera.
The precise angle you choose dramatically affects what features become visible. Very low angles (closer to 0°) excel at revealing minute surface irregularities, while slightly higher angles might better highlight larger defects.
For ideal results, you’ll need to maintain a close working distance of 0.5 to 2 cm from your subject.
Using angle changers gives you fine control over light direction, allowing you to adapt your setup to different materials and textures.
This precision is essential because even small adjustments can transform invisible flaws into clearly visible elements.
Surface Texture Enhancement
While invisible to conventional lighting methods, minuscule surface variations emerge dramatically when light strikes at precise low angles.
When you position your light source between 45° and 90° to the subject’s surface, you’re creating ideal dark field conditions that reveal textures otherwise hidden to the naked eye.
The magic happens because only light scattered by raised edges and imperfections reaches your camera, creating bright highlights against a dark background.
This low angle illumination technique fundamentally transforms subtle surface variations into clearly visible features.
You’ll find that adjusting the distance between your light source and the subject affects edge definition and contrast.
Optimal Lighting Angles for Dark Field Photography

Finding the perfect angle for your light source forms the cornerstone of successful dark field photography.
You’ll want to position your lights between 45° and 90° from your camera’s optical axis to effectively highlight surface details and imperfections.
Low angles of incidence are essential—when light grazes your subject’s surface, you’ll achieve that distinctive dark field effect that reveals texture.
For detecting minute scratches and defects, try angles below 30° where light barely skims the surface.
Consider using specialized angle changers like AC-EBAR-N for close-range diffusion or AC-EBAR-L when working with linear patterns.
Don’t forget to experiment with the distance between your light and subject—this controls edge hardness and overall lighting quality, allowing you to fine-tune your dark field imagery for ideal results.
Key Equipment for Achieving Dark Field Effects
To achieve striking dark field effects, you’ll need specialized equipment like Angle Changers (AC-EBAR-N for close targets and AC-EBAR-L for blade effects) and LUMIMAX® Miniature Bar Lights with their adjustable incident angles.
Modular Bars enable essential adjustments to light distance and angle, with configurations using 1-4 Bar lights depending on your sample requirements.
Your setup’s success hinges on carefully positioning illuminators at angles between 45° and 90° from the camera’s optical axis, maximizing contrast and revealing surface textures that would otherwise remain invisible.
Specialized Ring Light Arrays
When creating effective dark field photography, specialized ring light arrays serve as essential tools in your equipment arsenal. These systems position light sources at low angles between 0° and 45°, optimizing dark field lighting conditions that reveal surface details and defects invisible under standard illumination.
You’ll find options like the MicroBrite™ Diffuse Ring Light Series (model DF198) delivering 47,000 Lux intensity—perfect for shiny surfaces where you need to eliminate glare from featureless areas.
For precise applications, consider aimed dark field lights like model RL3536, which offers 8,400 Lux with fixed-size dark field design.
These arrays come in multiple wavelengths (395nm, 470nm, 520nm, 625nm, 660nm, and white), allowing you to match your lighting to specific materials.
Add polarizers and diffusers to further control reflections and enhance the dark field effect.
Angled Modular Illuminators
Three critical angles define effective modular illuminators for dark field photography: 45°, 75°, and 90° from your camera’s optical axis. The angle of incidence greatly affects how surface features appear in your final image, making proper positioning essential for highlighting specific details.
For close-up subjects, the AC-EBAR-N angle changer delivers concentrated, narrow-beam diffusion, while the AC-EBAR-L creates linear patterns suited for varying distances. You’ll achieve the best results by locking your modular lights at precise angles, ensuring reproducible configurations for consistent imaging.
Don’t overlook the importance of distance adjustment—moving your bar illuminators closer or farther can greatly enhance the lighting effect. This flexibility allows you to tailor your setup to each sample’s unique characteristics, maximizing the visibility of surface details.
Surface Contrast Enhancers
Although standard lighting often fails to reveal minute surface details, specialized contrast enhancers transform dark field photography by creating the critical low-angle illumination needed for superior results. You’ll achieve ideal surface visualization using Modular Bar systems with Angle Changers like AC-EBAR-N for close subjects and AC-EBAR-L for precise light blades.
| Equipment Type | Lighting Angle | Application | Benefit |
|---|---|---|---|
| LUMIMAX® Bars | 45°-90° | Textured surfaces | Reveals topography |
| AC-EBAR-N | 0°-45° | Close targets | Enhances nearby details |
| AC-EBAR-L | 45°-90° | Distant subjects | Creates sharp contrast |
| Aperture Flags | Any angle | All applications | Prevents light spill |
For maximum flexibility, choose systems offering 7.5° incremental adjustments between 0° and 90°. Don’t forget to incorporate aperture flags to manage unwanted light spill—they’re essential for professional-quality dark field imaging.
Setting Up Your First Dark Field Lighting System
The success of dark field photography hinges on proper lighting setup.
You’ll want to position your illuminators at lighting angles between 45° and 90° from your camera’s optical axis to create the distinctive dark field effect.
Start with a modular bar lighting system paired with angle changers like AC-EBAR-N or AC-EBAR-L to customize your light pattern.
Make sure your camera’s field of view remains smaller than the dark field patch to maintain that vital black background.
Don’t hesitate to experiment with the distance between your light source and subject—this controls edge hardness and the grazing effect across surfaces.
By adjusting your illuminators’ angles, you’ll reveal different surface defects that might otherwise remain invisible.
Each angle shift can highlight unique imperfections for thorough inspection results.
Comparing Low vs. Medium Angle Illumination
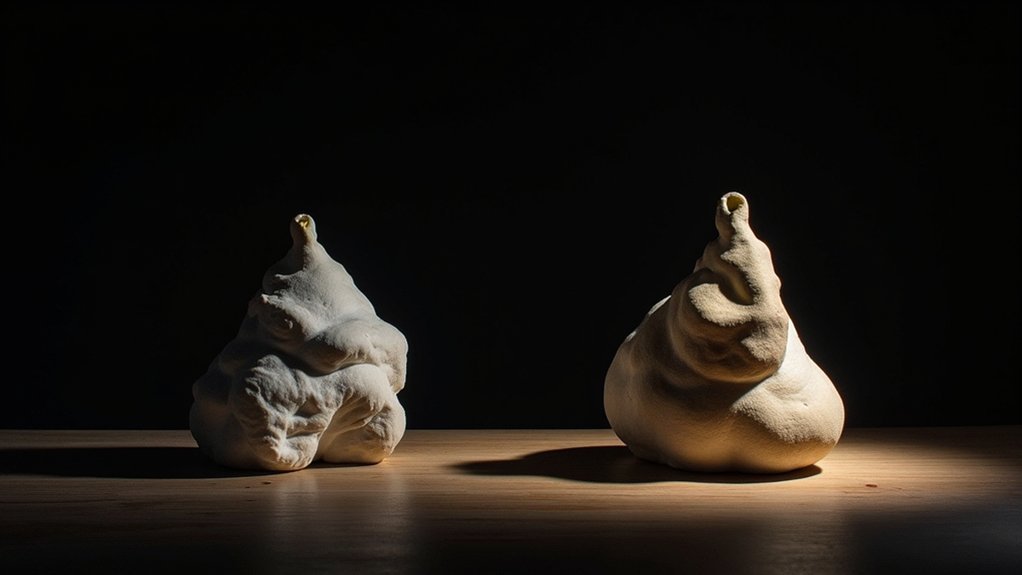
When should you choose low versus medium angle lighting for your dark field photography? The answer depends on what details you’re trying to emphasize.
Low angle illumination (45 degrees or less) creates dramatic dark field effects by directing light to reflect away from your camera on smooth surfaces while scattering toward your lens from imperfections. This produces striking contrast with bright defects against dark backgrounds.
Medium angle lighting (between 45-90 degrees) offers a shift effect that balances dark field characteristics with more overall surface visibility. You’ll capture subtle textures while reducing harsh shadows, though with less dramatic contrast than low angles provide.
For maximum texture emphasis and dramatic edge highlighting, opt for low angle illumination. Choose medium angles when you need a more balanced representation of surface details while still maintaining some dark field properties.
Surface Defect Detection With Angled Lighting
Precise angled lighting transforms ordinary photos into powerful diagnostic tools for surface defect detection. When you position light sources between 45° and 90° relative to your subject, you create ideal conditions where imperfections become immediately visible.
- Working distance matters – keep your light source just 0.5-2cm from the subject for maximum effectiveness.
- Very low lighting angles (closer to 45°) excel at revealing minor scratches and subtle bevels.
- Modular bar lights with angle changers let you fine-tune illumination to match specific defect types.
- Light physics works in your favor – on smooth surfaces, light reflects away from the camera while defects scatter light directly into your lens.
This lighting angle technique works because imperfections disrupt the otherwise predictable path of light, making flaws stand out dramatically against darker backgrounds.
Enhancing Texture Visibility Through Grazing Light

Dramatically transforming invisible textures into visible features, grazing light becomes your most powerful tool for dark field photography. By positioning your light source at shallow angles of incidence between 0° and 45°, you’ll reveal surface details that remain hidden under standard lighting conditions.
The angle of light is essential—the lower you go, the more pronounced fine imperfections like scratches and subtle textures become. You’ll notice that as you approach the 0-15° range, even microscopic surface variations cast visible shadows.
For best results, adjust the distance between your light source and subject. This fine-tuning affects edge hardness and overall contrast.
Consider specialized equipment like dark field ring lights or bar lights to maximize the grazing effect for different materials and specific applications.
Common Challenges in Dark Field Photography
You’ll face significant obstacles with reflective subjects that can bounce unwanted light directly into your lens, undermining the dark field effect.
Achieving consistent exposure across all features becomes particularly challenging when photographing objects with varying heights or complex geometries.
Precise light placement requires meticulous adjustment of distance and angle to guarantee the grazing illumination highlights exactly what you want while maintaining the characteristic dark background.
Reflective Surface Interference
When working with highly reflective surfaces in dark field photography, you’ll face unique challenges that can undermine your results if not properly managed.
The interplay between light angle and shiny subjects requires careful control to reveal imperfections rather than creating distracting reflections.
- Position your light source at an angle between 0-45° to guarantee most reflection bounces away from your camera while still highlighting surface details.
- Install side baffles and top caps to block stray light that could create unwanted glare on your subject.
- Clean your subject meticulously before shooting, as dust and fingerprints become extremely visible under dark field conditions.
- Experiment with different distances between your light source and subject to find the ideal setup that minimizes lens flare while maximizing detail visibility.
Inconsistent Feature Exposure
Beyond reflective surface challenges, inconsistent feature exposure represents one of the most common hurdles in dark field photography. You’ll notice certain features appear prominently while others remain hidden, often due to improper incident angles. For ideal results, maintain low angles (45° or less) to effectively highlight surface details.
| Issue | Cause | Solution |
|---|---|---|
| Variable visibility | Inconsistent light distance | Standardize light-to-subject spacing |
| Hidden details | Improper subject positioning | Adjust to enhance grazing light angles |
| Partial illumination | Uncontrolled light spill | Use aperture flags to direct light |
Experiment with side baffles and top caps to manage stray reflections, particularly when shooting shiny surfaces. Remember that even slight changes in positioning can dramatically affect feature visibility, requiring methodical adjustments to achieve consistent exposure across your entire subject.
Light Placement Precision
Precise light positioning forms the foundation of successful dark field photography, requiring meticulous attention to both angle and distance.
When you’re setting up your light source, even small adjustments can dramatically affect the quality of texture revelation and background darkness.
- Position your light source at 45° to 90° angles relative to your subject to maximize surface texture visibility while preventing direct light from reaching your camera.
- Install side baffles and top caps to eliminate stray reflections that can diminish contrast.
- Adjust the distance between your light source and subject to control edge hardness and grazing angle.
- Experiment with rotating your subject to find the ideal position where light grazes across important surface details.
You’ll need to continuously fine-tune these elements as you work, especially when textures vary across your subject.
Material-Specific Lighting Angle Adjustments
Although the principles of dark field photography remain consistent, each material demands its own unique lighting approach for best results.
Dark field photography requires tailoring your lighting approach to each material’s unique properties for optimal results.
When photographing glass or other reflective surfaces, you’ll need to increase your lighting angle slightly above the typical low angle to manage unwanted reflections while still capturing scratches and imperfections.
For metallic surfaces, maintain very low angles of illumination—generally under 45 degrees—to reveal subtle textures and surface defects. The lower angle creates stronger contrast against the metal’s reflective properties.
Softer materials benefit from slightly higher incident angles to avoid excessive glare while still highlighting detailed features.
Remember to adjust the distance between your light source and the subject as well, as this influences edge hardness and light grazing.
This fine-tuning based on material reflectivity is essential for achieving ideal dark field results.
Balancing Multiple Light Sources in Dark Field Imaging

When working with a single light source, you’ve got straightforward variables to manage.
However, balancing multiple light sources in dark field imaging requires more careful coordination to maintain the desired effect while enhancing surface detail visibility.
- Position all lighting at consistent low angles between 45° and 90° to preserve the dark field effect while illuminating different parts of your subject.
- Adjust each light’s intensity individually to control shadow depth and minimize unwanted glare that could reduce contrast.
- Experiment with distance variations—closer lights create stronger edge highlights while farther ones provide softer overall illumination.
- Utilize angle changers for precise control over each light’s incidence angle, allowing you to reveal different surface features simultaneously.
The key is finding harmony between your light sources so they complement rather than compete with each other.
Advanced Techniques for Controlling Light Spill
Light spill management represents one of the most critical challenges in dark field photography, as unwanted light can easily compromise the dramatic contrast that defines this technique.
To effectively control light spill, you’ll need to implement several targeted strategies. Consider adjusting the size of your light source or repositioning a dark field patch to block excess light from entering your camera’s field of view.
Aperture flags serve as excellent tools for managing light spill and preventing lens flare, ensuring only the desired illumination reaches your sensor.
Don’t underestimate the impact of distance—experimenting with the space between your light source and subject can dramatically affect edge hardness.
Additionally, rotating your subject during setup optimizes the incidence angle (ideally between 45° and 90°), revealing textures and imperfections that might otherwise remain hidden.
Practical Applications of Dark Field Photography
Beyond its technical allure, dark field photography serves numerous practical purposes across various industries.
When you adjust lighting angles between 0° and 45°, you reveal powerful inspection capabilities for professional and commercial use.
- Quality control inspections – Highlight scratches, dust, and imperfections on circuit boards and polished metals against a dark background.
- Manufacturing validation – Examine engraved or embossed features to guarantee products meet required standards.
- Surface analysis – Detect subtle texture variations on reflective materials that would otherwise go unnoticed under conventional lighting.
- Technical documentation – Create detailed images of surface features for analytical purposes or training materials.
Frequently Asked Questions
What Is the Angle of Dark Field Illumination?
Dark field illumination typically uses angles between 45° and just under 90° from the surface normal. You’ll achieve the best results when you adjust these angles in 7.5° increments to highlight specific surface defects.
What Is the Dark Field Illumination Technique?
Dark field illumination positions light at 45-90° angles to your surface. You’ll see defects brightly while smooth areas appear dark, as only scattered light reaches the camera. It’s perfect for detecting subtle imperfections.
How Do Bright Field and Dark Field Illumination Differ?
In bright field illumination, light reflects directly back to your camera, showing uniform surfaces well. Dark field uses shallow angles (45° or less), making only scattered light from defects visible against a dark background.
What Is the Difference Between DF and BF?
DF (Dark Field) uses shallow lighting angles (<45°) that reveal defects as bright against dark backgrounds. BF (Bright Field) illuminates directly, showing overall features but you'll see fewer surface imperfections.
In Summary
You’ve now discovered the secret behind dark field photography—lighting at extreme angles around 10-20° from your subject’s surface. Remember, it’s not just about the angle; it’s about preventing direct light from entering your lens. As you experiment with your setup, you’ll find each material responds differently. Keep refining your technique, and you’ll capture those striking dark backgrounds with brilliantly illuminated subjects that make dark field images so compelling.

Leave a Reply