
Crystal specimens need perfect lighting before photography because light interaction greatly affects their appearance. You’ll need to balance color temperature (measured in Kelvin) to accurately capture their true colors and internal structures. Multiple small light sources help eliminate shadows and unwanted reflections, while proper positioning maximizes depth and texture. The right setup—combining fluorescent lighting (6500K) with Solux bulbs (4700K)—reveals a crystal’s hidden architecture and brilliance that might otherwise remain invisible to your camera.
The Science of Light Interaction With Crystal Structures
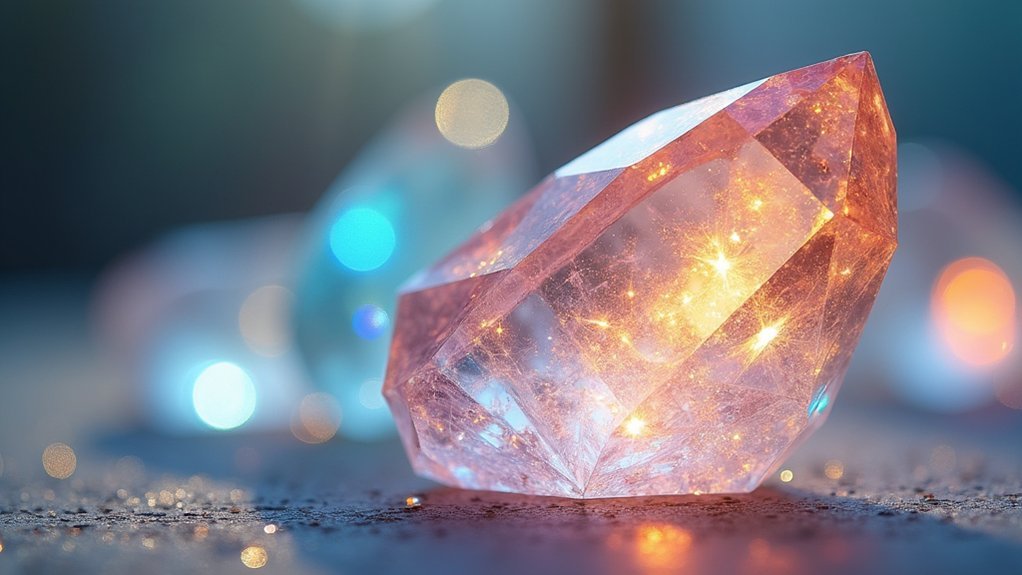
When light strikes a crystal, it initiates a complex dance of reflection, absorption, and transmission that ultimately determines how we perceive the specimen’s colors and features in photographs.
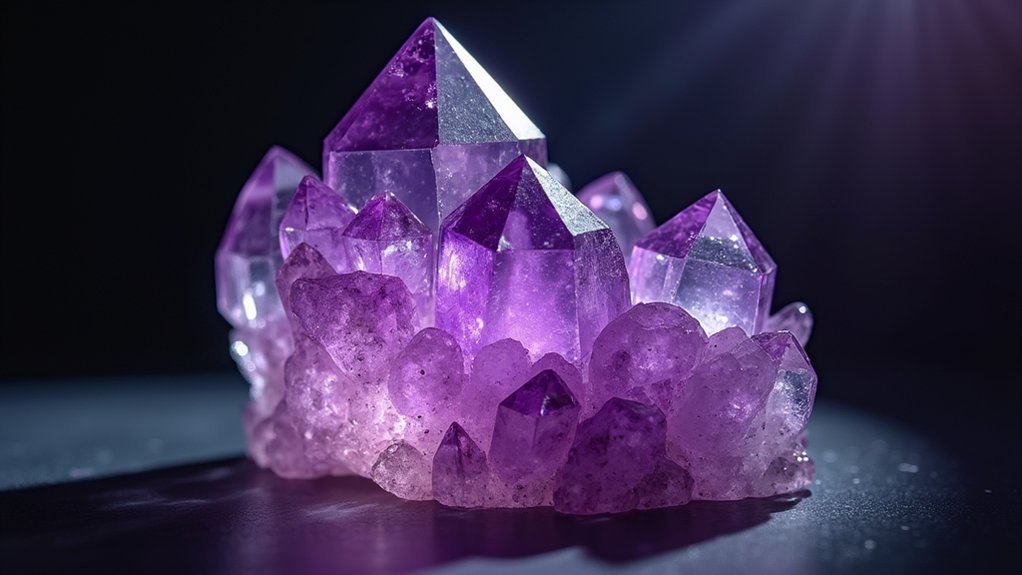
You’ll need to understand that your light sources directly impact this interaction—particularly their color temperature, measured in Kelvin. Cool temperatures produce bluish hues, while warm ones create yellowish tones.
Light source selection isn’t just technical—it shapes reality through temperature. Kelvin values dictate whether your crystal shows its true colors or tells a different story.
For accurate color reproduction in mineral photography, you’ll want to create a balanced lighting environment. Incandescent bulbs add unwanted yellow, while fluorescent lighting can distort warm colors.
Consider specialized bulbs like SoLux or neodymium for true-to-life representation.
The ideal setup combines diffuse light to minimize harsh shadows with strategic spotlighting to highlight facets and textures. This approach reveals the crystal’s true character rather than washing it out or creating misleading reflections.
Choosing the Right Lighting Setup for Different Crystal Types
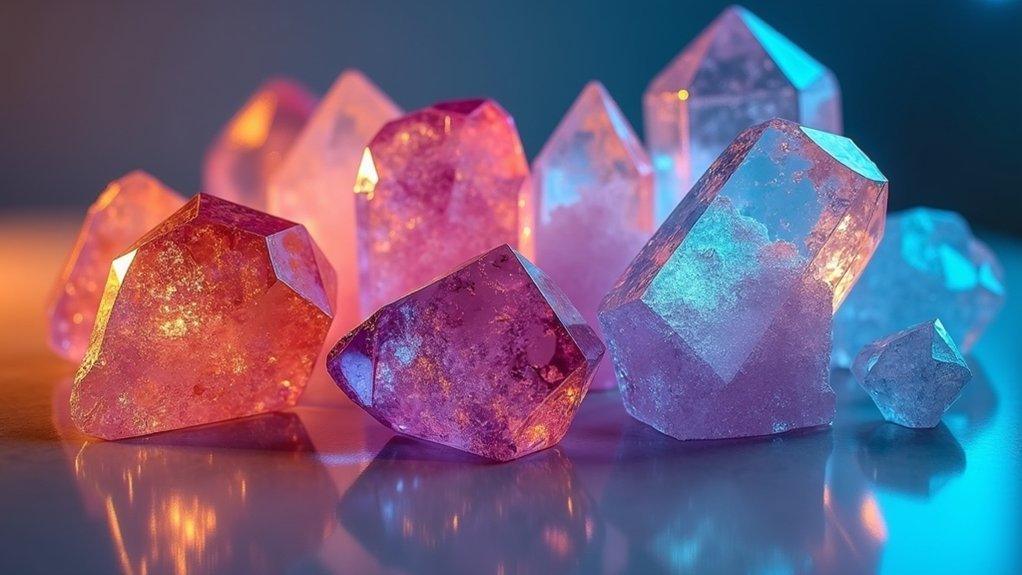
Now that you understand the scientific principles behind light interaction, let’s focus on selecting specific lighting setups for different crystal types. Your lighting type choice dramatically impacts how accurately your crystals appear in photographs.
Fluorescent lighting (6500K) enhances blues but can make warmer stones look flat, while Solux bulbs at 4700K work wonders for sphene and tourmalines by providing balanced illumination.
For ideal crystal photography results:
- Combine daylight fluorescent lighting with Solux lamps to capture accurate colors across diverse crystal specimens.
- Position multiple small light sources around your setup rather than using broad diffuse lighting that makes crystals appear lifeless.
- Maintain consistent white or gray backgrounds to prevent color distortion and guarantee proper white balance throughout your shoot.
Eliminating Shadows and Reflections for Clear Detail Capture
Despite your best efforts with crystal selection and camera settings, unwanted shadows and reflections can still sabotage your mineral photography. To eliminate shadows that obscure detail, position multiple light sources around your specimen.
You’ll achieve good quality results by using small light bulbs as point sources rather than a single bright light.
Try diffusing your light source with translucent filters to soften harsh reflections on crystal faces. Adjust lighting angles carefully to prevent direct glare that masks intricate features.
Don’t hesitate to experiment with different positions and intensities until you find the perfect balance.
Color Temperature Considerations for Accurate Crystal Representation
The true beauty of crystal specimens can only shine through if you’ve mastered color temperature in your lighting setup.
Color temperature, measured in Kelvin (K), dramatically affects how your crystals appear in photographs. To achieve accurate representation, you’ll need to adjust your camera’s white balance to match your light sources.
Consider these vital factors:
- Light source selection – Quartz halogen bulbs (3000K) produce warm tones, while daylight fluorescent lights (6500K) create cooler, more neutral colors.
- Camera settings – Auto white balance fails in low light; use specific presets for your lighting situation.
- Consistency matters – Maintain the same background and lighting setup throughout your photography session to guarantee color purity.
Your crystals’ true colors emerge only when you’ve matched lighting and settings perfectly.
Positioning Techniques to Highlight Crystal Formations and Inclusions
When you’ve mastered color temperature, strategic positioning becomes your next powerful tool for capturing crystal magnificence.
Place your specimens at various angles to maximize reflections that reveal hidden inclusions and enhance visual dynamics.
Combine top and side lighting sources to emphasize the crystal’s three-dimensional form, making facets and edges stand out dramatically.
Layered illumination sculpts crystalline geometry, revealing the hidden architecture within each specimen’s prismatic body.
You’ll create depth by experimenting with the distance between your light sources and the specimen, generating shadows that accentuate texture.
Try positioning your crystal on black acrylic or another reflective surface to create fascinating light interactions that showcase brilliance and color saturation.
When using a macro lens to capture intricate details, precise positioning becomes even more critical—ensure proper focal clarity while minimizing distortion to highlight the crystal’s unique formations.
Frequently Asked Questions
What Is the Best Lighting for Crystals?
For crystal photography, you’ll need a mix of daylight fluorescent and Solux lamps. Use MR-11 halogens for focused light, high CRI LED grids for diffusion, and multiple small light sources to capture sparkle and detail.
Why Is Good Lighting Important in Photography?
Good lighting is important in photography because it’s your primary tool for capturing accurate colors, details, and textures. You’ll achieve better contrast, depth, and overall image quality when you use proper illumination techniques.
What Is the Best Way to Photograph Crystal?
To best photograph crystals, you’ll need balanced lighting using daylight fluorescent and Solux 4700K bulbs, custom white balance settings, a macro lens, and neutral backgrounds. Try different light angles to highlight facets and sparkle.
What Is the Best Lighting for Gemstone Photography?
For gemstone photography, you’ll need balanced lighting using fluorescent daylight bulbs (6500K) or Solux 4700K lamps. Avoid incandescent lights that add yellow tones. Position multiple small light sources to enhance sparkle and brilliance.
In Summary
You’ll find perfect lighting isn’t just about aesthetics—it’s essential science. When you’re capturing crystals, the right setup reveals their true structure, eliminates distracting shadows, and showcases their authentic color and inclusions. Take time to position your lights properly, adjust color temperature, and experiment with angles. Your efforts will transform ordinary crystal photos into stunning scientific documents worth preserving.


Leave a Reply