
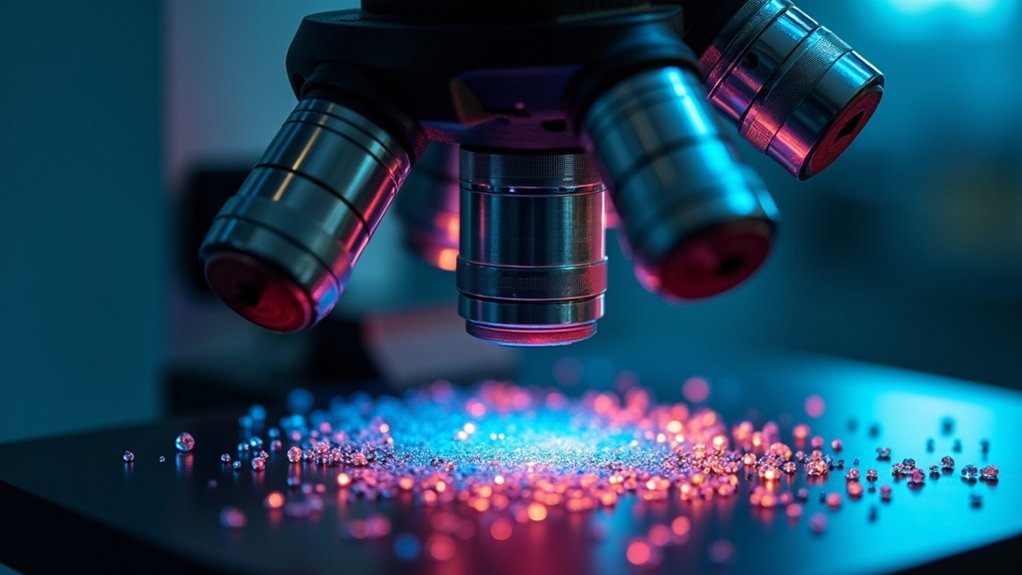
To achieve perfect confocal images, focus on five key settings: optimize X/Y resolution (at least twice your lens resolution), set proper Z-step intervals (0.5-1x the pixel size), prevent signal crosstalk with strategic detection windows, verify colocalization through multi-plane analysis, and eliminate environmental interference with anti-vibration tables and stable room conditions. These adjustments will dramatically sharpen your images and enhance the accuracy of your quantitative analyses. The following techniques will transform your microscopy results.
Master X/Y Resolution for Sharp Image Detail
When setting up your confocal microscope, achieving ideal X/Y resolution is essential for capturing sharp, detailed images.
Remember that your digitization resolution must be at least twice the resolution of your lens to preserve image clarity. You’ll want to select higher sampling rates like 1024 x 1024 or 4096 x 4096 pixels to enhance pixel density and digital data quality.
Many modern confocal microscopes offer an “enhance resolution” button that automatically configures image acquisition settings for optimal results with your current lens.
Don’t forget to consult your confocal software for specific lens specifications and achievable resolutions before finalizing your setup. Properly configured X/Y resolution isn’t just about aesthetics—it’s vital for ensuring accuracy in subsequent quantitative analyses in microscopy, making this step a foundational aspect of successful imaging.
Optimize Z-step Parameters for Accurate 3D Reconstructions
Although researchers often focus primarily on X/Y resolution, properly configured Z-step parameters are equally critical for creating accurate 3D reconstructions.
The z-step resolution you select determines your depth of focus and prevents elongated structures from appearing as mere spots in your final image.
Z-step resolution directly impacts depth perception, ensuring elongated structures maintain dimensional integrity rather than appearing as flattened artifacts.
Set your z-step to approximately 0.5-1 times your xy pixel size to guarantee adequate sampling of your specimen’s depth.
You’ll typically need fewer pixels for z-resolution compared to x/y resolution, allowing efficient imaging without generating excessive data.
This balance is particularly important for morphometric analyses where dimensional accuracy matters.
Prevent Signal Crosstalk With Strategic Detection Windows
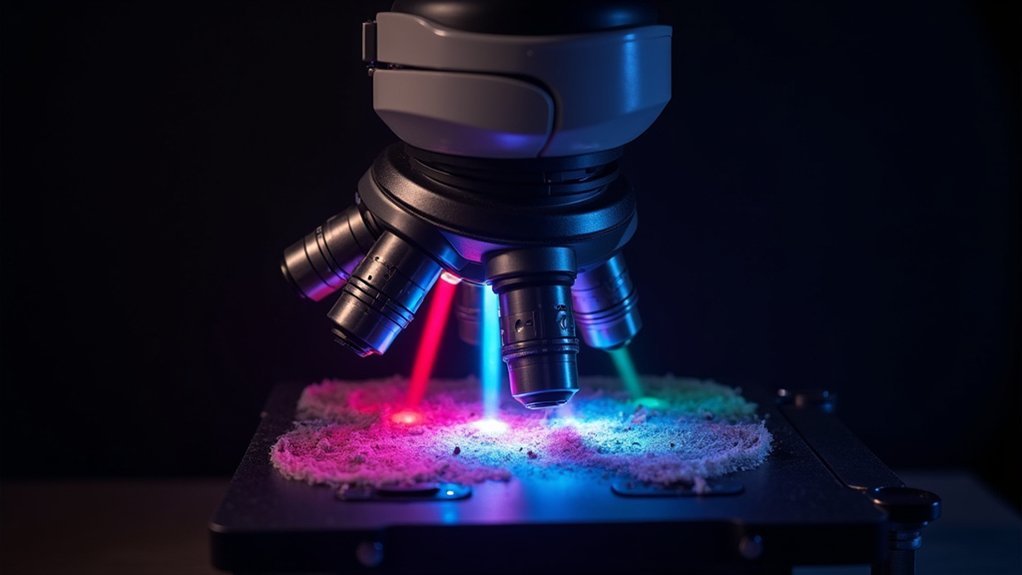
Since fluorescent dyes often possess overlapping emission profiles, preventing signal crosstalk becomes essential for generating reliable confocal images. Your biological samples may show false colocalization if you don’t carefully manage image acquisition conditions.
- Adjust detection windows to minimize spectral overlap between fluorophores
- Test for crosstalk by exciting one dye while monitoring other detection channels
- Implement sequential scanning rather than simultaneous acquisition to separate signals clearly
- Analyze orthogonal sections or individual z-slices instead of collapsed stacks for true colocalization assessment
- Fine-tune emission spectra collection ranges based on your specific dye combinations
Verify True Colocalization Through Multi-Plane Analysis
Identifying true colocalization in confocal microscopy goes beyond observing yellow overlap in merged channels. You’ll need to implement multi-plane analysis to confirm that signals genuinely occupy the same physical space in your fluorescence microscopy images.
Examine individual section evaluations at different depths within your z-stack rather than relying on collapsed projections, which can mislead interpretation. True spatial registration of signals should remain consistent across multiple planes. When signals maintain their overlap throughout various sections, you’re witnessing authentic colocalization.
Enhance accuracy by employing sequential scanning techniques to minimize crosstalk between fluorophores. This approach guarantees that observed signal overlap represents biological reality rather than technical artifacts.
Remember to analyze orthogonal sections to visualize the three-dimensional relationship between signals, providing conclusive evidence of genuine colocalization.
Eliminate Environmental Interference for Stable Imaging
Even the most carefully refined confocal settings can’t compensate for environmental disturbances that compromise image quality.
When image acquisition using your fluorescence microscope is affected by external factors, your data quality suffers regardless of microscope software settings or exposure time adjustments.
To achieve the best image with ideal signal to noise ratio:
Optimize image quality by controlling environmental variables—the foundation of reliable microscopy data acquisition.
- Place microscopes on anti-vibration tables to prevent motion-induced blur and background noise
- Install custom ventilation systems to maintain consistent temperature without disruptive airflow
- Allow samples to equilibrate to room temperature before imaging to prevent condensation
- Monitor and maintain lamp performance to guarantee illumination consistency
- Perform regular time series checks or power meter measurements to verify laser stability throughout extended imaging sessions
Frequently Asked Questions
What Is the Key Feature in the Confocal Microscope’s Design?
The key feature in a confocal microscope’s design is the pinhole aperture. It only allows light from the focal plane to reach your detector, eliminating out-of-focus light and giving you clearer images.
What Is the Best Resolution of a Confocal Microscope?
The best resolution of a confocal microscope depends on your lens’s NA. You’ll get ideal results when you sample at least twice your optical resolution in both X/Y and Z dimensions.
What Is the Optimal Pinhole Size for Confocal?
One Airy unit is your ideal pinhole size for confocal microscopy. You’ll get the best balance between resolution and signal intensity while effectively blocking out-of-focus light. Adjust based on your specific objective’s NA.
Why Are My Confocal Images Grainy?
Your confocal images appear grainy due to low signal-to-noise ratio. You’ll need to adjust your gain settings, improve illumination, optimize binning, and calibrate your microscope for clearer, less noisy results.
In Summary
You’ve now learned the essential confocal settings that transform good images into exceptional ones. By mastering resolution parameters, optimizing Z-steps, preventing crosstalk, verifying colocalization, and eliminating environmental interference, you’ll capture data that’s both beautiful and scientifically sound. Apply these five key adjustments to your next imaging session and you’ll immediately see the difference in image quality and data reliability.


Leave a Reply