To standardize colors across multiple microscopes, you’ll need to establish a consistent color temperature (ideally 5000°K/D50) on all systems. Implement regular white balance protocols using neutral gray calibration slides before each imaging session. Finally, calibrate all display monitors using professional tools to guarantee accurate color reproduction and viewing. These three approaches create a standardized imaging workflow that eliminates color variations between instruments and guarantees reliable results across your research platforms.
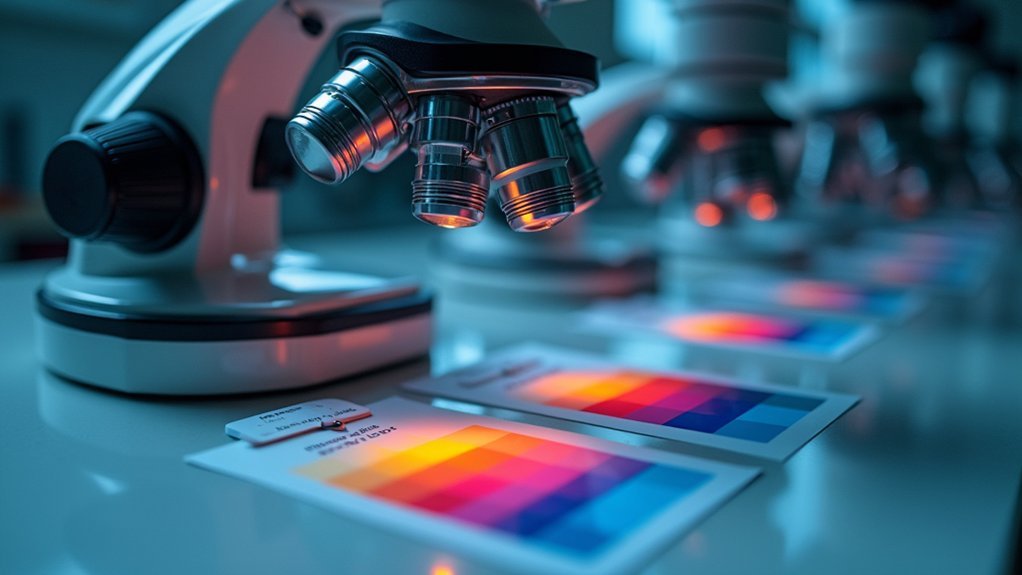
Establishing Standardized Color Reference Systems
Several critical steps are needed to establish reliable color standards across microscopes. First, you’ll need to set a consistent color temperature, typically at 5000°K (D50), across all imaging systems to guarantee standardized color reproduction. This forms the foundation of your color management strategy.
Color standardization begins with uniform temperature settings—the cornerstone of consistent microscopic imaging across all systems.
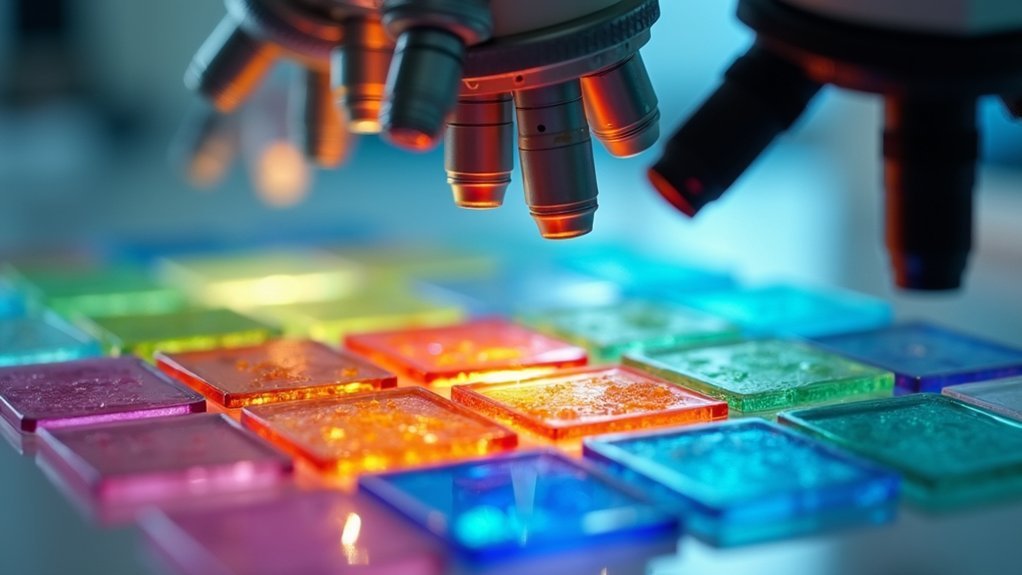
Implementing calibration slides for validation allows you to compare outputs between instruments and verify adherence to your color profiles. When capturing images, regularly adjust the white balance using neutral grey areas to maintain consistent results.
For more precise control, apply a color correction matrix tailored to each camera’s unique sensor characteristics. This image processing step compensates for device-specific variations.
Consider using Daylight Blue Conversion Filters (80A-80D) to adjust your light source’s color balance, further enhancing accurate color representation across your microscope fleet.
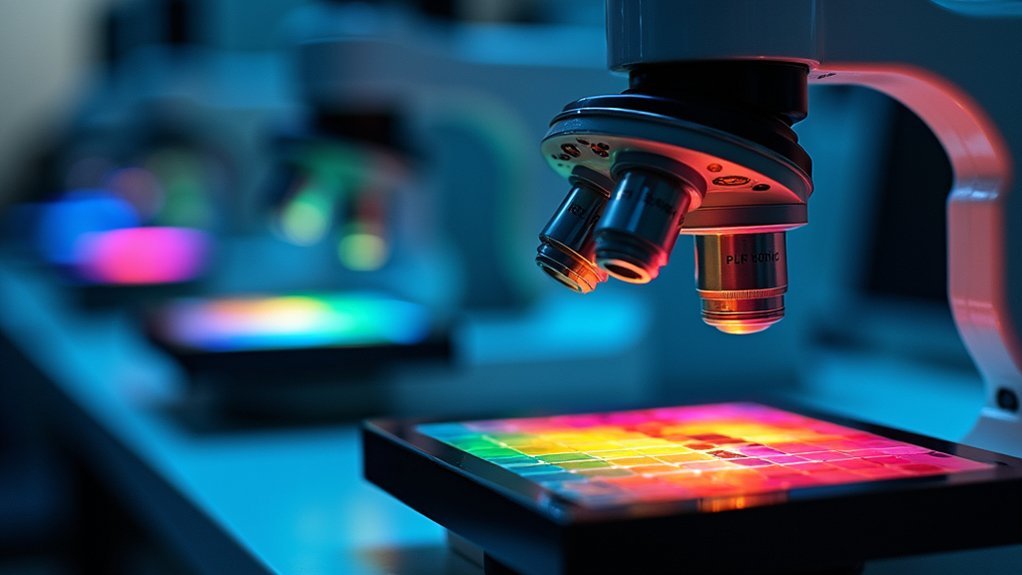
Implementing Consistent White Balance Protocols
While color temperature provides the foundation for standardization, consistent white balance protocols guarantee accurate color reproduction across your microscope fleet.
Establish a standard procedure for each microscope by adjusting the white balance at the beginning of every session using neutral gray calibration slides. You’ll need to determine your light source’s color temperature from manufacturer specifications and apply appropriate filters like Daylight Blue Conversion to achieve uniform color balance.
Regularly calibrate your microscope camera based on specific lighting conditions and tissue sample types.
Don’t overlook the impact of ambient lighting on RGB values and perceived colors. Document all white balance settings for different specimens and light sources, ensuring reproducibility across microscope systems.
This standardized approach will greatly improve consistency when comparing images from multiple instruments.
Calibrating Display Monitors For Accurate Color Reproduction
Even with perfect microscope settings, your imaging workflow can fail if your display monitors aren’t properly calibrated. Studies of HP Compaq displays revealed many monitors fail to accurately reproduce white, which significantly impacts your microscopy images.
You’ll need a display analyzer and calibration tools to guarantee color accuracy across devices. For budget-conscious labs, low-cost in-house calibration slides offer a practical solution for consistent color reproduction.
| Display Condition | Impact on Images | Solution |
|---|---|---|
| Uncalibrated | Poor color differentiation | Regular calibration |
| Calibrated | Accurate color reproduction | Display analyzer use |
| Standardized | Reliable consistency in WSI | Calibration slides |
Proper calibration improves color differentiation and contrast, essential when capturing microscopy images with digital cameras. Ongoing standardization efforts in medical imaging guarantee pathologists can trust color consistency across different viewing platforms.
Frequently Asked Questions
Why Does Color Look Different Under a Microscope?
Colors look different under a microscope because your light sources vary in temperature, camera sensors have different sensitivities than your eyes, and staining techniques can create inconsistencies in how specimens appear.
How to Use Microscope Filters?
You’ll need to insert the filter into the light path below the condenser. Select the appropriate filter for your needs, secure it in place, and adjust your illumination intensity for ideal viewing conditions.
What Is the Temperature of the Light in a Microscope?
Your microscope’s light temperature typically ranges from 3200 K (halogen lamps) to 5000 K (daylight equivalent). You’ll want to adjust this using filters if you need accurate color representation in your specimens.
How Is Color Added to Images Seen From Electron Microscopy?
In electron microscopy, you’re seeing grayscale images initially. Color is added through post-processing software where you’ll apply pseudo-coloring techniques or overlay compositional maps to highlight different structures or elements in your specimen.
In Summary
Standardizing colors across multiple microscopes isn’t optional in today’s precise scientific environment. By establishing reference systems, implementing consistent white balance protocols, and calibrating your display monitors, you’ll guarantee reliable and reproducible imaging results. Whether you’re collaborating across labs or publishing research, these three approaches will help you maintain color consistency that’s essential for accurate analysis and interpretation of microscopic data.


Leave a Reply