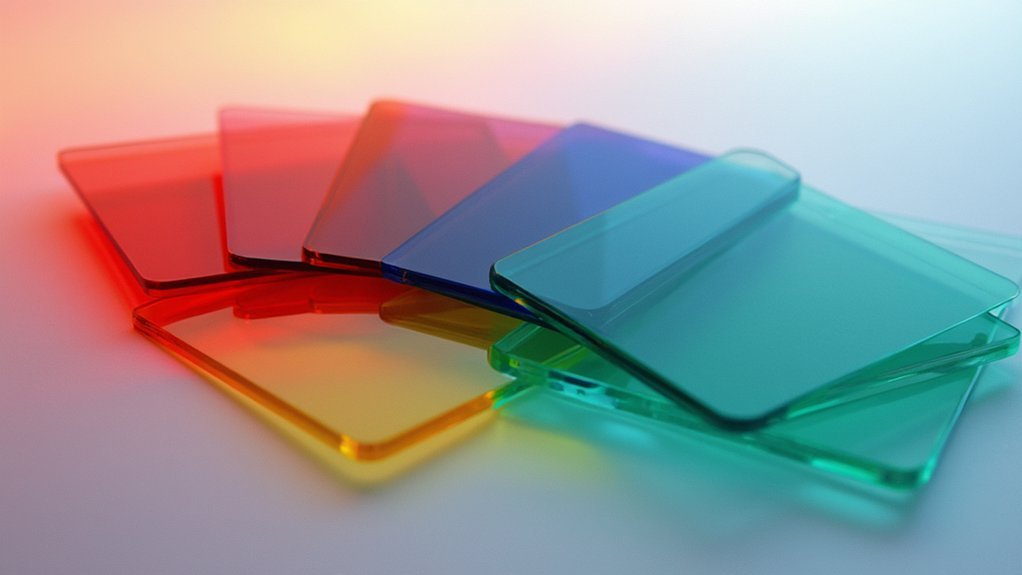
Effective color calibration for histology slides requires attention to the entire imaging pipeline. You’ll need to standardize specimen thickness (4-7μm), implement consistent staining protocols, and regularly calibrate both scanners and displays. Use color patch targets and ICC profiles to bridge captured and displayed RGB values. Confirm daily quality checks of scanner colors and monitor settings. These systematic approaches transform subjective color assessment into quantifiable metrics that greatly improve diagnostic confidence.
Color Calibration Guide for Better Histology Slides
While pathologists have traditionally relied on their expertise to interpret physical slides, the shift toward digital pathology demands precise color calibration to maintain diagnostic accuracy.
You’ll need to implement color calibration protocols that guarantee your digital images faithfully represent the original stained tissue. Use spectral measurements of your histology slides as input values and colorimeter readings from your display monitors as output values. This data allows you to create ICC profiles that standardize colors across different whole slide imaging systems.
For reliable results, validate your calibration regularly using target slides with measurable color patches that mimic actual tissue stains.
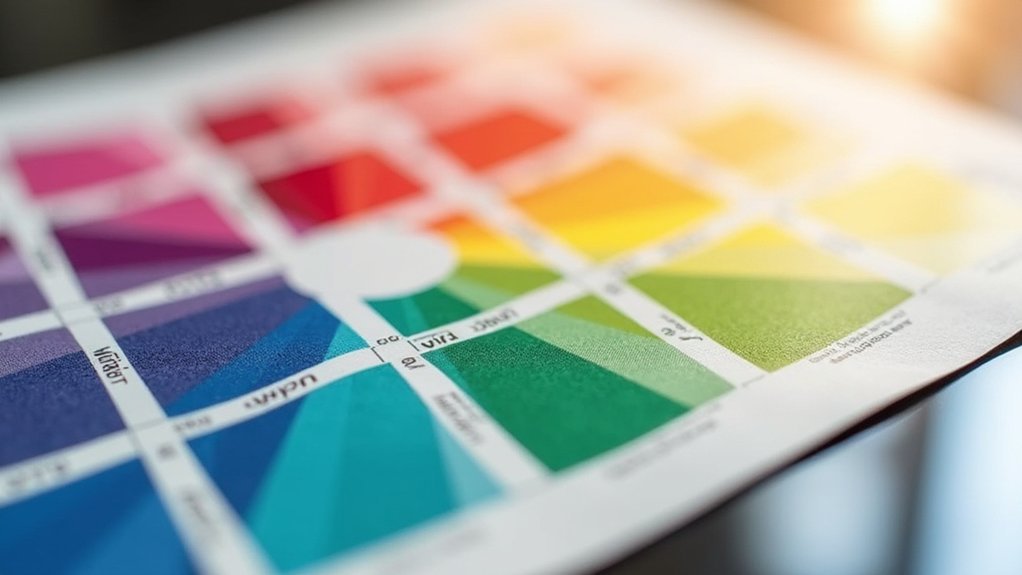
Understanding Color Variation in Digital Pathology
Although digital pathology offers revolutionary advantages for diagnosis and research, significant color variation challenges persist across the digital workflow.
When you’re examining digital slides, you’ll encounter color representation inconsistencies stemming from multiple factors impacting your interpretation and analysis.
- Specimen thickness variations (4-7 micrometers) creating subtle but critical color intensity differences
- Staining protocols differing between laboratories, causing H&E color profile discrepancies
- Scanner technology variations producing inconsistent color capture across different models
- Calibration differences between imaging systems altering the final color output you observe
- Display settings on viewing devices further transforming how colors appear on your screen
Understanding these sources of color variation will help you implement appropriate calibration strategies and standardization methods, essential for reliable diagnostic interpretations in the digital pathology environment.
Essential Components of the Histology Imaging Pipeline
The success of your digital pathology workflow hinges on proper scanner-display color harmonization, which guarantees that what you see on screen accurately reflects the original tissue sample.
You’ll need to implement standardized slide thickness protocols of 4-5 micrometers to minimize staining variability and enhance image consistency across your laboratory.
Regular calibration of both scanners and displays using color reference charts will maintain the essential color fidelity needed for accurate diagnoses.
Scanner-Display Color Harmonization
Accurate diagnosis in digital pathology hinges on precise color representation throughout the imaging pipeline. When you’re examining digital slides, what you see should match the physical specimen’s true colors.
Effective color management requires calibrating both your scanner’s input and monitor’s output to achieve scanner-display color harmonization.
- Measure slide colors under D50 lighting using spectral methods
- Assess monitor output with colorimeters or spectrophotometers
- Create ICC profiles to bridge the gap between captured and displayed RGB values
- Compare digital colors against traditional microscopy observations
- Utilize commercial calibration targets and slides for consistent results
Without proper calibration, the colors you see on-screen may markedly differ from actual stain appearances, potentially leading to misinterpretation.
Your diagnostic accuracy depends on systematic color calibration across all devices in your workflow.
Slide Thickness Standardization
Consistent specimen thickness represents a critical yet often overlooked variable in the histology imaging pipeline. Your slide thickness directly impacts staining quality and color representation in digital images. While the standard range in the US is 4-7 µm, variations can greatly affect your imaging outcomes.
| Thickness Factor | Impact on Color Accuracy |
|---|---|
| Too thick (>7 µm) | Uneven stain penetration |
| Too thin (<4 µm) | Poor tissue representation |
| Variable thickness | Inconsistent color profile |
| Standard (4-7 µm) | Ideal stain absorption |
| Lab-to-lab variance | Complicates interpretation |
Implementing slide thickness standardization guarantees reliable color reproduction across your digital pathology workflow. When thickness varies, even automated staining machines cannot fully compensate for the resulting color inconsistencies. Pathologists require these standards for accurate color interpretation, especially when applying digital analysis algorithms that depend on consistent visual characteristics.
Measuring and Standardizing Specimen Thickness
You’ll need to carefully monitor tissue section thickness to guarantee ideal color representation in histology slides, as variations between 4-7 μm can greatly impact staining consistency and diagnostic accuracy.
Regular microtome calibration using manufacturer-specified procedures helps maintain precise cutting parameters and reduces thickness variability across specimens.
For digital pathology applications, standardizing to 5 μm thickness provides the best balance between cellular detail visibility and staining uniformity, particularly when implementing automated image analysis algorithms.
Measuring and Standardizing Specimen Thickness
While pathologists rely heavily on visual interpretation, the foundation of reliable histological assessment begins with proper specimen thickness.
You’ll find that maintaining consistent thickness between 4-7 micrometers is essential for accurate color representation across all samples. Variations in thickness directly impact staining intensity, potentially leading to misinterpretation during digital analysis.
- Microtome blades cutting through tissue with precision, yielding paper-thin sections that float onto water baths
- Technicians carefully mounting translucent tissue ribbons onto glass slides with steady hands
- Light passing uniformly through properly sectioned specimens, revealing cellular details
- Side-by-side comparison of consistent versus variable thickness samples showing dramatic color differences
- Digital measurement tools verifying specimen thickness with micrometer precision before staining procedures
Microtome Calibration Techniques
Achieving the ideal specimen thickness begins with proper microtome calibration. You’ll need to guarantee your instrument consistently cuts sections within the standard 4-7 μm range required for peak staining and interpretation.
Calibrate your microtome regularly to avoid thickness variability that can lead to inconsistent staining and potentially compromised diagnostic accuracy.
When preparing specimens for whole slide imaging, thickness uniformity becomes even more critical for color standardization. Check your microtome settings before each cutting session and verify actual section thickness periodically using specialized measurement tools.
While automated microtome systems improve consistency, they still require routine verification. Implement a standardized calibration protocol in your laboratory and document all adjustments.
This systematic approach will greatly reduce variability across specimens and enhance the reliability of your histological preparations.
Optimal Thickness Parameters
Three critical factors determine the success of histological color calibration, with specimen thickness standing at the forefront. To achieve consistent staining and reliable whole slide imaging results, you’ll need to maintain thickness within the ideal thickness range of 4-7 micrometers. This standardization directly impacts color fidelity and diagnostic accuracy.
- Precise microtome adjustments creating tissue sections that catch light consistently
- Uniform specimen thickness producing even stain penetration across the entire sample
- Carefully calibrated cutting depth revealing cellular structures in perfect detail
- Standardized thickness parameters eliminating shadow artifacts in digital images
- Consistent sectioning technique allowing algorithms to accurately interpret color values
When specimens deviate from target thickness, color variations emerge that can compromise diagnostic interpretation, especially in larger tissues where maintaining uniformity becomes particularly challenging.
Optimizing Staining Protocols for Consistent Results
Because consistent staining directly impacts diagnostic accuracy, laboratories must establish rigorous protocols for histology slide preparation.
You’ll need to implement standardized staining protocols that account for the 4-7 micrometer thickness range required for specimens in the USA. Even minor variations can notably alter color representation and compromise image analysis outcomes.
Consider incorporating automated staining machines to enhance consistency, but remember they don’t eliminate inter-laboratory variability. You should regularly validate your staining protocols to confirm reproducibility across different digital pathology systems.
While accommodating pathologists’ color preferences, maintain adherence to established standards. This balance between flexibility and standardization is essential for reliable diagnoses.
Regular validation of your protocols will help minimize discrepancies and improve the consistency of your histological preparations.
Scanner Calibration Techniques for Accurate Color Reproduction
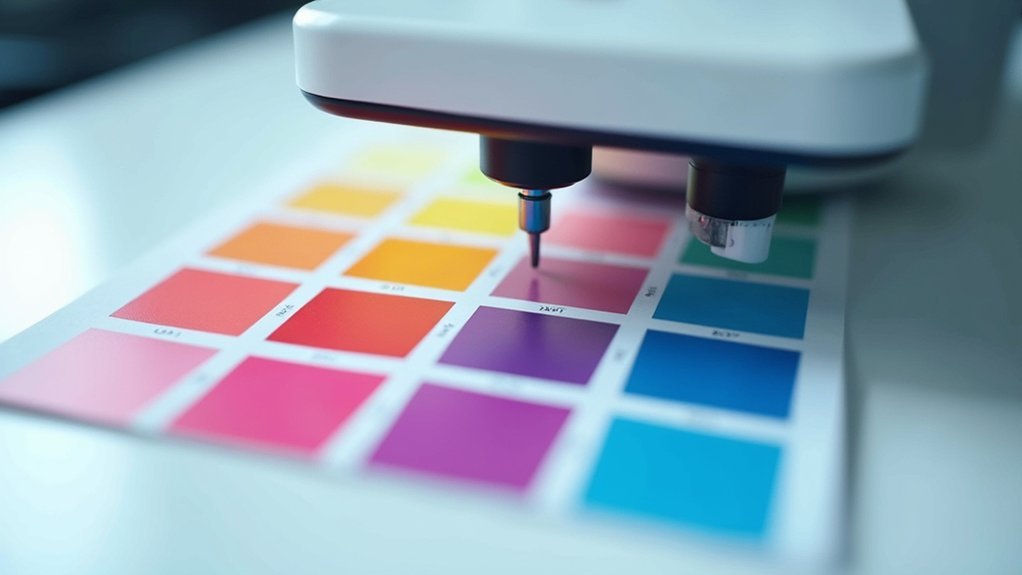
To guarantee diagnostic reliability in digital pathology, proper scanner calibration stands as a fundamental requirement.
You’ll need to implement scanner calibration techniques using target slides with color patches that mimic stained tissue. Since different scanner models produce varying color values, calibrate each device individually to maintain consistency.
Use a colorimeter or spectrophotometer to measure output colors and create an ICC profile that accurately converts RGB values. Regular calibration prevents misinterpretation of histological slides by ensuring color fidelity.
Color calibration isn’t optional—it’s the foundation of reliable diagnostic pathology in the digital era.
- Target slide positioned precisely on scanner bed, vibrant color patches ready for measurement
- Colorimeter capturing exact hue values from microscopic structures
- Software comparing actual vs. expected values, adjusting parameters
- ICC profile being applied to transform raw scanner data into accurate tissue representation
- Side-by-side comparison of pre- and post-calibration images showing dramatic improvement
Display Evaluation and Monitor Calibration Methods
While scanner calibration guarantees accurate image capture, your display systems represent an equally critical component in the diagnostic chain. You’ll need proper display analyzers and calibration tools to assess color accuracy across your display monitors. HP Compaq LA 1750 evaluations have shown significant variations in color reproduction between seemingly identical monitors.
| Calibration Component | Purpose | Frequency |
|---|---|---|
| Display Analyzer | Measures color values | Quarterly |
| Low-cost Calibration Slide | Daily accuracy checks | Weekly |
| ICC/CIE Standards | Guarantees compliance | Initially |
Implement a low-cost in-house calibration slide to regularly verify your display monitor accuracy. This simple practice dramatically improves diagnostic confidence by guaranteeing reliable color differentiation. Your calibration process should adhere to ICC, CIE, and ISO standards for best results in digital pathology applications.
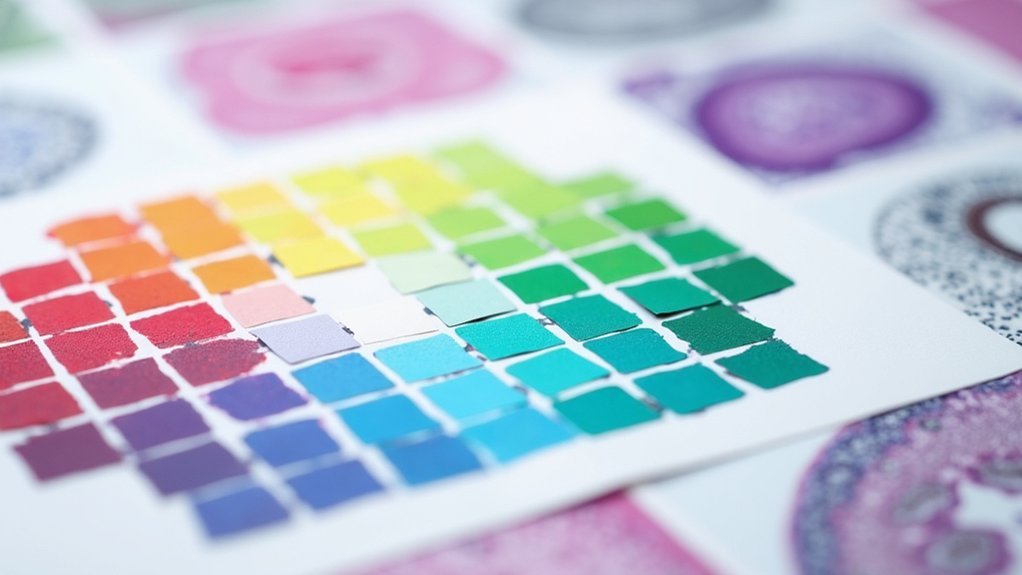
Creating and Using Custom Calibration Slides
Although commercial calibration slides serve as valuable tools, creating your own custom calibration slides provides superior control over color matching specific to your laboratory’s needs.
Design slides with color patches that mimic your specific tissue stains’ spectral characteristics for accurate comparisons. You’ll achieve better color fidelity across different scanners and displays by incorporating measurable RGB values that correspond to your histology stains.
- Vibrant H&E-matched purple and pink patches arranged in a gradient pattern
- Precise color blocks representing common immunohistochemical stain hues
- Microscopic checkerboard patterns with alternating tissue-like colors
- Reference patches showing both ideal and suboptimal staining intensities
- Measurement zones with embedded calibration targets for scanner alignment
Implement a regular protocol using these custom calibration slides to check display accuracy and reduce diagnostic discrepancies related to color reproduction.
Implementing ICC Color Profiles in Whole Slide Imaging
Since consistent color reproduction is critical for diagnostic accuracy, implementing ICC (International Color Consortium) color profiles in Whole Slide Imaging offers pathology laboratories a standardized framework for color management.
These profiles help convert scanner-captured RGB values to match human visual perception, reducing variations between different imaging systems.
ICC profiles transform raw scanner data into standardized colors that mirror how the human eye perceives tissue specimens.
You’ll find that device-specific ICC profiles are essential in digital pathology for maintaining color fidelity across diverse hardware configurations. They enable proper validation of AI diagnostic algorithms by ensuring consistent color representation.
When you implement these profiles, you’re also aligning with FDA guidelines for diagnostic accuracy.
Your calibration specialists should regularly validate ICC profiles to maintain compliance with international standards including CIE and ISO, ultimately supporting pathologists in making reliable interpretations from histology slides.
Quality Assurance Protocols for Color Fidelity
You’ll need robust color standardization methods to guarantee consistent interpretation of histology slides across different systems and viewing conditions.
Daily calibration procedures should include scanner color checks using reference slides with known staining characteristics and regular monitor calibration with hardware tools.
Digital validation tools can help you verify color accuracy by comparing captured images against established reference standards, allowing for immediate correction of any deviations in hue, saturation, or brightness.
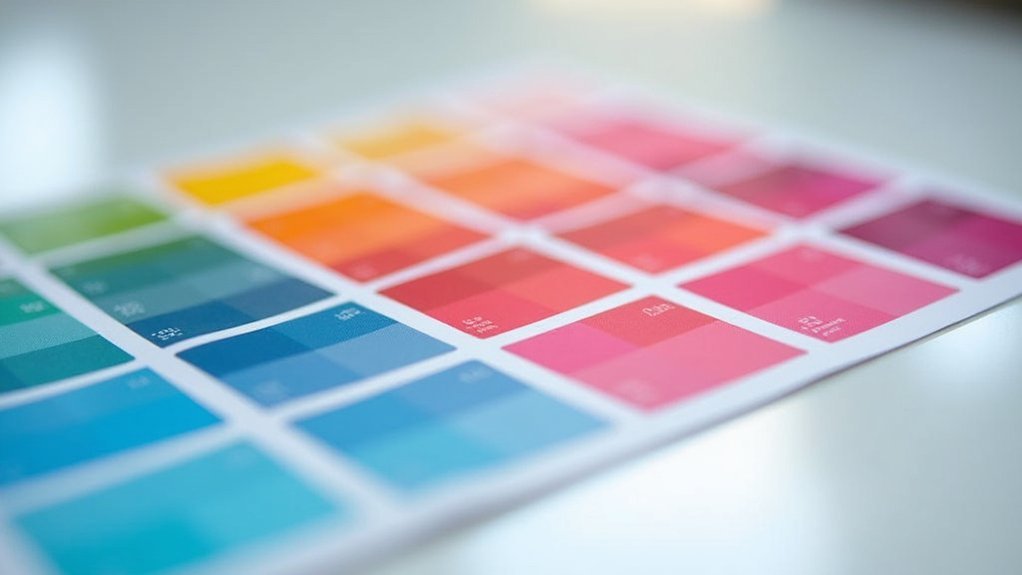
Color Standardization Methods
While digital pathology has revolutionized histological analysis, maintaining consistent color representation across different systems remains a significant challenge.
You’ll need to implement ICC standards specific to your devices to guarantee accurate color reproduction and minimize color shift between scanners. Regular calibration using color targets with measurable patches aligns digital slide output with expected tissue appearances.
- Measure your scanner’s color accuracy using standardized color targets
- Create validation datasets comparing truth, intended, and actual output colors
- Implement device-specific ICC profiles for each scanner in your laboratory
- Calibrate both scanning devices and display monitors to create end-to-end fidelity
- Collaborate with vendors to address calibration challenges specific to your workflow
Don’t underestimate the impact of proper standardization—it directly affects diagnostic accuracy and laboratory efficiency across multiple sites.
Daily Calibration Procedures
A consistent daily calibration routine forms the backbone of reliable histopathology color reproduction. You’ll need to assess color accuracy of your digital scanners using standardized targets to guarantee consistency across devices. Use colorimeters or spectrophotometers to measure monitor output against input values from captured slides.
| Calibration Task | Frequency | Documentation |
|---|---|---|
| Scanner color check | Daily | Log results and adjustments |
| Monitor measurement | Daily | Compare to reference values |
| Display settings review | Daily | Verify ICC profile alignment |
Remember to adjust your calibration protocols for variations in specimen thickness and staining processes. By documenting your calibration results daily, you’ll track color fidelity over time, making it easier to troubleshoot any discrepancies that arise in your workflow.
Digital Validation Tools
Building upon daily calibration practices, digital validation tools now serve as the next layer of quality assurance for histology color fidelity. Your digital systems require consistent validation to guarantee accurate tissue representation across all imaging platforms.
Implementing ICC profiles helps bridge color discrepancies between scanners and displays, greatly improving diagnostic confidence.
- Color patch targets with known spectral characteristics creating visible benchmarks
- Real-time color measurement tools highlighting deviations from expected values
- Automated software comparing scanner outputs against international standards
- Statistical analysis dashboards tracking color consistency across multiple slides
- Side-by-side validation displays showing microscope vs. digital representation differences
Regular assessment of your calibration targets guarantees your WSI workflow maintains color fidelity that meets internationally accepted standards.
This systematic approach transforms subjective color assessment into quantifiable metrics that support reliable diagnostic interpretations.
Frequently Asked Questions
How Often Should Color Calibration Be Performed?
You should perform color calibration daily for routine work and whenever lighting conditions change. Weekly calibration may suffice if your laboratory environment remains stable. Always calibrate after equipment maintenance or replacement.
Can AI Assist in Automating the Color Calibration Process?
Yes, AI can help automate your color calibration process through machine learning algorithms that analyze histology images, detect color variations, and make adjustments. You’ll benefit from consistent calibration without manual intervention.
How Do Color Standards Differ Between Different Countries?
Color standards vary across countries due to different regulatory bodies setting unique specifications. You’ll find diverse tolerances, reference materials, and technical parameters in places like the US, Japan, and Europe.
What Impact Does Ambient Lighting Have on Color Perception?
Ambient lighting dramatically alters your color perception. You’ll see warmer tones under yellowish light, cooler hues under fluorescent lighting. It’s why you should maintain consistent lighting when evaluating colors for accurate interpretation.
Are There Portable Solutions for Color Calibration in Remote Settings?
Yes, you’ll find portable colorimeters, calibration cards, and smartphone apps that work in remote settings. These pocket-sized tools can maintain consistent color standards wherever you’re working, without requiring bulky equipment or stable environments.
In Summary
You’ve now mastered the essentials of color calibration for your histology slides. By controlling specimen thickness, optimizing stains, calibrating your monitors, and implementing quality protocols, you’ll produce consistent, reliable results. Remember that color standardization isn’t just technical—it’s critical for accurate diagnoses. Apply these techniques to your workflow, and you’ll see immediate improvements in your digital pathology images and interpretation accuracy.


Leave a Reply