The three best brightfield microscope camera exposure settings are: 1) Aim for 50-75% of your camera’s dynamic range for ideal detail, 2) Utilize consistent exposure times across samples for accurate quantitative comparisons, and 3) Regularly monitor your histogram to prevent pixel saturation. You’ll get clearer images by adjusting exposure based on specimen type—shorter for live cells, longer for stained samples. These techniques will transform your microscopy results from merely acceptable to truly professional-grade.
Balancing Exposure Time and Dynamic Range in Brightfield Imaging
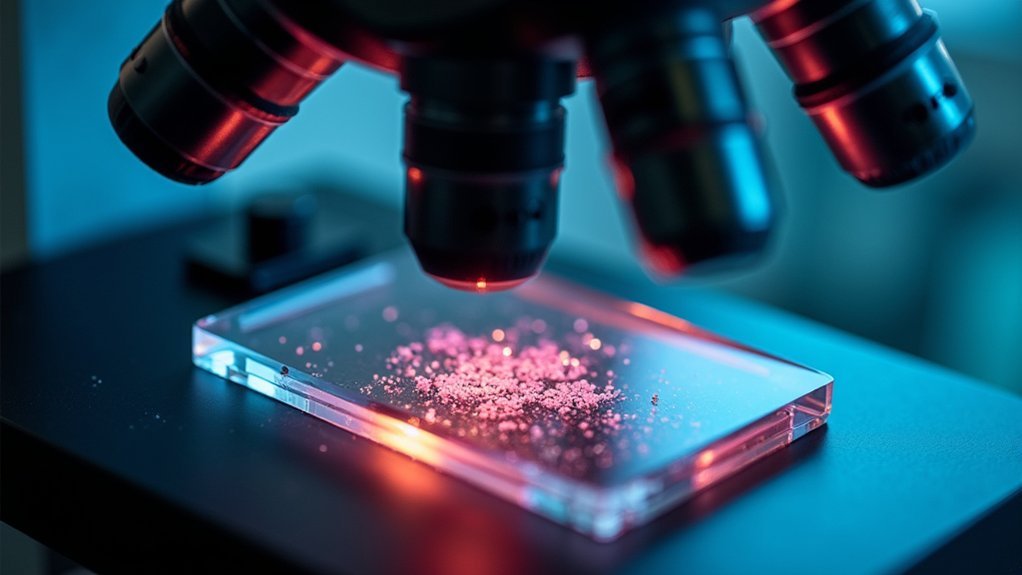
When setting up your brightfield microscope camera, finding the sweet spot for exposure time is critical to capturing the full detail of your specimen.
You’ll want to aim for 50-75% of your camera’s dynamic range to maximize image quality without oversaturating pixels.
Monitor your histogram regularly during acquisition—it’s your best guide to guaranteeing pixel intensity remains below saturation thresholds while still capturing sufficient detail from your biological samples.
The histogram is your microscopy compass—revealing the fine line between rich detail capture and damaging pixel saturation.
For meaningful quantitative comparisons, maintain consistent exposure times across all related specimens, especially when comparing treated versus control groups.
Don’t hesitate to use trial and error when adjusting exposure settings.
The ideal configuration will vary based on illumination conditions and sample staining intensity.
This methodical approach guarantees you’ll achieve the clearest images with the most accurate representation of your specimen’s features.
Optimizing Illumination Intensity for Clearer Sample Visualization
Beyond exposure time settings, your microscope’s illumination intensity directly impacts image quality in brightfield microscopy. Aim for 50-75% of your camera’s dynamic range to achieve the best contrast without overexposure. LED light sources provide the most stable illumination for consistent sample visualization.
| Illumination Level | Effect on Image | Recommended Action |
|---|---|---|
| Too Low | Underexposed, poor detail | Increase intensity, monitor histogram |
| Best (50-75%) | Balanced contrast | Maintain settings, check histogram curve |
| Too High | Overexposure, lost detail | Reduce intensity to prevent saturation |
| Uneven | Inconsistent clarity | Apply white-referencing techniques |
| Fluctuating | Unreliable results | Calibrate system, use stable LED sources |
Always check your histogram while adjusting illumination intensity. When pixels cluster at the extremes, you’re losing valuable image data. Regular calibration guarantees your microscope cameras maintain the best performance for reliable results.
Practical Exposure Adjustments for Different Brightfield Specimen Types
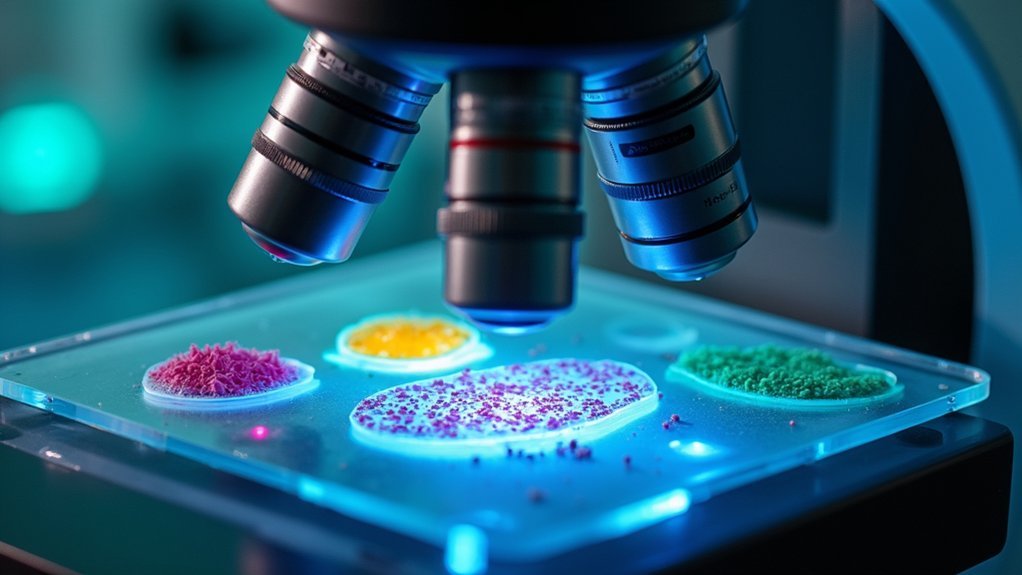
Different specimen types in brightfield microscopy require specific exposure adjustments to maximize detail capture and prevent damage. For stained specimens, set your camera’s exposure time based on the brightest expected signal, ensuring ideal dynamic range without pixel saturation.
Exposure calibration must match specimen type for optimal imaging and preservation of cellular integrity.
When imaging live cells or transparent specimens, use shorter exposure times to minimize light damage while maintaining essential details.
- Monitor your histogram during image acquisition to verify pixel intensities fall within 50-75% of the camera’s ideal range.
- Apply identical exposure settings across control and treated samples for accurate quantitative analyses.
- Increase exposure time for detailed morphological features in stained samples without exceeding dynamic range.
- Unlike fluorescence microscopy, brightfield signal intensity variations require careful balancing of exposure times to prevent overexposure while capturing sufficient detail.
Frequently Asked Questions
What Determines the Correct Exposure Time Needed to Take a Digital Image?
You’ll determine correct exposure time by your sample’s brightness—setting duration based on the brightest expected signal while avoiding pixel saturation to maintain image quality and utilize your camera’s full dynamic range.
What Is the Exposure Time for GFP?
For GFP imaging, you’ll need exposure times between 100-500 milliseconds depending on your sample’s brightness. You should adjust this to use 50-75% of your camera’s dynamic range to avoid saturation.
What Is the Exposure Time for a Camera?
Exposure time is how long your camera’s sensor collects light. You’ll need to adjust it based on your subject’s brightness, typically ranging from milliseconds to seconds depending on lighting conditions.
What Is the Exposure Time for Fluorescence Microscopy?
For fluorescence microscopy, you’ll need to adjust exposure time based on your sample’s brightness. You should optimize it to capture strong signals without saturation, typically ranging from milliseconds to several seconds depending on fluorophore intensity.
In Summary
Mastering brightfield microscope camera exposures doesn’t need to be complicated. You’ll achieve the best results by balancing exposure time with dynamic range, optimizing your illumination intensity, and adjusting settings for different specimen types. Remember, it’s all about finding the sweet spot for your specific sample. With these three approaches, you’re well-equipped to capture crisp, detailed brightfield images that reveal your specimen’s true nature.

Leave a Reply