Microscope light angles dramatically improve image quality through oblique illumination for better contrast, angled light for transparent specimens, adjustable condenser angles, strategic positioning for 3D effects, off-axis techniques for fine structures, precise angle control to reduce glare, and combined light angles for thorough analysis. You’ll see previously invisible details and subtle structures pop with these simple adjustments. Discover how these techniques can transform your microscopy from basic to professional-grade.
Mastering Oblique Illumination for Enhanced Contrast
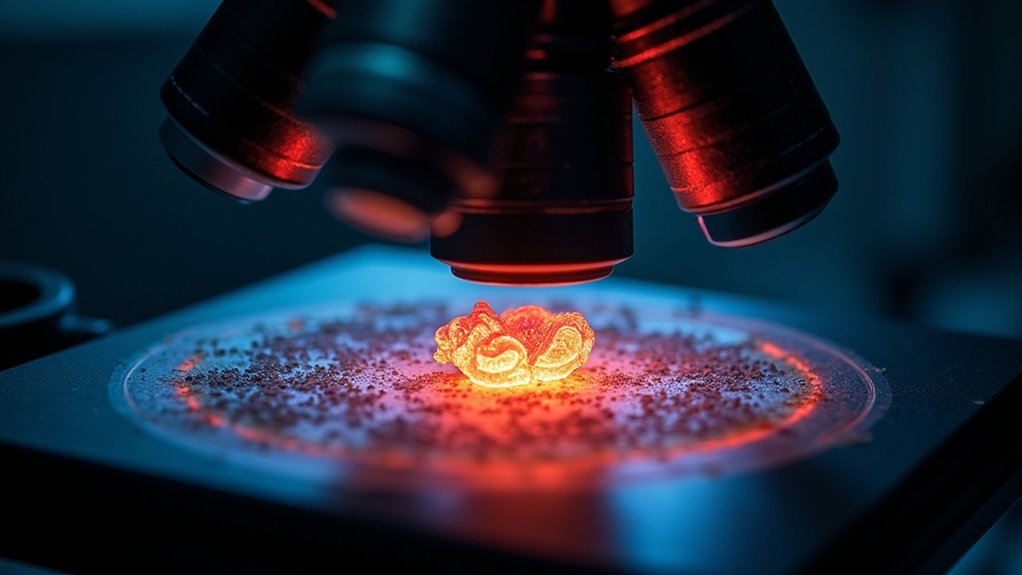
While standard microscopy often falls short with transparent specimens, oblique illumination transforms how you’ll view challenging samples. By directing light at an angle to your specimen, you’re allowing only scattered light to enter the objective, dramatically improving contrast and visualizing details that would otherwise remain hidden.
You’ll notice this technique particularly excels at highlighting edges and surface structures in transparent samples. With simple adjustments to the angle of the illuminating light, you can emphasize specific features while reducing background distractions, resulting in superior image quality similar to what you’d achieve with expensive DIC microscopy.
For best results, practice consistent positioning of your light source. This attention to technique guarantees reproducibility in capturing high-contrast images, making oblique illumination an essential skill for both research and educational settings.
The Art of Angled Light for Transparent Specimens
Transparent specimens present unique challenges that standard brightfield microscopy often fails to address, but mastering angled lighting techniques will transform your imaging capabilities.
When you direct angled light at transparent specimens, you’ll achieve dramatically improved contrast as scattered light reveals previously invisible details.
Try dark field microscopy, where only scattered light forms the image, making transparent biological samples appear bright against a dark background. You can mimic expensive differential interference contrast by adjusting your condenser aperture diaphragm to control the illumination angle, enhancing surface textures cost-effectively.
Remember that light angle impacts your numerical aperture—proper alignment guarantees ideal resolution by filling the objective’s back focal plane.
You’ll minimize artifacts and maximize clarity of images by carefully positioning your light source, critical for accurate analysis of delicate transparent structures.
Optimizing Bright Field Settings With Adjustable Condenser Angles
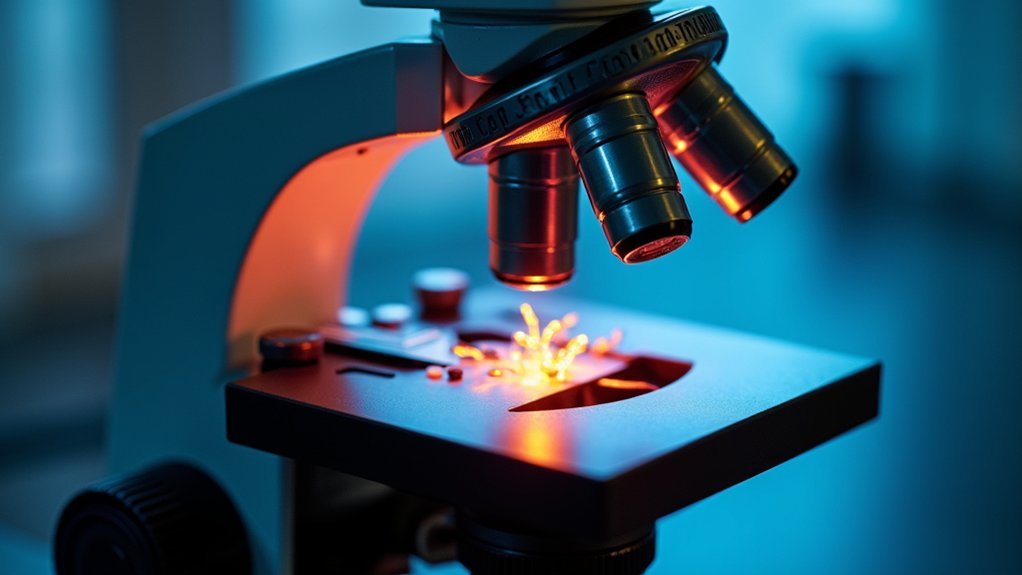
When setting up Kohler illumination, you’ll need to align your condenser precisely with the objective to guarantee light fills the back focal plane completely.
You can dramatically improve contrast by adjusting your condenser’s aperture diaphragm, controlling the angle of light that reaches your specimen.
These adjustments aren’t just technical requirements—they’re powerful tools that help you reveal structural details in transparent specimens that would otherwise remain invisible.
Kohler Illumination Essentials
To achieve the crisp, high-contrast images that distinguish professional microscopy work, mastering Kohler illumination is essential. By ensuring your light source produces parallel rays entering the objective lens, you’ll create a uniform light field that dramatically enhances image clarity.
Proper alignment of your condenser lens is vital – adjust its height to focus light precisely on your specimen for ideal resolution. The aperture diaphragm controls both the illuminating light cone angle and numerical aperture, directly affecting your resolving power and depth of field.
You’ll notice immediate improvements in image brightness when your condenser is correctly positioned.
Remember that successful Kohler illumination requires careful positioning of three key components: light source, condenser, and diaphragm. This methodical setup eliminates uneven illumination that can obscure important specimen details.
Contrast Enhancement Techniques
Bright field microscopy becomes markedly more powerful once you’ve mastered adjustable condenser angles. By fine-tuning your condenser position, you’ll greatly enhance sample illumination and reveal details that might otherwise remain hidden.
The aperture diaphragm is your primary tool for controlling contrast—narrowing it increases contrast but reduces resolution, while opening it does the opposite.
After achieving proper Kohler illumination, experiment with oblique illumination by slightly offsetting your condenser. This technique mimics dark field effects, making transparent specimens more visible without special equipment.
For maximum brightness across your field of view, pair high-intensity light sources like LEDs with optimized condenser angles. Remember that proper alignment between your condenser and objective lens is essential for uniform illumination and glare reduction.
These adjustments transform standard microscopy into a more versatile imaging approach.
Creating Pseudo-3D Effects Through Strategic Light Positioning
Although microscope specimens exist on fundamentally flat planes, strategic manipulation of light angles can transform two-dimensional views into striking pseudo-3D images. By positioning your light source at oblique angles, you’ll create shadows that highlight surface textures and reveal fine details otherwise invisible under direct illumination.
Try differential interference contrast techniques to produce enhanced depth perception through controlled shadow formation. Your optical system becomes more versatile when you adjust the illumination angle to emphasize edges and boundaries of transparent specimens.
For even more dramatic results, incorporate polarized light to reveal birefringent properties within your sample, adding another dimension of visual information.
Don’t hesitate to experiment with various lighting configurations—each adjustment offers new perspectives that can dramatically alter how specimen features appear, turning flat observations into rich, textured visualizations with remarkable pseudo-3D effects and improved contrast.
Revealing Fine Structures With Off-Axis Illumination Techniques

When traditional bright field microscopy falls short in revealing minute specimen details, off-axis illumination techniques emerge as powerful alternatives for visualizing delicate structures.
Dark field microscopy positions light at oblique angles, creating bright specimens against dark backgrounds—ideal for transparent samples where fine structures would otherwise remain invisible.
You’ll find oblique illumination mimics differential interference contrast effects without expensive equipment, giving your specimens a three-dimensional appearance with enhanced contrast.
By collecting only scattered light, these methods improve resolution of cellular components and delicate organisms typically lost in standard illumination.
For better photomicrography results, try adjusting your light angle to minimize glare.
These techniques highlight fine structures by emphasizing scattered light, revealing intricate details that conventional methods miss—transforming ordinary observations into extraordinary discoveries.
Reducing Glare With Precise Light Angle Control
To minimize microscope glare, you’ll need to adjust your lamphouse position so the light beam strikes the specimen at a preferred angle—typically 45° for most applications.
You can fine-tune this positioning by tilting the light source slightly until reflective glare diminishes and specimen details become sharper.
Adding polarizer filters to your optical path will further reduce unwanted reflections, as they’ll only allow light waves oriented in specific directions to pass through, dramatically improving contrast in reflective specimens.
Lamphouse Positioning Techniques
Since proper illumination forms the foundation of quality microscope imagery, mastering lamphouse positioning techniques becomes essential for any serious microscopist.
You’ll find that direct adjustment of the lamphouse considerably affects the illumination angle, enhancing contrast while reducing glare by directing light precisely onto your specimen.
To achieve ideal Köhler illumination, experiment with different lamphouse positions relative to the optical path. This guarantees even lighting across your field of view and minimizes unwanted reflections.
When working with high-magnification microscopy, proper alignment maximizes numerical aperture, improving resolution and detail.
Don’t overlook the variable aperture diaphragm—use it alongside lamphouse adjustments to control the light cone angle.
This combination is particularly effective for transparent samples, where carefully angled illumination can dramatically increase visibility and image clarity.
Polarizer Filter Applications
Building upon effective lamphouse positioning, polarizer filters represent a powerful tool in your microscopy arsenal. By controlling the angle of illuminating light, you’ll greatly reduce glare while enhancing contrast of transparent specimens.
Properly aligning polarizers with your microscope’s optical components markedly improves image quality, revealing details otherwise obscured by scattered light.
For best results with polarizer filters:
- Adjust the polarizer angle when examining birefringent materials to reveal their unique optical properties and structural characteristics
- Combine a polarizer with a compensator for precise quantification of optical path differences in complex specimens
- Fine-tune brightness and polarization during photomicrography to achieve superior sharpness and detail in your final images
This technique transforms ordinary observations into extraordinary revelations, particularly with specimens that manipulate light in subtle ways.
Combining Multiple Light Angles for Comprehensive Specimen Analysis
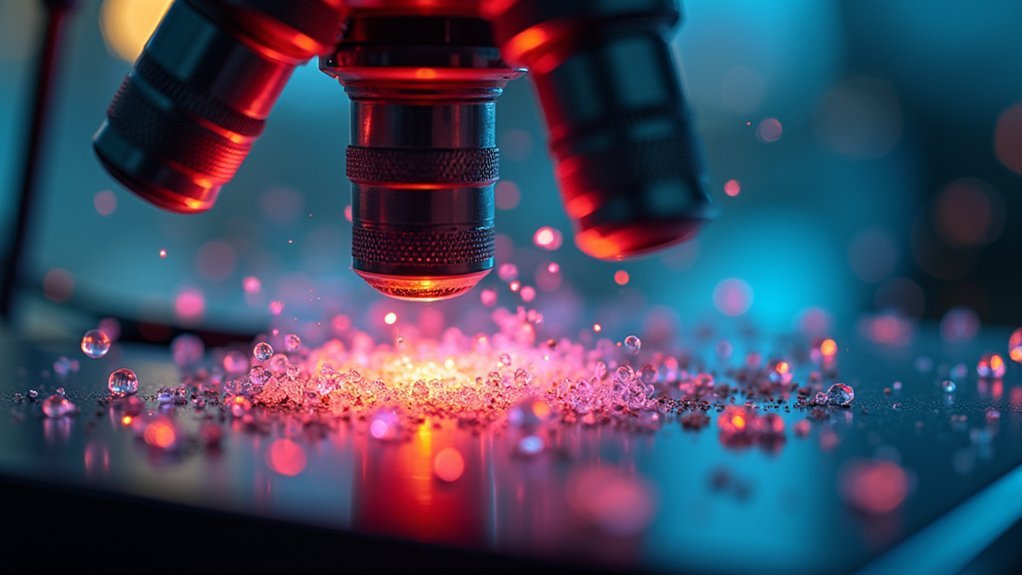
While a single illumination technique provides valuable data, combining multiple light angles dramatically enhances your ability to extract detailed information from microscopic specimens.
By integrating oblique light with polarized illumination, you’ll reveal structures with different refractive indices that remain invisible under standard lighting.
For transparent specimens, consider utilizing phase contrast microscopy to convert light phase shifts into visible contrast without staining. This approach becomes even more powerful when complemented by dark field techniques, which eliminate background light and highlight fine details.
For advanced specimen analysis, Differential Interference Contrast (DIC) creates striking three-dimensional appearances through multiple light paths and interference patterns.
You’ll achieve superior results at high magnifications by strategically employing additional optical methods rather than relying on a single light source—making previously invisible structures clearly discernible and providing extensive structural information.
Frequently Asked Questions
How Can You Improve the Quality of an Image on a Microscope?
You’ll improve your microscope image quality by adjusting the condenser aperture, ensuring proper alignment of optical components, utilizing different illumination techniques, and experimenting with light source positioning for ideal brightness and contrast.
Which 2 Qualities of Microscopes Allow Us to See Images Better?
Numerical aperture (NA) of your objective lens and proper condenser alignment are key. You’ll see better images when you’ve optimized these two qualities, as they control light-gathering ability and illumination angles respectively.
What Are the Advantages of a Light Microscope?
Light microscopes let you observe living specimens with color, require minimal preparation, and are affordable. You’ll find they’re portable, easy to use, and don’t damage samples, making real-time analysis of cellular structures possible.
How Can You Increase the Contrast of Your Image With Your Light Microscope?
You can increase contrast by adjusting the condenser aperture, using phase contrast or dark field techniques, implementing oblique illumination, and applying polarizing filters. These methods control light to highlight otherwise transparent specimen features.
In Summary
You’ve now explored seven powerful techniques for manipulating microscope light angles. By adjusting illumination direction, you’ll reveal details invisible with standard lighting. Don’t hesitate to experiment with these approaches—combine them for even better results. Whether you’re examining transparent specimens or seeking 3D-like effects, light angle mastery transforms ordinary observations into extraordinary discoveries. Your microscopy skills will never be the same.


Leave a Reply