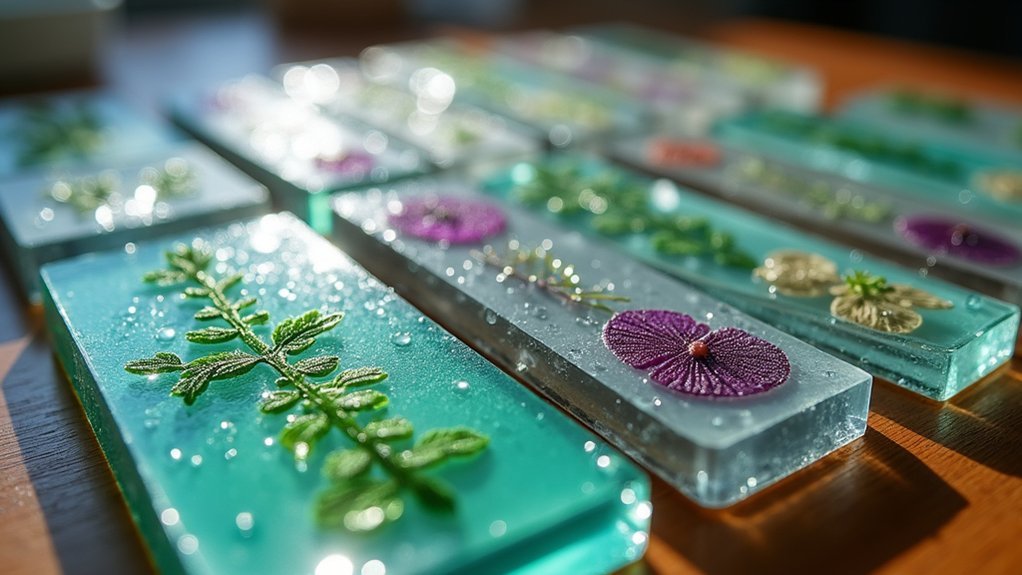
To create crystal-clear plant slides, use fresh material and cut extremely thin sections with a sharp scalpel. Place specimens on clean glass slides, apply appropriate stains like methylene blue or safranin, and cover with a slip without trapping air bubbles. Basic dyes highlight cell walls while specialized stains like iodine reveal specific structures. Proper fixation and stain concentration are essential for ideal visibility. These simple techniques will transform your botanical microscopy from frustrating to fascinating.
Essential Equipment for Plant Tissue Staining
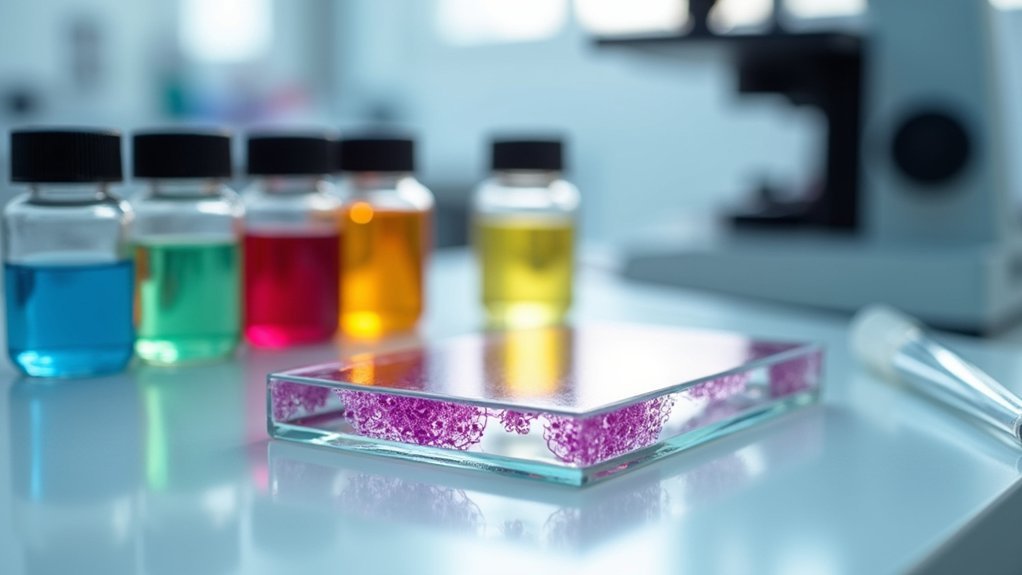
Five key pieces of equipment form the foundation of any plant tissue staining procedure.
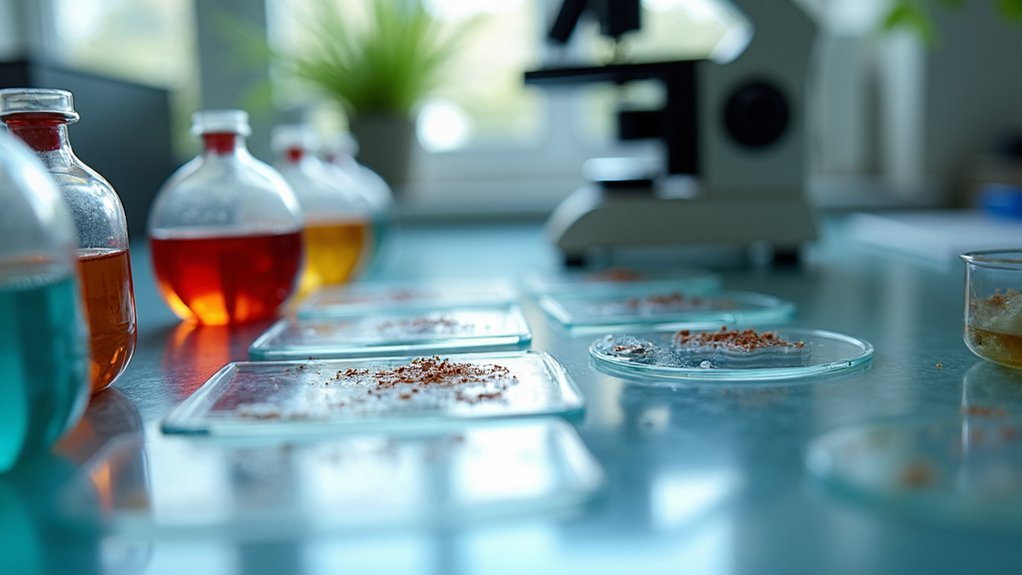
You’ll need glass slides and cover slips to mount your plant samples securely, creating a stable platform for observation. Staining solutions, like saffron for onion cells, will highlight cellular structures and make them visible under magnification.
Don’t underestimate the importance of quality dissection tools—scalpels and forceps allow you to prepare thin sections with clean cuts, ensuring better stain penetration.
Precision cutting tools aren’t optional—they’re essential for creating the ideal specimen sections that absorb stains effectively.
A microscope with suitable magnification is essential for examining the stained tissues in detail.
Finally, pipettes or dropper bottles give you precise control when applying staining solutions to your specimens.
With these tools properly prepared, you’ll achieve consistent results throughout your staining processes and produce crystal-clear slides.
Basic Preparation of Plant Specimens
Three fundamental steps will guarantee your plant specimens are properly prepared for successful staining.
First, collect fresh plant material, making sure leaves or stems are clean and contaminant-free. Using a sharp scalpel, cut thin sections that allow light to penetrate during microscopic observation.
Next, place your thin sections on a clean glass slide and apply a few drops of an appropriate stain like safranin or methylene blue to enhance visibility of cellular structures. Carefully position a cover slip over the specimen to prevent drying and minimize movement during examination.
Finally, don’t forget proper labeling. Include essential information such as the plant species and date of preparation on each slide.
This systematic approach assures your specimens remain identifiable and organized throughout your analysis.
Common Dyes for Plant Cell Visualization
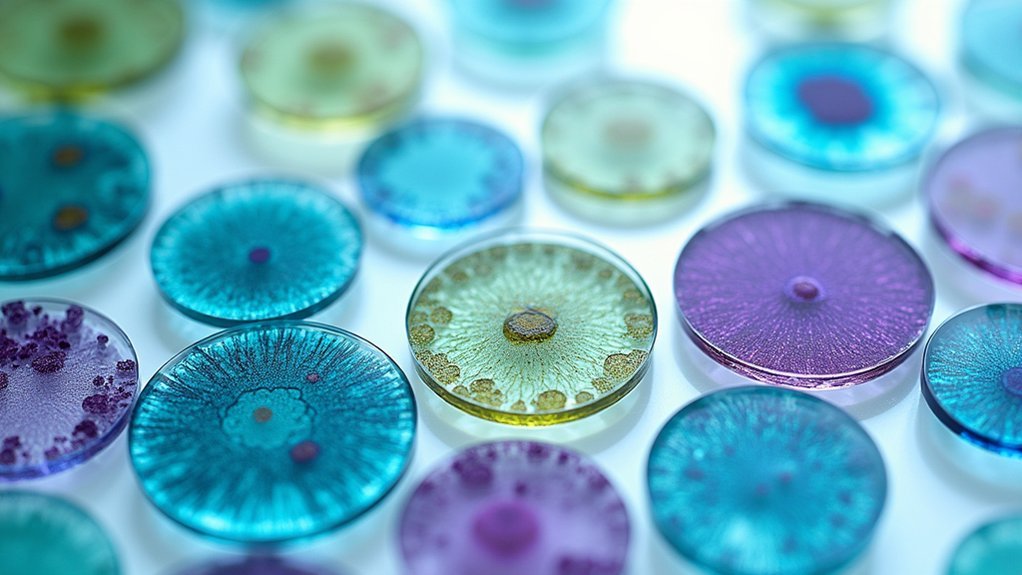
When examining plant cells, you’ll find several basic dyes like methylene blue and safranin that provide excellent clarity by staining specific cellular components.
You can leverage differential stains such as iodine solution for starch identification and acetic orcein for chromosome visualization, allowing you to distinguish between various cell structures.
For specialized structures, consider using aniline blue to highlight cellulose in cell walls or fast green to enhance the visibility of chloroplasts against surrounding tissues.
Basic Dyes for Clarity
Researchers rely on basic dyes to transform ordinarily transparent plant cells into clearly visible structures under the microscope.
When you’re preparing plant specimens, methylene blue offers exceptional results for visualizing nuclei and organelles because it penetrates cell membranes and binds to nucleic acids.
Safranin works wonders for highlighting cell walls, particularly in xylem and phloem tissues, creating striking contrast against light backgrounds.
You’ll find crystal violet equally valuable for differentiating various cell types, enhancing your study of plant morphology.
These basic dyes are positively charged, attracting to negatively charged cellular components within plant cells. This chemical interaction is what gives your microscopic examination greater clarity and detail.
Differential Stain Applications
Unlike basic stains that color all cells uniformly, differential staining techniques reveal specific plant cell structures with remarkable clarity. You’ll find these methods invaluable for identifying particular cellular components during microscopic examinations.
| Stain | Target | Visual Result |
|---|---|---|
| Iodine | Starch granules | Dark blue/black spots in potato tubers |
| Safranin | Cell walls | Bright red contrast against other components |
| Methylene blue | Nucleic acids | Blue-stained nuclei and organelles |
When you apply fast green to your plant slides, you’ll observe green-colored cellulose in cell walls, particularly in leaves and stems. For more complex tissue differentiation, try toluidine blue O, which allows you to distinguish between various plant tissues based on their staining properties, revealing critical details about cell types and their functions.
Specialized Structure Visualization
To truly appreciate the intricate world of plant cellular architecture, you’ll need specific dyes that reveal otherwise invisible structures.
For starch granule visualization, apply iodine for a distinctive blue-black color. When examining cell walls and nuclei, safranin provides excellent pink contrast, while aniline blue highlights cellulose structure and integrity.
Need to focus on photosynthetic tissues? Fast green selectively stains chloroplasts, differentiating them from surrounding cellular components.
For live cell observation, methylene blue outlines cells and nuclei without damaging them—perfect for dynamic microscopic analysis.
Combine staining techniques for enhanced visualization—pairing safranin with fast green creates striking contrast between various plant structures.
These targeted approaches transform ordinary slides into detailed cellular maps, making your plant microscopy sessions more productive and revealing.
Step-by-Step Temporary Mount Technique
Creating a successful temporary mount requires precision and careful handling of plant materials. Begin by peeling a thin layer of onion skin to expose a single layer of cells. Place this delicate layer on a clean glass slide and add a few drops of glycerin to maintain hydration. Cover with a cover slip, avoiding air bubbles that might obstruct your view of cellular structures.
- Apply a suitable stain like saffron to enhance visibility of the cell wall and other components.
- Start observation under lower magnifications to locate your specimen.
- Gradually shift to higher magnifications to examine detailed cellular features.
This technique provides a clear temporary mount that reveals plant cell organization while preserving natural structures.
You’ll see distinct features including vacuoles and cell walls with remarkable clarity.
Enhancing Contrast in Chlorophyll-Rich Samples
You’ll find iodine-based stains particularly effective for highlighting cell walls and starch granules in green tissues, creating a brown-black contrast against the chlorophyll background.
For visualizing nuclei and cytoplasmic structures, you can apply acidified methylene blue, which produces a vivid blue coloration that cuts through the dominant green pigmentation.
When examining vascular tissues within chlorophyll-rich samples, a safranin counterstain will mark lignified structures in red, creating a striking visual distinction from surrounding photosynthetic cells.
Iodine-Based Staining Methods
When examining chlorophyll-rich plant samples, iodine-based stains provide exceptional contrast by transforming colorless starch granules into vivid blue-black structures.
You’ll see starch stand out dramatically against the green background of chlorophyll, making it easier to identify storage patterns in plant tissues like potato tubers or leaves.
For best results, prepare your specimen as either:
- A thin section that allows for even stain penetration
- A squash preparation that spreads cells into a single layer
- A properly fixed sample to maintain cellular integrity
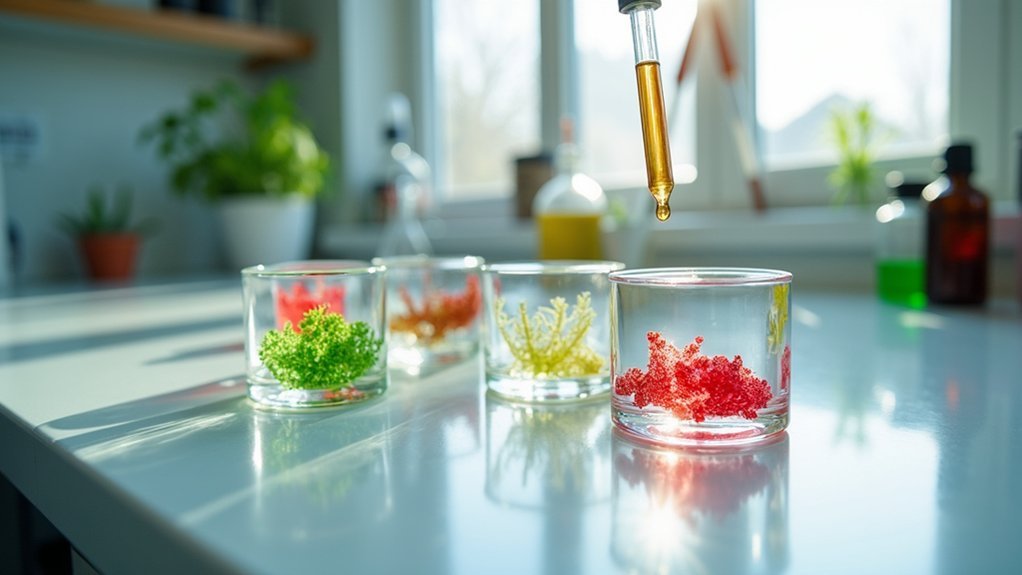
Apply the iodine solution directly to your prepared sample. The stain binds specifically to starch while leaving non-starch components with a yellow/brown hue.
This differential staining enhances dye uptake and provides the visual contrast needed for detailed microscopic examination.
Acidified Methylene Blue
Acidified methylene blue offers a powerful solution for plant microscopists struggling with chlorophyll’s overwhelming green background.
You’ll find this technique particularly valuable when examining chlorophyll-rich samples where cellular structures need clearer definition.
The staining process is straightforward: simply add a few drops of the dye (typically acidified with hydrochloric acid) to your plant sample slide.
This acidification improves dye binding to nuclei and other components, helping enhance contrast against the green backdrop.
When you examine the stained slides under your microscope, you’ll notice vibrant cell details with well-delineated organelles.
This method excels at revealing cell morphology by clearly highlighting nuclei and other structures.
For educational or research purposes where you need to assess cellular organization, you’ll appreciate how acidified methylene blue transforms ordinary plant samples into crystal-clear specimens.
Safranin Counterstain Techniques
Three key advantages make safranin an essential counterstain for chlorophyll-dense plant specimens. This basic dye dramatically enhances visibility of cell walls against green chlorophyll backgrounds when you’re preparing microscopic slides. Proper fixation before staining preserves cell morphology and improves dye uptake, resulting in clearer images.
- Incubate your sample with safranin for 1-5 minutes to achieve ideal staining without overwhelming delicate structures.
- Rinse thoroughly with distilled water to remove excess dye while maintaining contrast.
- Consider combining safranin with complementary stains like fast green for advanced staining techniques that reveal both cell walls and internal components.
Remember that timing is vital—insufficient staining produces faint results, while excessive exposure can obscure the very details you’re trying to highlight.
Specialized Stains for Cell Wall Components
Because plant cell walls contain diverse structural components, researchers employ a variety of specialized stains to visualize these elements under microscopic examination.
You’ll find safranin particularly useful for staining lignin and cellulose in plant tissues, where it imparts a distinctive red color to walls. For selective highlighting of lignified cell walls, try phloroglucinol with hydrochloric acid, which turns these structures pink and helps differentiate cell types.
Fast-green effectively visualizes cellulose, allowing you to distinguish various plant structures based on composition.
When you need to observe the middle lamella, apply aniline blue to stain pectin, which appears blue against other cellular structures.
For examining lipids within cell walls, Sudan IV reveals important details about composition and function during microscopic analysis of plant tissues.
Troubleshooting Common Staining Issues
While specialized stains offer powerful tools for visualizing plant cell structures, you’ll likely encounter challenges during the staining process. Proper slide preparation begins with adequate fixation to prevent cellular distortion.
Always air dry your slides completely before applying stains to guarantee proper adhesion and prevent unwanted wash-off during observation.
When your staining techniques yield poor results, consider these common issues:
- Inappropriate stain concentrations – too concentrated obscures details, too dilute reduces visibility
- Overly thick smears that prevent light penetration and mask individual cell morphology
- Inadequate fixation causing structural distortion and poor cellular detail
Running a control experiment with known materials helps troubleshoot your staining protocols. This allows you to systematically adjust timing and concentrations based on observable results, improving your chance of achieving crystal-clear plant tissue slides.
Digital Documentation of Stained Plant Slides
Capturing high-quality digital images of your stained plant slides preserves your careful microscopy work and enables detailed analysis long after specimens have deteriorated.
Use a microscope equipped with a digital camera to create high-resolution images that accurately represent cell morphology and staining results.
Adjust lighting and focus carefully—proper illumination reveals subtle details that might otherwise be missed.
You’ll find image enhancement software invaluable for measuring cellular features and annotating key observations.
Don’t overlook the importance of consistent labeling and thorough metadata for each image to maintain organization of your collection.
This digital documentation approach offers significant advantages, including easy sharing with colleagues and remote access to your data, ensuring your staining work remains accessible for future research or educational purposes.
Frequently Asked Questions
What Is the Procedure for Staining a Slide?
You’ll prepare a clean slide, add your specimen, apply a suitable stain, lower a cover slip without trapping air bubbles, let it sit briefly, then examine under a microscope with proper focus adjustments.
How Do You Fix the Smear on the Slide for Simple Staining?
You’ll need to air-dry your smear completely first. Then either pass the slide through a flame several times for heat fixation, or flood it with 95% methanol for two minutes if using BSL2 organisms.
What Technique Is Used to Adhere Bacteria to a Slide for Staining?
You’ll adhere bacteria to slides through fixation, either by heat (passing through flame) or chemicals like methanol. Verify your smear is completely dry first to prevent cell distortion during the process.
What Stain Is Used in Slides?
You’ll find several stains for slides including iodine solution for starch, safranin for cell walls, methylene blue for nucleic acids, crystal violet for morphology, fast green for cell walls/chloroplasts, and aniline blue for callose.
In Summary
You’ll find that mastering plant staining isn’t complicated with consistent practice. Start with basic safranin or toluidine blue techniques, then branch out to more specific stains as you gain confidence. Don’t forget to document your best slides digitally for future reference. By following these straightforward methods, you’ll create crystal-clear preparations that reveal plant cellular structures in remarkable detail every time.


Leave a Reply