
For crystal-clear scientific imaging, you’ll need to balance direct and diffused light sources. Position your primary light at 45 degrees to emphasize surface details while minimizing glare. Use daylight-balanced lighting (5500K-6500K) for true color representation and add secondary lights at opposing angles to eliminate shadows. For translucent specimens, incorporate backlighting to reveal internal structures. Polarizing filters reduce unwanted reflections and enhance color saturation. These fundamental techniques form just the foundation of professional-quality specimen documentation.
Second-Level Headings
While many photographers focus solely on camera settings, your lighting choices dramatically impact the quality of scientific specimen images. By employing continuous lighting setups, you’ll gain the advantage of seeing exactly how light interacts with your crystal or mineral specimens in real-time. This approach eliminates camera shake issues that often plague scientific photography during longer exposures.
You’ll want to position multiple light sources at different angles to balance illumination across your subject. This technique minimizes harsh shadows while highlighting intricate fractures and inclusions.
Don’t hesitate to experiment with color filters to creatively enhance specific features while maintaining natural representation. For maximum impact, make sure your specimen stands out by keeping it well-lit against a deliberately darker background—drawing the viewer’s eye directly to the subject’s detailed structure.
Balancing Direct and Diffused Light Sources
Although mastering crystal photography requires technical expertise, the interplay between direct and diffused light sources forms the foundation of exceptional scientific imaging.
When photographing crystals, you’ll find direct light sources like spotlights create dramatic highlights that emphasize texture and detail, but they can produce unwanted glare. Complement these with diffused light to soften harsh shadows and reveal subtle inclusions and color variations.
Position your direct light at strategic angles to minimize reflections on shiny surfaces, while using diffused light panels to fill shadows and guarantee uniform illumination. This combination enhances the three-dimensional appearance of your specimens – direct light defines contours while diffused light adds depth.
For maximum versatility, equip your setup with both LED panels for soft lighting and focused flashlights for directed illumination.
Optimal Positioning for Specimen Detail Enhancement

Strategic light positioning transforms even the most challenging specimens into revealing scientific subjects. When you’re examining intricate textures and unique characteristics, angle your primary light source at 45 degrees to create subtle shadows that emphasize surface details while minimizing glare.
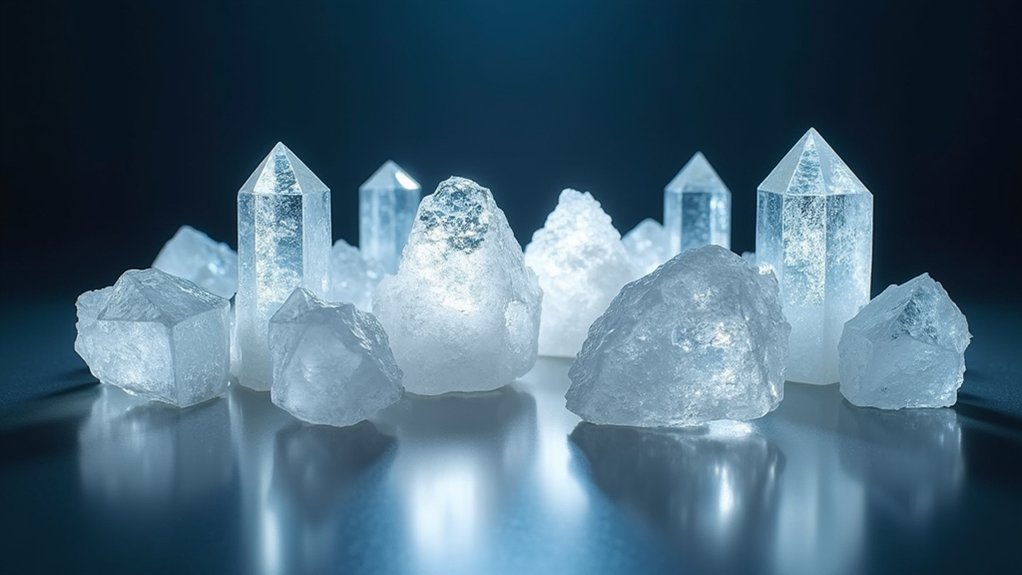
For translucent specimens like agates or amethyst, backlighting must be held steady to reveal internal structures and enhance color vibrancy. Position secondary lights at opposing angles to eliminate shadows in critical observation areas.
You’ll want to carefully adjust the distance between your light sources and the specimen—too close causes overexposure, while too distant lighting obscures fine details.
Don’t overlook the creative potential of colored filters to enhance specific features while maintaining scientific accuracy. Each specimen responds differently to light, so experimentation with various angles ultimately yields the most informative results.
Color Temperature Selection for Scientific Accuracy
Selecting the correct color temperature transforms your scientific imaging from merely adequate to genuinely accurate. When choosing your lighting setup, aim for daylight-balanced options (5500K-6500K) that mimic natural sunlight, ensuring true-to-life color representation of your specimens.
Daylight-balanced illumination at 5500-6500K elevates scientific imaging to unparalleled accuracy, revealing true specimen colors as nature intended.
For precision in your color temperature selection, consider:
- Adjustable LED lighting systems that let you fine-tune Kelvin settings without compromising color accuracy.
- Consistent temperature across all light sources to prevent misleading color discrepancies that could invalidate your findings.
- Strategic use of color filters to enhance specific details while maintaining scientific integrity.
Remember that warmer tones (2700K-3000K) might introduce unwanted yellowing, while cooler temperatures provide the neutral light essential for capturing accurate colors and intricate details in scientific documentation.
Background Illumination Techniques for Subject Isolation
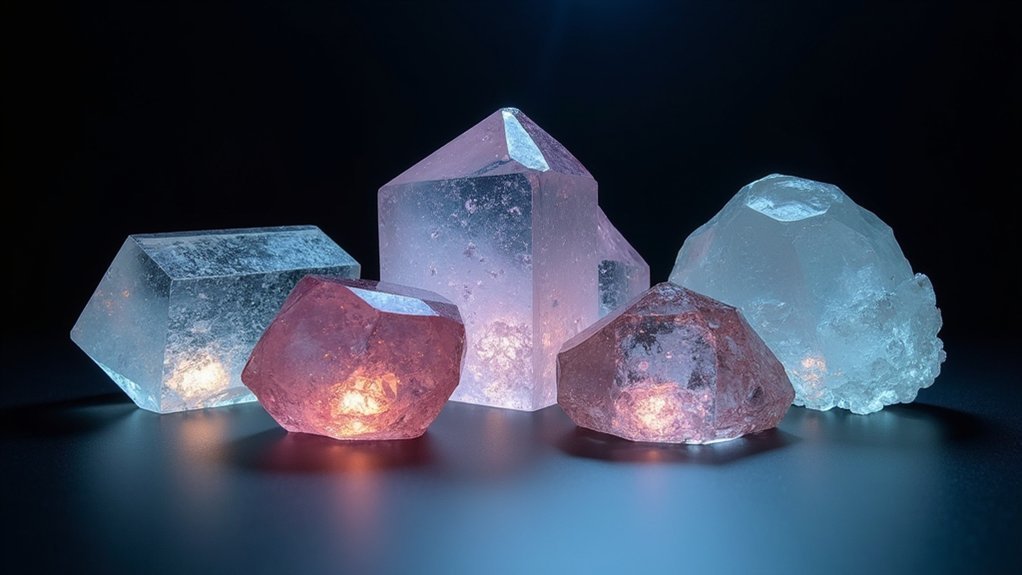
Mastering background illumination can dramatically enhance your specimen’s visibility in scientific imaging. Deliberately underexposing the background creates powerful isolation, allowing your subject’s intricate details to stand out regardless of the size of the object being photographed.
Position your primary light source to illuminate the specimen while minimizing background light. This contrast immediately directs the viewer’s attention to your subject.
For additional definition, consider placing your specimen on a reflective surface that complements without competing for attention.
Don’t hesitate to experiment with light angles to reveal texture and form while maintaining a subdued background. For specialized applications, colored gels can provide background tinting that enhances the overall composition while maintaining scientific clarity.
These techniques guarantee your specimens remain the undisputed focal point of your images.
Managing Reflections and Glare in Translucent Specimens
Translucent specimens present unique challenges that extend beyond basic background illumination. When selecting equipment for your imaging setup, position light sources at a 45-degree angle to minimize direct reflections while highlighting vital details.
In any scientific imaging buying guide, you’ll find polarizing filters are essential investments that dramatically reduce unwanted glare and enhance color saturation.
- Experience the satisfaction of capturing crystal-clear images where every detail is perfectly visible without distracting reflections
- Feel confident in your ability to reveal subtle structures that would otherwise be lost to glare
- Enjoy the professional results that come from mastering light control techniques
Don’t overlook the power of diffusing materials and adjustable lighting distance. A neutral background absorbs excess light, creating the perfect contrast against your specimen while managing reflections effectively.
Multi-Angle Lighting Setups for Texture Visibility
Three strategically placed light sources form the foundation of effective texture imaging for crystalline specimens. By positioning these lights at various angles, you’ll reveal contours and patterns that single-direction illumination misses.
Make sure to experiment with both direct and diffused lighting to balance reflective properties while minimizing glare that obscures critical details.
When examining specimens with complex surface characteristics, adjust the distance of your light sources—farther placement creates softer, more even illumination that emphasizes subtle textures, while closer positioning highlights dramatic features.
For thorough analysis, incorporate color filters to enhance specific properties such as zoning and transparency. This approach not only reduces unwanted shadows but also illuminates facets and inclusions essential for scientific documentation and analysis.
Frequently Asked Questions
What Is the Best Lighting for Visual Inspection?
For visual inspection, you’ll need diffuse, even lighting at a 30-45° angle. Use multiple light sources like LEDs or ring lights. Natural light works best when diffused, and don’t forget polarizing filters to reduce reflections.
What Are the 5 Major Types of Lighting Setups Used in Photography?
The 5 major photography lighting setups you’ll use are natural light, continuous lighting, flash lighting, backlighting, and softbox lighting. Each serves different purposes when capturing subjects with varied textures and properties.
What Is the 3 Point Lighting Technique?
The 3 point lighting technique uses three light sources: your key light as the main illumination, fill light to soften shadows, and back light to create separation from the background, giving your subject depth and dimension.
What Is the Best Lighting Setup for Macro Photography?
You’ll get the best macro photography lighting using diffused continuous lighting, preferably with multiple sources at different angles. Don’t forget to experiment with light tents, color filters, and natural light for ideal results.
In Summary
You’ll find that mastering scientific imaging isn’t about expensive equipment but about understanding light’s behavior. By combining proper diffusion, strategic positioning, accurate color temperature, thoughtful background lighting, reflection control, and multi-angle techniques, you’ll capture specimens with exceptional clarity. Apply these principles consistently, and you’ll transform your documentation from merely adequate to truly revelatory, advancing both your research and its communication.


Leave a Reply