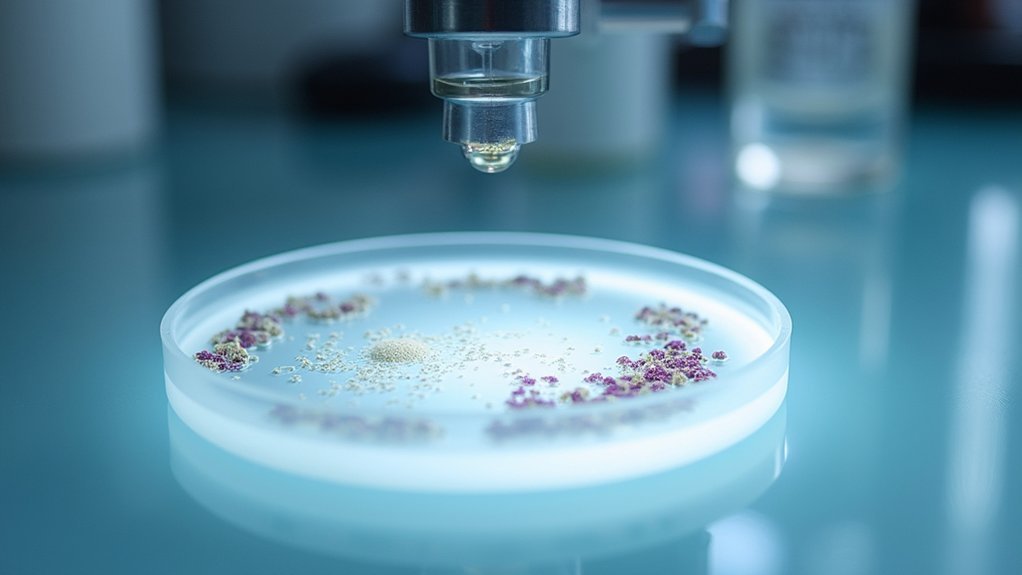
To capture perfect bacterial smear photos, guarantee impeccable slide preparation with thorough cleaning and proper labeling. Master bacterial concentration by creating faintly visible, dime-sized smears. Perfect your heat fixation technique with completely air-dried slides. Optimize staining protocols using fresh, high-quality stains. Adjust microscope settings for maximum clarity. Capture multiple fields for extensive documentation. Apply post-processing techniques like contrast adjustment and sharpening filters. These professional strategies will transform your microbiology imaging results from basic to publication-worthy.
Start With Impeccable Slide Preparation

The foundation of any stunning bacterial smear photo lies in meticulous slide preparation. Begin by thoroughly cleaning your microscope slides—any residue can interfere with your final image quality.
Using a red wax marker, label your slide before proceeding to avoid mix-ups during the staining process.
Place a small drop of saline in the center of your clean slide. With your inoculation loop, transfer a tiny amount of bacterial culture and gently mix it with the saline, creating a circular, even layer across the surface.
Don’t rush this step—the uniformity of your smear directly impacts photo clarity.
Allow your preparation to air dry completely for about five minutes before heat fixing. This vital step guarantees your bacterial cells remain adhered to the slide throughout the staining procedure without distortion.
Master the Art of Bacterial Concentration
Finding the perfect bacterial concentration represents perhaps the most critical yet underappreciated aspect of creating photogenic smears. You’ll know you’ve achieved the right balance when your smear is just faintly visible on the slide—not overly dense.
For liquid cultures, use a tiny drop to guarantee proper dilution; with solid cultures, mix a small amount with saline to create the ideal consistency.
Control your smear thickness carefully. Too thick, and individual cells become obscured; too thin, and you’ll lack sufficient material for staining. Aim for a dime-sized smear that provides the best balance between coverage and visibility.
The perfect smear walks a fine line—thin enough to reveal cellular detail, thick enough to showcase staining properties.
Always allow your smear to air dry completely before heat fixing. Any remaining moisture will distort cell shapes and compromise your final images.
Your patience during this step directly impacts the quality of your microscopy photos.
Perfect Your Heat Fixation Technique

Why do so many stunning bacterial preparations fail at the heat fixation stage? Often, it’s because technicians rush through vital steps or overlook fundamental principles.
Before heat fixing your bacterial smear, verify the slide is completely air-dried. Premature heating of damp slides distorts bacterial morphology.
Once dry, label your slides immediately to prevent identification errors.
When using your Bunsen burner, maintain a consistent distance as you pass the slide through the flame two to three times. This quick, even movement adheres bacteria without causing cell damage.
Always use a sterile inoculation loop to collect just the right amount of bacterial culture. Dense smears compromise visibility and staining quality.
Optimize Staining Protocols for Photography
When preparing bacterial smears for photography, your staining technique becomes even more critical than for routine examination. Verify your bacterial smear is thin and evenly spread to prevent obscured features. Use fresh, high-quality stains like methylene blue or safranin to enhance contrast and improve visibility.
| Staining Factor | Impact on Photos | Optimization Tip |
|---|---|---|
| Stain Quality | Affects color contrast | Use fresh reagents only |
| Smear Thickness | Determines clarity | Create thin, even smears |
| Timing | Influences stain uptake | Follow precise protocols |
Before photographing, optimize lighting conditions and adjust microscope settings for sharp focus. Attach a high-resolution camera to capture detailed images at higher magnification. Remember, proper staining protocols directly affect your final photographs—slight adjustments in your technique can dramatically improve documentation quality.
Adjust Microscope Settings for Maximum Clarity

With perfect staining in place, your attention must now shift to microscope settings—the foundation of capturing spectacular bacterial images.
Always begin with low magnification (10X) to locate your smear before progressing to higher powers (40X and 1000X) for detailed observation of bacterial cells.
Properly adjust light intensity using the diaphragm or rheostat to avoid glare while maintaining visibility of stained cells. After switching magnifications, use the fine focus knob to sharpen your image and reveal cellular details with precision.
Don’t overlook your condenser—ensure it’s correctly aligned and positioned to enhance resolution and contrast.
Before any session, clean your lenses with lens paper to remove dust or smudges that could compromise clarity.
These adjustments create the ideal viewing conditions needed for capturing striking images of bacterial morphology.
Capture Multiple Fields for Comprehensive Documentation
Taking a single photograph rarely tells the complete story of your bacterial sample. Instead, systematically move your slide in a grid pattern to capture multiple fields of view, ensuring thorough documentation of bacterial morphology and arrangements.
Use your microscope’s rotating nosepiece to switch between objectives, allowing you to examine the same area at different magnifications. Take photographs at both low (10X) and high (100X) magnification to document both overall arrangements and detailed cellular structures. This approach creates a detailed visual record of your specimen.
Maintain consistent lighting and focus across all fields for best clarity in your documentation.
Don’t forget to label each image with specific details including magnification and bacterial type—these references will prove invaluable when reviewing your photographs later or sharing them with colleagues.
Post-Processing Techniques for Professional Bacterial Images

Although excellent microscope technique is essential, post-processing your bacterial smear images can transform good photographs into exceptional scientific documentation.
Start by adjusting brightness and contrast to enhance visibility of bacterial morphology. Apply a sharpen filter to improve clarity of cell outlines, making detailed structures more distinguishable.
Image transformation begins with brightness and contrast adjustments, followed by strategic sharpening to reveal bacterial structures hidden to the untrained eye.
Don’t hesitate to crop images to focus on relevant areas of the bacterial smear, eliminating distracting background elements. For accurate representation, use color correction tools to guarantee proper rendering of Gram staining colors—purple for Gram-positive and pink for Gram-negative bacteria.
Finally, save your enhanced images in high-resolution formats like PNG or TIFF. This preserves the fine details of your post-processing work, especially important when your images will be used for publication or presentation purposes.
Frequently Asked Questions
What Is the Perfect Bacterial Smear?
A perfect bacterial smear is faintly visible on your slide, allowing you to see individual cells clearly. You’ll need to air-dry it properly, then heat-fix it twice over a flame for ideal results.
What Happens if You Leave a Stain on a Bacterial Smear Too Long?
If you leave a stain on too long, you’ll cause overstaining. This obscures cellular details, masks Gram reactions, and may distort structures. You’ll struggle to differentiate bacterial types and might need to repeat the entire procedure.
How Would You Describe a Properly Prepared Bacteria Smear?
You’ll prepare a proper bacterial smear by creating a thin, faintly opaque layer of evenly spread cells on a labeled slide. After air-drying completely, you’ll heat fix it by passing through flame twice.
What Would Be the Result of Overheating the Bacterial Smears?
If you overheat bacterial smears, you’ll destroy cellular structures, distort morphology, cause membrane rupture and cell lysis, reduce stain uptake, and potentially lose your sample from the slide, making accurate identification impossible.
In Summary
You’ve now got the tools to elevate your bacterial photography from amateur to expert level. Remember, it’s all about preparation, technique, and attention to detail. When you’re consistent with these seven tips, you’ll capture stunning microbial images that accurately represent your specimens. Don’t skip any steps—from proper slide preparation to thoughtful post-processing. Your colleagues will notice the difference in your documentation immediately.


Leave a Reply