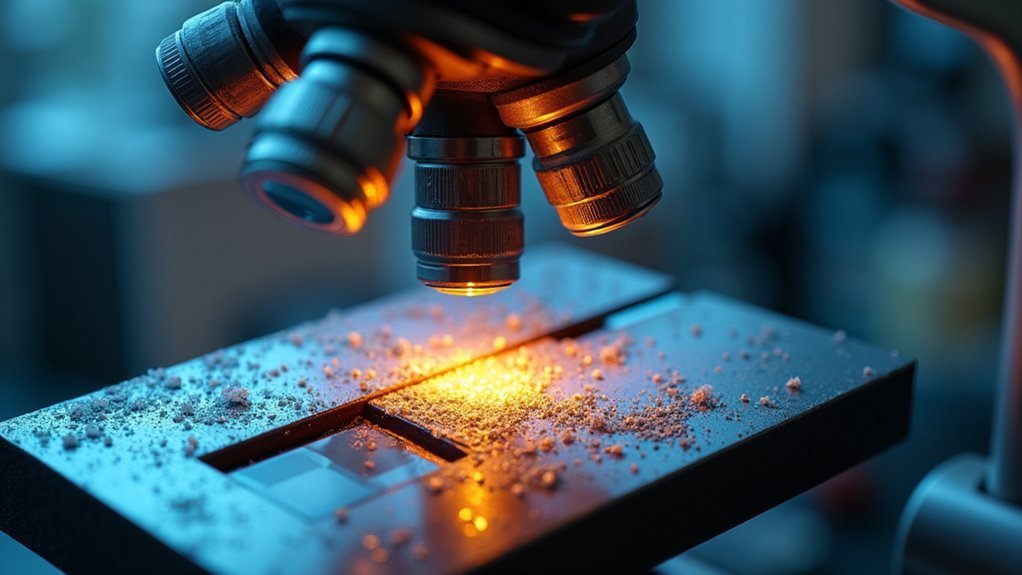
For metallurgical microscopy, you’ll achieve ideal results at these key angles: 45° for enhanced surface topography, 15° for polished specimen contrast, 30° with cross-polarization for grain boundaries, 90° for reflection documentation, 60° for etched structures, 360° circular for uniform samples, 10-80° scanning for exhaustive analysis, 40° for inclusions, 75° for surface relief, and dual 20/70° for phase distinction. These illumination techniques transform ordinary samples into detailed microstructural revelations with proper application.
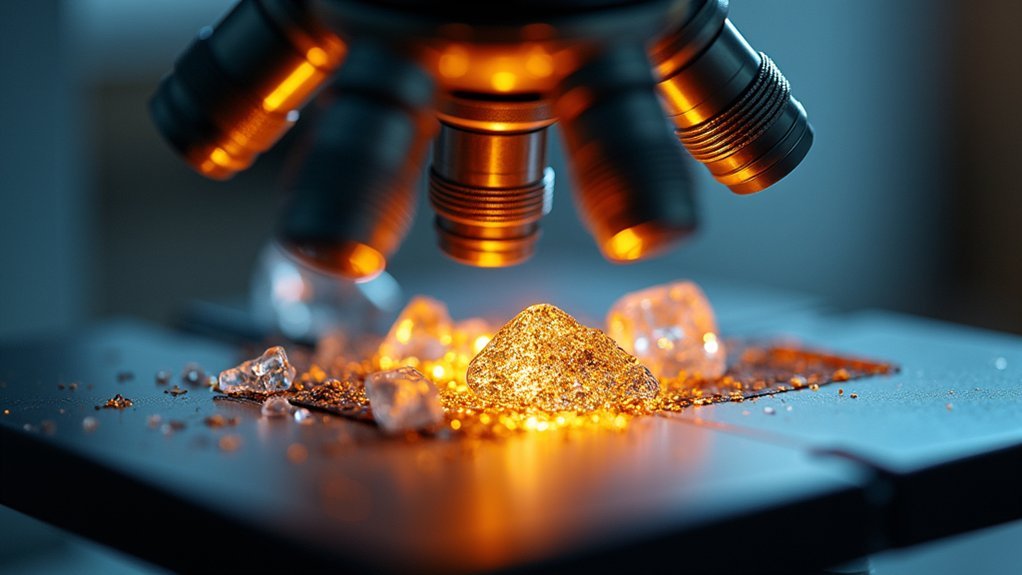
The Critical 45-Degree Illumination Angle for Revealing Surface Topography
Metallurgists swear by the 45-degree illumination angle as the gold standard for examining surface topography. When you position your light source at this precise angle, you’ll maximize the reflection off surface features, creating ideal conditions for detailed observation.
This 45-degree angle works by directing light in a way that accentuates irregularities and texture in your specimen. You’ll notice greatly improved contrast as the angular lighting highlights elevations and depressions that might otherwise remain hidden under direct illumination.
You’ll find this technique particularly valuable when examining metals and ceramics where surface relief provides critical information about microstructure. By using this optimal angle, you’ll avoid the problematic glare and reflections that often obscure important details, resulting in clearer images with enhanced depth of field.
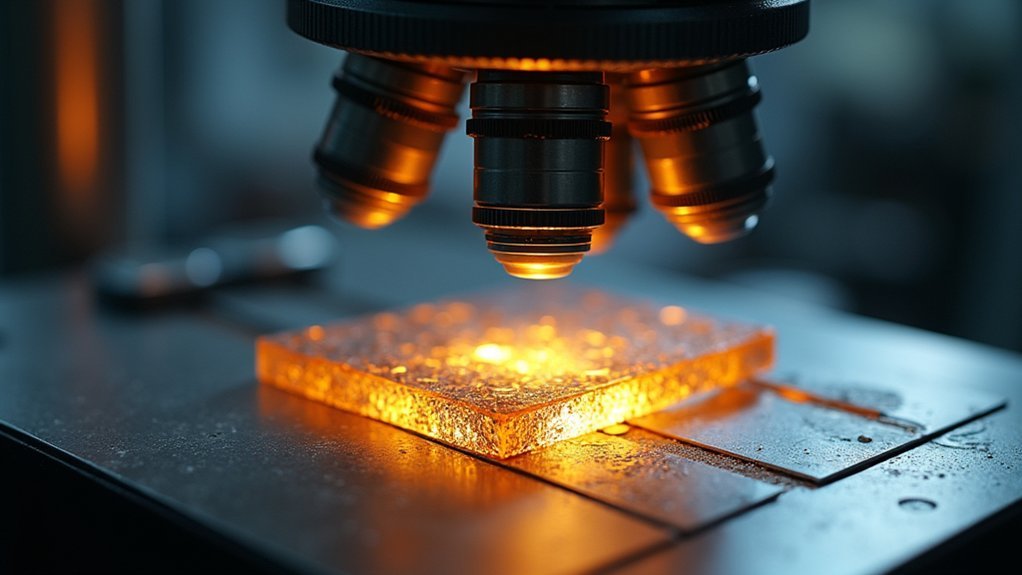
Shallow 15-Degree Lighting for Enhanced Contrast in Polished Samples
While the 45-degree angle works admirably for general surface examination, polished metallurgical samples require a more specialized approach. For these specimens, you’ll achieve superior results using shallow angle illumination at approximately 15 degrees.
Shallow angle illumination at 15 degrees delivers optimal contrast for polished metallurgical specimens where standard lighting fails.
This technique dramatically enhances contrast on polished surfaces by minimizing the glare and reflections that typically plague higher-angle lighting methods. You’ll find the low-angle light effectively accentuates subtle variations in texture, color, and grain structure that would otherwise remain invisible under direct illumination.
The 15-degree approach excels at highlighting surface relief and imperfections like scratches and inclusions.
For peak clarity, combine this method with aperture and field diaphragm adjustments to control light intensity. This combination provides the exceptional contrast and detail resolution necessary for thorough metallurgical analysis of your polished specimens.
30-Degree Cross-Polarized Lighting for Grain Boundary Definition
When examining metallurgical samples, 45-degree cross-polarized lighting stands as the premier technique for revealing grain boundary structures. You’ll achieve peak contrast by positioning polarizers at this specific angle, making microstructural features pop against the background.
| Setting | Benefit |
|---|---|
| 45° angle | Maximum contrast for grain boundaries |
| 0-30° angle | Subtle differentiation of crystallography |
| 60-90° angle | Enhanced birefringence visibility |
| With DIC | Superior height differentiation at boundaries |
Cross-polarized lighting works by placing one polarizer in the light path and another in the eyepiece. As you rotate these filters to the 45-degree position, you’ll notice grain boundaries appear bright against a darker background. For even more thorough analysis, combine this technique with differential interference contrast to visualize subtle height variations and reveal composition differences within your metallurgical samples.
Vertical 90-Degree Illumination for Defect-Free Documentation
Vertical 90-degree illumination provides maximum reflectivity when you’re documenting metallic samples, creating bright, high-contrast images that reveal critical surface details.
You’ll eliminate problematic shadows that might otherwise obscure subtle defects, ensuring thorough documentation of your specimen’s true condition.
This lighting position excels at highlighting planar features and grain structures, making it your best choice when you need clear, uniform illumination across the entire field of view.
Maximum Reflectivity Imaging
To achieve ideal clarity in metallurgical microscopy, the 90-degree vertical illumination angle stands as the gold standard for maximum reflectivity imaging. When you direct light perpendicularly onto your specimen surface, you’ll capture enhanced detail visibility without ambient light interference.
For best results, employ a fully silvered mirror to reflect light at this precise vertical illumination angle. This configuration considerably boosts the intensity of reflected light, ensuring accurate documentation of surface features and defects.
You’ll find that Köhler illumination at 90 degrees fills the entire objective aperture with light, maximizing both clarity and contrast while eliminating unwanted glare.
While 90 degrees works best for most applications, consider adjusting to approximately 70 degrees for darkfield imaging when you need to highlight surface relief features against a dark background.
Eliminating Surface Shadows
For ideal defect documentation, vertical 90-degree illumination proves invaluable by entirely eliminating surface shadows that might otherwise obscure critical specimen details.
When you position your light source directly above the sample, you’ll achieve maximum visibility of the specimen’s features and defects without distracting shadows.
This vertical illumination technique guarantees light reflects directly off metallographic surfaces, greatly enhancing your ability to observe fine details.
You’ll find that properly aligned 90-degree lighting is particularly effective at eliminating glare and unwanted reflections that typically interfere with accurate documentation.
The benefit extends to improved contrast and clarity of surface textures, grain structures, and imperfections.
Revealing Planar Features
When examining planar features in metallurgical samples, vertical 90-degree illumination stands as the gold standard for revealing critical structural elements.
You’ll find this technique particularly effective because light striking perpendicular to planar surfaces creates direct reflection without interference from surface irregularities.
To achieve ideal results, adjust your vertical illumination carefully to minimize glare while maximizing contrast. This approach enhances visibility of essential microstructural components like grain boundaries and inclusions.
You’ll document defect-free images that accurately represent your specimen’s structural integrity.
The uniform illumination across your entire field of view guarantees consistent assessment quality—especially important when working with polished metallographic samples.
60-Degree Oblique Lighting for Highlighting Etched Microstructures
Positioning your light source at 30-45 degrees obliquely to the sample will reveal grain boundaries that remain invisible under direct illumination.
You’ll notice markedly enhanced phase contrast as shadows form along etched microstructural features, making different metallurgical constituents easier to distinguish.
This angular lighting technique also brings surface textures into sharp relief, allowing you to observe subtle variations in topography that provide vital information about material processing history.
Revealing Grain Boundaries
The revelation of grain boundaries in metallurgical samples demands strategic lighting techniques to capture their subtle details. When you’re examining etched microstructures, oblique lighting at 30 to 45-degree angles creates ideal contrast that makes grain boundaries pop into view.
| Lighting Angle | Effect | Application |
|---|---|---|
| 30° | Moderate shadows | General boundary analysis |
| 45° | Deep shadow definition | Detailed structure examination |
| Variable | Custom contrast control | Problem-specific visualization |
You’ll find that adjusting your light source to these oblique angles produces shadows along the boundaries, enhancing their three-dimensional appearance. Couple this approach with darkfield illumination to further accentuate surface relief and imperfections. Don’t forget to adjust your diaphragm settings accordingly—this fine-tuning minimizes glare while maximizing the visibility of those essential microstructural features you’re trying to document.
Enhanced Phase Contrast
Beyond basic grain boundary examination, enhanced phase contrast techniques offer you unprecedented detail in etched microstructures.
When you implement oblique lighting at angles between 30-45 degrees, you’ll immediately notice enhanced definition in surface features that would otherwise remain obscure under direct illumination.
Control your lighting precision by utilizing an adjustable aperture diaphragm, which regulates light entering the optical path.
This simple adjustment markedly improves contrast in etched regions. For even better results, align a phase plate with your objective lens to capitalize on refractive index differences between microstructures.
Consider adding a polarizer alongside your oblique lighting setup to reveal anisotropic properties within your metallurgical samples.
This combination provides exceptional visualization of subtle structural characteristics that standard lighting techniques simply can’t capture.
Texture Visualization Benefits
Microscopists studying metallurgical samples will discover remarkable texture enhancement when employing degree oblique lighting at shallow angles. By positioning your light source at 30-45 degrees, you’ll create shadows that dramatically highlight topographical variations and etched features that remain hidden under direct illumination.
Oblique illumination particularly excels in metallography by revealing critical microstructural details like grain boundaries, phase shifts, and surface defects. You’ll notice considerably improved contrast between different structural components, making inclusions and phase boundaries immediately distinguishable.
An added benefit is the reduction of glare from polished surfaces, allowing you to capture clearer images of fine details. When you properly align your light source, even subtle features in etched microstructures become visible, enhancing your analysis and interpretation of metallographic specimens.
Dual-Angle 20/70-Degree Technique for Comprehensive Phase Analysis
When examining complex metallurgical samples, you’ll find the dual-angle 20/70-degree technique offers unparalleled insight into both surface textures and phase compositions. By illuminating your specimen at 20 degrees, you’ll capture critical surface relief features that reveal grain boundaries and inclusions with remarkable clarity.
Complementing this, the 70-degree lighting angle dramatically enhances visibility of phase boundaries and fine structural details that might otherwise remain hidden. This combination maximizes contrast between different metallurgical phases while minimizing unwanted glare from polished surfaces.
The true power of this technique lies in its thorough approach—switching between these two specific angles provides you with complete data about your material’s microstructure.
You’ll detect subtle phase transformations and variations in heterogeneous materials that single-angle illumination simply can’t reveal, resulting in more accurate analysis and quality assessment.
Circular 360-Degree Illumination for Uniformly Reflective Specimens
For highly polished and uniformly reflective specimens that challenge conventional lighting methods, circular 360-degree illumination provides the thorough solution you’ll need. This technique guarantees light strikes your samples from multiple angles simultaneously, eliminating shadows and revealing subtle surface details that single-angle lighting might miss.
When examining reflective specimens, you’ll find this method particularly valuable for highlighting grain boundaries, inclusions, and texture variations. You can adjust both light intensity and direction to achieve ideal contrast for your specific metallographic analysis.
For even more detailed assessment, combine a polarizer with your circular illumination setup. This pairing enhances visibility of anisotropic features and improves your ability to distinguish between different phases in the material’s microstructure, giving you extensive data for accurate interpretation.
Variable-Angle Scanning From 10-80 Degrees for Thorough Feature Mapping
Variable-angle scanning represents a powerful advancement beyond circular illumination, allowing you to methodically examine metallurgical samples from precise angles between 10-80 degrees.
This technique optimizes your ability to detect surface features and defects that might otherwise remain hidden.
At lower angles (10-30°), you’ll capture fine surface details and textures as light reflects off the specimen.
Mid-range angles (30-50°) reveal critical information about material composition, grain boundaries, and phase distinctions.
When you need maximum contrast for identifying non-metallic inclusions, higher angles (60-80°) provide effective darkfield illumination by directing light at steeper angles.
40-Degree Side Lighting to Accentuate Inclusions and Precipitates
Degree side lighting, positioned at specific angles between 30° and 45°, offers remarkable enhancement for detecting inclusions and precipitates that might remain invisible under standard illumination. This approach greatly improves contrast methods by creating shadows that highlight surface features against the background material.
Angled lighting reveals hidden structural details through precise shadow creation, transforming invisible features into clear visual data.
You’ll find that adjusting your light source’s angle helps reveal subtle details like surface relief and texture variations. For best results, position your specimen holder to allow light to strike the sample at these precise angles, then experiment with slight adjustments based on your specific material type.
This technique proves particularly valuable when examining polished metallurgical surfaces, as it enhances the visual distinction between different phases.
You can modify angles beyond the standard range to accommodate unique materials, ensuring you’ll capture even the most elusive defects and irregularities.
75-Degree Grazing Illumination for Maximum Surface Relief Detection
When examining minute surface features, grazing illumination at angles between 10-30 degrees offers unparalleled clarity in detecting surface relief.
You’ll achieve ideal visualization of topographical variations by directing light across your metallurgical specimens at these shallow angles.
For maximum contrast, experiment with different positions within this range—surface textures and material properties will influence which precise angle works best.
Consider using darkfield attachments to create bright features against a dark background, particularly effective for non-metallic inclusions and subtle imperfections.
The key advantage of grazing illumination is how it highlights microstructural details that standard lighting conditions might miss.
As light reflects off the specimen surface, even minimal topographical differences become apparent.
Adjust your illumination angle methodically until surface relief details emerge with the highest definition and clarity.
Frequently Asked Questions
Why Are Different Degrees of Illumination Required When Using a Microscope?
You’ll need different illumination degrees when using a microscope because they enhance contrast, reveal specific features, and overcome sample opacity issues. They’re essential for achieving ideal visibility of diverse specimen details.
Which Part of the Microscope Should You Use to Adjust the Light to the Best Level of Brightness?
To adjust your microscope’s brightness, you’ll want to use the aperture diaphragm, field diaphragm, and light source intensity control. Don’t forget to properly align the collector lens for ideal illumination.
What Controls the Angle of Light Presented to the Specimen?
You control the angle of light by adjusting the illuminator position, aperture diaphragm, condenser settings, and specialized equipment like mirrors for darkfield techniques. These elements determine how light interacts with your specimen surface.
What Type of Light Does a Metallurgical Microscope Use?
Metallurgical microscopes use reflected light, typically from tungsten-halogen lamps. You’ll find bright field illumination is standard, but you can also utilize dark field and polarized light depending on your specimen’s characteristics.
In Summary
You’ll find that selecting the right illumination angle is essential for your metallurgical microscopy success. By switching between these ten proven angles—from the pivotal 45-degree to grazing 75-degree—you’re able to reveal different aspects of your samples. Don’t limit yourself to a single approach; try various techniques to highlight specific features and achieve the thorough material characterization your metallurgical analysis demands.


Leave a Reply