Budget microscope stages offer superior value for lab photography without sacrificing quality. You’ll get universal compatibility with various microscope models, precision control through multi-axis adjustments, and simpler maintenance that reduces downtime. These lightweight options provide ideal specimen positioning while helping researchers develop equipment optimization skills. Strategic investments in quality lenses and lighting modifications—rather than expensive positioning systems—consistently produce publication-quality images while maintaining fiscal responsibility. The smart approach often outperforms indiscriminate spending.
Cost-Effectiveness vs. Performance: The Surprising Reality
While many photographers assume high-quality lab images require expensive new equipment, the reality defies this conventional wisdom.
You’ll find that strategic budget allocation delivers superior results when you prioritize performance-critical components.
The data reveals that secondhand professional gear often outperforms new entry-level equipment at comparable prices.
By investing your £1,000 in a used 50-megapixel DSLR with a prime lens rather than a new crop sensor camera, you’ll achieve markedly better image quality and cost-effectiveness.
Smart photographers invest in used professional equipment over new budget alternatives for superior results and value.
Smart purchasing hierarchies—allocating more resources to lenses than camera bodies—not only improve your immediate results but enhance long-term value through better resale potential.
Similarly, vintage lighting equipment frequently delivers professional-quality illumination at budget prices, outperforming many modern budget alternatives.
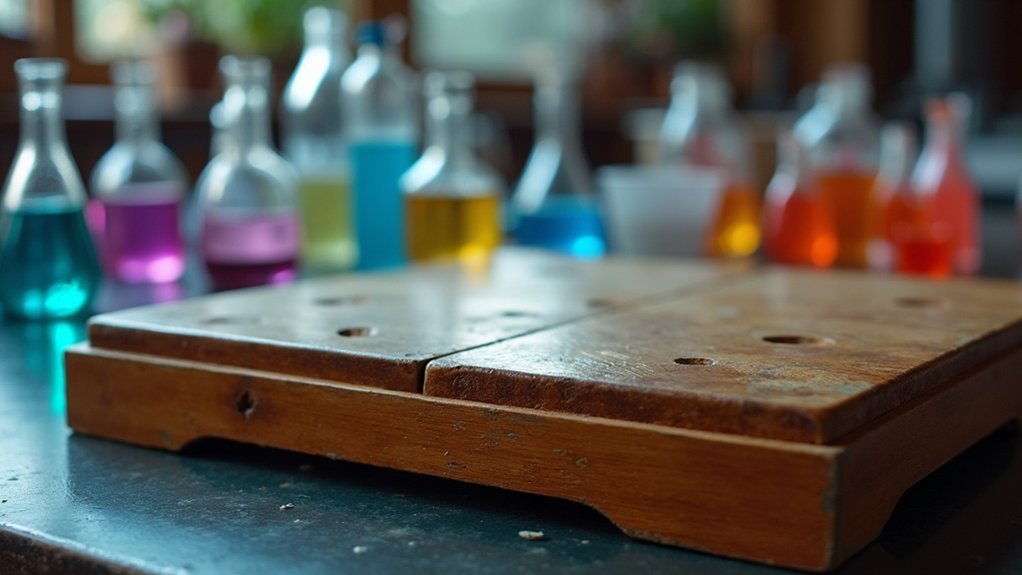
Adaptability of Budget Stages Across Different Microscope Models
This same cost-to-performance advantage extends to microscope photography stages, where flexibility proves even more valuable than raw specifications.
Budget stages excel in adaptability, designed with universal compatibility features that let you easily switch between different microscope models without expensive replacements.
- Standard interfaces (76mm and 100mm) enable seamless changes between microscope types without requiring custom modifications or additional equipment.
- Adjustable mounting options guarantee secure fitting on various microscopes while maintaining stability and precision during critical imaging tasks.
- Lightweight, compact designs facilitate easy transportation between lab stations, making these stages practical for both permanent setups and mobile research environments.
You’ll find these cost-effective tools deliver reliable performance across diverse applications, proving that adaptability can be more valuable than premium pricing in practical laboratory settings.
Precision Control Without Premium Price Tags
Despite common misconceptions, achieving precision control in lab photography doesn’t require expensive equipment with inflated price tags. You can capture high-quality images by prioritizing your investments strategically.
Start by acquiring secondhand professional-grade gear, which delivers exceptional performance at a fraction of retail costs. Focus your budget on quality lenses rather than expensive camera bodies—they’ll provide sharper images and superior optical performance while maintaining precision control over your shots.
Don’t overlook affordable lighting modifiers, which dramatically enhance image quality without premium pricing.
Maintenance Simplicity: Reducing Downtime in Research
Keeping your photography equipment operational represents a major, often overlooked aspect of successful lab photography. Budget stages typically require less intensive maintenance schedules than premium alternatives, directly translating to more productive research hours and fewer disruptions to your workflow.
Implementing simple maintenance practices for your budget equipment offers significant benefits:
- Regular cleaning and calibration of budget stages extends their lifespan and prevents unexpected failures during critical imaging sessions.
- Training team members on proper handling techniques reduces wear and tear, minimizing repair frequency.
- Lower-complexity components in budget equipment means faster troubleshooting and easier repairs when issues do arise.
You’ll find that the maintenance simplicity of budget stages provides reliable performance without the specialized service contracts often required by high-end alternatives.
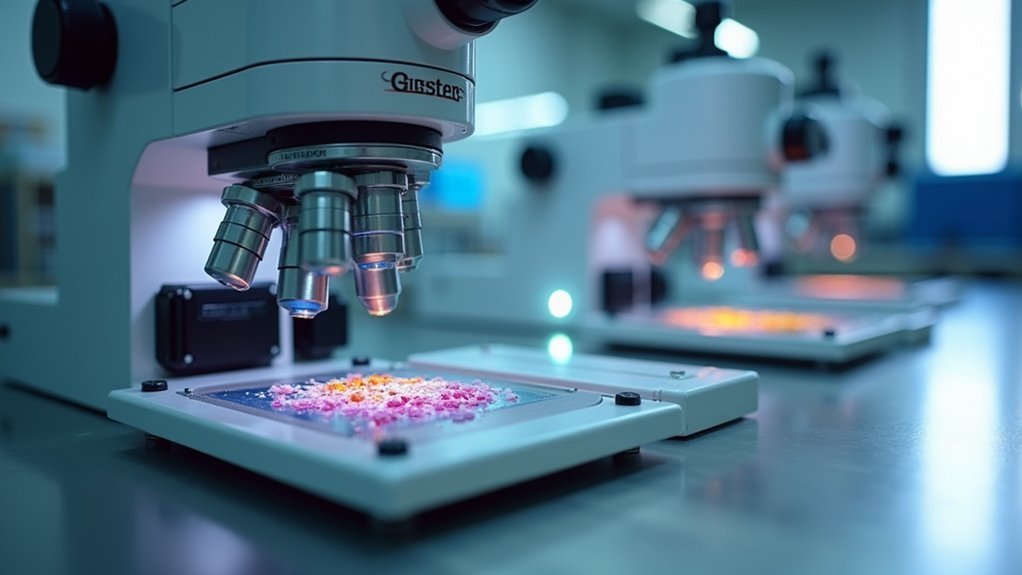
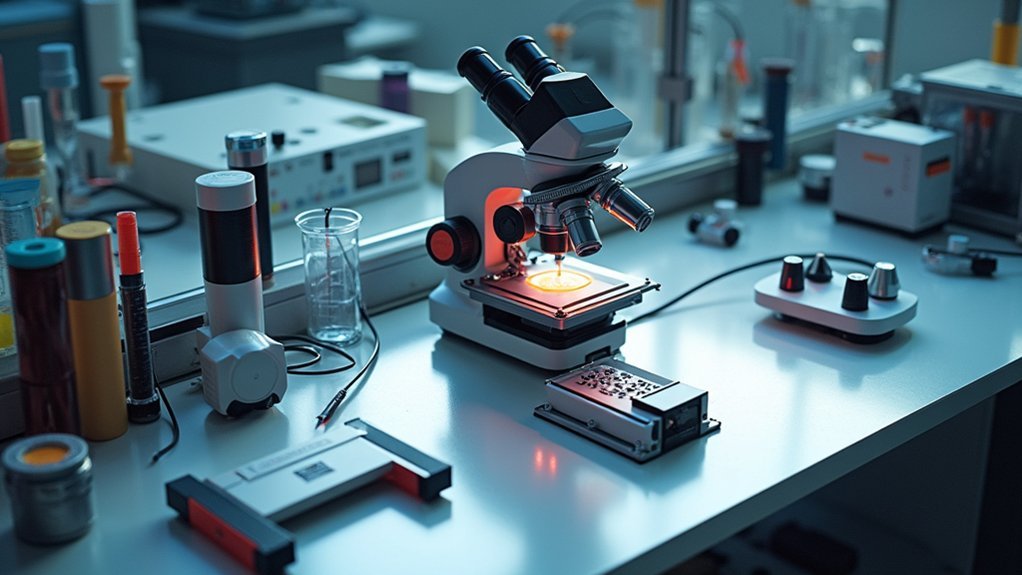
Optimal Positioning Features for Common Lab Specimens
You’ll need precision adjustment mechanisms that allow incremental movements for capturing the perfect angle of your lab specimens.
Multi-axis specimen control enables you to rotate, tilt, and elevate objects quickly, maintaining focus while exploring different perspectives.
A vibration minimizing design proves essential when working with high magnification, as it prevents blur and guarantees your images remain crisp even during longer exposure times.
Precision Adjustment Mechanisms
When capturing detailed images of lab specimens, precision adjustment mechanisms serve as the backbone of quality photography.
Even budget stages can offer impressive fine-tuning capabilities that rival expensive systems, allowing you to position your samples with remarkable accuracy down to 10-micron increments.
These precision adjustment mechanisms eliminate parallax errors when photographing intricate specimens, ensuring your images remain clear and accurately framed for thorough analysis.
- Look for stages with micrometer controls that provide incremental adjustments for perfect specimen alignment
- Choose systems with versatile mounts that accommodate different specimen sizes and shapes
- Invest in adjustable stages that can be fine-tuned in multiple axes for extensive positioning control
You’ll find these features dramatically improve your documentation quality without breaking your laboratory budget.
Multi-axis Specimen Control
Although precision adjustment mechanisms form the foundation of lab photography, multi-axis specimen control takes your imaging capabilities to the next level.
With tilt, rotation, and translation controls, you’ll capture detailed images from multiple angles without physically repositioning your samples. This capability is invaluable when examining complex specimens like tissue samples or mechanical components.
You’ll discover details that might remain hidden from a single perspective, greatly enhancing your analytical results.
Many budget-friendly multi-axis specimen control systems now integrate seamlessly with imaging software, enabling automated capture sequences that minimize human error.
You’ll also experience improved workflow efficiency, as you can quickly adjust viewing angles without removing specimens from the stage.
For consistently professional lab photography, multi-axis control transforms basic imaging into thorough visual documentation of your research.
Vibration Minimizing Design
Beyond specimen positioning control, the clarity of your lab photography depends heavily on eliminating unwanted movement. Budget stages often incorporate superior vibration minimizing designs that protect your images from quality-degrading motion blur, especially critical when capturing high-resolution details of delicate specimens.
Your photography results will improve dramatically with these essential features:
- Integrated damping materials that absorb environmental vibrations before they reach your camera setup.
- Specialized laboratory tripods designed specifically to maintain stability in lab environments, ensuring consistent image quality across different specimen types.
- Adjustable mounts with stable bases that keep biological samples perfectly still, preserving their integrity and fine details necessary for accurate analysis.
These affordable solutions deliver professional-quality results without compromising precision or reliability for your research documentation.
Space Efficiency: Compact Solutions for Crowded Lab Benches
Since laboratory space comes at a premium, incorporating compact photography equipment becomes essential for maintaining workflow efficiency. You’ll find that budget stages offer space efficiency advantages that transform crowded benches into functional photography workspaces.
| Compact Solution | Space Efficiency Benefit |
|---|---|
| Lightweight tripods | Quick rearrangement without sacrificing stability |
| Portable lighting | Versatile positioning in tight spaces |
| Modular shelving | Organized storage that maximizes vertical space |
| Mobile carts | Equipment mobility between workstations |
| Compact camera systems | Reduced equipment footprint for better movement |
Technical Specifications That Actually Matter for Lab Photography
While optimizing your lab space with compact equipment guarantees functionality, understanding which technical specifications truly impact your photography results will guide your budget decisions more effectively.
Strategic equipment selection based on technical merit yields superior results while maximizing limited lab budgets.
When evaluating photography tools, prioritize components that directly enhance image quality rather than marketing features.
- Lens quality trumps camera body specs – a prime lens like a 50mm f/1.8 on a used professional camera will capture sharper images than the latest entry-level model with a budget zoom.
- Lighting modifiers, not just powerful lights, create consistent illumination and reduce harsh shadows, ensuring accurate color representation in your lab specimens.
- Post-production capability matters greatly – invest in software like Lightroom to efficiently organize and edit your lab photography, streamlining workflow while enhancing final output quality.
Compatibility With Standard Image Capturing Equipment
When selecting budget stages for your lab photography setup, you’ll need universal mounting solutions that accommodate various camera sizes and weights without compromising stability.
Standardized connection interfaces like hot shoes, PC sync ports, and USB connections guarantee your DSLR or mirrorless camera integrates seamlessly with lighting equipment, triggers, and computer systems.
These compatibility features let you build your photography system incrementally while maintaining professional functionality across different equipment brands and models.
Universal Mounting Solutions
Although budget constraints often limit equipment choices, investing in universal mounting solutions provides exceptional value for lab photography setups.
You’ll appreciate how these standardized fittings seamlessly integrate with your existing cameras, lenses, and tripods, regardless of make or model.
Universal mounting solutions deliver significant advantages for your lab:
- Versatility across equipment – Support for both DSLR and mirrorless systems means you won’t need to replace mounts when switching between camera bodies.
- Cost efficiency – Reduce expenses by eliminating the need for multiple specialized mounts for different devices.
- Positioning flexibility – Adjustable features for height and angle guarantee maximum image capture positioning.
The durable construction of these mounts provides stability during critical lab photography, reducing camera shake and maintaining image quality throughout your documentation process.
Standardized Connection Interfaces
Complementing universal mounting solutions, standardized connection interfaces dramatically expand your lab photography capabilities without breaking your budget.
With USB-C and HDMI ports on budget stages, you’ll enjoy rapid data transfer rates when uploading images to your computer or storage devices.
You won’t need to worry about compatibility issues when connecting your cameras, lenses, and accessories. Budget stages that support Micro Four Thirds or Canon EF mount standards give you access to diverse equipment options across different manufacturers.
This interoperability lets you mix and match gear without sacrificing functionality.
When it’s time to upgrade, standardized connection interfaces eliminate the need for expensive proprietary adapters.
You’ll simply disconnect your current equipment and connect the new components, maintaining workflow efficiency while maximizing your investment in budget-friendly lab photography tools.
Learning Curve Benefits for Students and New Researchers
As students and new researchers navigate the complex world of scientific investigation, structured budget stages in lab photography provide invaluable educational benefits beyond mere financial planning.
You’ll develop essential skills for managing expensive equipment while learning to allocate resources strategically for your research objectives.
Budget stages create a framework that helps you:
- Build critical budgeting skills that translate directly to successful grant writing and financial management for your future research career.
- Understand inventory control and tracking practices essential for maintaining efficient lab operations.
- Collaborate on finding cost-effective solutions when resources are limited, fostering innovation and adaptability.
This structured approach promotes a mindset of strategic purchasing that aligns investments with research goals, preparing you for independent research where resource management is paramount.
Budget-Friendly Upgrades to Enhance Basic Stage Functionality
You’ll find remarkable improvements in your lab’s imaging capabilities by adding affordable accessories to your basic stage setup.
With DIY illumination solutions like repurposed desk lamps with diffusion material or strategically placed mirrors, you can achieve professional-quality lighting without specialized equipment.
Precision focus can be enhanced through simple hacks such as using micrometers for fine adjustments or adding aftermarket fine-focus knobs that offer greater control during critical imaging tasks.
Budget Stage Accessories
Four essential budget-friendly accessories can transform your basic lab photography setup into a more versatile and professional system.
Budget stage accessories like lightweight reflectors and portable backdrops give you immediate control over lighting and backgrounds—vital elements for professional-quality lab images without significant investment.
Consider supplementing your setup with:
- A secondhand sturdy tripod to eliminate camera shake, particularly important for sharp images in low-light conditions or when using longer exposure times.
- Affordable light modifiers such as softboxes or diffusers to create softer shadows and more flattering illumination.
- Vintage lighting equipment like Bowens strobes, which deliver studio-quality results at a fraction of new gear costs.
Don’t overlook a used 50mm f/1.8 prime lens—it’ll dramatically improve image quality compared to standard kit lenses.
DIY Illumination Solutions
Creating professional-quality lighting for lab photography doesn’t require expensive equipment when you leverage DIY illumination solutions. You can transform your basic stage with affordable LED strip lights that offer adjustable brightness and color temperatures for ideal imaging conditions.
| DIY Solution | Benefits |
|---|---|
| LED strips | Adjustable brightness, various color temperatures |
| White bedsheets | Effective diffusers, shadow reduction |
| Desk lamps | Versatile positioning, daylight-balanced options |
| Smartphone apps | Remote control of intensity and color |
| Cardboard lightbox | Controlled environment for small samples |
Repurpose household items like bedsheets or cardboard as diffusers to soften harsh lighting. Smart phone apps can control your DIY illumination solutions without expensive dedicated equipment. For consistent results with small samples, build a simple lightbox using cardboard and tissue paper.
Precision Focus Hacks
Three affordable upgrades can transform your basic photography stage into a precision imaging platform without breaking the bank.
When capturing lab specimens or products, sharpness matters more than expensive gear. These precision focus hacks will elevate your results immediately:
- DIY Focus Rack – Repurpose affordable motorized sliders to create smooth, precise focus adjustments for multi-stage setups, ensuring every detail is captured perfectly.
- Budget Focus Stacking Software – Dramatically enhance depth of field in macro photography without expensive lens upgrades, allowing you to combine multiple images for tack-sharp results.
- Secondhand Prime Lens – Invest in a used 50mm prime rather than a new zoom – you’ll gain notably improved sharpness and focus accuracy that outperforms similarly priced alternatives.
Case Studies: Research Quality With Economical Positioning Systems
While premium equipment often dominates conversations about research photography, numerous labs have demonstrated that economical positioning systems can deliver exceptional results.
You’ll find that institutions implementing a tiered budget approach consistently achieve professional imaging quality by prioritizing strategic acquisitions.
Consider the compelling evidence: labs using refurbished or secondhand positioning systems report research outcomes comparable to those with premium setups.
One university biology department saved 40% on imaging equipment by selecting high-grade used tripods and mounts, redirecting those funds to hire additional research assistants.
Another case study revealed that a chemistry lab’s economical positioning systems maintained precision within 0.01mm—well within acceptable parameters for publication-quality documentation.
These real-world examples confirm you don’t need to sacrifice research integrity when working with budget-conscious equipment.
Future-Proofing Your Lab: When to Invest vs. When to Economize
Building a sustainable lab photography setup demands strategic decision-making about where to invest your limited budget. Focus on professional-grade equipment that withstands time rather than entry-level gear that you’ll quickly outgrow. This approach will make it easy to adapt as your lab’s needs evolve.
- Prioritize spending on high-quality lenses and light modifiers over camera bodies—these components directly impact image quality and rarely become obsolete.
- Maintain flexibility in your budget for opportunistic purchases of valuable secondhand equipment.
- Implement just-in-time ordering for consumables to free up funds for critical equipment investments.
Regularly review your budget allocation against performance metrics and changing laboratory requirements. This balanced approach guarantees you’re economizing where it makes sense while investing strategically in components that deliver lasting value.
Frequently Asked Questions
Does Good Photography Gear Make You a Better Photographer?
No, good gear doesn’t automatically make you better. You’ll improve through practice and understanding composition. Quality equipment enhances your capabilities, but your vision and skill remain the essential ingredients for great photography.
How Much Does a Professional Photography Setup Cost?
You’ll spend £1,000-£5,000+ for a professional setup, depending on your needs. Entry-level cameras start around £1,000, but don’t forget to budget for quality lenses, lighting equipment, and essential accessories like tripods.
What Is the Most Important Tool in Photography?
Your lens is the most important tool in photography. While you’ll need a good camera body too, investing in quality lenses will dramatically improve your images more than any other equipment purchase.
What Are the Stages of Photography?
Photography has three main stages: pre-production (planning your shoot), production (taking your photos), and post-production (editing and delivering your work). You’ll find this workflow helps you stay organized and produce better results.
In Summary
You’ll find budget stages deliver exceptional value in your laboratory photography setup. They’re adaptable, easy to maintain, and provide surprisingly precise control without breaking your research budget. For students, new researchers, or established labs looking to economize, these cost-effective solutions offer the positioning capabilities you need. Before investing in premium equipment, consider whether a well-chosen budget stage might actually serve your research better.


Leave a Reply